


 本文介绍了如何利用VisualStudio2019将C#类文件转换为DLL库。首先创建一个项目,如Test,然后添加公共类Student,包含name、age、sex字段及相应属性和构造函数。接着设置项目属性为类库输出类型,最后重新生成解决方案,.dll文件将在bin/Debug/目录下生成。
背景
上次提到单个.cs文件打包为.dll文件的操作,有点繁琐。这次我们用Visual Studio 2019这个强大的编译器进行辅助打包。
操作步骤
1、新建一个项目,如Test
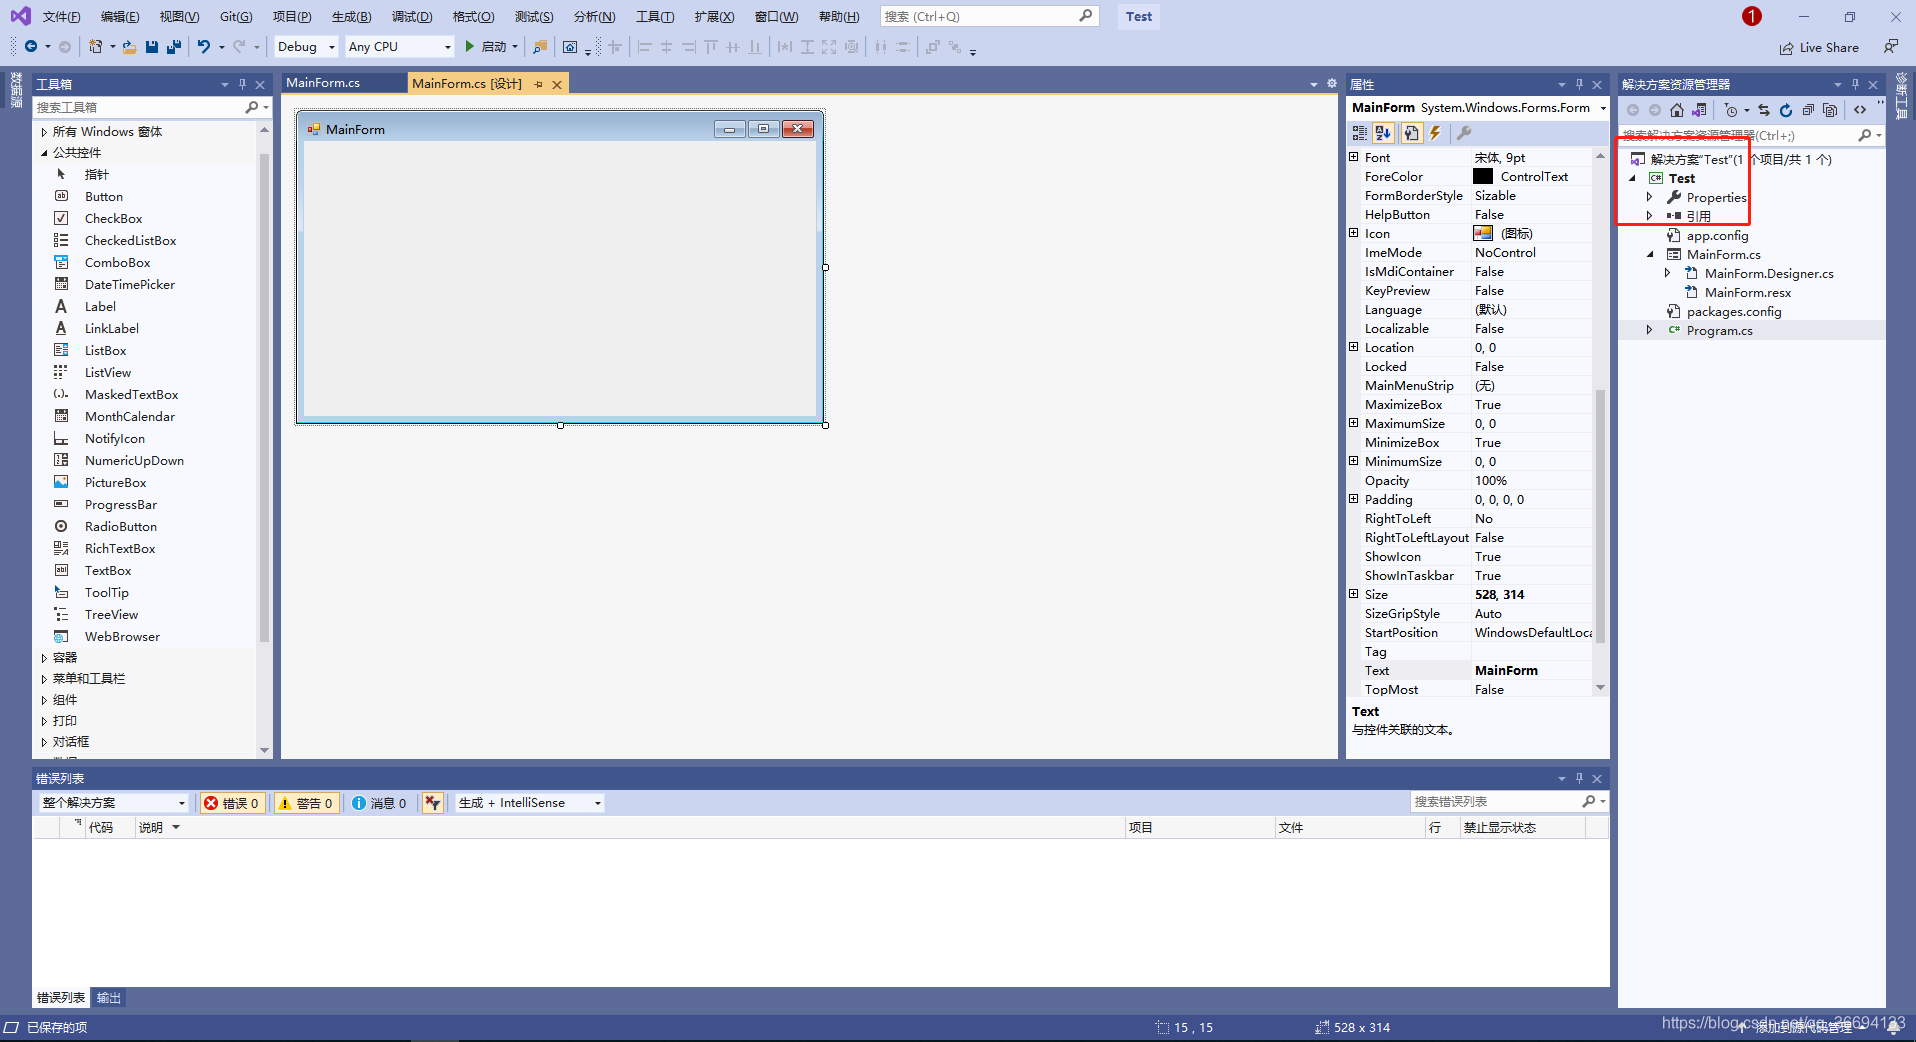
我这里举例是窗体应用程序,同学们练习的时候这个项目创建成控制台应用程序也可以。
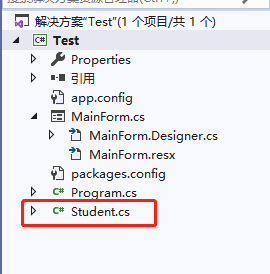
2、给项目添加一个类文件,如Student.cs[并给此类注明为公用类:public],给它添加字段name、age、sex。以及对应属性。给它添加无参构造函数以及带参构造函数。
using System;
using System.Collections.Generic;
using System.Linq;
using System.Text;
using System.Threading.Tasks;

namespace Test
{


    /// <summary>
    /// 学生类
    /// </summary>
    public class Student
    {


        #region 字段区

        /// <summary>
        /// 姓名
 最低0.47元/天 解锁文章


 9436
9436


 到【灌水乐园】发言


