


 本文详细介绍了如何安装Elasticsearch,包括需要先安装JDK并设置ES_JAVA_HOME环境变量,以及确保版本匹配。接着,介绍了安装Elasticsearch-Head和Kibana的步骤,包括Node.js的安装和相关配置。此外,文章还涵盖了Elasticsearch的安全配置,如启用权限,设置用户密码,并演示了如何修改和验证密码。
0 安装jdk
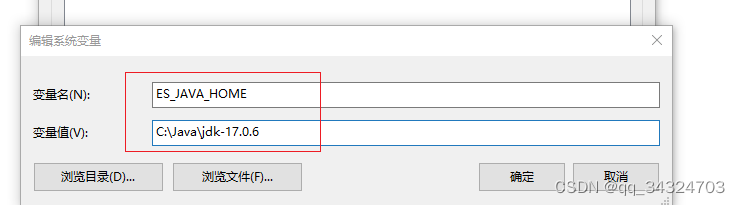
ES是java开发的,所以安装ES之前必须安装JDK,必须保证ES的版本与Java的核心jar包版本对应。从ES7.0以后,必须安装JDK 11以上,且需要添加ES_JAVA_HOME环境变量,所以可以在本地安装多个JDK版本,且让ES_JAVA_HOME指向高版本的JDK。
1 安装ES
1.1 下载地址:下载 Elastic 产品 | Elastic
历史版本下载:https://www.elastic.co/cn/downloads/past-releases/
下载最新版本ES压缩包,解压到本地
1.2 在bin目录下点击 elasticSearch.bat ,出现如下图表示启动成功

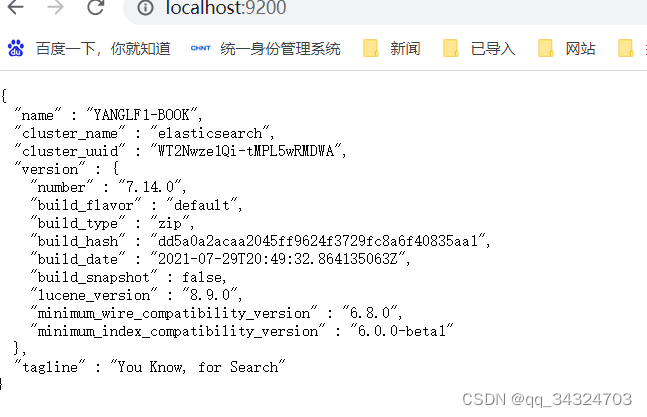
1.3 打开浏览器,输入 http://localhost:9200/出现如下图表示ES安装成功
2 安装elasticsearch-head
2.1 安装ES-Head之前必须确保本地安装了Node.js Node.js 安装包及源码下载地址为:Download | Node.js。
2.2 下载 ES-Head GitHub - mobz/elasticsearch-head: A web front end for an elastic search cluster ,并解压在本地
2.3 来到解压目录内 ,运行CMD
cd elasticsearch-head
# 安装依赖
npm install
# 启动
npm run start
# 访问
http://localhost:9100/
2.4 浏览器内输入http://localhost:9100/

2.5 配置跨域,开启跨域(在elasticsearch解压目录config下elasticsearch.yml中添加)
http.cors.enabled: true
http.cors.allow-origin: "*"
http.cors.allow-headers: Authorization,X-Requested-With,Content-Length,Content-Type
2.6 重启 ES后,出现以下画面,表示Head工具安装成功

3 安装Kibana
3.1 下载地址 https://www.elastic.co/cn/downloads/ 下载的版本需要与ElasticSearch版本一致
历史版本下载:https://www.elastic.co/cn/downloads/past-releases/
3.2 解压 到本地,bin目录下双击 Kibana.bat

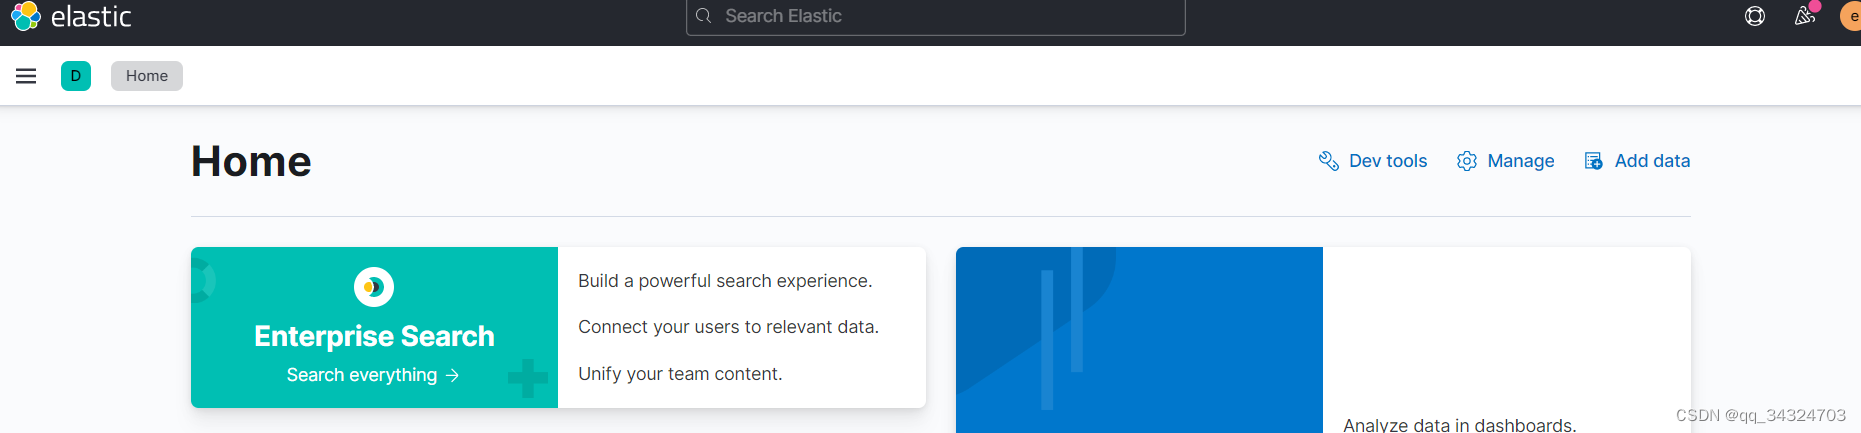
3.3 浏览器输入 http://localhost:5601/
4 配置ES访问用户名密码
4.1 修改 ES 目录下 elasticsearch.yml,添加如下配置
#设置权限
xpack.security.enabled: true
xpack.license.self_generated.type: basic
xpack.security.transport.ssl.enabled: true
4.2 进入Elasticsearch的bin目录下,执行以下命令
elasticsearch-setup-passwords interactive4.3 这里会设置六个账号的密码:elastic,apm_system,kibana,logstash_system,beats_system,remote_monitoring_user.需要根据提示逐一设置密码。建议设置成同样的密码。
D:\devsofts\elk7.6.2\elasticsearch-7.6.2-windows-x86_64\elasticsearch-7.6.2\bin>elasticsearch-setup-passwords interactive
future versions of Elasticsearch will require Java 11; your Java version from [C:\Program Files\Java\jdk1.8.0_291\jre] does not meet this requirement
Your cluster health is currently RED.
This means that some cluster data is unavailable and your cluster is not fully functional.
It is recommended that you resolve the issues with your cluster before running elasticsearch-setup-passwords.
It is very likely that the password changes will fail when run against an unhealthy cluster.
Do you want to continue with the password setup process [y/N]y
Initiating the setup of passwords for reserved users elastic,apm_system,kibana,logstash_system,beats_system,remote_monitoring_user.
You will be prompted to enter passwords as the process progresses.
Please confirm that you would like to continue [y/N]y
Enter password for [elastic]:
Reenter password for [elastic]:
Enter password for [apm_system]:
Reenter password for [apm_system]:
Enter password for [kibana]:
Reenter password for [kibana]:
Enter password for [logstash_system]:
Reenter password for [logstash_system]:
Enter password for [beats_system]:
Reenter password for [beats_system]:
Enter password for [remote_monitoring_user]:
Reenter password for [remote_monitoring_user]:
Changed password for user [apm_system]
Changed password for user [kibana]
Changed password for user [logstash_system]
Changed password for user [beats_system]
Changed password for user [remote_monitoring_user]
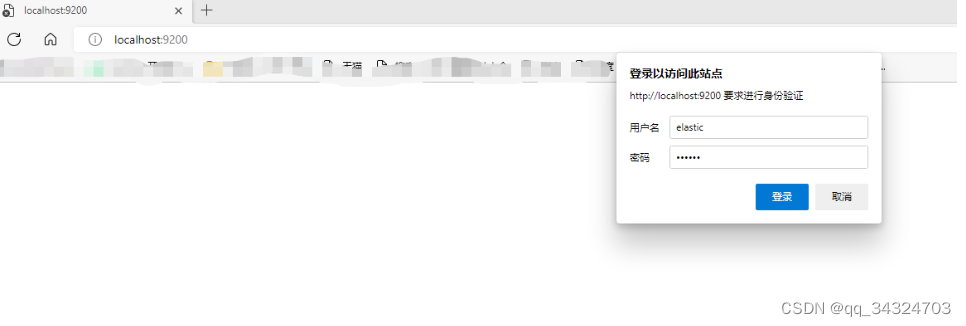
Changed password for user [elastic]4.4 访问默认的地址和端口:http://localhost:9200/ 出现用户名密码提示,表示配置成功了
4.5 配置 ES-Head 访问密码,打开 ES 下的 elasticsearch.yml,添加如下配置
http.cors.allow-headers: Authorization,X-Requested-With,Content-Length,Content-Type4.5 重启ES后,输入 以下url ,密码改成自己设置的
http://localhost:9100/?auth_user=elastic&auth_password=1234564.6 设置Kibanan的账号和密码
打开Kibana的conf目录下的kibana.yml,修改里面elasticsearch的用户名和密码配置,默认是注释掉的,如下图,输入自己设置的密码
# If your Elasticsearch is protected with basic authentication, these settings provide
# the username and password that the Kibana server uses to perform maintenance on the Kibana
# index at startup. Your Kibana users still need to authenticate with Elasticsearch, which
# is proxied through the Kibana server.
elasticsearch.username: "elastic"
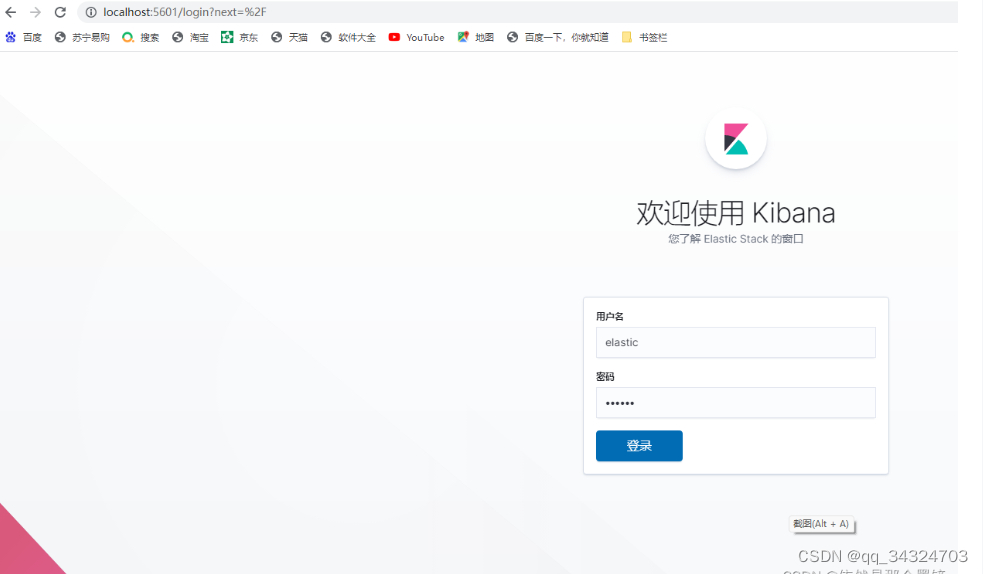
elasticsearch.password: "123456"4.7 测试Kibana的登录,如下图,输入设置的登录用户名(elastic)和密码(123456)即可登录成功
4.8 修改Elasticsearch的密码
Linux环境执行:
curl -H "Content-Type:application/json" -XPOST -u elastic 'http://192.168.140:9200/_xpack/security/user/elastic/_password' -d '{ "password" : "123456" }'Windows环境执行:在window中linux格式下的单引号要改成双引号,json格式数据中双引号要加\转义
curl -H "Content-Type:application/json" -XPOST -u elastic -d "{\"password\" : \"1234567\" }" http://127.0.0.1:9200/_xpack/security/user/elastic/_password


 755
755

 被折叠的 条评论
为什么被折叠?
被折叠的 条评论
为什么被折叠?
 到【灌水乐园】发言


