


python 配置OpenGL
现在大家电脑应该都 64位的了,不要跟着其它博客上的配置方法做,大部分都是32位的。装完后一大堆问题, 亲测正确有效的配置方法如下:
网上下载 PyOpenGL-3.1.3b2-cp37-cp37m-win_amd64.whl 文件,需要根据自己电脑上的python版本具体选择对应的版本,后面的64表示64位电脑。
该文件可在本人网盘下载:
链接: https://pan.baidu.com/s/1Fc5kXE3ApCNPKIBqyJg2gQ 提取码: p2wd
下载完之后,windows 命令行输入:
pip install PyOpenGL-3.1.3b2-cp37-cp37m-win_amd64.whl
无需进行其他操作了。简单直接
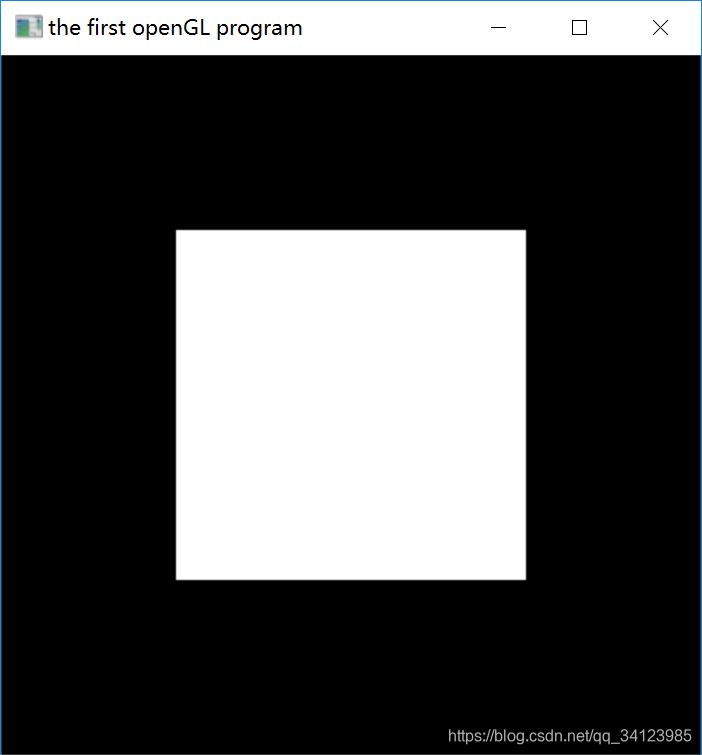
第一个OpenGL程序
代码:
# 导入相关库
from OpenGL.GL import *
from OpenGL.GLUT import *


def display():
    # 清理所有像素
    glClear(GL_COLOR_BUFFER_BIT)
    # 设置颜色为白色
    glColor3f(1.0, 1.0, 1.0)
    # 在窗口中间绘制一个正方形,边长为窗口的一半
    glRectf(-0.5, -0.5, 0.5, 0.5)
    # 强制刷新缓冲
    glFlush()


if __name__ == "__main__":
    glutInit()
    glutInitDisplayMode(GLUT_SINGLE | GLUT_RGB)

    # 创建正方形窗口
    glutInitWindowSize(400, 400)
    # glutInitWindowPosition(100, 100)
    glutCreateWindow("the first openGL program")
    # 显示回调函数
    glutDisplayFunc(display)
    # 开始循环 执行程序
    glutMainLoop()
实现效果
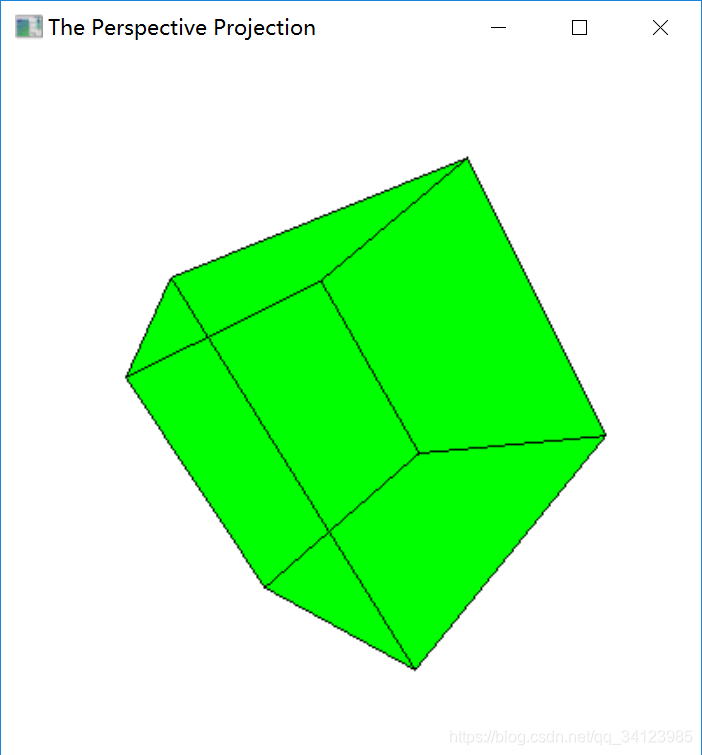
openGL透视投影
核心代码:
# 导入相关库
from OpenGL.GL import *
from OpenGL.GLU import *
from OpenGL.GLUT import *

# 观察坐标系原点
x0, y0, z0 = 0.0, 0.0, 5.0
# 观察坐标系视点
xviw, yviw, zviw = 0.0, 0.0, 0.0
# 观察坐标系向量
Vx, Vy, Vz = 0.0, 1.0, 0.0
# 裁剪窗口坐标范围
xMin, yMin, xMax, yMax = -1.0, -1.0, 1.0, 1.0

# 前后裁剪面深度
dfont, dback = 2.0, 30.0


# 窗口初始化
def init():
    glClearColor(1.0, 1.0, 1.0, 0.0)
    # 三维观察参数
    gluLookAt(x0, y0, z0, xviw, yviw, zviw, Vx, Vy, Vz)
    glMatrixMode(GL_MODELVIEW)
    # 放缩变换
    glScalef(2.0, 2.0, 3.0)
    # 旋转变换
    glRotatef(45.0, 0.0, 1.0, 1.0)
    # 投影变换
    glMatrixMode(GL_PROJECTION)
    glLoadIdentity()
    # 透视投影
    glFrustum(xMin, xMax, yMin, yMax, dfont, dback)

# 回调函数
def display():
    glClear(GL_COLOR_BUFFER_BIT)
    # 绿色
    glColor3f(0.0, 1.0, 0.0)
    # 绘制立方体
    glutSolidCube(1.0)
    # 前景色为黑色
    glColor3f(0.0, 0.0, 0.0)
    # 线宽
    glLineWidth(1.0)
    # 线框
    glutWireCube(1.0)
    glFlush()


if __name__ == "__main__":
    glutInit()
    glutInitDisplayMode(GLUT_SINGLE | GLUT_RGB)
    # 设置窗口大小
    glutInitWindowSize(400, 400)
    glutCreateWindow("The Perspective Projection")
    init()
    # 显示回调函数
    glutDisplayFunc(display)
    # 开始循环 执行程序
    glutMainLoop()
效果如下:


 3582
3582

 被折叠的 条评论
为什么被折叠?
被折叠的 条评论
为什么被折叠?
 到【灌水乐园】发言


