


 本文介绍了如何利用LibSVM库制作鸳尾花数据集,包括LibSVM的概念、训练文本格式、下载安装步骤,以及具体构建数据集的过程。同时,还展示了人脸识别数据集的建立,包括图片采集、特征点提取等操作。
SVM算法应用综合练习
一、LibSVM制作鸳尾花数据集
(一)LibSVM概念
LibSVM libSVM是台湾林智仁(Chih-Jen Lin) 教授2001年开发的一套支持向量机库,这套库运算速度挺快,可以很方便的对数据做分类或回归。由于libSVM程序小,运用灵活,输入参数少,并且是开源的,易于扩展,因此成为目前国内应用最多的SVM的库。
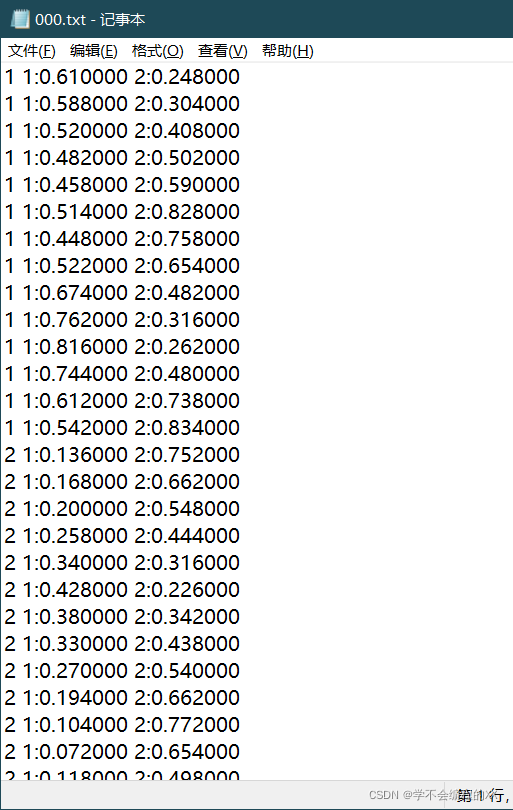
(二)训练文本的格式
libSVM数据格式:
Label 1:value 2:value ….
Label:是类别的标识,可以自己随意定,比如-10,0,15。当然,如果是回归,这是目标值,就要实事求是了。Value:就是要训练的数据,从分类的角度来说就是特征值,数据之间用空格隔开。如果特征值为0,特征冒号前面的(姑且称做序号)可以不连续。从编程的角度来说,这样做可以减少内存的使用,并提高做矩阵内积时的运算速度。
(三)下载与安装
1.下载
官网下载页面

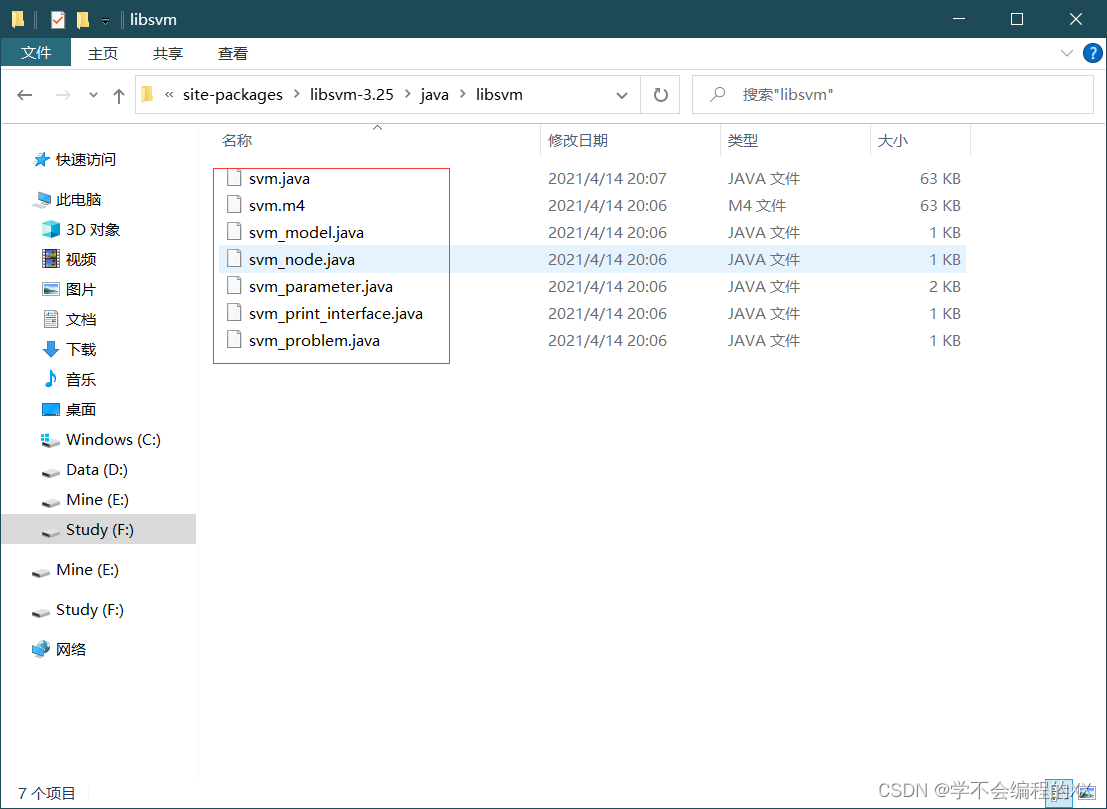
2.解压
将解压后的libsvm文件复制到对应的python环境下的 …/Lib/site-packages/ 目录下
(四)构建数据集
1.打开这个.exe文件**

2.画图

change切换颜色,画完后点击run,并保存为txt文件
(三)编码进行分类训练
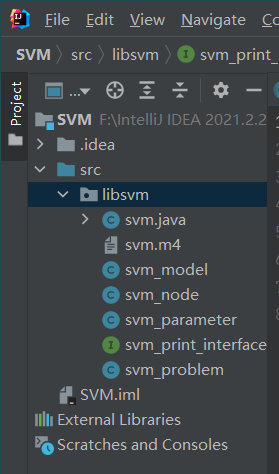
1.通过IDEA新建一个Java项目,并新建一个libsvm包与test包

2.将下面的文件复制到刚建的libsvm包下
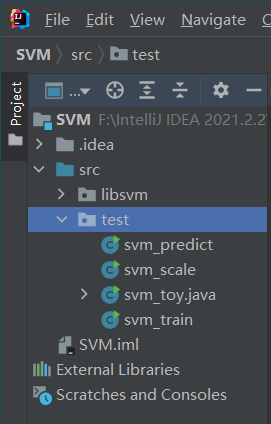
3.将下面文件复制到刚建的test包下

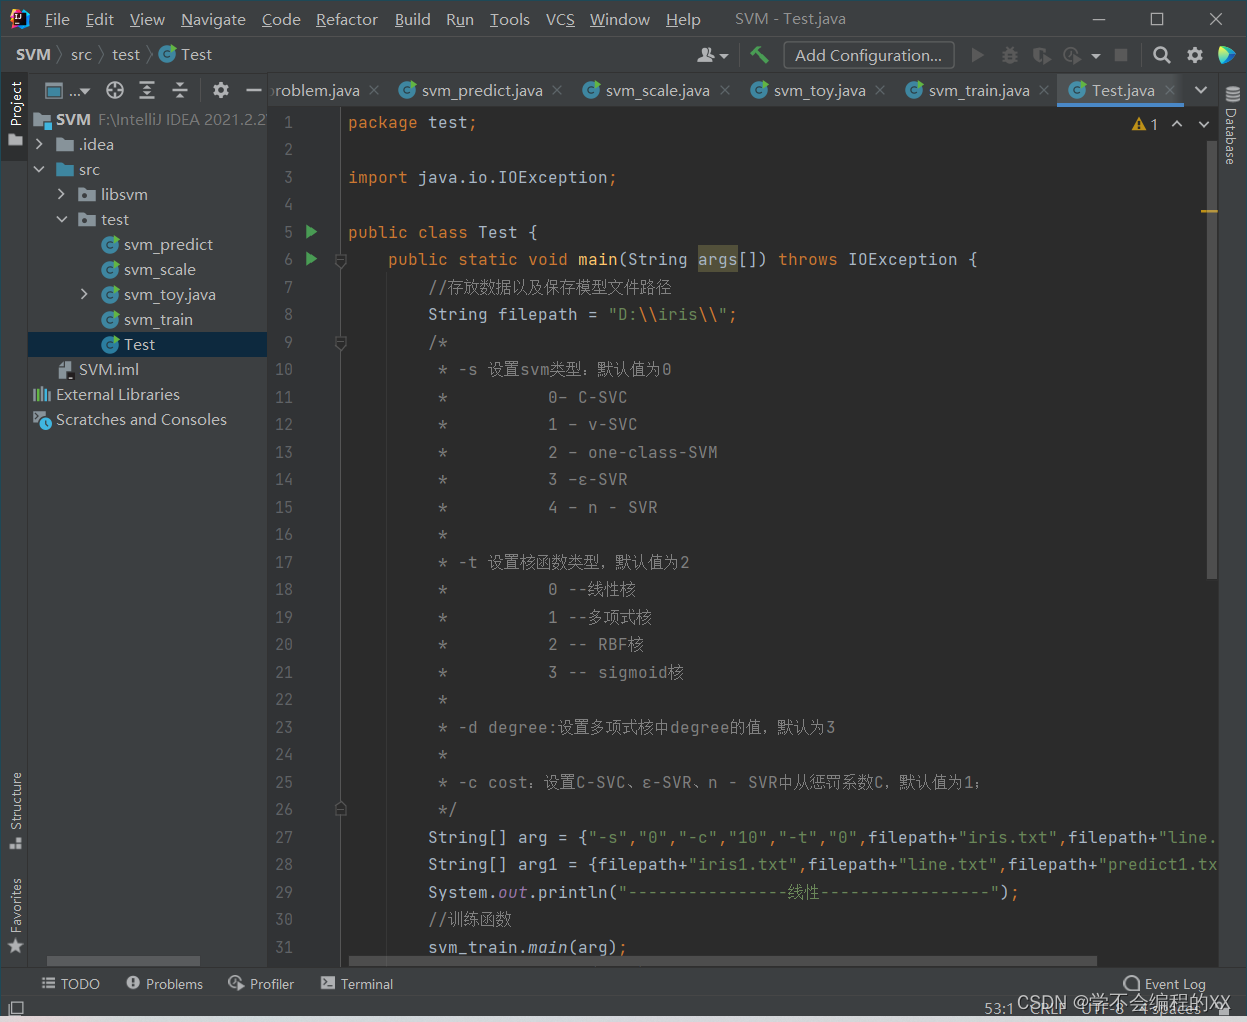
4.在test包下新建一个Test类并写入以下代码:
package test;
import java.io.IOException;
public class Test {
public static void main(String args[]) throws IOException {
//存放数据以及保存模型文件路径
String filepath = "D:\\iris\\";
/*
* -s 设置svm类型:默认值为0
* 0– C-SVC
* 1 – v-SVC
* 2 – one-class-SVM
* 3 –ε-SVR
* 4 – n - SVR
*
* -t 设置核函数类型,默认值为2
* 0 --线性核
* 1 --多项式核
* 2 -- RBF核
* 3 -- sigmoid核
*
* -d degree:设置多项式核中degree的值,默认为3
*
* -c cost:设置C-SVC、ε-SVR、n - SVR中从惩罚系数C,默认值为1;
*/
String[] arg = {"-s","0","-c","10","-t","0",filepath+"iris.txt",filepath+"line.txt"};
String[] arg1 = {filepath+"iris1.txt",filepath+"line.txt",filepath+"predict1.txt"};
System.out.println("----------------线性-----------------");
//训练函数
svm_train.main(arg);
svm_predict.main(arg1);
arg[5]="1";
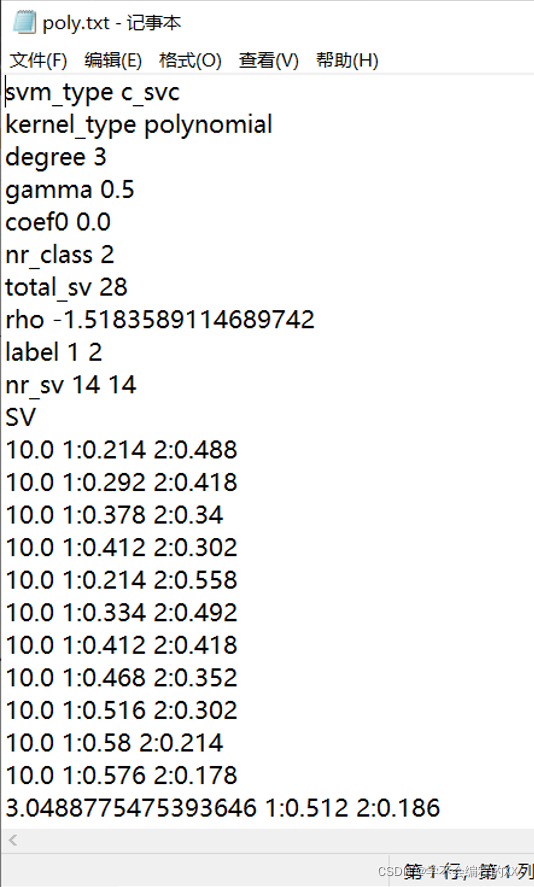
arg[7]=filepath+"poly.txt";//输出文件路径
arg1[1]=filepath+"poly.txt";
arg1[2]=filepath+"predict2.txt";
System.out.println("---------------多项式-----------------");
svm_train.main(arg);
svm_predict.main(arg1);
arg[5]="2";
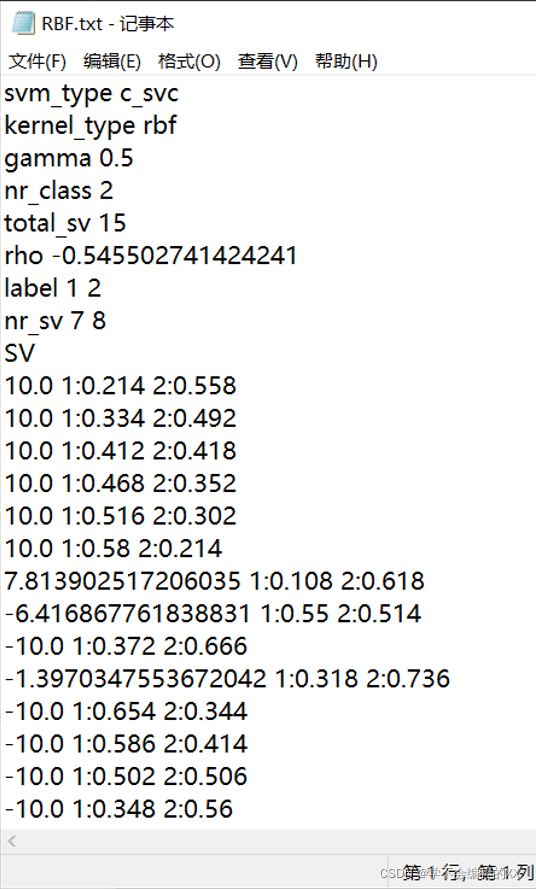
arg[7]=filepath+"RBF.txt";
arg1[1]=filepath+"RBF.txt";
arg1[2]=filepath+"predict3.txt";
System.out.println("---------------高斯核-----------------");
svm_train.main(arg);
svm_predict.main(arg1);
}
}
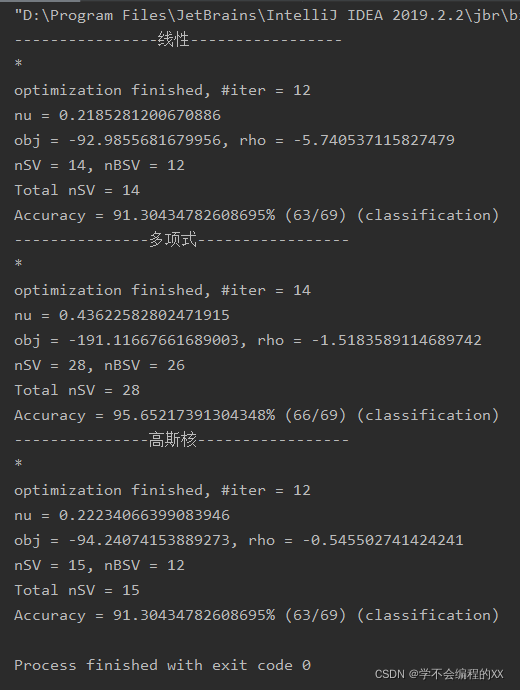
5.运行Test类
结果如下:
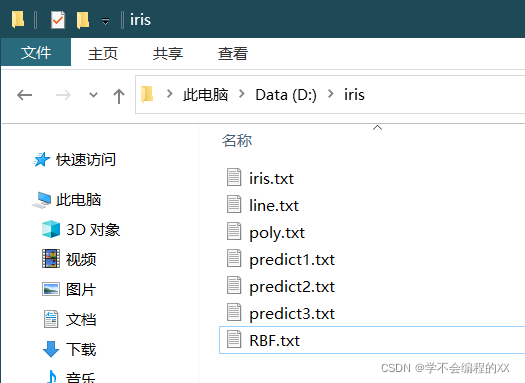
6.生成以下文件:
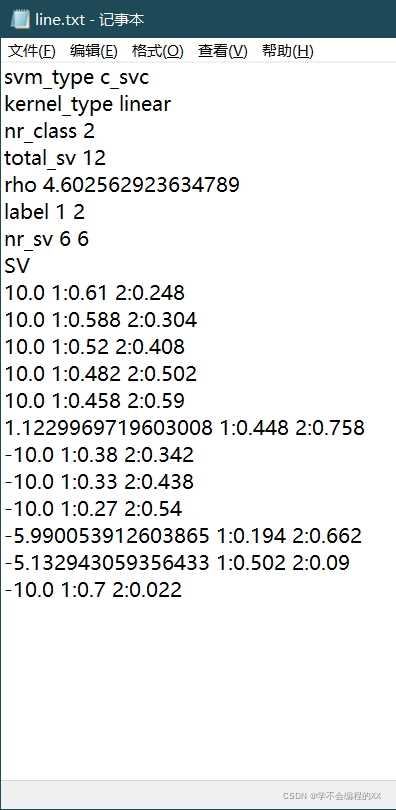
文件内容如下:
二、人脸识别数据集的建立
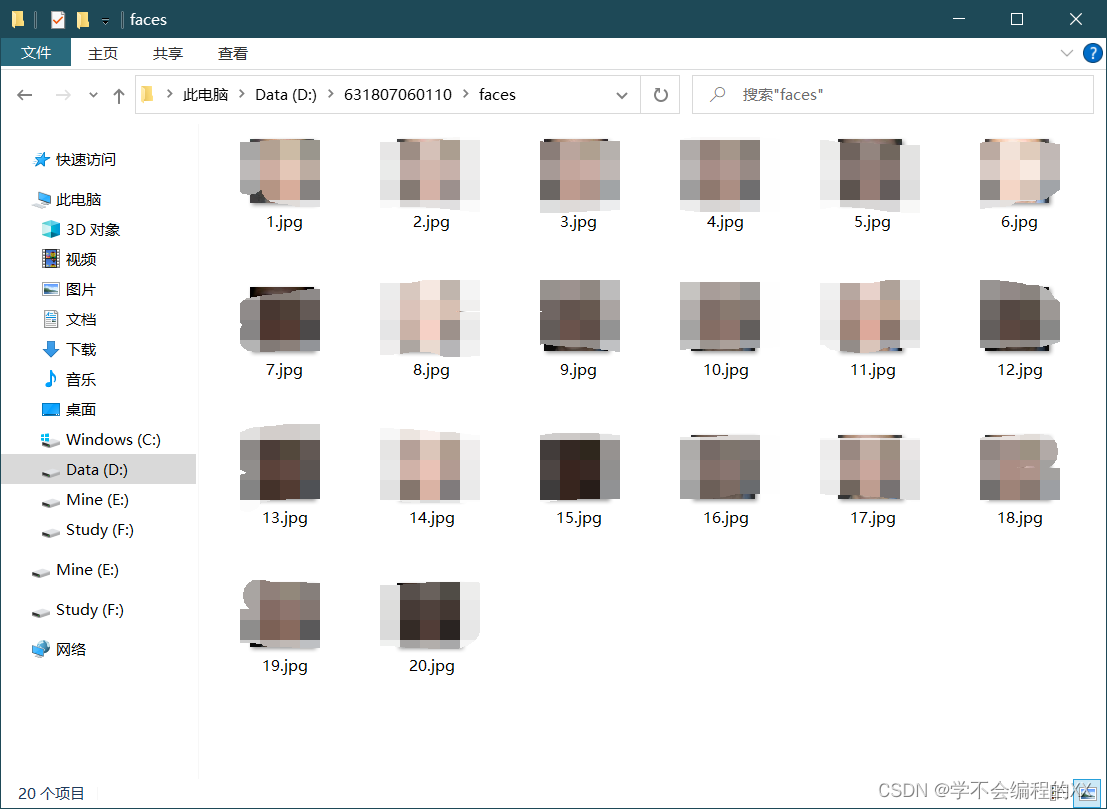
(一)采集自己的脸部图片20张
代码如下
import cv2
import dlib
import os
import sys
import random
# 存储位置
output_dir = 'D:/631807060110/faces'
size = 64

if not os.path.exists(output_dir):
    os.makedirs(output_dir)
# 改变图片的亮度与对比度

def relight(img, light=1, bias=0):
    w = img.shape[1]
    h = img.shape[0]
    #image = []
    for i in range(0,w):
        for j in range(0,h):
            for c in range(3):
                tmp = int(img[j,i,c]*light + bias)
                if tmp > 255:
                    tmp = 255
                elif tmp < 0:
                    tmp = 0
                img[j,i,c] = tmp
    return img

#使用dlib自带的frontal_face_detector作为我们的特征提取器
detector = dlib.get_frontal_face_detector()
# 打开摄像头 参数为输入流,可以为摄像头或视频文件
camera = cv2.VideoCapture(0)
#camera = cv2.VideoCapture('D:/z7z8/yy.mp4')

index = 1
while True:
    if (index <= 20):#存储20张人脸特征图像
        print('Being processed picture %s' % index)
        # 从摄像头读取照片
        success, img = camera.read()
        # 转为灰度图片
        gray_img = cv2.cvtColor(img, cv2.COLOR_BGR2GRAY)
        # 使用detector进行人脸检测
        dets = detector(gray_img, 1)

        for i, d in enumerate(dets):
            x1 = d.top() if d.top() > 0 else 0
            y1 = d.bottom() if d.bottom() > 0 else 0
            x2 = d.left() if d.left() > 0 else 0
            y2 = d.right() if d.right() > 0 else 0

            face = img[x1:y1,x2:y2]
            # 调整图片的对比度与亮度, 对比度与亮度值都取随机数,这样能增加样本的多样性
            face = relight(face, random.uniform(0.5, 1.5), random.randint(-50, 50))

            face = cv2.resize(face, (size,size))

            cv2.imshow('image', face)

            cv2.imwrite(output_dir+'/'+str(index)+'.jpg', face)

            index += 1
        key = cv2.waitKey(30) & 0xff
        if key == 27:
            break
    else:
        print('Finished!')
        # 释放摄像头 release camera
        camera.release()
        # 删除建立的窗口 delete all the windows
        cv2.destroyAllWindows()
        break
运行结果:

采集结果:
(二)采集20张图片对应的68个特征点数组和平均特征值
代码如下:
from cv2 import cv2 as cv2
import os
import dlib
from skimage import io
import csv
import numpy as np
# 要读取人脸图像文件的路径
path_images_from_camera = "D:/631807060110/"
# Dlib 正向人脸检测器
detector = dlib.get_frontal_face_detector()
# Dlib 人脸预测器
predictor = dlib.shape_predictor("shape_predictor_68_face_landmarks.dat")
# Dlib 人脸识别模型
# Face recognition model, the object maps human faces into 128D vectors
face_rec = dlib.face_recognition_model_v1("dlib_face_recognition_resnet_model_v1.dat")
# 返回单张图像的 128D 特征
def return_128d_features(path_img):
img_rd = io.imread(path_img)
s=path_img
a=s[16:17]
i1=str(a)
a1=s[17:]
str1="/"
b=a1[a1.index(str1):-4]
b1=b[1:]
i2=str(b1)
img_gray = cv2.cvtColor(img_rd, cv2.COLOR_BGR2RGB)
faces = detector(img_gray, 1)
for i in range(len(faces)):
landmarks = np.matrix([[p.x, p.y] for p in predictor(img_rd,faces[i]).parts()])
for idx, point in enumerate(landmarks):
# 68点的坐标
pos = (point[0, 0], point[0, 1])
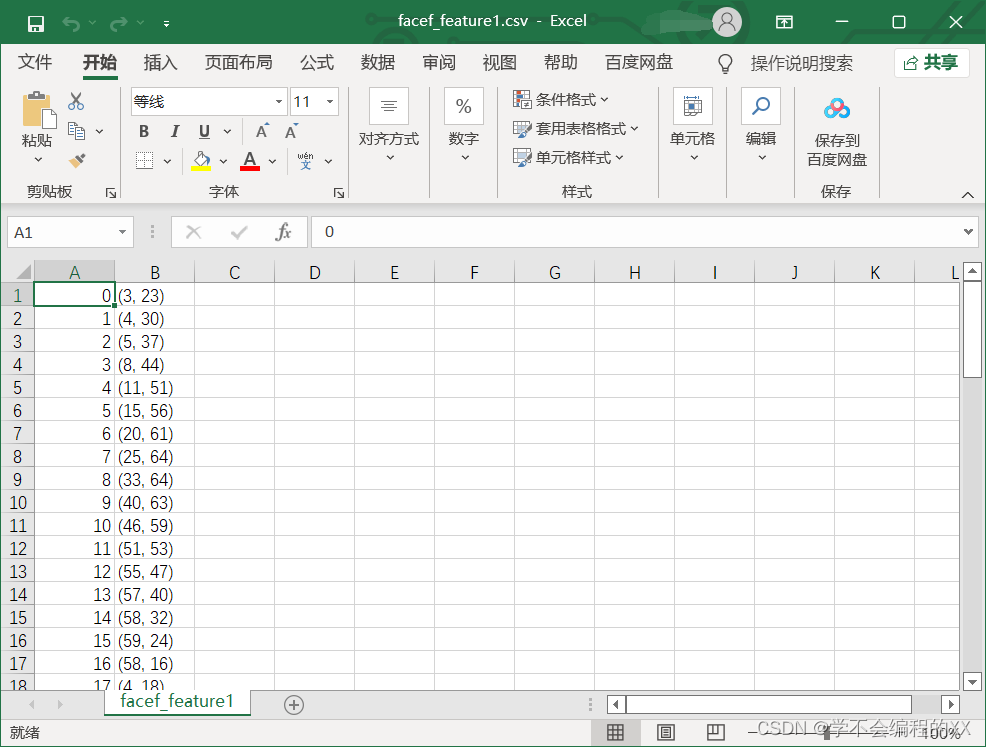
add="D:/jupyter/feature/face"+i1+"_feature"+i2+".csv"
with open(add, "a", newline="") as csvfile:
writer1 = csv.writer(csvfile)
writer1.writerow((idx,pos))
print(add)
print("%-40s %-20s" % ("检测到人脸的图像 / image with faces detected:", path_img), '\n')
# 因为有可能截下来的人脸再去检测,检测不出来人脸了
# 所以要确保是 检测到人脸的人脸图像 拿去算特征
if len(faces) != 0:
shape = predictor(img_gray, faces[0])
face_descriptor = face_rec.compute_face_descriptor(img_gray, shape)
else:
face_descriptor = 0
print("no face")
return face_descriptor
# 将文件夹中照片特征提取出来, 写入 CSV
def return_features_mean_personX(path_faces_personX):
features_list_personX = []
photos_list = os.listdir(path_faces_personX)
if photos_list:
for i in range(len(photos_list)):
# 调用return_128d_features()得到128d特征
print("%-40s %-20s" % ("正在读的人脸图像 / image to read:", path_faces_personX + "/" + photos_list[i]))
features_128d = return_128d_features(path_faces_personX + "/" + photos_list[i])
# print(features_128d)
# 遇到没有检测出人脸的图片跳过
if features_128d == 0:
i += 1
else:
features_list_personX.append(features_128d)
else:
print("文件夹内图像文件为空 / Warning: No images in " + path_faces_personX + '/', '\n')
# 计算 128D 特征的均值
# N x 128D -> 1 x 128D
if features_list_personX:
features_mean_personX = np.array(features_list_personX).mean(axis=0)
else:
features_mean_personX = '0'
return features_mean_personX
# 读取某人所有的人脸图像的数据
people = os.listdir(path_images_from_camera)
people.sort()
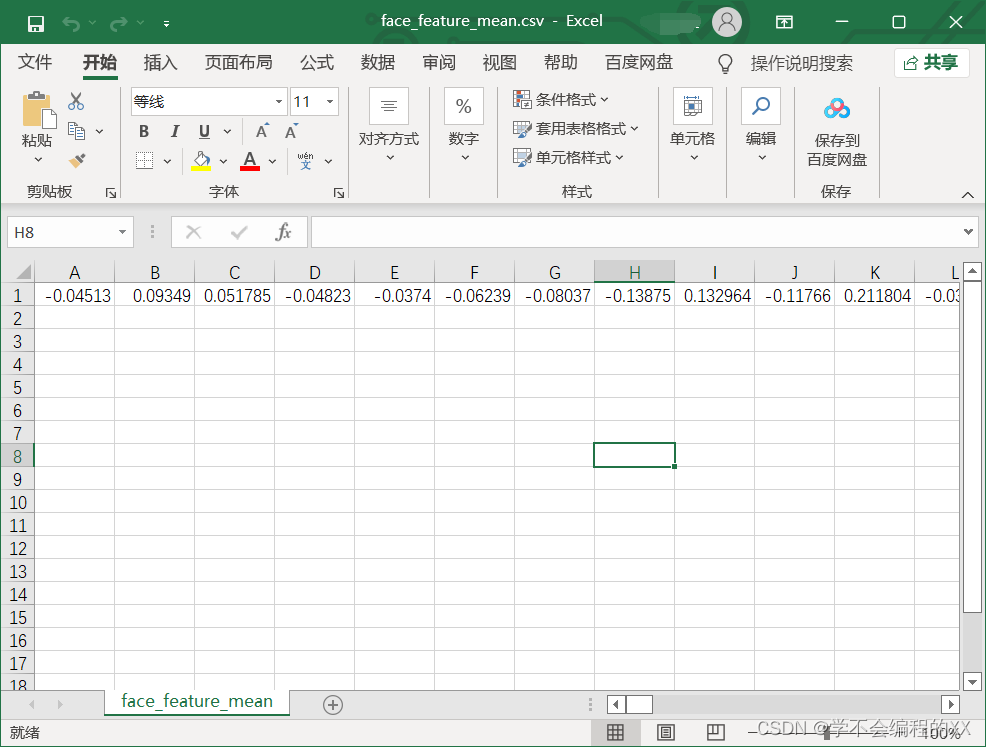
with open("D:/jupyter/feature/face_feature_mean.csv", "w", newline="") as csvfile: #程序会新建一个表格文件来保存特征值,方便以后比对
writer = csv.writer(csvfile)
for person in people:
print("##### " + person + " #####")
# Get the mean/average features of face/personX, it will be a list with a length of 128D
features_mean_personX = return_features_mean_personX(path_images_from_camera + person)
writer.writerow(features_mean_personX)
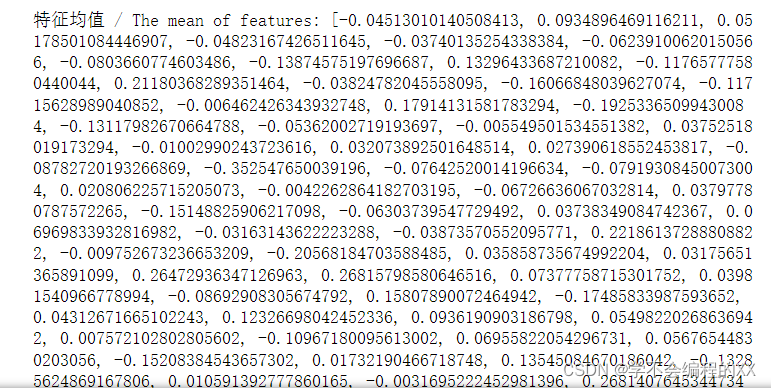
print("特征均值 / The mean of features:", list(features_mean_personX))
print('\n')
print("所有录入人脸数据存入 / Save all the features of faces registered into: D:/jupyter/feature/face_feature_mean. ")
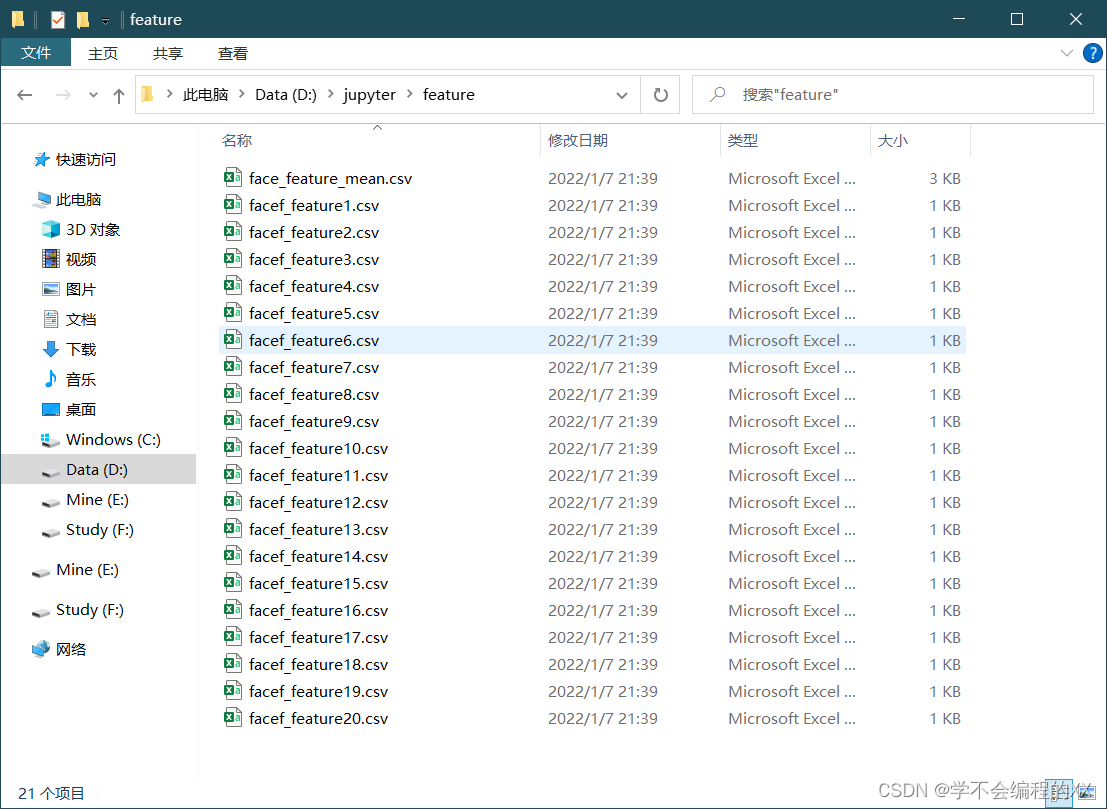
运行结果:
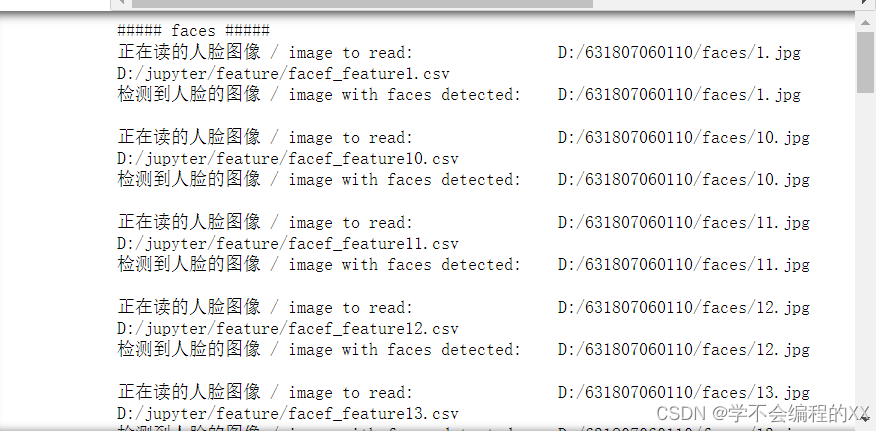
采集的数据:


 2853
2853

 被折叠的 条评论
为什么被折叠?
被折叠的 条评论
为什么被折叠?
 到【灌水乐园】发言


