


Centos8部署seafile8.0.2教程
小白总结,大神勿喷:
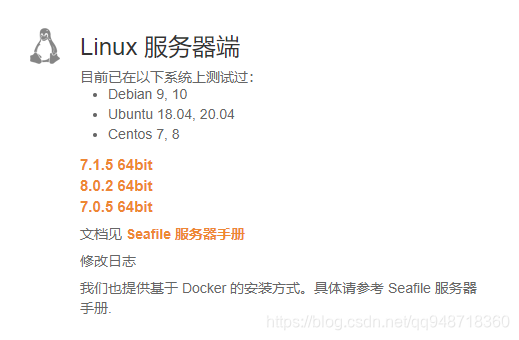
2021.1.21 linux环境官网提供了三个版本,测试结果如下。7.1.5之后版本需要python3及其依赖,建议centos8安装。如果过遇到错误,单独查错误,安装依赖即可。
7.0.5 Centos7.8测试OK,按照官网即可
7.1.5 Centos 7.8测试失败,错误:Internal Server Error,8.3测试OK
8.0.2 Centos 7.8测试失败,错误:seahub failed to start,8.3测试OK
8.0.2实战
[root@cen8-M ~]# cat /etc/centos-release
CentOS Linux release 8.3.2011
##准备工作:
1、安装MariaDB,本人参考教程:https://blog.youkuaiyun.com/qq_43077369/article/details/106030169
2、小白先关闭Firewall和selinux;
3、安装可能后续要用到的依赖
yum install tree -y	#这个是结构目录
yum -y install gcc gcc-c++	#必安装
yum install python3-devel -y	#必安装
yum install mariadb-devel -y	#必安装
yum install python3 python3-setuptools python3-pip python3-ldap -y	#官网要求,必装
pip3 install Pillow pylibmc captcha jinja2 sqlalchemy 	#注意分批安装1
pip3 install django-pylibmc django-simple-captcha	#注意分批安装2
pip3 install psd-tools	#注意分批安装3,这个比较难,所以单独拎出来,不能有红色报错
pip3 install ConfigParser	#必装,补充1
pip3 install future		#必装,补充2
pip3 install mysqlclient	#必装,补充3

注意:不能有失败,遇失败查找问题直至成功
全部成功后继续
[root@cen8-M opt]# cd /opt/	#进入opt目录
[root@cen8-M opt]# ls
[root@cen8-M opt]# mkdir seafile	#创建文件夹
[root@cen8-M opt]# wget https://seafile-downloads.oss-cn-shanghai.aliyuncs.com/seafile-server_8.0.2_x86-64.tar.gz	#下载安装包
--2021-01-20 21:22:13--  https://seafile-downloads.oss-cn-shanghai.aliyuncs.com/seafile-server_8.0.2_x86-64.tar.gz
正在解析主机 seafile-downloads.oss-cn-shanghai.aliyuncs.com (seafile-downloads.oss-cn-shanghai.aliyuncs.com)... 106.14.228.19
正在连接 seafile-downloads.oss-cn-shanghai.aliyuncs.com (seafile-downloads.oss-cn-shanghai.aliyuncs.com)|106.14.228.19|:443... 已连接。
已发出 HTTP 请求,正在等待回应... 200 OK
长度:51035345 (49M) [application/x-tar]
正在保存至: “seafile-server_8.0.2_x86-64.tar.gz”

seafile-server_8.0.2_x86-64.tar.gz                100%[============================================================================================================>]  48.67M  26.8MB/s  用时 1.8s

2021-01-20 21:22:15 (26.8 MB/s) - 已保存 “seafile-server_8.0.2_x86-64.tar.gz” [51035345/51035345])

[root@cen8-M opt]# ls
seafile  seafile-server_8.0.2_x86-64.tar.gz
[root@cen8-M opt]# cp seafile-server_8.0.2_x86-64.tar.gz seafile	#复制一份
[root@cen8-M opt]# ls
seafile  seafile-server_8.0.2_x86-64.tar.gz
[root@cen8-M opt]# cd seafile/
[root@cen8-M seafile]# ls
seafile-server_8.0.2_x86-64.tar.gz
[root@cen8-M seafile]# tar -xzf seafile-server_8.0.2_x86-64.tar.gz
[root@cen8-M seafile]# ls
seafile-server-8.0.2  seafile-server_8.0.2_x86-64.tar.gz
[root@cen8-M seafile]# mkdir installd
[root@cen8-M seafile]# mv seafile-server_8.0.2_x86-64.tar.gz installd/
做快照,安装
下一步就是安装了,有条件的虚拟机做个快照。剩下的参照官网即可,下面是完整过程。
[root@cen8-M seafile]# cd seafile-server-8.0.2/
[root@cen8-M seafile-server-8.0.2]# ./setup-seafile-mysql.sh
Checking python on this machine ...

-----------------------------------------------------------------
This script will guide you to setup your seafile server using MySQL.
Make sure you have read seafile server manual at

        https://download.seafile.com/published/seafile-manual/home.md

Press ENTER to continue
-----------------------------------------------------------------


What is the name of the server? It will be displayed on the client.
3 - 15 letters or digits
[ server name ] cs1

What is the ip or domain of the server?
For example: www.mycompany.com, 192.168.1.101
[ This server's ip or domain ] 172.19.147.18

Which port do you want to use for the seafile fileserver?
[ default "8082" ]

-------------------------------------------------------
Please choose a way to initialize seafile databases:
-------------------------------------------------------

[1] Create new ccnet/seafile/seahub databases
[2] Use existing ccnet/seafile/seahub databases

[ 1 or 2 ] 1

What is the host of mysql server?
[ default "localhost" ]

What is the port of mysql server?
[ default "3306" ]

What is the password of the mysql root user?
[ root password ]

verifying password of user root ...  done

Enter the name for mysql user of seafile. It would be created if not exists.
[ default "seafile" ]

Enter the password for mysql user "seafile":
[ password for seafile ]

Enter the database name for ccnet-server:
[ default "ccnet-db" ]

Enter the database name for seafile-server:
[ default "seafile-db" ]

Enter the database name for seahub:
[ default "seahub-db" ]

---------------------------------
This is your configuration
---------------------------------

    server name:            cs1
    server ip/domain:       172.19.147.18

    seafile data dir:       /opt/seafile/seafile-data
    fileserver port:        8082

    database:               create new
    ccnet database:         ccnet-db
    seafile database:       seafile-db
    seahub database:        seahub-db
    database user:          seafile


---------------------------------
Press ENTER to continue, or Ctrl-C to abort
---------------------------------

Generating ccnet configuration ...

Generating seafile configuration ...

done
Generating seahub configuration ...

----------------------------------------
Now creating ccnet database tables ...

----------------------------------------
----------------------------------------
Now creating seafile database tables ...

----------------------------------------
----------------------------------------
Now creating seahub database tables ...

----------------------------------------

creating seafile-server-latest symbolic link ...  done


-----------------------------------------------------------------
Your seafile server configuration has been finished successfully.
-----------------------------------------------------------------

run seafile server:     ./seafile.sh { start | stop | restart }
run seahub  server:     ./seahub.sh  { start <port> | stop | restart <port> }

-----------------------------------------------------------------
If you are behind a firewall, remember to allow input/output of these tcp ports:
-----------------------------------------------------------------

port of seafile fileserver:   8082
port of seahub:               8000

When problems occur, Refer to

        https://download.seafile.com/published/seafile-manual/home.md

for information.

[root@cen8-M seafile-server-8.0.2]# cd /opt/seafile/
[root@cen8-M seafile]# tree -L 2	#查看一下目录结构
.
├── ccnet
├── conf
│   ├── ccnet.conf
│   ├── gunicorn.conf.py
│   ├── seafdav.conf
│   ├── seafile.conf
│   └── seahub_settings.py
├── installd
│   └── seafile-server_8.0.2_x86-64.tar.gz
├── seafile-data
│   └── library-template
├── seafile-server-8.0.2
│   ├── check_init_admin.py
│   ├── reset-admin.sh
│   ├── runtime
│   ├── seaf-fsck.sh
│   ├── seaf-fuse.sh
│   ├── seaf-gc.sh
│   ├── seafile
│   ├── seafile.sh
│   ├── seahub
│   ├── seahub.sh
│   ├── setup-seafile-mysql.py
│   ├── setup-seafile-mysql.sh
│   ├── setup-seafile.sh
│   ├── sql
│   └── upgrade
├── seafile-server-latest -> seafile-server-8.0.2
└── seahub-data
    └── avatars

14 directories, 16 files
[root@cen8-M seafile]#vim /opt/seafile/conf/gunicorn.conf.py

bind = "0.0.0.0:80"	#端口改为80
:wq	#保存退出
[root@cen8-M seafile]reboot	#此时重启
重启后开始启动服务
[root@cen8-M bin]# /opt/seafile/seafile-server-latest/./seafile.sh restart

Stopping seafile server ...
Starting seafile server, please wait ...
** Message: 21:55:58.433: seafile-controller.c(535): No seafevents.

Seafile server started

Done.
[root@cen8-M ~]# /opt/seafile/seafile-server-latest/./seahub.sh restart	#第一次需要设置邮箱和管理员密码,此处忽略。成功后如下。

Seahub is not running
LC_ALL is not set in ENV, set to en_US.UTF-8
Starting seahub at port 8000 ...

Seahub is started

Done.

如果遇到问题,建议重启系统,seafile本身自带的重启貌似并没有什么用。
添加开机启动
[root@seafile802 ~]# vim /etc/rc.d/rc.local
/opt/seafile/seafile-server-latest/./seafile.sh restart
/opt/seafile/seafile-server-latest/./seahub.sh restart
[root@seafile802 ~]# chmod +x /etc/rc.d/rc.local
重启测试。
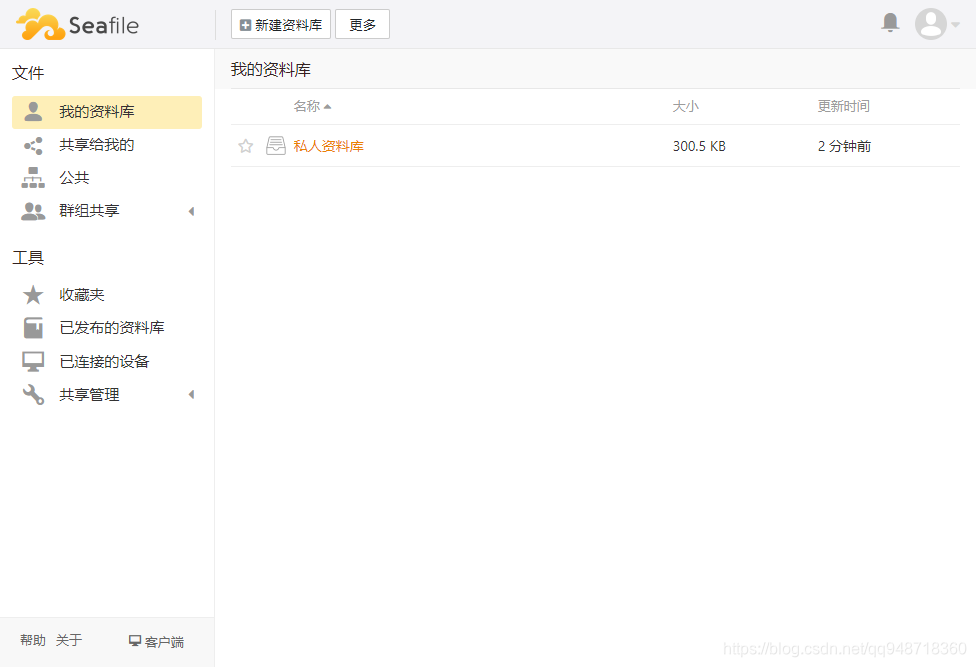
登陆测试
网页登陆验证:http://172.19.147.18/
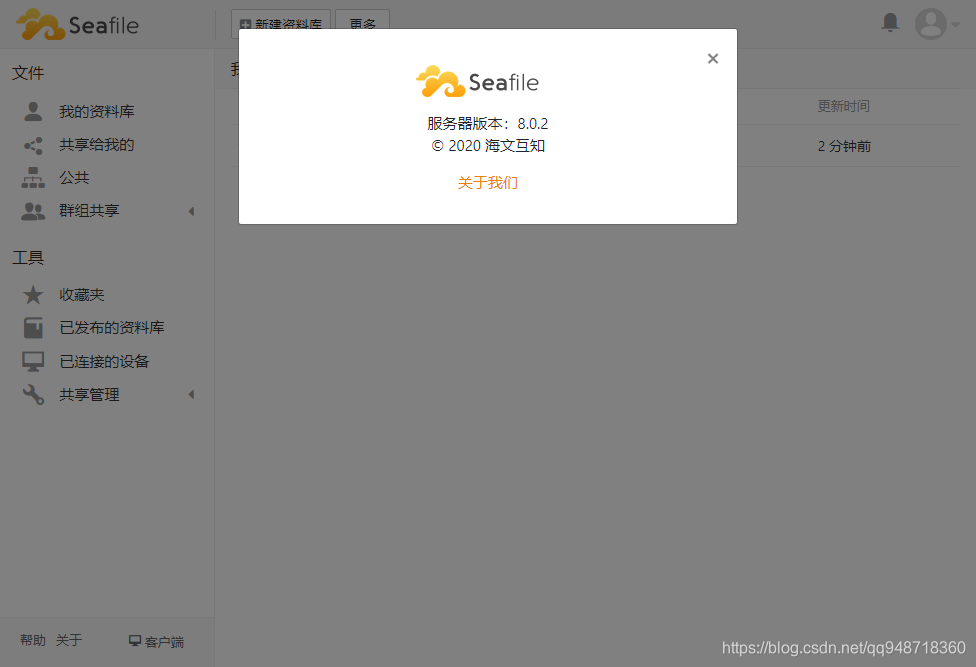
查看版本
开启memcached缓存加速
# on CentOS 8
yum install memcached libmemcached -y
pip3 install --timeout=3600 pylibmc django-pylibmc
systemctl enable --now memcached

vim /opt/seafile/conf/seahub_settings.py	#在最下面复制一下配置
CACHES = {
    'default': {
        'BACKEND': 'django_pylibmc.memcached.PyLibMCCache',
        'LOCATION': '127.0.0.1:11211',
    },
    'locmem': {
        'BACKEND': 'django.core.cache.backends.locmem.LocMemCache',
    },
}
COMPRESS_CACHE_BACKEND = 'locmem'

/opt/seafile/seafile-server-latest/./seahub.sh restart	#重启 Seahub 以使更改生效

rm -rf /opt/seafile/conf/__pycache__/seahub_settings.cpython-36.pyc #如果更改没有生效,请删除seahub_setting.pyc缓存文件.


 被折叠的 条评论
为什么被折叠?
被折叠的 条评论
为什么被折叠?
 到【灌水乐园】发言


