


 本文详细介绍了如何在Linux CentOS 7.4系统上安装和配置GitLab。首先,需要安装必要的依赖,如curl、postfix等。然后,通过执行特定的yum命令安装GitLab。安装完成后,使用gitlab-ctl进行初始化配置和启动服务。最后,可以通过服务器IP访问GitLab,并对初始用户root设置密码。整个过程涵盖了从安装到访问GitLab的全部步骤。
GitLab是由GitLabInc.开发,使用MIT许可证的基于网络的Git仓库管理工具,且具有wiki和issue跟踪功能。使用Git作为代码管理工具,并在此基础上搭建起来的web服务。
官网地址:
Iterate faster, innovate together|GitLab
官方说明:
Download and install GitLab|GitLab
-
- gitlab安装
安装必须在linux下运行,推荐使用[CentOS release 7.4.1708 (Core)],命令如下:
sudo yum install -y curl policycoreutils-python openssh-server
sudo systemctl enable sshd
sudo systemctl start sshd
sudo firewall-cmd --permanent --add-service=http
sudo systemctl reload firewalld
sudo yum install postfix
sudo systemctl enable postfix
sudo systemctl start postfix
curl https://packages.gitlab.com/install/repositories/gitlab/gitlab-ee/script.rpm.sh | sudo bash
sudo EXTERNAL_URL="http://gitlab.example.com" yum -y install gitlab-ee-
- gitlab服务器操作
初始化配置gitlab
gitlab-ctl reconfigure
启动gitlab 服务
gitlab-ctl start
停止gitlab 服务
gitlab-ctl stop-
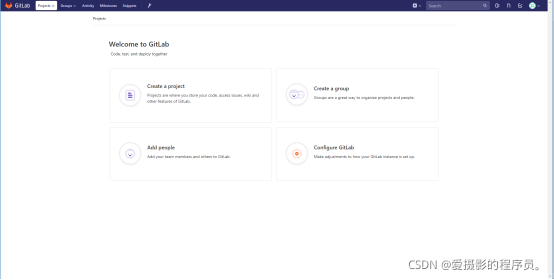
- gitlab浏览器访问
gitlab服务器安装部署启动完毕后,可以直接访问该服务器的IP地址即可,如无法访问,可尝试关闭服务器防火墙或设置对应端口;
初始化完成登陆服务器时会提示设置密码,设置密码后重新进行登录,默认用户为root,密码为上面设置的密码;
Gitlab远程库的操作与码云类似,这边不做详述;


 1万+
1万+

 被折叠的 条评论
为什么被折叠?
被折叠的 条评论
为什么被折叠?
 到【灌水乐园】发言


