


目录
1.大佬教程
2.环境配置
yolov8环境配置:
网络不好可以配置阿里镜像源
conda config --add channels http://mirrors.aliyun.com/anaconda/pkgs/main/ conda config --add channels http://mirrors.aliyun.com/anaconda/pkgs/free/ conda config --add channels http://mirrors.aliyun.com/anaconda/cloud/conda-forge/ conda config --add channels http://mirrors.aliyun.com/anaconda/cloud/msys2/ conda config --set show_channel_urls yes
中科大的镜像源
conda config --add channels https://mirrors.ustc.edu.cn/anaconda/pkgs/main/ conda config --add channels https://mirrors.ustc.edu.cn/anaconda/pkgs/r/ conda config --add channels https://mirrors.ustc.edu.cn/anaconda/cloud/conda-forge/ conda config --add channels https://mirrors.ustc.edu.cn/anaconda/cloud/msys2/ conda config --add channels https://mirrors.ustc.edu.cn/anaconda/cloud/bioconda/ conda config --add channels https://mirrors.ustc.edu.cn/anaconda/cloud/menpo/ conda config --add channels https://mirrors.ustc.edu.cn/anaconda/cloud/pytorch/ conda config --add channels https://mirrors.ustc.edu.cn/anaconda/cloud/simpleitk/ conda config --set show_channel_urls yes
桌面新建文件,打开文件终端
创建虚拟环境:conda create -n yolov8(虚拟环境名字) python=3.8(python版本)
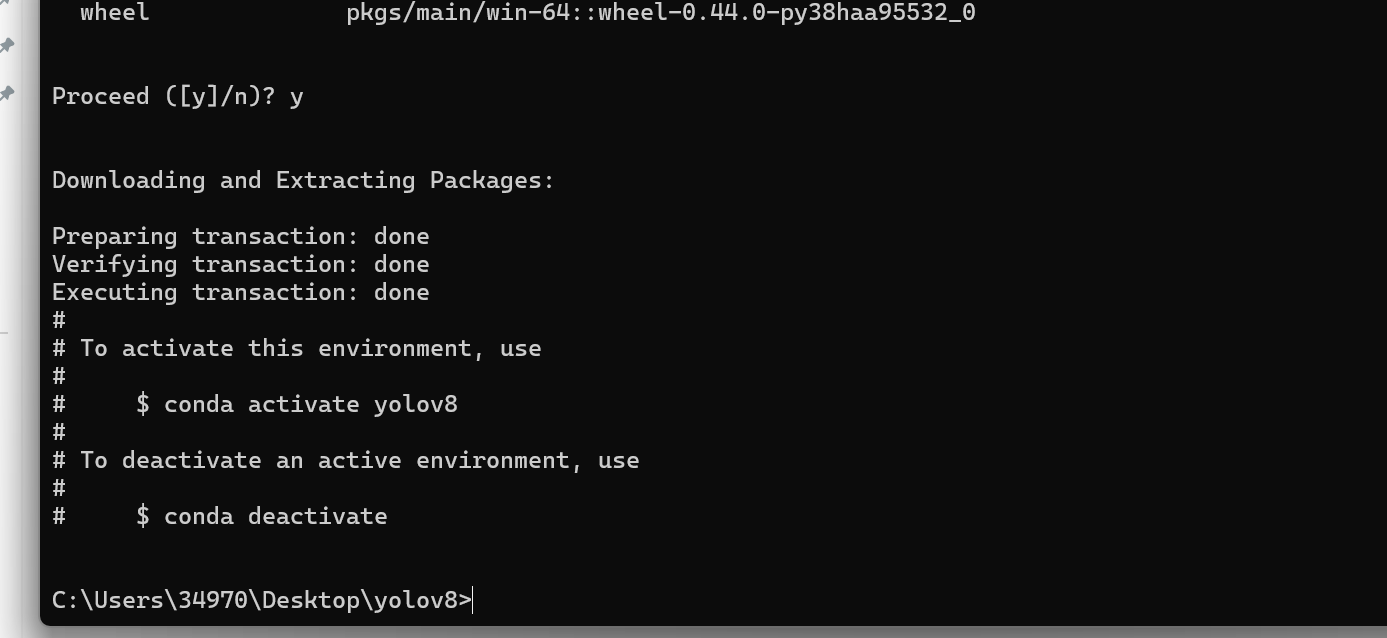
激活虚拟环境(这一步必须做,否则后续安装的依赖会跑到全局环境)
conda activate yolov8
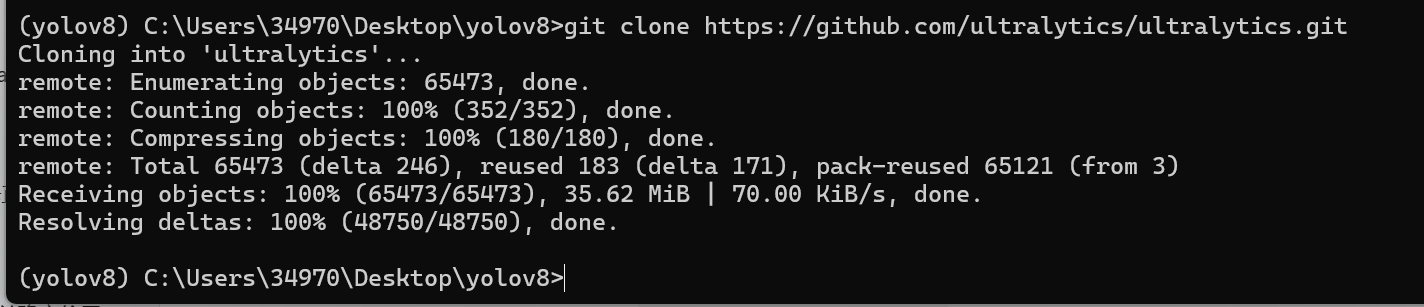
克隆 YOLOv8 代码仓库到本地
git clone https://n.fastcloud.me/ultralytics/ultralytics.git
如果上面不能克隆,用git官方仓库:git clone https://github.com/ultralytics/ultralytics.git
进入代码目录(切换到项目文件夹内)
cd ultralytics
安装项目依赖(根据 requirements.txt 文件)不过这个克隆包似乎没有这个文件
pip install -r requirements.txt
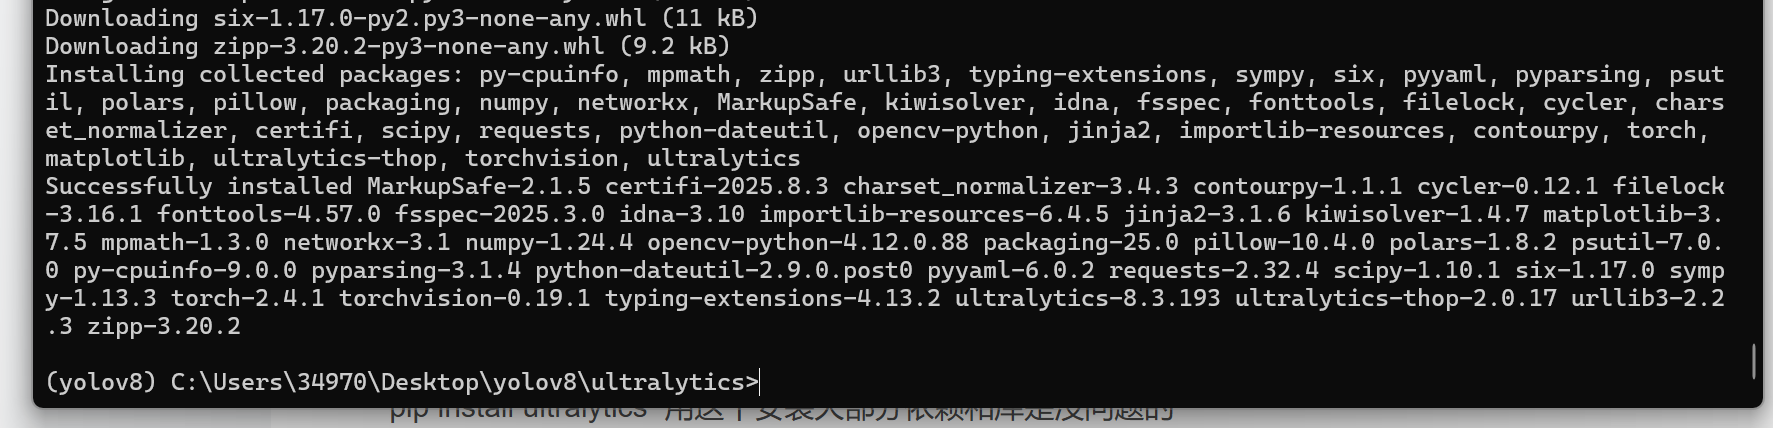
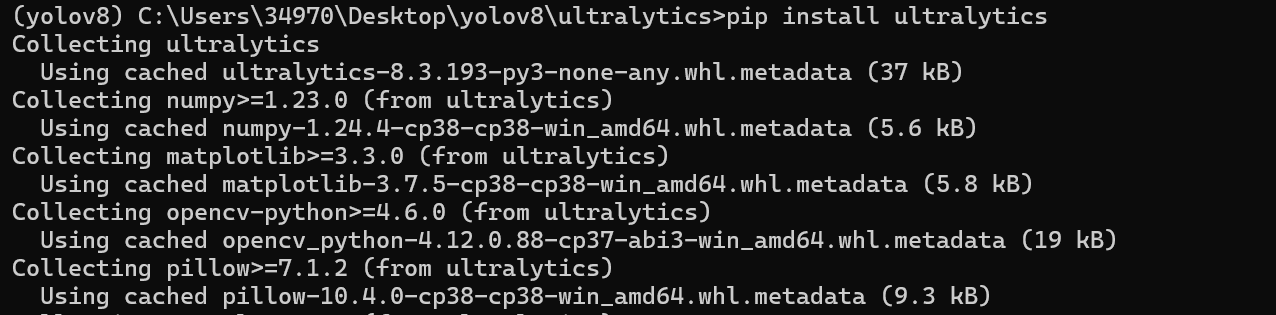
安装 ultralytics 库(YOLOv8 的核心库)
pip install ultralytics 用这个安装大部分依赖和库是没问题的
显卡环境配置:
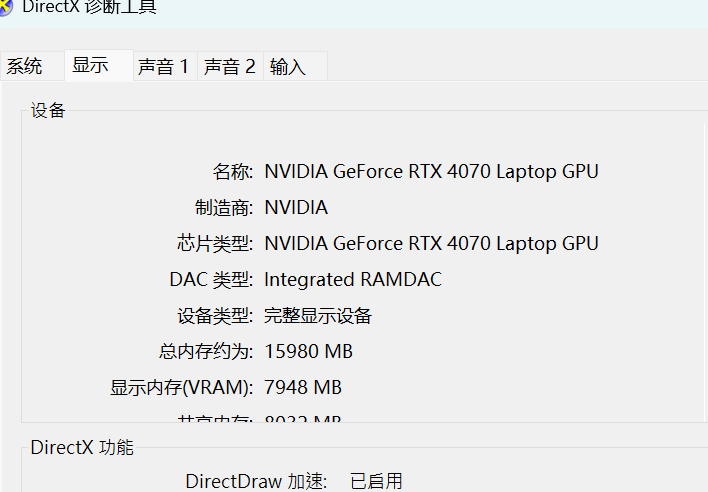
一般电脑都带Nvidia显卡
win+r输入cmd打开终端,看看显卡类型dxdiag
先看看有没有这个cuda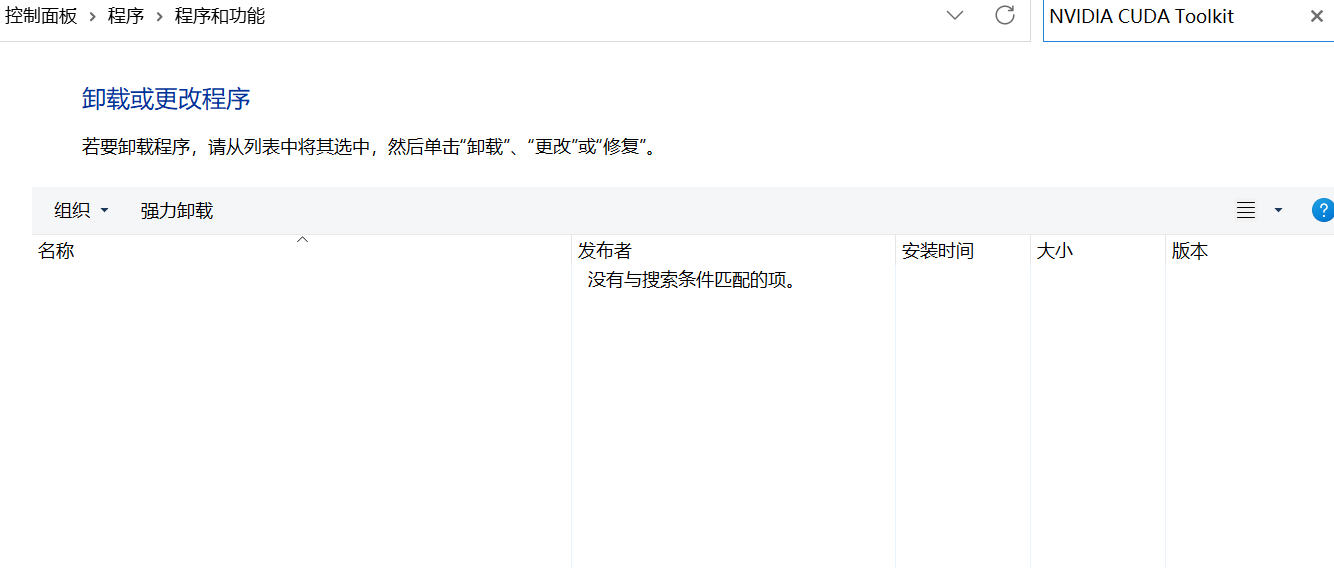
自己看cuda与显卡版本对应关系,正常情况来说cuda版本越高训练速度越快CUDA Toolkit 13.0 Update 1 - Release Notes — Release Notes 13.0 documentation
Official GeForce Drivers | NVIDIA 下载对应的显卡驱动
直接下载cuda12.8版本
CUDA Toolkit 12.8 Downloads | NVIDIA Developer
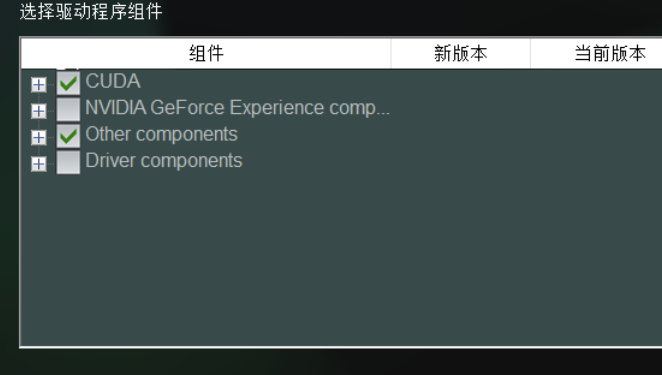
先安装显卡驱动,再安装cuda不要勾选驱动环境,会报错。
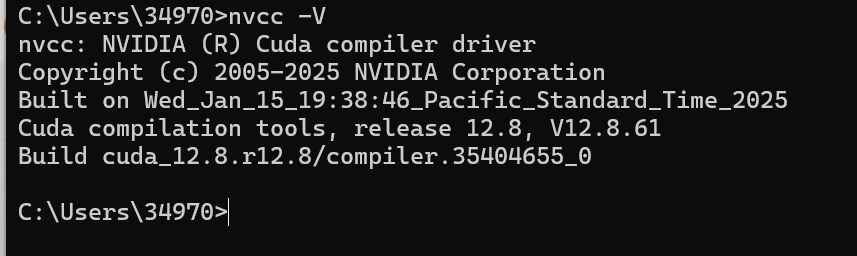
安装成功后终端输入:查看CUDA硬件型号:nvcc -V
pytorch环境配置:我发现这个只能搭配cuda12.1的版本
激活虚拟环境:conda activate yolov8
卸载虚拟环境的本地(也就是全局)的pytorch环境:pip uninstall torch torchvision torchaudio -y
下载对应的pytorch包:pip3 install torch torchvision --index-url https://download.pytorch.org/whl/cu121
然后打开anaconda,给pycharm配置虚拟环境
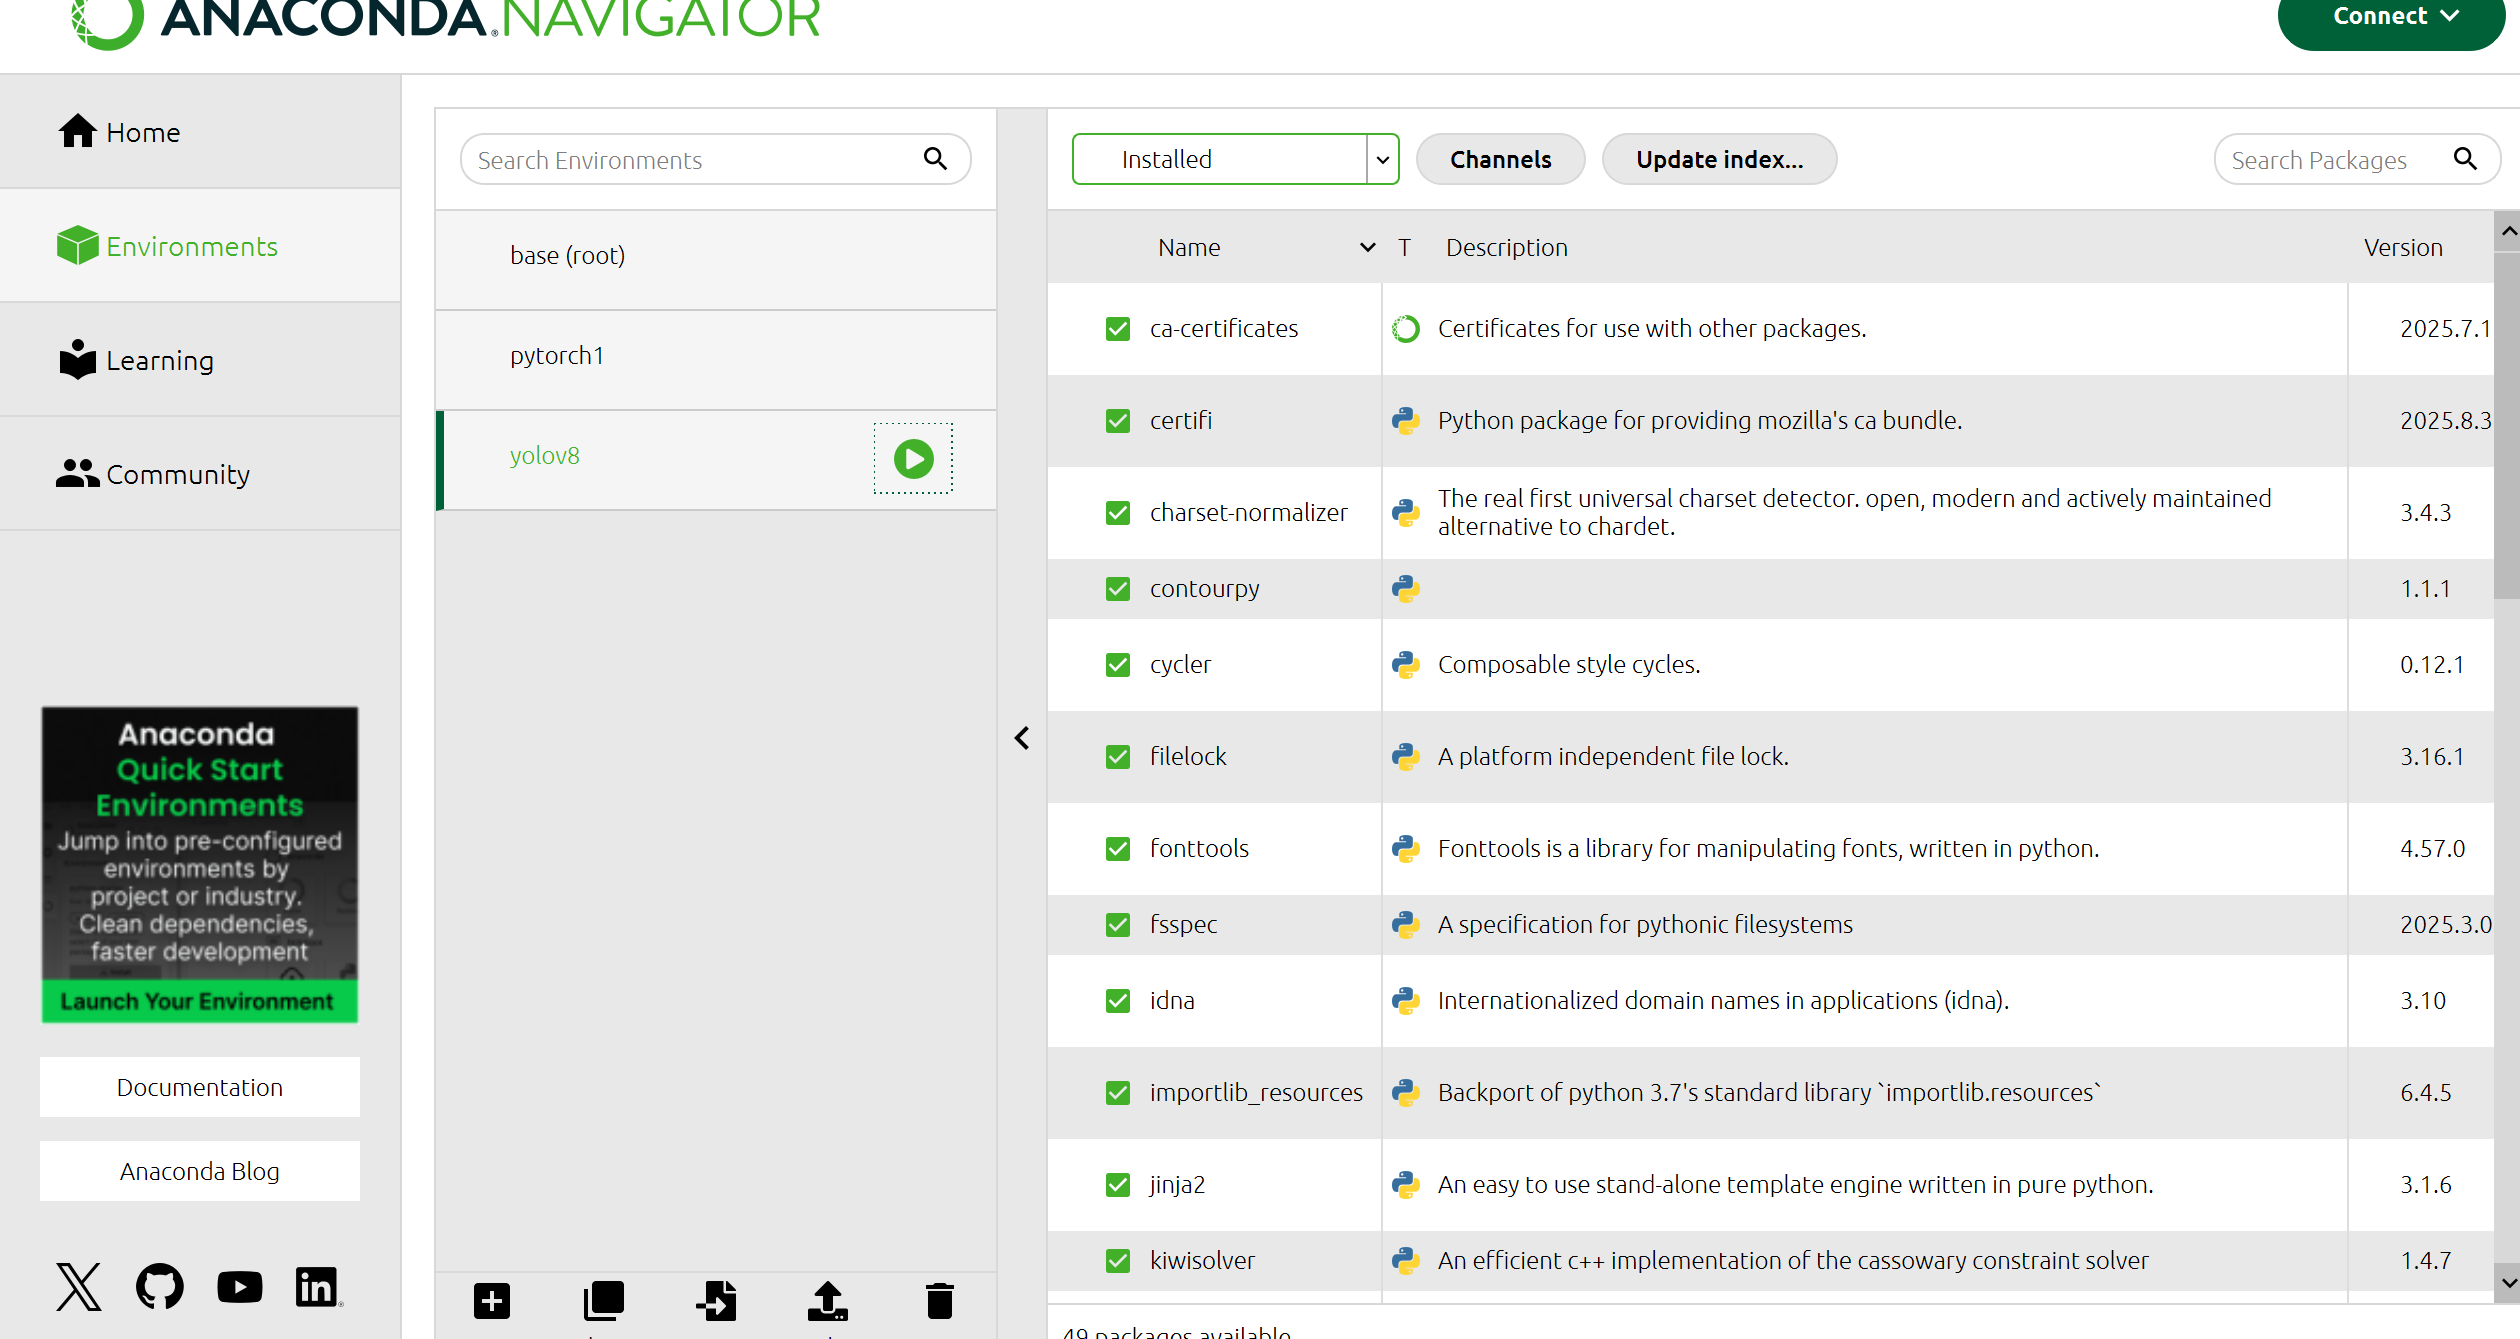

环境就搭建好了。
3.数据搜集
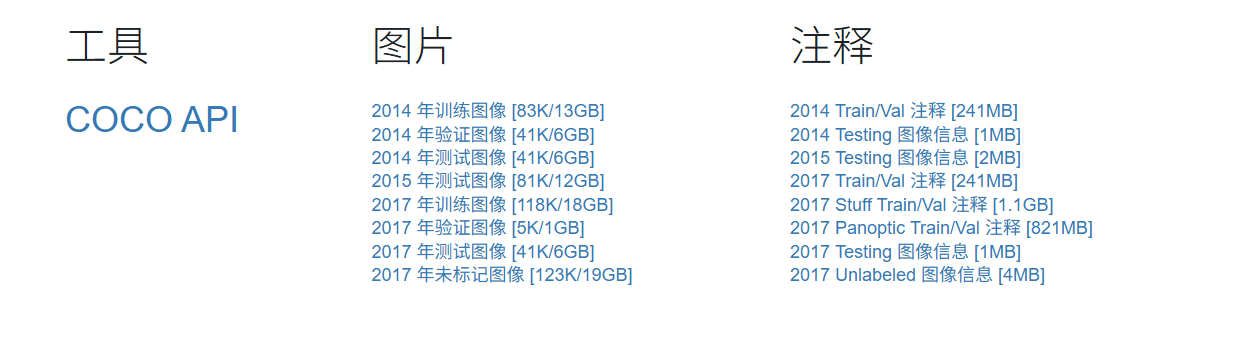
直接下载coco官方2017年数据集COCO - Common Objects in Context
2017 训练图像:2017 年训练图像 [118K/18GB] —— 用于模型训练,样本量充足。
2017 验证图像:2017 年验证图像 [5K/1GB] —— 用于训练过程中验证模型性能。
2017 Train/Val 注释:2017 Train/Val 注释 [241MB] —— 训练和验证集的标注文件,必须下载,否则图像无标注信息。正常情况不需要这么大的数据集。
这数据集太大了,为了尽快出效果,我去kaggle里面找数据集了。
以下是整理后的表格形式,使用 Markdown 语法:
| 文件路径 | 数据来源/处理方式 | 说明 |
|---|---|---|
images/train/*.jpg | COCO 官网下载(train2017.zip 解压) | 直接从 COCO 下载的训练图像,无需转换。 |
images/val/*.jpg | COCO 官网下载(val2017.zip 解压) | 直接从 COCO 下载的验证图像,无需转换。 |
labels/train/*.txt | 脚本转换(基于 instances_train2017.json) | 由 JSON 标注转换而来的 YOLO 格式 txt 标注。 |
labels/val/*.txt | 脚本转换(基于 instances_val2017.json) | 由 JSON 标注转换而来的 YOLO 格式 txt 标注。 |
先创一个文件夹吧,放压缩包和解压文件。
优于针对学生实验,只数据过多,我们就用数字命名。
新的数据集:DiDi Detection | Kaggle 感谢大佬。
每个文件夹的含义:annotations:json标注 images:图像集 labels:txt标注
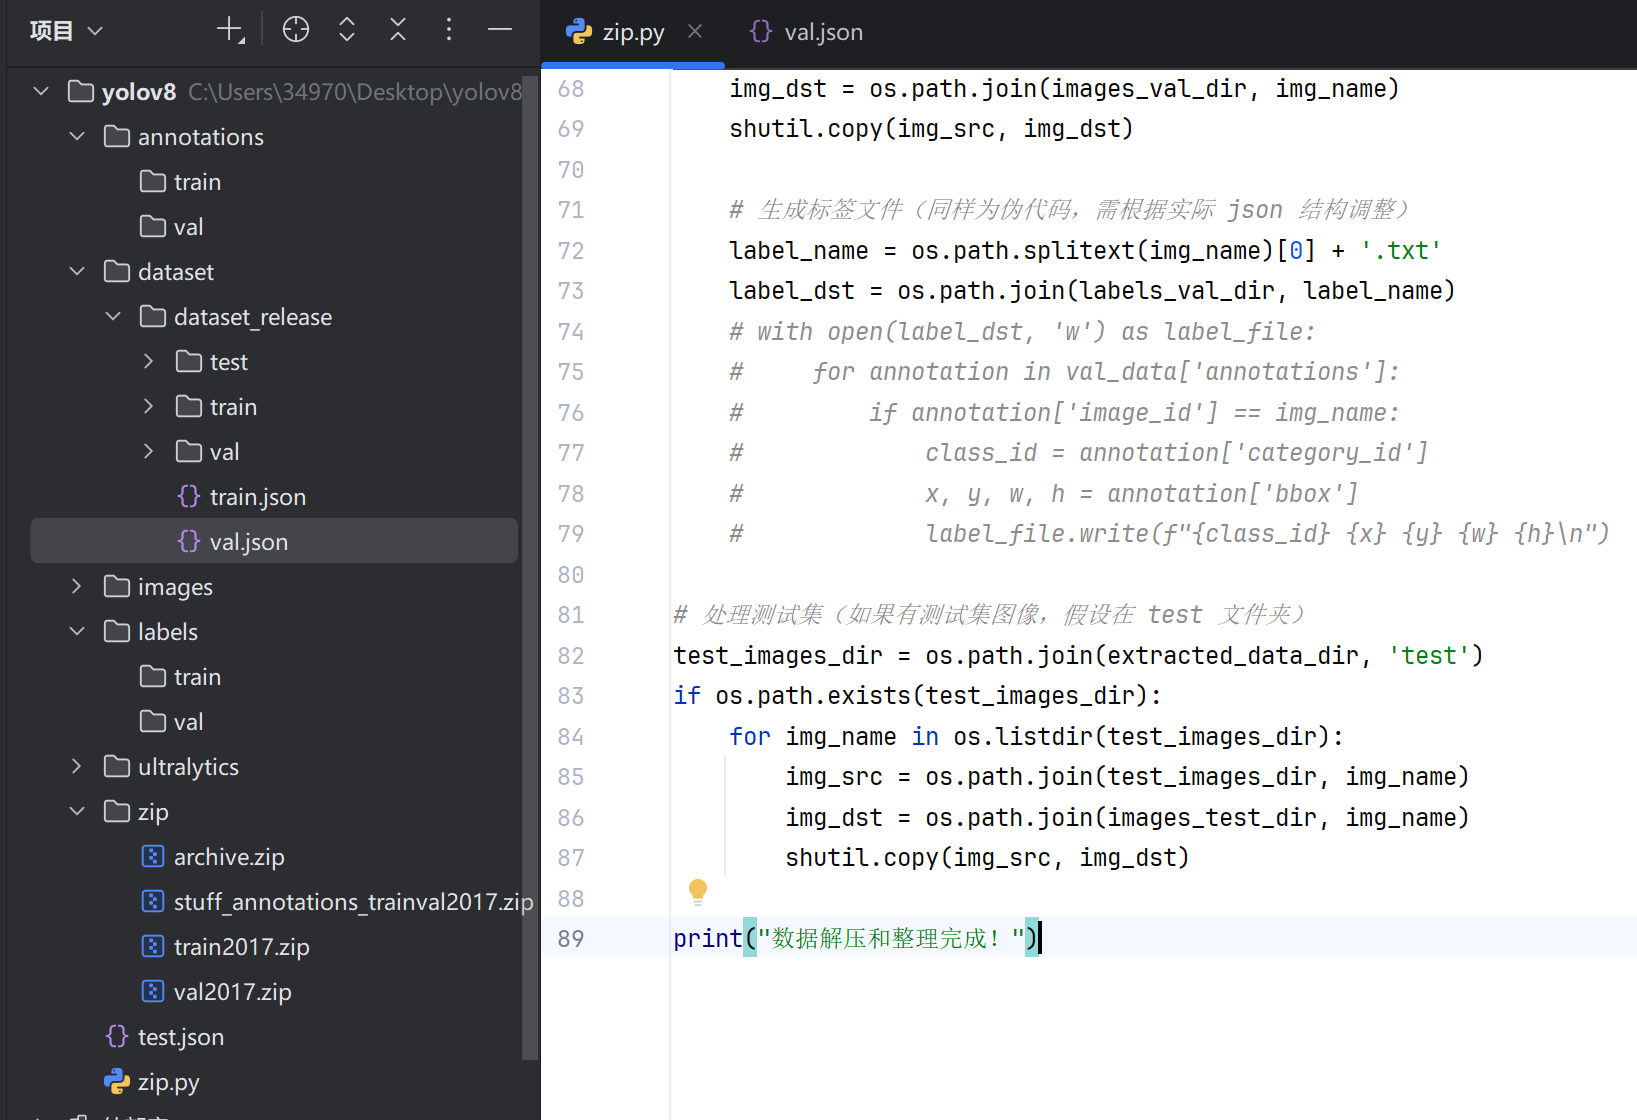
我弄了一个脚本把图片和注释解压到对应文件夹
import zipfile
import os
import shutil
import json

# 定义源 zip 文件路径和目标解压目录
zip_path = r'C:\Users\34970\Desktop\yolov8\zip\archive.zip'
target_dir = r'C:\Users\34970\Desktop\yolov8'

# 确保目标目录存在
os.makedirs(target_dir, exist_ok=True)

# 解压 zip 文件
with zipfile.ZipFile(zip_path, 'r') as zip_ref:
    zip_ref.extractall(target_dir)

# 假设解压后的数据在 dataset/dataset_release 目录下(根据实际解压后的路径调整)
extracted_data_dir = os.path.join(target_dir, 'dataset', 'dataset_release')

# 定义图像、标签等的目标存储目录
images_train_dir = os.path.join(target_dir, 'images', 'train')
images_val_dir = os.path.join(target_dir, 'images', 'val')
images_test_dir = os.path.join(target_dir, 'images', 'test')

labels_train_dir = os.path.join(target_dir, 'labels', 'train')
labels_val_dir = os.path.join(target_dir, 'labels', 'val')

# 确保目标目录存在
os.makedirs(images_train_dir, exist_ok=True)
os.makedirs(images_val_dir, exist_ok=True)
os.makedirs(images_test_dir, exist_ok=True)
os.makedirs(labels_train_dir, exist_ok=True)
os.makedirs(labels_val_dir, exist_ok=True)

# 处理训练集
train_json_path = os.path.join(extracted_data_dir, 'train.json')
with open(train_json_path, 'r') as f:
    train_data = json.load(f)

# 这里需要根据 train.json 的具体结构来提取图像和标签信息,假设图像在 train 文件夹,标签需要从 json 转换
train_images_dir = os.path.join(extracted_data_dir, 'train')
for img_name in os.listdir(train_images_dir):
    img_src = os.path.join(train_images_dir, img_name)
    img_dst = os.path.join(images_train_dir, img_name)
    shutil.copy(img_src, img_dst)

    # 生成标签文件(示例,需根据实际 json 结构调整)
    label_name = os.path.splitext(img_name)[0] + '.txt'
    label_dst = os.path.join(labels_train_dir, label_name)
    # 这里需要根据 train_data 中的标注信息生成 YOLO 格式的标签,以下为伪代码
    # 实际需解析 json 中的 bounding box 和类别等信息
    # with open(label_dst, 'w') as label_file:
    #     for annotation in train_data['annotations']:
    #         if annotation['image_id'] == img_name:
    #             class_id = annotation['category_id']
    #             x, y, w, h = annotation['bbox']
    #             # 转换为 YOLO 格式(归一化的中心坐标和宽高)
    #             label_file.write(f"{class_id} {x} {y} {w} {h}\n")

# 处理验证集,类似训练集的处理方式
val_json_path = os.path.join(extracted_data_dir, 'val.json')
with open(val_json_path, 'r') as f:
    val_data = json.load(f)

val_images_dir = os.path.join(extracted_data_dir, 'val')
for img_name in os.listdir(val_images_dir):
    img_src = os.path.join(val_images_dir, img_name)
    img_dst = os.path.join(images_val_dir, img_name)
    shutil.copy(img_src, img_dst)

    # 生成标签文件(同样为伪代码,需根据实际 json 结构调整)
    label_name = os.path.splitext(img_name)[0] + '.txt'
    label_dst = os.path.join(labels_val_dir, label_name)
    # with open(label_dst, 'w') as label_file:
    #     for annotation in val_data['annotations']:
    #         if annotation['image_id'] == img_name:
    #             class_id = annotation['category_id']
    #             x, y, w, h = annotation['bbox']
    #             label_file.write(f"{class_id} {x} {y} {w} {h}\n")

# 处理测试集(如果有测试集图像,假设在 test 文件夹)
test_images_dir = os.path.join(extracted_data_dir, 'test')
if os.path.exists(test_images_dir):
    for img_name in os.listdir(test_images_dir):
        img_src = os.path.join(test_images_dir, img_name)
        img_dst = os.path.join(images_test_dir, img_name)
        shutil.copy(img_src, img_dst)

print("数据解压和整理完成!")
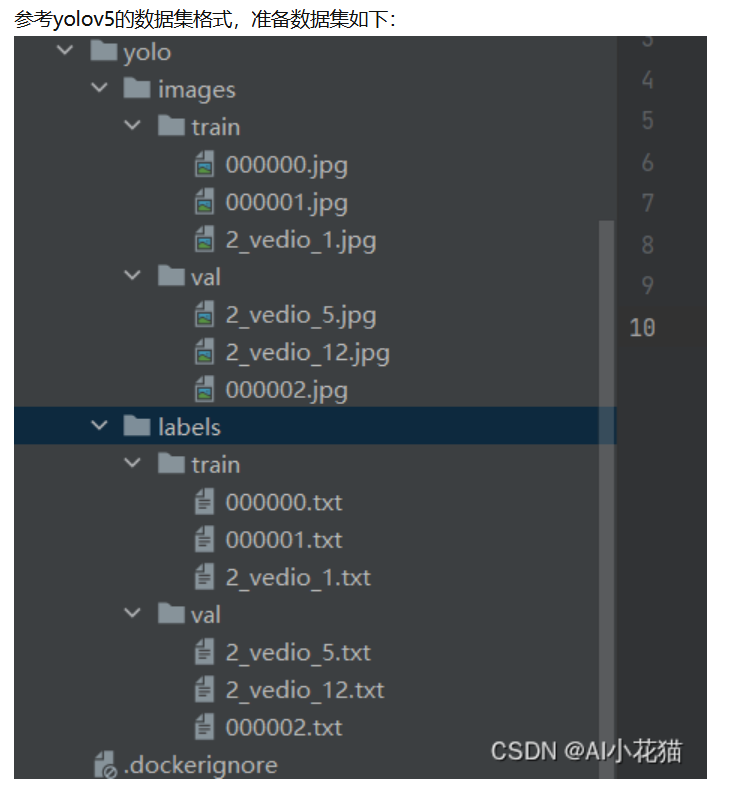
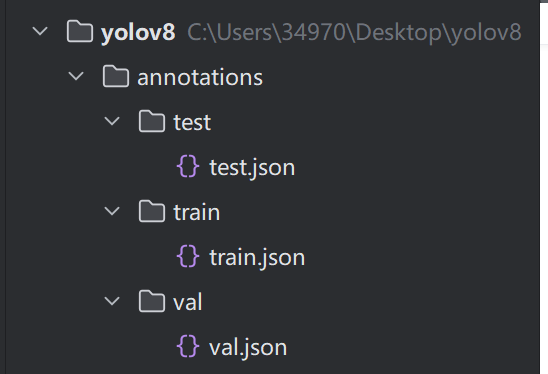
解压后就是这样的
然后把json标签都移到对应位置
然后通txt脚本在把txt标注放到对应文件夹:
import os
import json
from PIL import Image
import sys


def create_folder_if_not_exists(folder_path):
    """如果文件夹不存在则创建"""
    if not os.path.exists(folder_path):
        os.makedirs(folder_path)
        print(f"创建文件夹: {folder_path}")


def convert_annotations(json_file, image_folder, label_folder, class_names):
    """
    将JSON标注文件转换为YOLOv8需要的TXT格式
    """
    # 创建类别映射(名称到ID)
    class_id_map = {name: idx for idx, name in enumerate(class_names)}

    # 加载JSON文件
    try:
        with open(json_file, 'r', encoding='utf-8') as f:
            data = json.load(f)
        print(f"成功加载标注文件: {json_file}")
    except Exception as e:
        print(f"加载标注文件失败: {json_file}, 错误: {e}")
        return

    # 创建图像ID到文件名的映射
    image_id_to_filename = {}
    for img in data.get('images', []):
        image_id_to_filename[img['id']] = img['file_name']

    # 处理每个标注
    total_annotations = 0
    for ann in data.get('annotations', []):
        total_annotations += 1
        img_id = ann.get('image_id')

        # 检查图像ID是否存在
        if img_id not in image_id_to_filename:
            print(f"警告: 图像ID {img_id} 未找到对应的图像文件,已跳过")
            continue

        img_filename = image_id_to_filename[img_id]
        img_path = os.path.join(image_folder, img_filename)

        # 获取图像宽高
        try:
            with Image.open(img_path) as img:
                img_width, img_height = img.size
        except Exception as e:
            print(f"警告: 无法打开图像 {img_path}, 错误: {e}, 已跳过")
            continue

        # 解析边界框 (x, y, width, height)
        bbox = ann.get('bbox', [0, 0, 0, 0])
        x, y, width, height = bbox

        # 转换为YOLO格式 (归一化的中心坐标和宽高)
        x_center = (x + width / 2) / img_width
        y_center = (y + height / 2) / img_height
        norm_width = width / img_width
        norm_height = height / img_height

        # 确保坐标在0-1范围内
        x_center = max(0, min(1, x_center))
        y_center = max(0, min(1, y_center))
        norm_width = max(0, min(1, norm_width))
        norm_height = max(0, min(1, norm_height))

        # 获取类别名称和ID
        category_id = ann.get('category_id')
        class_name = next((cat['name'] for cat in data.get('categories', []) if cat['id'] == category_id), None)

        if not class_name:
            print(f"警告: 类别ID {category_id} 未找到对应的类别名称,已跳过")
            continue

        if class_name not in class_id_map:
            print(f"警告: 类别 '{class_name}' 不在类别列表中,已跳过")
            continue

        class_id = class_id_map[class_name]

        # 生成标签文件路径
        label_filename = os.path.splitext(img_filename)[0] + '.txt'
        label_path = os.path.join(label_folder, label_filename)

        # 写入标签
        with open(label_path, 'a', encoding='utf-8') as f:
            f.write(f"{class_id} {x_center:.6f} {y_center:.6f} {norm_width:.6f} {norm_height:.6f}\n")

    print(f"处理完成,共转换 {total_annotations} 个标注")


def main():
    # ==============================================
    # 请根据你的实际目录结构修改以下路径
    # ==============================================
    base_dir = r'C:\Users\34970\Desktop\yolov8'  # 你的YOLOv8根目录

    # 标注文件路径(train.json和val.json的位置)
    train_json = os.path.join(base_dir, 'annotations', 'train', 'train.json')
    val_json = os.path.join(base_dir, 'annotations', 'val', 'val.json')

    # 图像文件夹路径
    train_images = os.path.join(base_dir, 'images', 'train')
    val_images = os.path.join(base_dir, 'images', 'val')

    # 标签文件输出路径(会自动创建)
    train_labels = os.path.join(base_dir, 'labels', 'train')
    val_labels = os.path.join(base_dir, 'labels', 'val')

    # 12个类别的名称(请务必与你的数据集类别一致!)
    class_names = [
        'car', 'van', 'bus', 'truck',
        'person', 'bicycle', 'motorcycle', 'open-tricycle',
        'closed-tricycle', 'forklift', 'large-block', 'small-block'
    ]
    # ==============================================

    # 显示当前配置
    print("===== 配置信息 =====")
    print(f"根目录: {base_dir}")
    print(f"训练集标注: {train_json}")
    print(f"验证集标注: {val_json}")
    print(f"训练集图像: {train_images}")
    print(f"验证集图像: {val_images}")
    print(f"类别数量: {len(class_names)}")
    print("====================")

    # 检查必要的文件和文件夹是否存在
    if not os.path.exists(train_images):
        print(f"错误: 训练集图像文件夹不存在 - {train_images}")
        sys.exit(1)

    if not os.path.exists(val_images):
        print(f"错误: 验证集图像文件夹不存在 - {val_images}")
        sys.exit(1)

    if not os.path.exists(train_json):
        print(f"错误: 训练集标注文件不存在 - {train_json}")
        sys.exit(1)

    if not os.path.exists(val_json):
        print(f"错误: 验证集标注文件不存在 - {val_json}")
        sys.exit(1)

    # 创建标签文件夹
    create_folder_if_not_exists(train_labels)
    create_folder_if_not_exists(val_labels)

    # 转换训练集标注
    print("\n开始处理训练集标注...")
    convert_annotations(train_json, train_images, train_labels, class_names)

    # 转换验证集标注
    print("\n开始处理验证集标注...")
    convert_annotations(val_json, val_images, val_labels, class_names)

    print("\n===== 所有标注转换完成! =====")
    print(f"训练集标签已保存到: {train_labels}")
    print(f"验证集标签已保存到: {val_labels}")


if __name__ == "__main__":
    main()
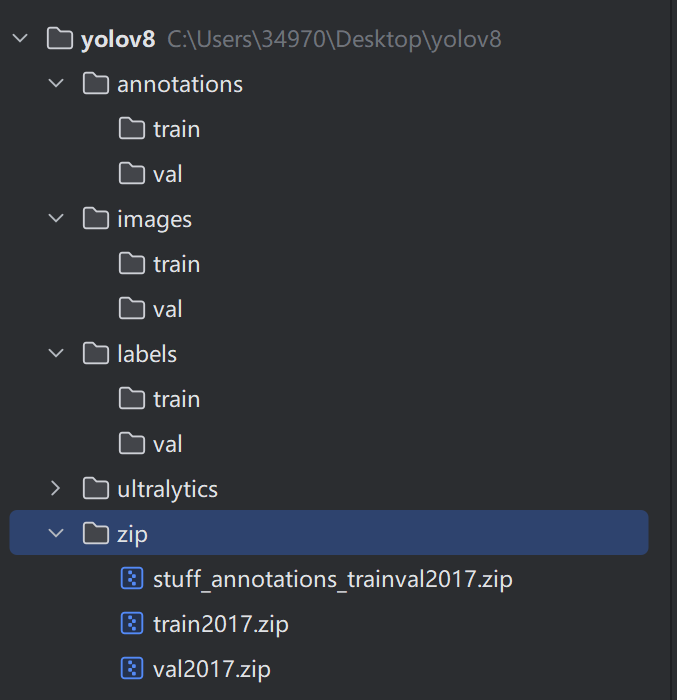
最后是这样: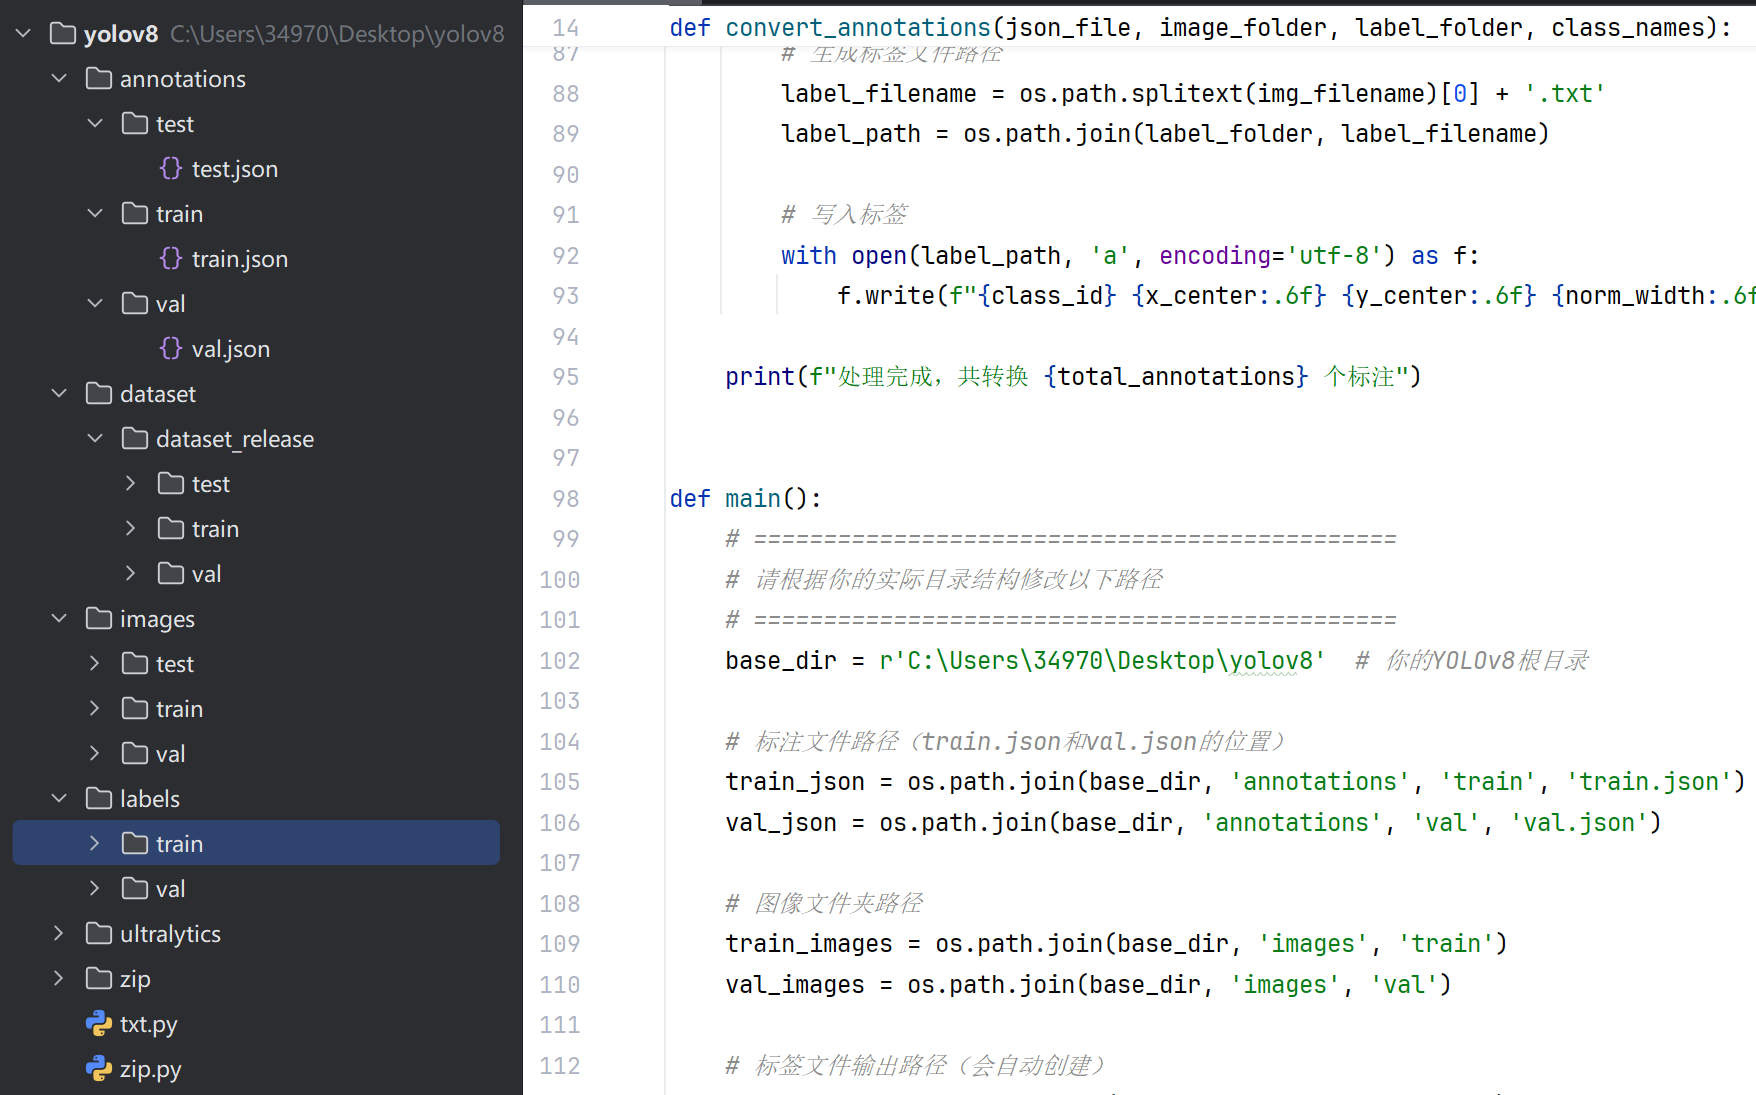
要安装两个库:
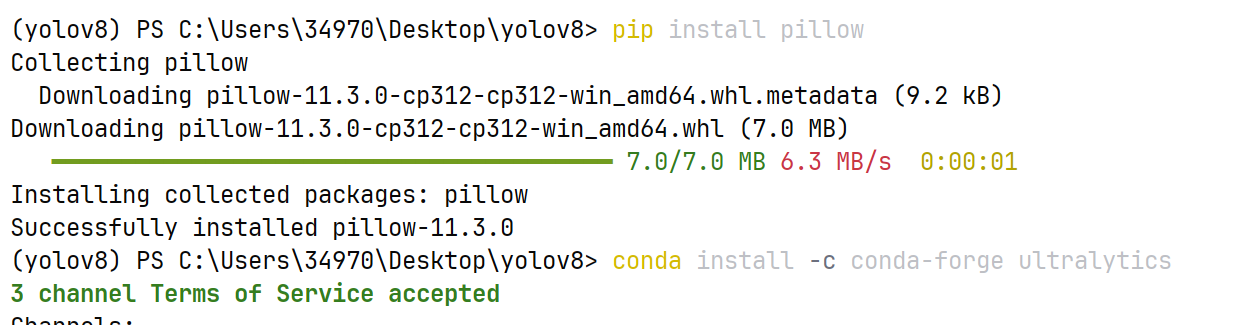
第二个升级了python版本,现在要重新安装pytorch。现在可以在官网下新版了。
pytorch官网:Get Started
安装cuda12.8版本的:
pip3 install torch torchvision --index-url https://download.pytorch.org/whl/cu128
如果有依赖缺失:
pip install ultralytics-thop>=2.0.0
4.配置文件
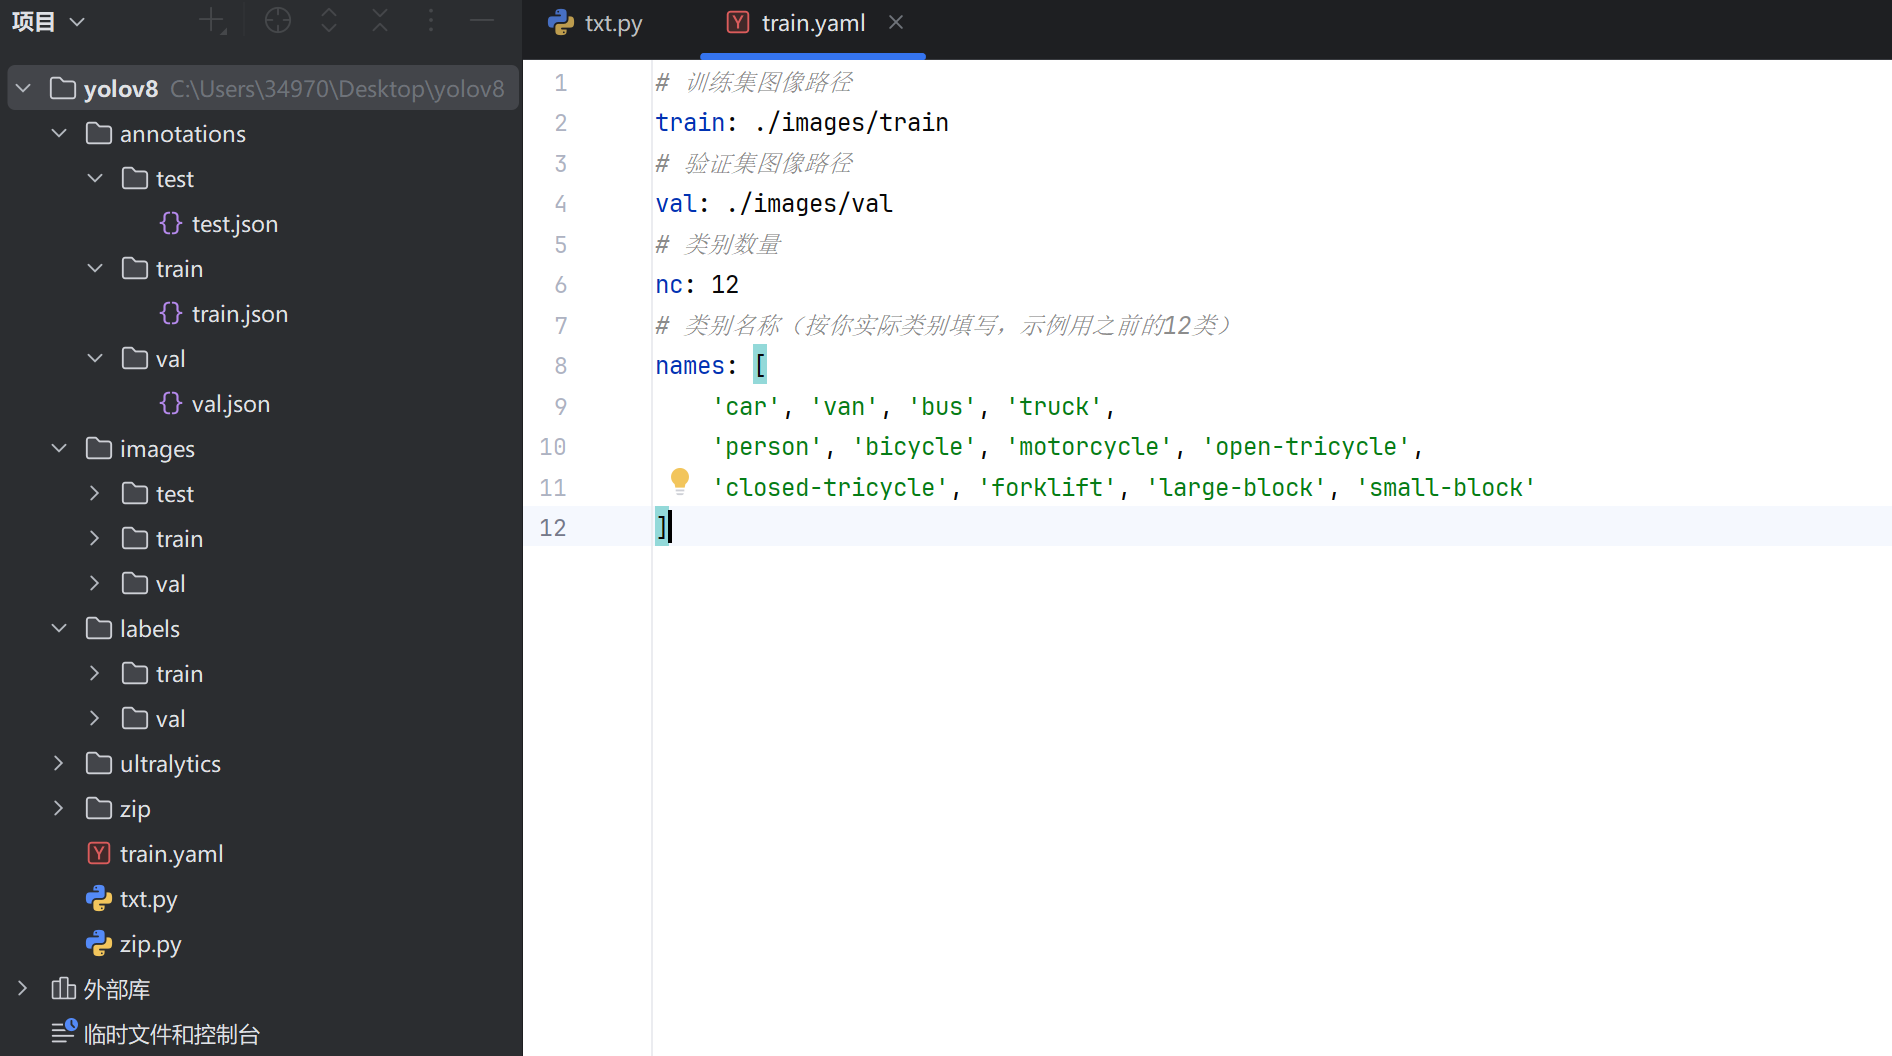
5.训练模型
from ultralytics import YOLO
import os
import time

def train_yolov8():
    # 选择预训练模型,yolov8n是最小的,训练更快,也可选择yolov8s、yolov8m等
    model = YOLO("yolov8n.pt")
    # 开始训练
    start_time = time.time()
    results = model.train(
        data="./train.yaml",  # 数据配置文件路径
        epochs=50,  # 训练轮数,可根据需求调整
        imgsz=640,  # 输入图像尺寸
        batch=8,  # 批次大小,根据显存调整,显存小可以改小,比如4
        device='0',  # 0表示使用第1块GPU,'cpu'表示使用CPU(训练很慢)
        project="my_yolov8_runs",  # 训练结果保存的项目文件夹
        name="custom_train",  # 本次训练的名称
        pretrained=True,  # 使用预训练权重
        verbose=True  # 显示详细训练过程
    )
    end_time = time.time()
    print(f"训练耗时: {round(end_time - start_time, 2)}秒")
    print(f"模型保存位置: {results.save_dir}")
    print(f"最佳模型: {results.save_dir}/weights/best.pt")

if __name__ == "__main__":
    train_yolov8()
如果训练过程出现这种情况:这是依赖冲突。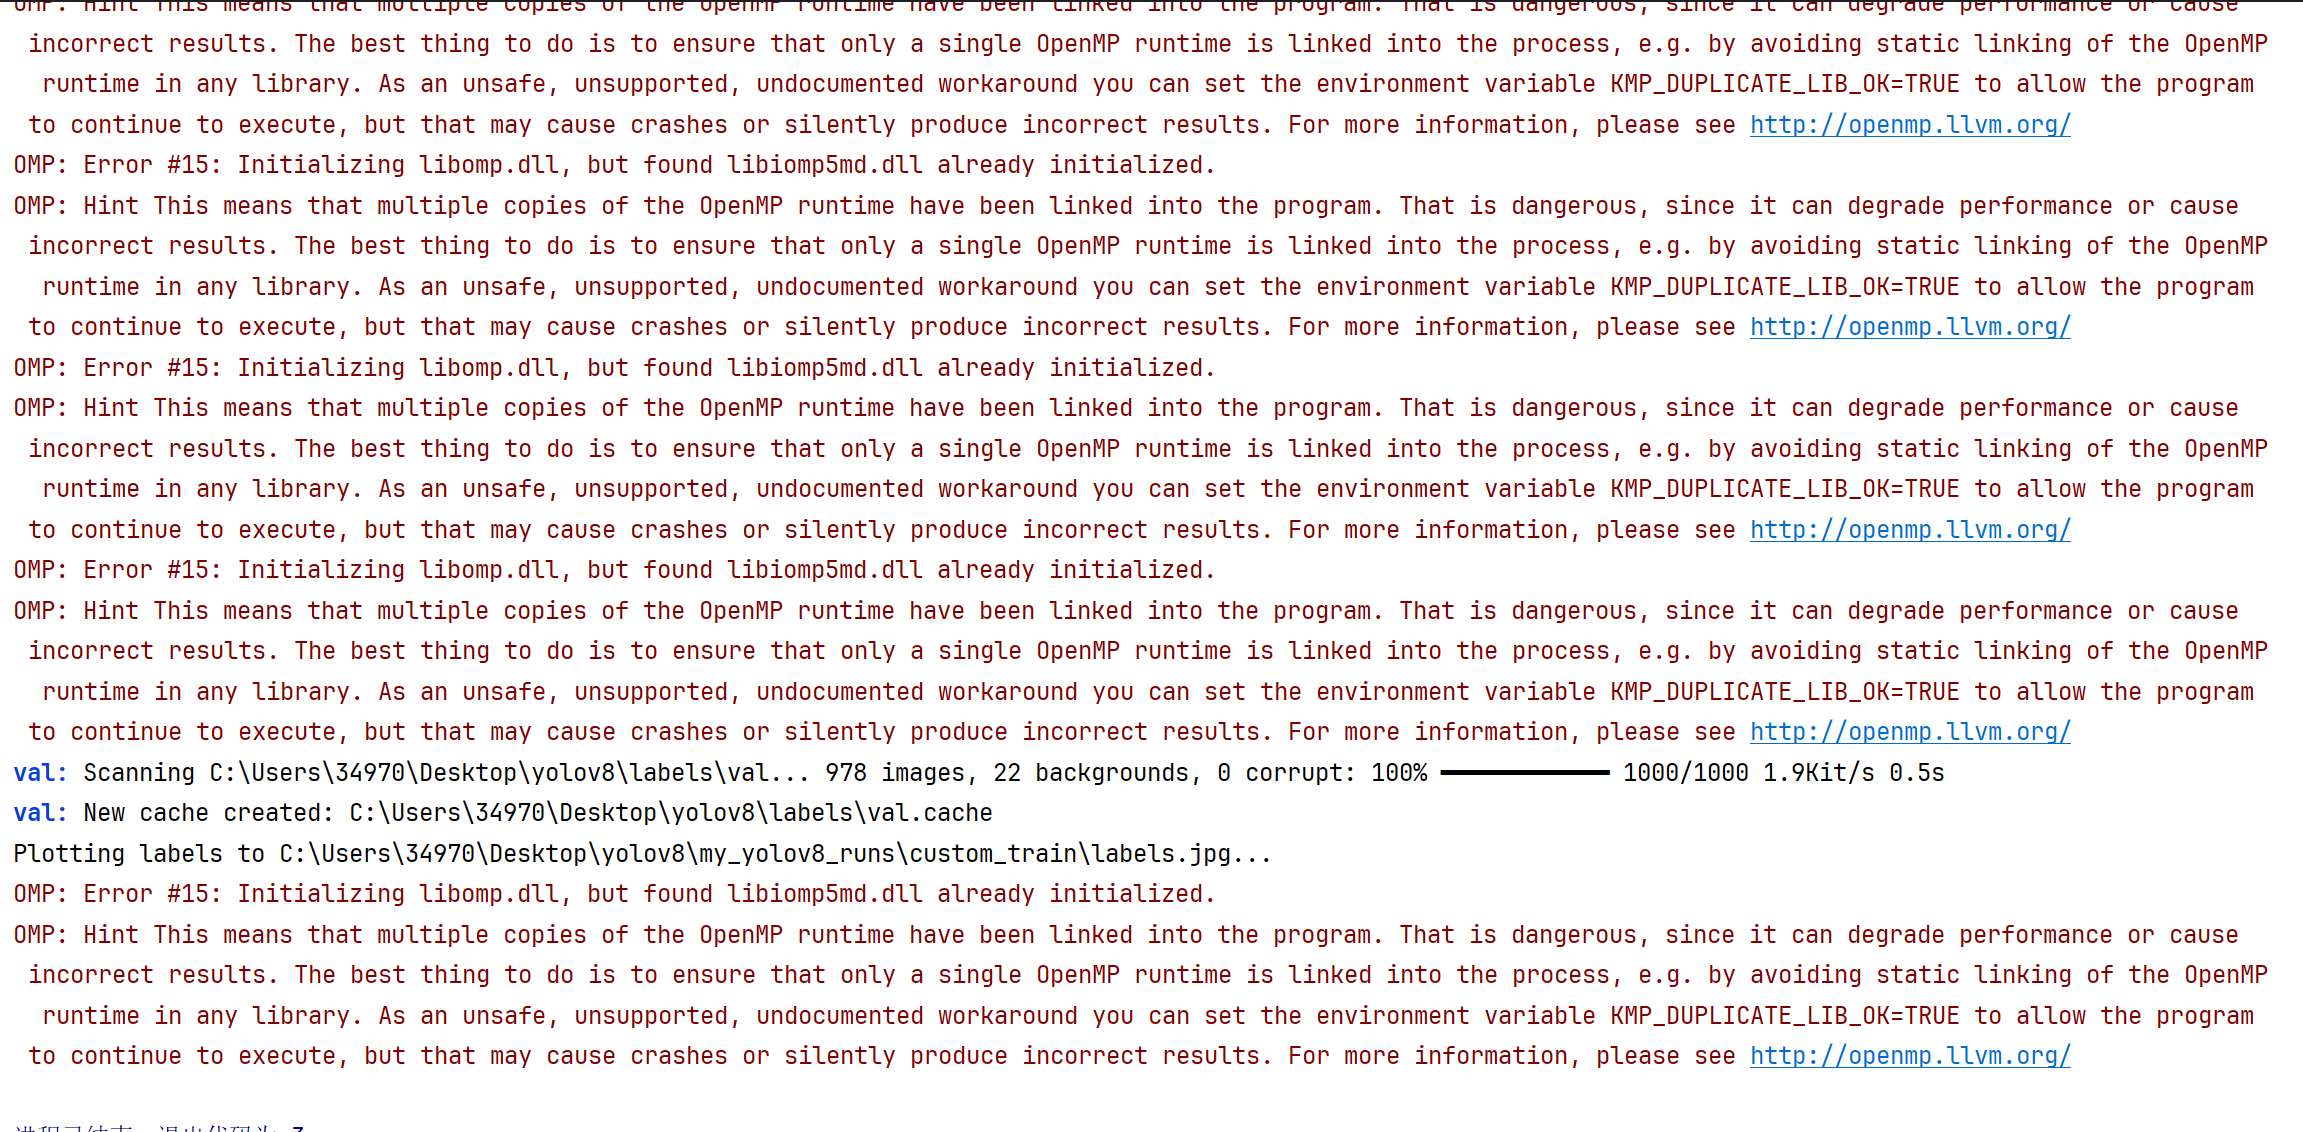
新建一个虚拟环境:conda create -n yolov8_py312 python=3.12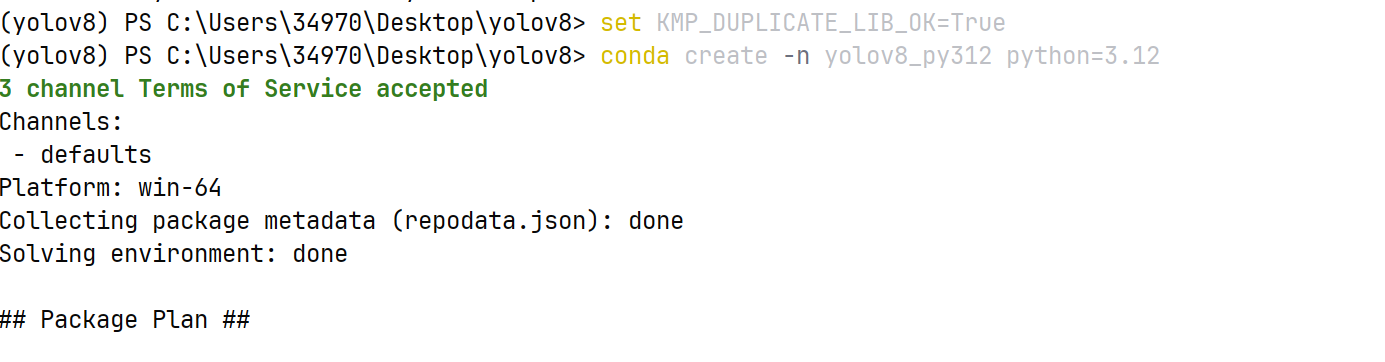
激活新环境:记得去anaconda里面重新进入这个312版本。
conda activate yolov8_py312
在新环境中重新安装所有依赖(因为新环境是 “空” 的,需要重新装 ultralytics、torch 等):
pip install ultralytics 新的虚拟环境这个应该可以一步全安装了依赖,前提是本地没有cup的pytorch版本,有这个版本,要回之前一样卸载再安装gpu版本。
#GPU 版(需匹配 CUDA 版本,比如 CUDA 12.8):
pip3 install torch torchvision --index-url https://download.pytorch.org/whl/cu128
pip install ultralytics-thop>=2.0.0
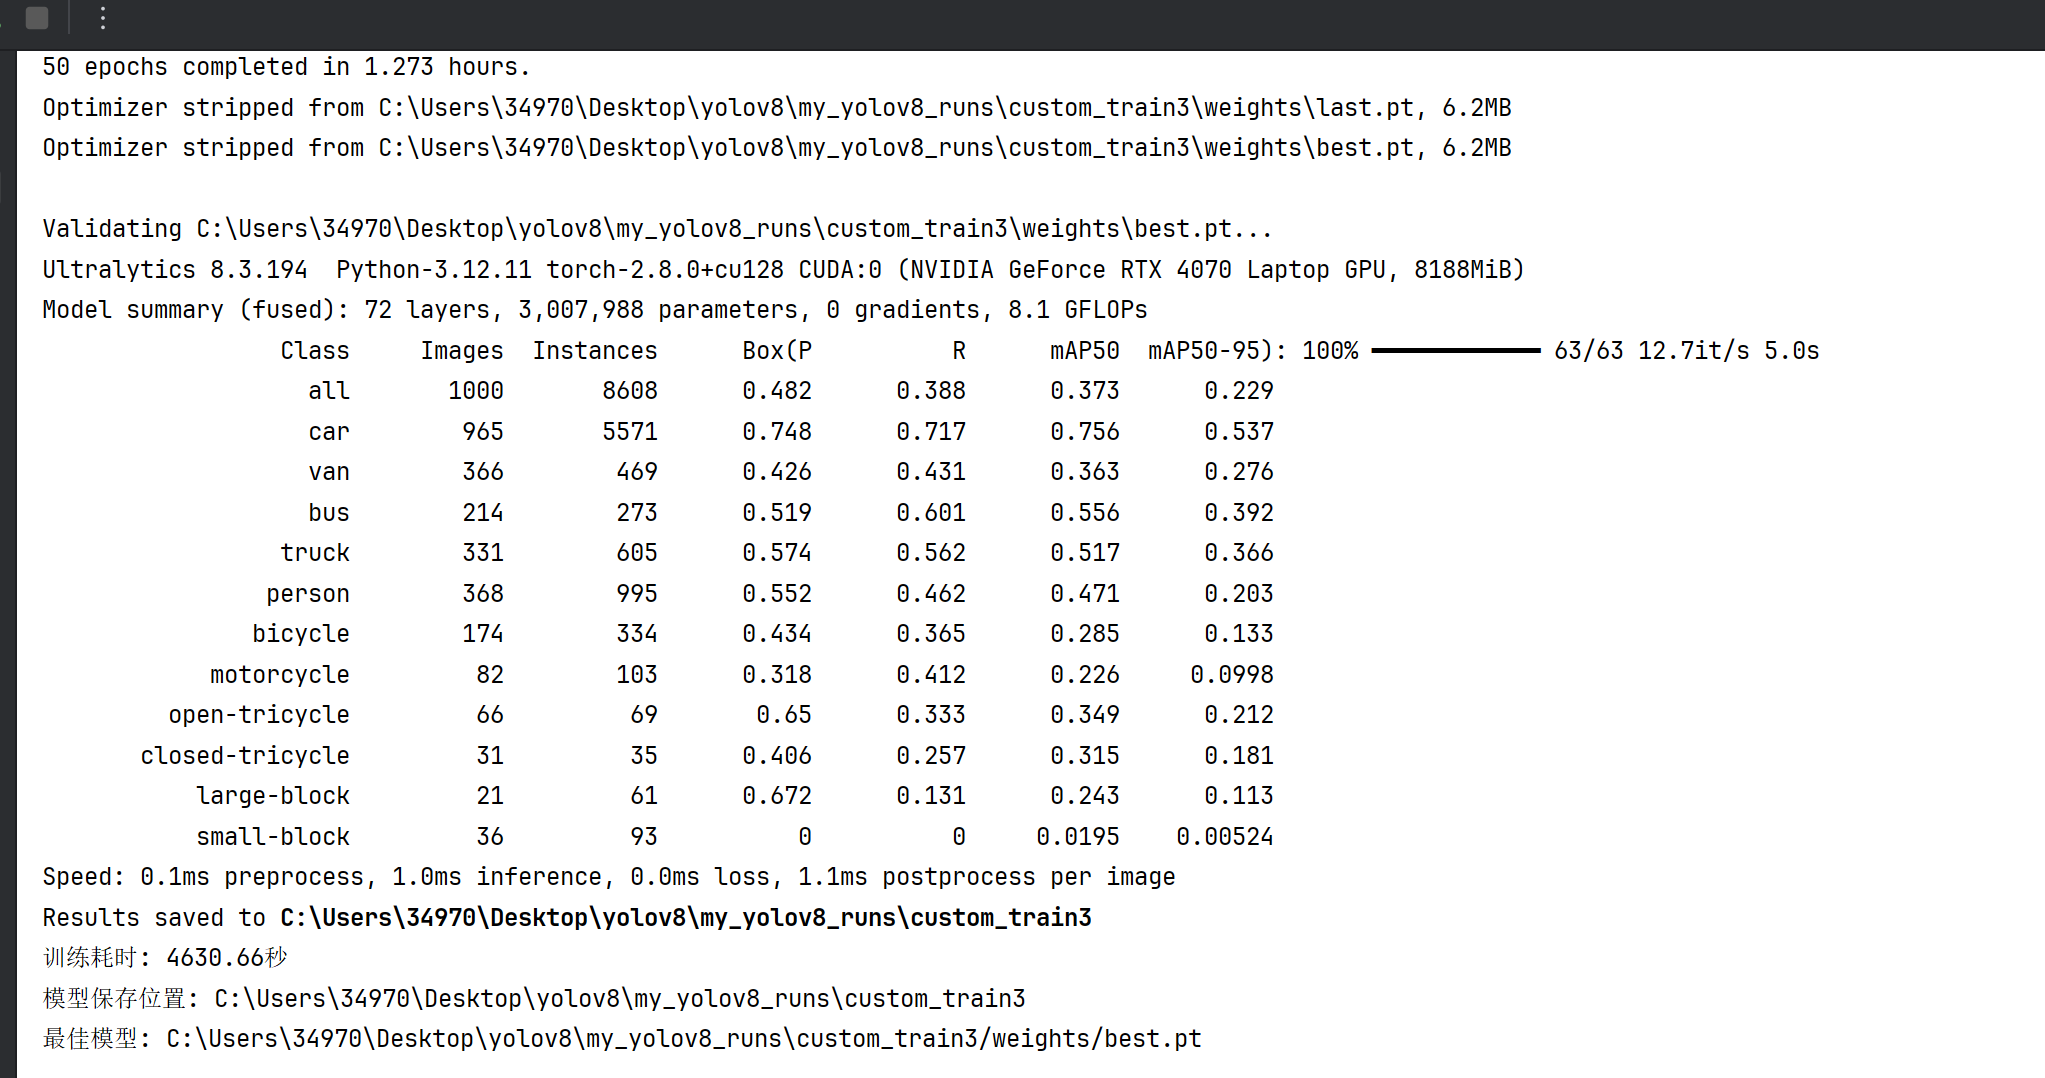
训练中:
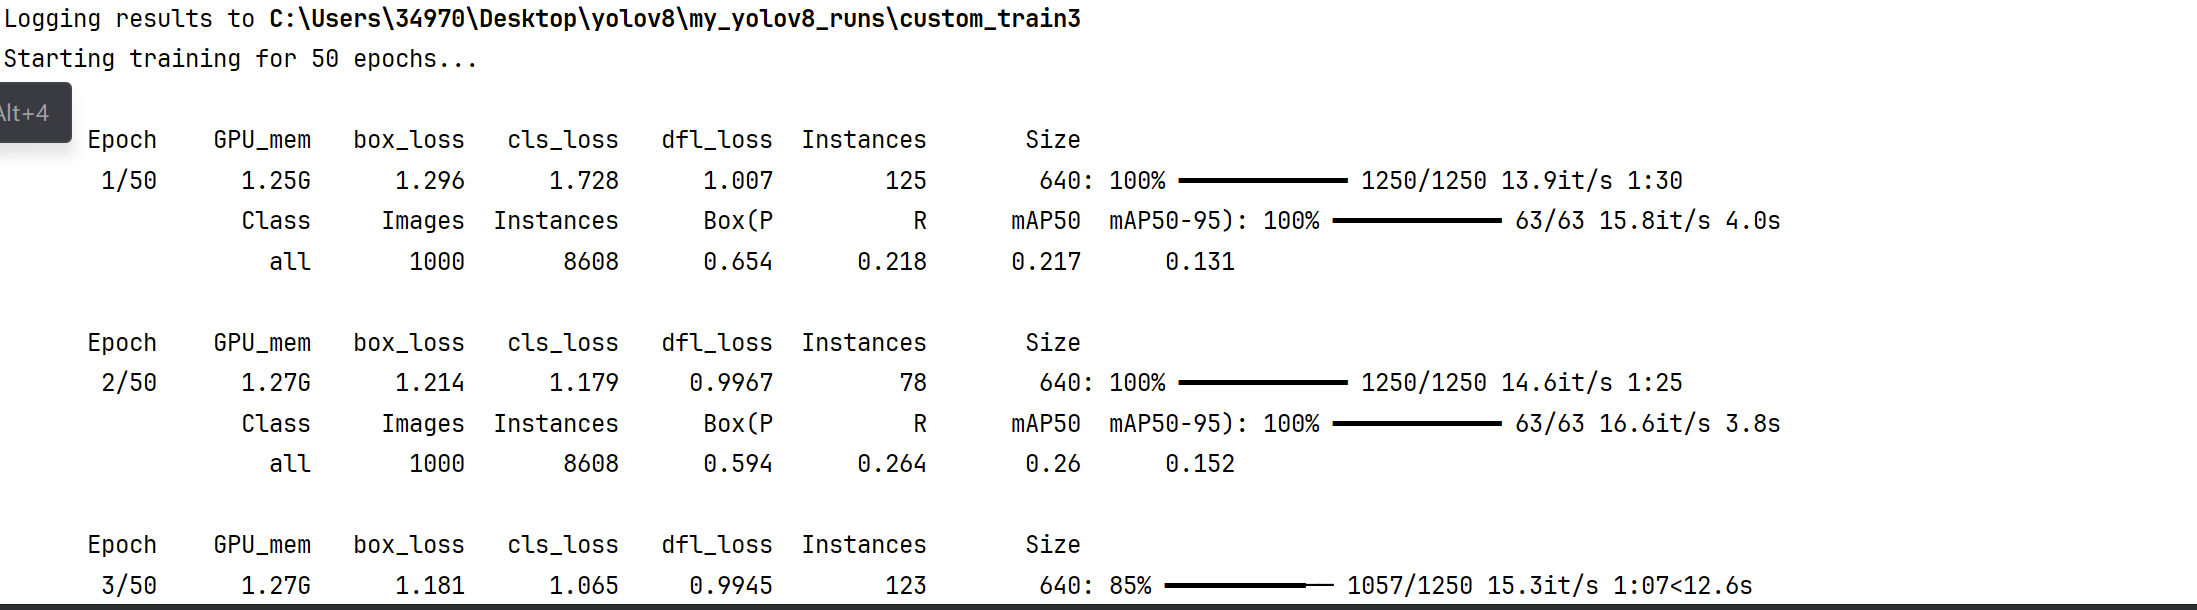
1. 训练阶段指标(第一行 Epoch 1/50 对应的训练行)
GPU_mem:当前 GPU 显存占用(这里是1.25G),反映模型训练时对 GPU 资源的消耗。box_loss:边界框预测的损失(值为1.296),损失越小说明模型对目标 “位置框” 的预测越准确。cls_loss:类别预测的损失(值为1.728),损失越小说明模型对目标 “类别” 的判断越准确。dfl_loss:分布 focal loss(用于边界框回归的损失),值为1.007,是 YOLOv8 特有的损失函数,助力更精准的框回归。Instances:当前训练批次中的目标实例数量(这里是125)。Size:输入图像尺寸(640),以及数据加载进度(1250/1250表示本轮训练集的 1250 个批次已全部加载完成,进度100%)。13.9it/s:训练速度(每秒处理 13.9 个批次),1:30是本轮训练预计剩余时间。
2. 验证阶段指标(Epoch 1/50 对应的验证行)
验证阶段会评估模型在验证集上的精度,核心看 mAP 系列指标:
Class:当前评估的类别(all表示所有类别整体评估)。Images:参与验证的图像数量(1000张)。Instances:验证集中的目标实例总数(8608个)。Box(P):边界框的精确率(Precision,值为0.654),表示预测为正类的结果中实际正类的比例。Box(R):边界框的召回率(Recall,值为0.218),表示实际正类中被正确预测为正类的比例。mAP50:IoU(交并比)为 0.5 时的平均精度(值为0.217),IoU 阈值低,代表 “只要框大致对准目标就算准”,mAP50高说明模型对 “粗略对准” 的目标识别得好。mAP50-95:IoU 在 0.5 到 0.95 之间的平均精度(值为0.131),覆盖了从 “粗略对准” 到 “严格对准” 的全范围,更能综合反映模型的精准度,这个值越高,模型对不同严格程度的目标匹配都越擅长。
6.检测模型
from ultralytics import YOLO
import cv2
import time

# 加载模型,替换为你自己的模型路径
model = YOLO('C:\\Users\\34970\\Desktop\\yolov8\\my_yolov8_runs\\custom_train3\\weights\\best.pt')

# 打开视频文件,替换为你的视频路径
video_path = './video/a3.mp4'  # 例如 'test.mp4'
cap = cv2.VideoCapture(video_path)

# 性能跟踪
prev_time = time.time()
fps = 0
conf_threshold = 0.5

print("开始视频检测,按 'Q' 键退出...")

while cap.isOpened():
    # 读取视频帧
    ret, frame = cap.read()
    if not ret:
        break

    # 执行目标检测
    results = model(frame, conf=conf_threshold, verbose=False)

    # 绘制检测结果
    annotated_frame = results[0].plot()

    # 计算并显示 FPS
    curr_time = time.time()
    fps = 1 / (curr_time - prev_time)
    prev_time = curr_time

    cv2.putText(annotated_frame, f"FPS: {fps:.1f}", (10, 30),
                cv2.FONT_HERSHEY_SIMPLEX, 0.7, (0, 255, 0), 2)
    cv2.putText(annotated_frame, f"Conf: {conf_threshold:.2f}", (10, 60),
                cv2.FONT_HERSHEY_SIMPLEX, 0.7, (0, 255, 0), 2)
    cv2.putText(annotated_frame, "Press 'Q' to quit", (10, 90),
                cv2.FONT_HERSHEY_SIMPLEX, 0.7, (0, 0, 255), 2)

    # 显示结果
    cv2.imshow('Video Detection', annotated_frame)

    # 处理键盘输入
    key = cv2.waitKey(1) & 0xFF
    if key == ord('q'):
        break
    elif key == ord('+'):
        conf_threshold = min(0.95, conf_threshold + 0.05)
        print(f"置信度阈值: {conf_threshold:.2f}")
    elif key == ord('-'):
        conf_threshold = max(0.05, conf_threshold - 0.05)
        print(f"置信度阈值: {conf_threshold:.2f}")

# 释放资源
cap.release()
cv2.destroyAllWindows()
print("视频检测已停止")
最后大概是这种效果: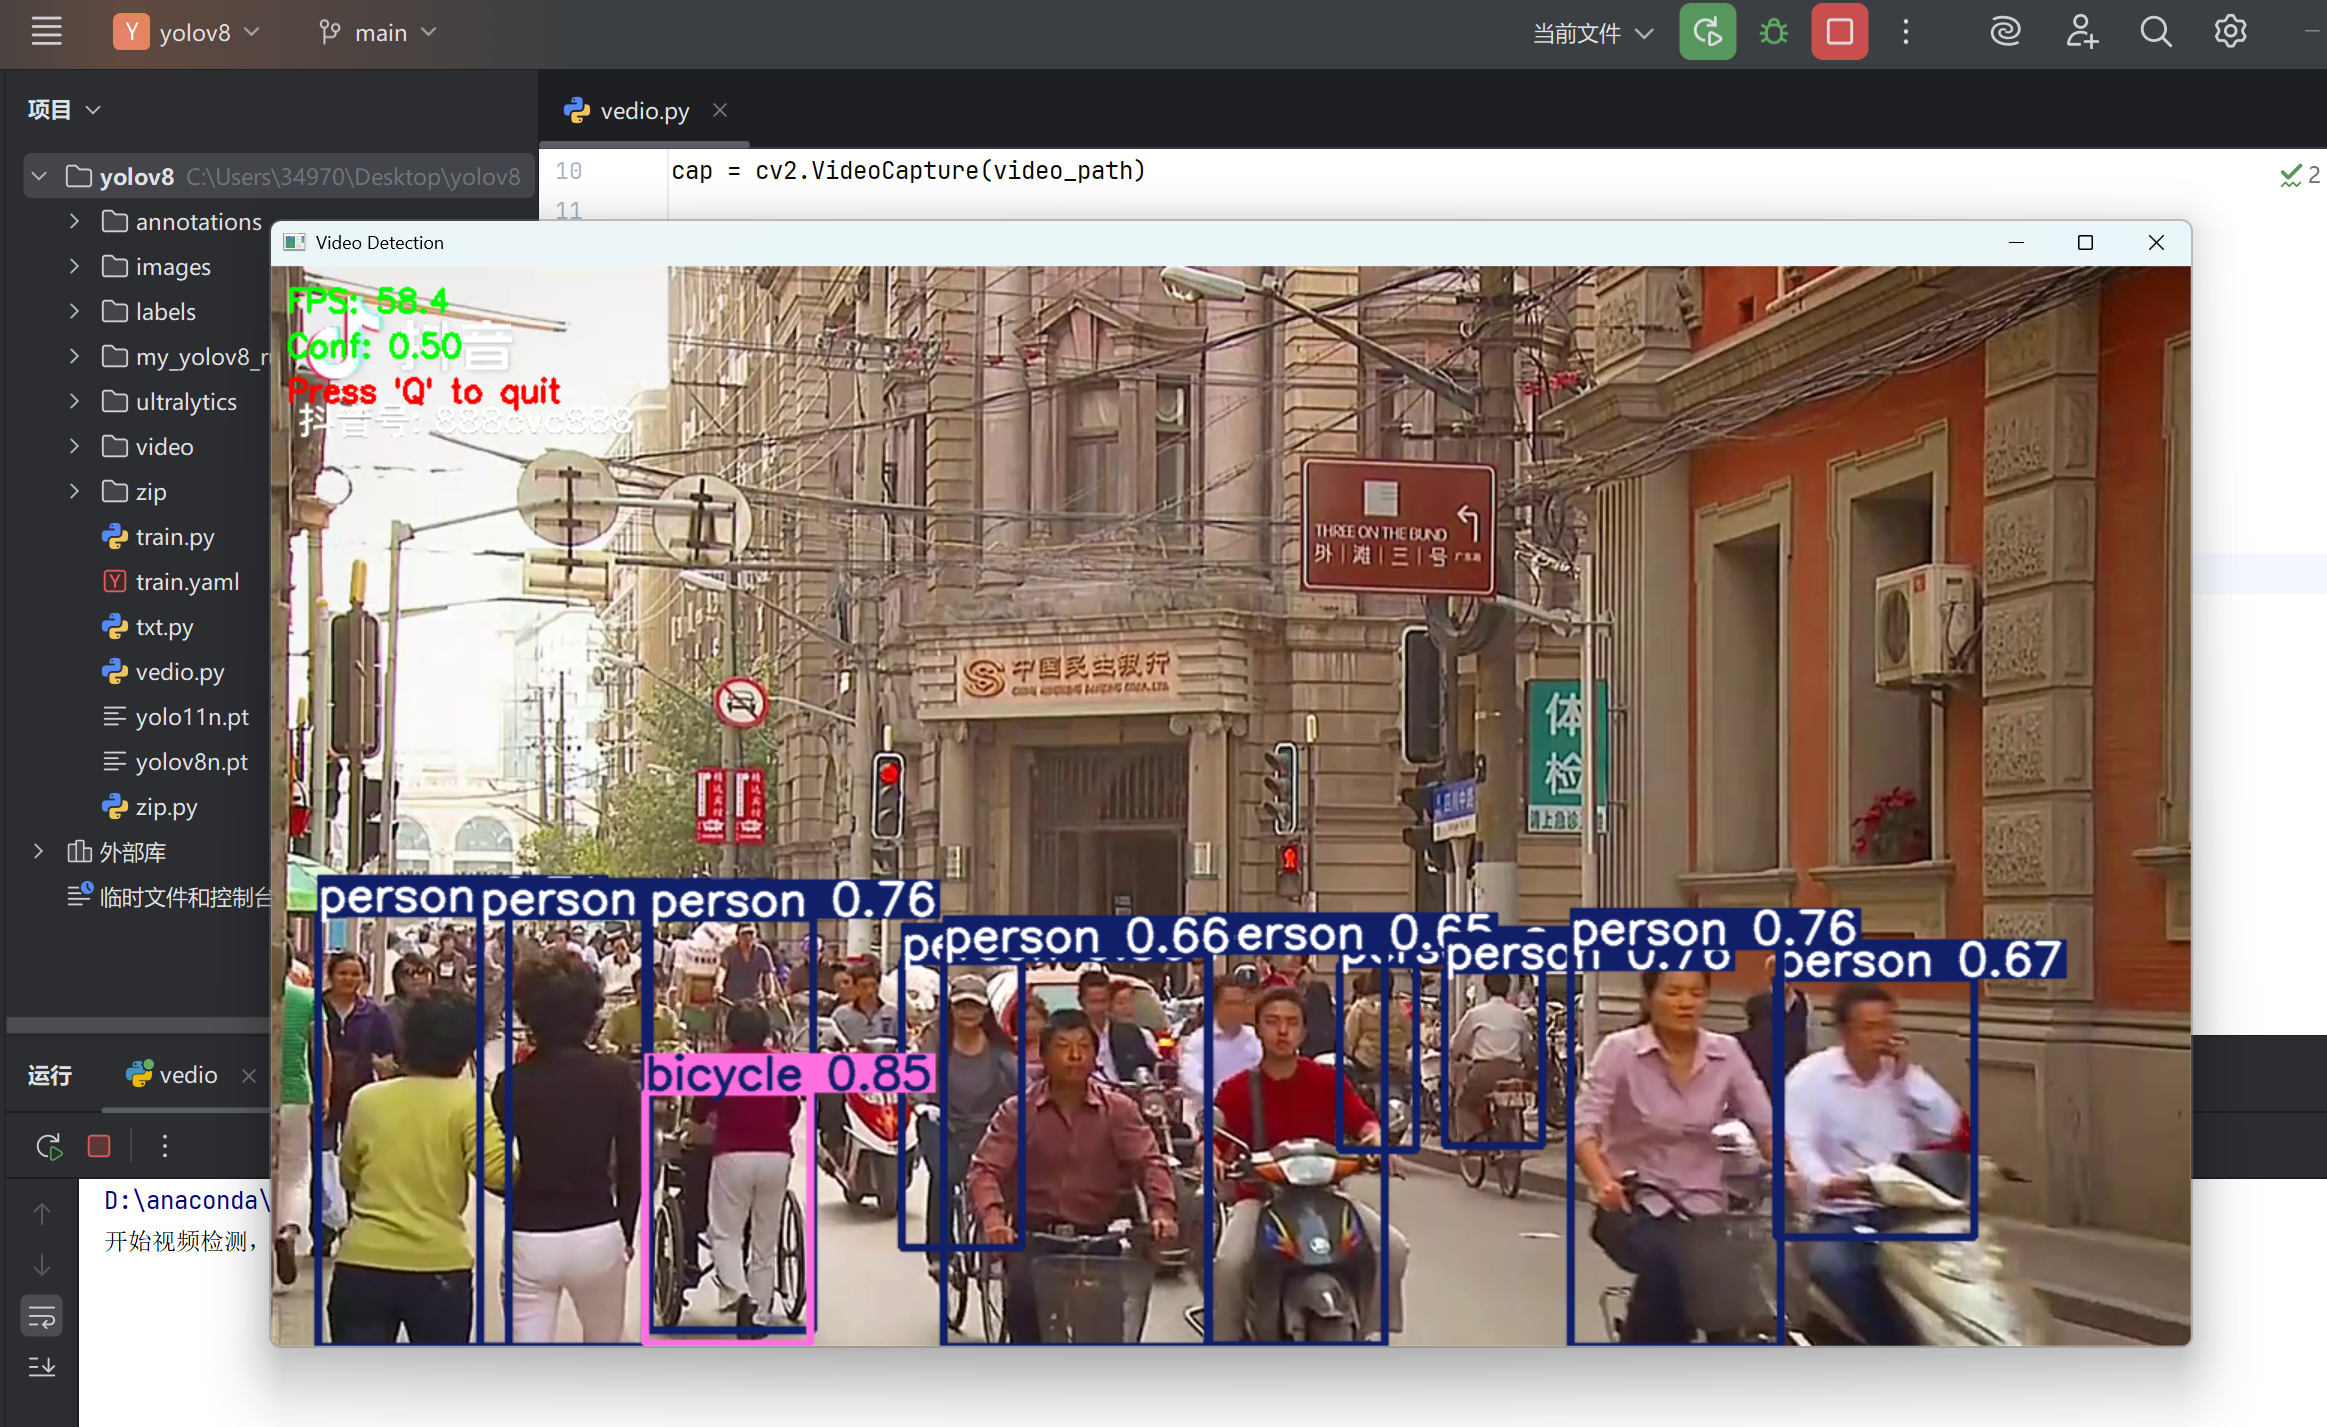
若侵犯到大佬的权利,请见谅,我只是小白,学习ing。


 被折叠的 条评论
为什么被折叠?
被折叠的 条评论
为什么被折叠?
 到【灌水乐园】发言


