


1、将你的虚拟机的网卡模式设置为nat模式,给虚拟机网卡配置三个主机位分别为100、200、168的ip地址
2、测试你的虚拟机是否能够ping通网关和dns,如果不能请修改网关和dns的地址
3、将如下内容写入/etc/hosts文件中(如果有多个ip地址则写多行):
你的第一个ip地址(不要写掩码) www.rhcsa1.com
你的第二个ip地址(不要写掩码) www.rhcsa2.com
4、使用ping命令测试能否ping通www.rhcsa1.com和www.rhcsa2.com
5、使用yum安装nginx并运行
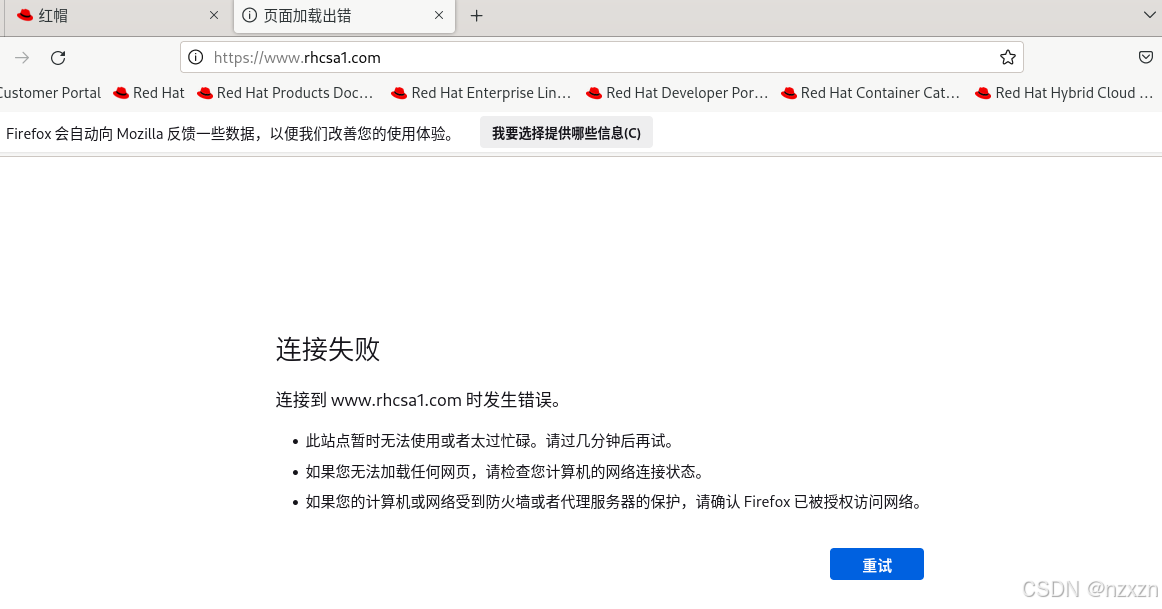
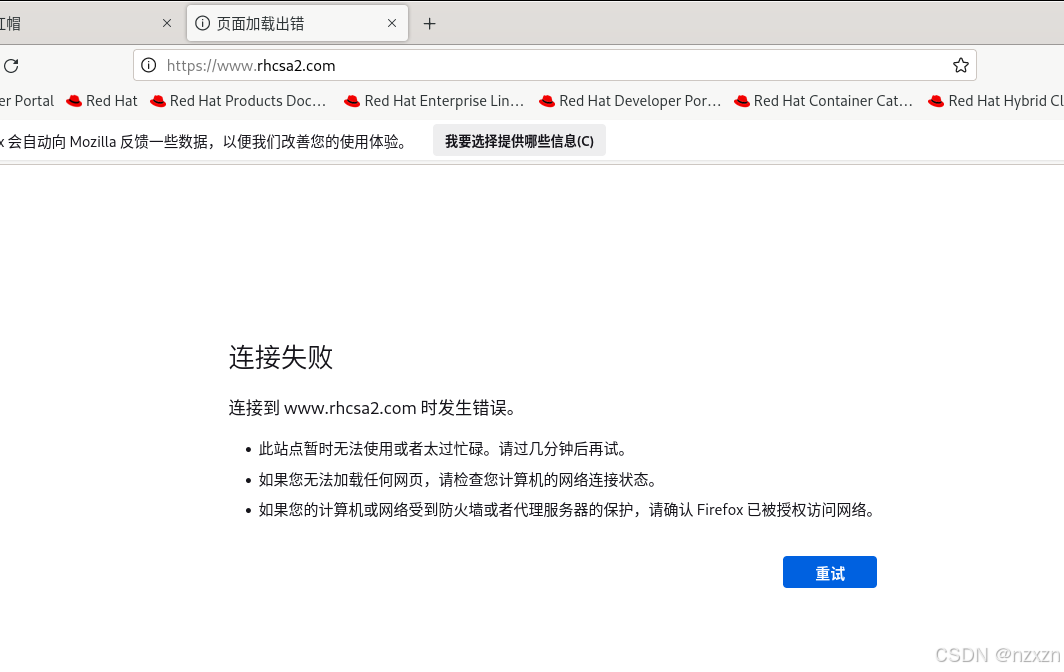
6、在linux的火狐浏览器上分别访问www.rhcsa1.com和www.rhcsa2.com网站
7、将你当前主机的ip地址,mac地址和主机名写入文件/usr/share/nginx/html/index.html
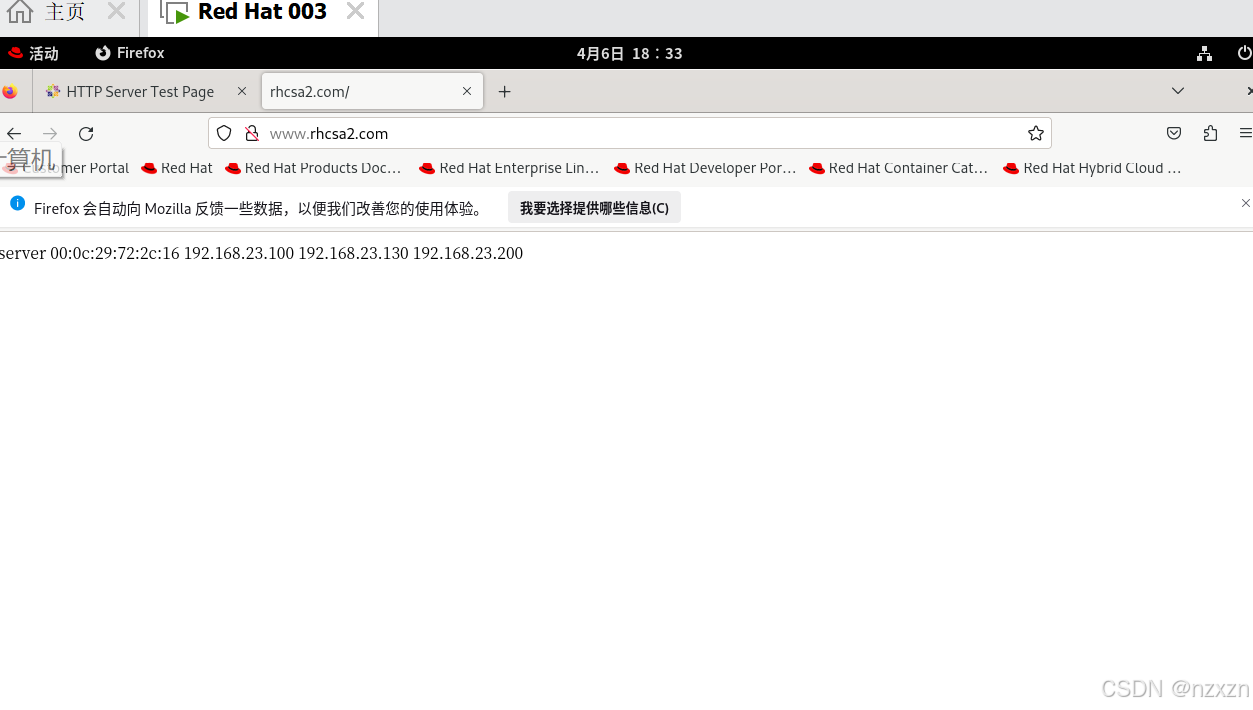
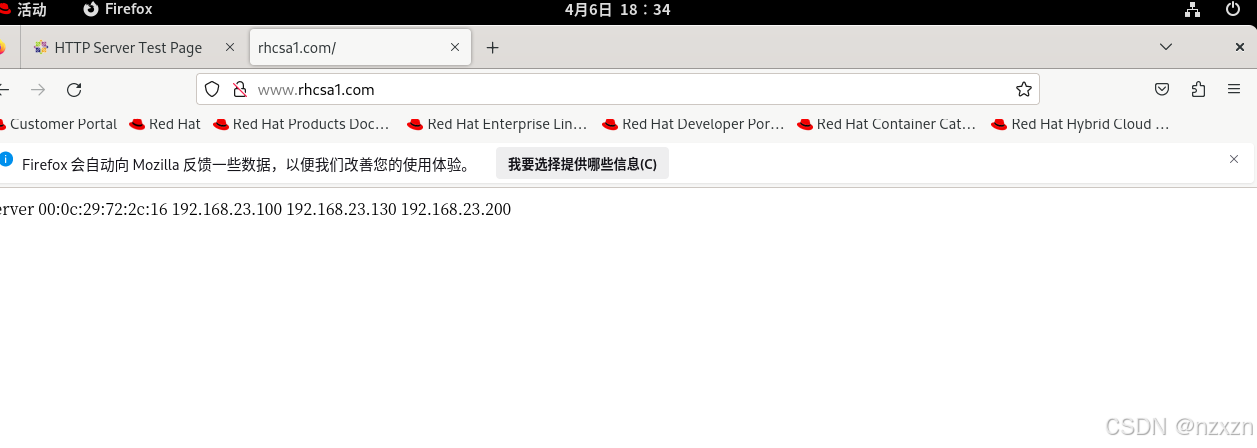
8、在linux的火狐浏览器上再分别访问www.rhcsa1.com和www.rhcsa2.com网站,看网站内容的变化
9、在windows的浏览器上输入你的虚拟机的ip地址访问查看效果
10、给虚拟机添加两个硬盘,大小分别为5G、10G
11、给第一个硬盘分区为2个主分区(大小分别为2G,1G),2个逻辑分区(大小分别为1G);给第二个硬盘分5个区,大小分别为2G
12、将第一个硬盘的第一个分区挂载至/guazai1,将第二个硬盘的第一个分区挂载至/guazai2
13、将/usr/share/nginx/html/index.html复制到/guazai1中,将 /etc/ssh/sshd_config复制到/guazai2
一、将你的虚拟机的网卡模式设置为nat模式,给虚拟机网卡配置三个主机位分别为100、200、168的ip地址
[root@server ~]# nmtui

二、测试你的虚拟机是否能够ping通网关和dns,如果不能请修改网关和dns的地址
[root@localhost ~]# ping 192.168.23.2
PING 192.168.23.2 (192.168.23.2) 56(84) 比特的数据。
64 比特,来自 192.168.23.2: icmp_seq=1 ttl=128 时间=0.137 毫秒
64 比特,来自 192.168.23.2: icmp_seq=2 ttl=128 时间=0.169 毫秒
64 比特,来自 192.168.23.2: icmp_seq=3 ttl=128 时间=0.250 毫秒
64 比特,来自 192.168.23.2: icmp_seq=4 ttl=128 时间=0.195 毫秒
^C
--- 192.168.23.2 ping 统计 ---
已发送 4 个包, 已接收 4 个包, 0% packet loss, time 3096ms
rtt min/avg/max/mdev = 0.137/0.187/0.250/0.041 ms
[root@localhost ~]# ping 8.8.8.8
PING 8.8.8.8 (8.8.8.8) 56(84) 比特的数据。
64 比特,来自 8.8.8.8: icmp_seq=1 ttl=128 时间=96.3 毫秒
64 比特,来自 8.8.8.8: icmp_seq=2 ttl=128 时间=89.7 毫秒
64 比特,来自 8.8.8.8: icmp_seq=3 ttl=128 时间=149 毫秒
64 比特,来自 8.8.8.8: icmp_seq=4 ttl=128 时间=85.9 毫秒
64 比特,来自 8.8.8.8: icmp_seq=5 ttl=128 时间=83.9 毫秒
^C
--- 8.8.8.8 ping 统计 ---
已发送 5 个包, 已接收 5 个包, 0% packet loss, time 4007ms
rtt min/avg/max/mdev = 83.861/101.003/149.256/24.492 ms
三、将如下内容写入/etc/hosts文件中(如果有多个ip地址则写多行):
你的第一个ip地址(不要写掩码) www.rhcsa1.com
你的第二个ip地址(不要写掩码) www.rhcsa2.com
[root@localhost ~]# vim /etc/hosts

127.0.0.1   localhost localhost.localdomain localhost4 localhost4.localdomain4
::1         localhost localhost.localdomain localhost6 localhost6.localdomain6
192.168.23.100 www.rhcsa1.com
192.168.23.200 www.rhcsa2.com
四、使用ping命令测试能否ping通www.rhcsa1.com和www.rhcsa2.com
[root@localhost ~]# ip addr show
1: lo: <LOOPBACK,UP,LOWER_UP> mtu 65536 qdisc noqueue state UNKNOWN group default qlen 1000
    link/loopback 00:00:00:00:00:00 brd 00:00:00:00:00:00
    inet 127.0.0.1/8 scope host lo
       valid_lft forever preferred_lft forever
    inet6 ::1/128 scope host
       valid_lft forever preferred_lft forever
2: ens160: <BROADCAST,MULTICAST,UP,LOWER_UP> mtu 1500 qdisc mq state UP group default qlen 1000
    link/ether 00:0c:29:d3:c3:20 brd ff:ff:ff:ff:ff:ff
    altname enp3s0
    inet 192.168.23.128/24 brd 192.168.23.255 scope global dynamic noprefixroute ens160
       valid_lft 1117sec preferred_lft 1117sec
    inet6 fe80::20c:29ff:fed3:c320/64 scope link noprefixroute
       valid_lft forever preferred_lft forever
静态配置ip
[root@localhost ~]# sudo ip addr add 192.168.23.100/24 dev ens160
[root@localhost ~]# sudo ip addr add 192.168.23.200/24 dev ens160
结果:
[root@localhost ~]# ping www.rhcsa1.com
PING www.rhcsa1.com (192.168.23.100) 56(84) 比特的数据。
64 比特,来自 www.rhcsa1.com (192.168.23.100): icmp_seq=1 ttl=64 时间=0.039 毫秒
64 比特,来自 www.rhcsa1.com (192.168.23.100): icmp_seq=2 ttl=64 时间=0.089 毫秒
64 比特,来自 www.rhcsa1.com (192.168.23.100): icmp_seq=3 ttl=64 时间=0.089 毫秒
64 比特,来自 www.rhcsa1.com (192.168.23.100): icmp_seq=4 ttl=64 时间=0.084 毫秒
^C
--- www.rhcsa1.com ping 统计 ---
已发送 4 个包, 已接收 4 个包, 0% packet loss, time 3104ms
rtt min/avg/max/mdev = 0.039/0.075/0.089/0.021 ms
[root@localhost ~]# ping www.rhcsa2.com
PING www.rhcsa2.com (192.168.23.200) 56(84) 比特的数据。
64 比特,来自 www.rhcsa2.com (192.168.23.200): icmp_seq=1 ttl=64 时间=0.032 毫秒
64 比特,来自 www.rhcsa2.com (192.168.23.200): icmp_seq=2 ttl=64 时间=0.083 毫秒
64 比特,来自 www.rhcsa2.com (192.168.23.200): icmp_seq=3 ttl=64 时间=0.087 毫秒
64 比特,来自 www.rhcsa2.com (192.168.23.200): icmp_seq=4 ttl=64 时间=0.079 毫秒
^C
--- www.rhcsa2.com ping 统计 ---
已发送 4 个包, 已接收 4 个包, 0% packet loss, time 3085ms
rtt min/avg/max/mdev = 0.032/0.070/0.087/0.022 ms
五、使用yum安装nginx并运行
[root@localhost ~]# vim /etc/yum.repos.d/aliyun.repo

[baseos]
name=baseos
baseurl=https://mirrors.aliyun.com/centos-stream/9-stream/baseos/x86_64/os/
gpgcheck=0

[AppStream]
name=ali-base
baseurl=https://mirrors.aliyun.com/centos-stream/9-stream/AppStream/x86_64/os/
gpgcheck=0

[root@localhost ~]# yum install nginx -y
六、在linux的火狐浏览器上分别访问www.rhcsa1.com和www.rhcsa2.com网站
七、将你当前主机的ip地址,mac地址和主机名写入文件/usr/share/nginx/html/index.html
[root@server ~]# ip a | grep link/ether | cut -d " " -f6 >> /usr/share/nginx/html/index.html
[root@server ~]# ip a | grep ens160 | grep inet | cut -d "/" -f1 | cut -d " " -f6 >> /usr/share/nginx/html/index.html
[root@server ~]# hostname > /usr/share/nginx/html/index.html
结果:
[root@server ~]# cat /usr/share/nginx/html/index.html
server
[root@server ~]# cat /usr/share/nginx/html/index.html                           server
00:0c:29:72:2c:16
192.168.23.100
192.168.23.130
192.168.23.200
八、在linux的火狐浏览器上再分别访问www.rhcsa1.com和www.rhcsa2.com网站,看网站内容的变化
九、在windows的浏览器上输入你的虚拟机的ip地址访问查看效果
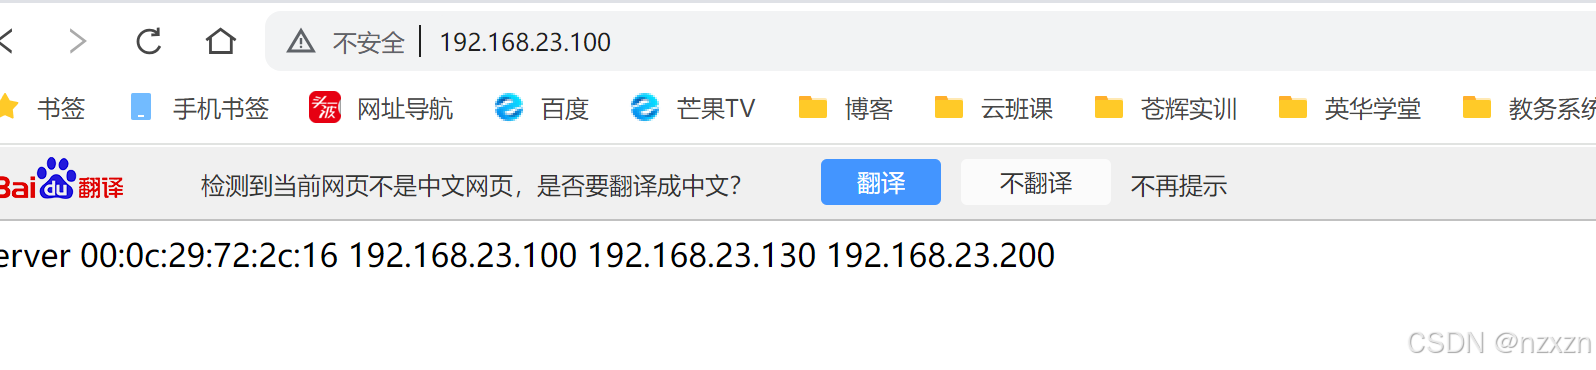
十、给虚拟机添加两个硬盘,大小分别为5G、10G

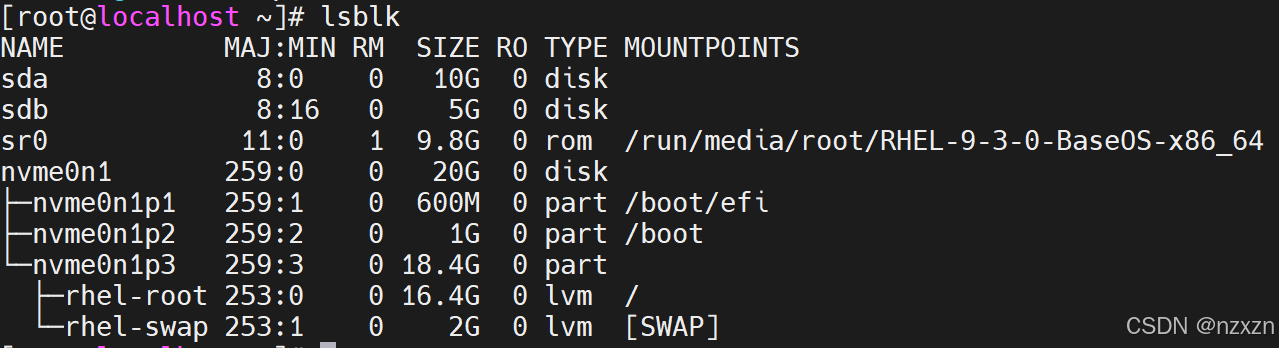
十一、给第一个硬盘分区为2个主分区(大小分别为2G,1G),2个逻辑分区(大小分别为1G);给第二个硬盘分5个区,大小分别为2G
[root@localhost ~]# lsblk
NAME          MAJ:MIN RM  SIZE RO TYPE MOUNTPOINTS
sda             8:0    0   10G  0 disk
sdb             8:16   0    5G  0 disk
├─sdb1          8:17   0    2G  0 part
├─sdb2          8:18   0    1G  0 part
├─sdb3          8:19   0    1K  0 part
├─sdb5          8:21   0    1G  0 part
└─sdb6          8:22   0 1021M  0 part
sr0            11:0    1  9.8G  0 rom  /run/media/root/RHEL-9-3-0-BaseOS-x86_64
nvme0n1       259:0    0   20G  0 disk
├─nvme0n1p1   259:1    0  600M  0 part /boot/efi
├─nvme0n1p2   259:2    0    1G  0 part /boot
└─nvme0n1p3   259:3    0 18.4G  0 part
  ├─rhel-root 253:0    0 16.4G  0 lvm  /
  └─rhel-swap 253:1    0    2G  0 lvm  [SWAP]
十二、将第一个硬盘的第一个分区挂载至/guazai1,将第二个硬盘的第一个分区挂载至/guazai2
[root@localhost ~]# mkdir -v /guazai{1,2}
mkdir: 已创建目录 '/guazai1'
mkdir: 已创建目录 '/guazai2'
[root@localhost ~]# mkfs.xfs /dev/sdb1
meta-data=/dev/sdb1              isize=512    agcount=4, agsize=131072 blks
         =                       sectsz=512   attr=2, projid32bit=1
         =                       crc=1        finobt=1, sparse=1, rmapbt=0
         =                       reflink=1    bigtime=1 inobtcount=1 nrext64=0
data     =                       bsize=4096   blocks=524288, imaxpct=25
         =                       sunit=0      swidth=0 blks
naming   =version 2              bsize=4096   ascii-ci=0, ftype=1
log      =internal log           bsize=4096   blocks=16384, version=2
         =                       sectsz=512   sunit=0 blks, lazy-count=1
realtime =none                   extsz=4096   blocks=0, rtextents=0
[root@localhost ~]# mkfs.xfs /dev/sda1
meta-data=/dev/sda1              isize=512    agcount=4, agsize=131072 blks
         =                       sectsz=512   attr=2, projid32bit=1
         =                       crc=1        finobt=1, sparse=1, rmapbt=0
         =                       reflink=1    bigtime=1 inobtcount=1 nrext64=0
data     =                       bsize=4096   blocks=524288, imaxpct=25
         =                       sunit=0      swidth=0 blks
naming   =version 2              bsize=4096   ascii-ci=0, ftype=1
log      =internal log           bsize=4096   blocks=16384, version=2
         =                       sectsz=512   sunit=0 blks, lazy-count=1
realtime =none                   extsz=4096   blocks=0, rtextents=0
[root@localhost ~]# mount /dev/sdb1 /guazai1
[root@localhost ~]# mount /dev/sda1 /guazai2
结果:
[root@localhost ~]# lsblk
NAME          MAJ:MIN RM  SIZE RO TYPE MOUNTPOINTS
sda             8:0    0   10G  0 disk
├─sda1          8:1    0    2G  0 part /guazai2
├─sda2          8:2    0    2G  0 part
├─sda3          8:3    0    2G  0 part
└─sda4          8:4    0    2G  0 part
sdb             8:16   0    5G  0 disk
├─sdb1          8:17   0    2G  0 part /guazai1
├─sdb2          8:18   0    1G  0 part
├─sdb3          8:19   0    1K  0 part
├─sdb5          8:21   0    1G  0 part
└─sdb6          8:22   0 1021M  0 part
sr0            11:0    1  9.8G  0 rom  /run/media/root/RHEL-9-3-0-BaseOS-x86_64
nvme0n1       259:0    0   20G  0 disk
├─nvme0n1p1   259:1    0  600M  0 part /boot/efi
├─nvme0n1p2   259:2    0    1G  0 part /boot
└─nvme0n1p3   259:3    0 18.4G  0 part
  ├─rhel-root 253:0    0 16.4G  0 lvm  /
  └─rhel-swap 253:1    0    2G  0 lvm  [SWAP]
十三、将/usr/share/nginx/html/index.html复制到/guazai1中,将 /etc/ssh/sshd_config复制到/guazai2
[root@localhost ~]# cp -p /usr/share/nginx/html/index.html /guazai1
[root@localhost ~]#  cp -p /etc/ssh/sshd_config /guazai2
[root@localhost ~]# ls -l /guazai1/index.html /guazai2/sshd_config
-rw-r--r--. 1 root root  163  4月  7 21:02 /guazai1/index.html
-rw-------. 1 root root 3667  7月 20  2023 /guazai2/sshd_config
[root@localhost ~]# df -hT | grep guazai
[root@localhost ~]# ls -h /guazai1 /guazai2
/guazai1:
index.html

/guazai2:
sshd_config
[root@localhost ~]# df -hT | grep guazai
[root@localhost ~]# ls -h /guazai1 /guazai2
/guazai1:
index.html

/guazai2:
sshd_config


 83
83

 被折叠的 条评论
为什么被折叠?
被折叠的 条评论
为什么被折叠?
 到【灌水乐园】发言


