


 本文详细介绍了如何从源码编译最新的Linux内核,并使用QEMU进行模拟运行的过程。首先通过git克隆内核源码,接着配置并编译内核,最后创建文件系统,使用busybox和ext4格式化根文件系统,最终实现内核的运行。
如何运行最新的内核源码,把过程记录下。
1.下载源码
git clone https://git.kernel.org/pub/scm/linux/kernel/git/torvalds/linux.git
2.编译
arch/x86/configs/有i386_defconfig和x86_64_defconfig,这里以x86_64_defconfig为例,
make x86_64_defconfig
make -j4
运行内核qemu-system-x86_64 -kernel arch/x86/boot/bzImage
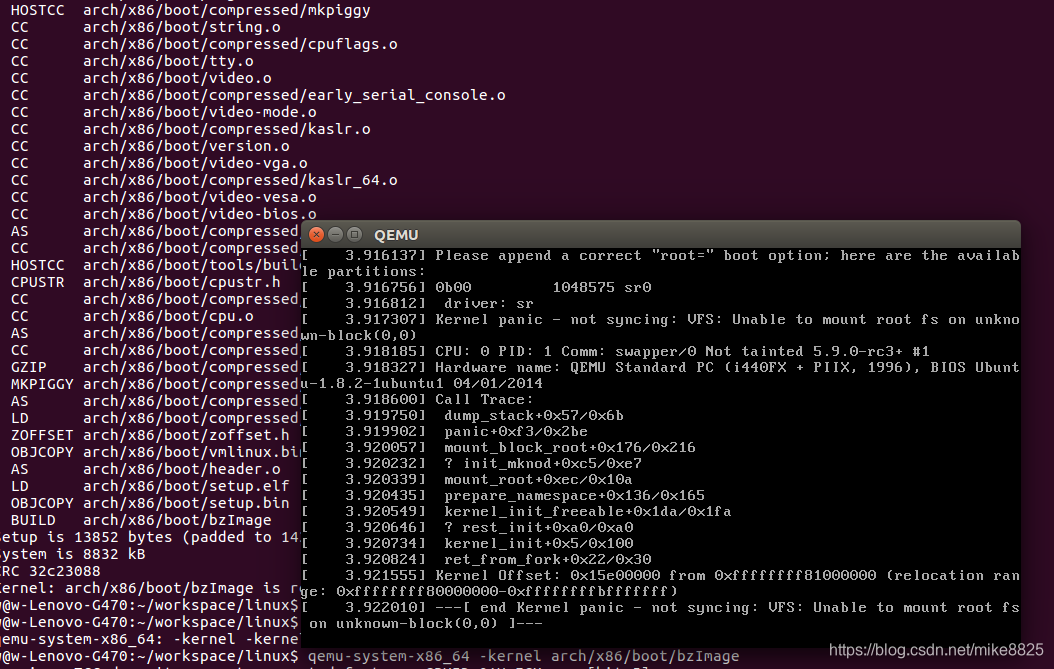
内核已经运行起来了,只不过没有文件系统,死机了。
3.制造fs
从https://busybox.net/downloads/下载busybox,如busybox-1.31.1.tar.bz2
解压,运行make menuconfig,选择
Settings --->
[*] Build static binary (no shared libs)
并保存.config
编译make -j4,并安装make install
cd _install/
sudo chmod 777 run.sh
sudo ./run.s
 最低0.47元/天 解锁文章


 1636
1636

 被折叠的 条评论
为什么被折叠?
被折叠的 条评论
为什么被折叠?
 到【灌水乐园】发言


