


 本文详细介绍了如何使用Django快速创建一个简单的网站,包括安装Django、创建数据库表、设置静态文件和模板,以及后台管理功能的实现。通过实践步骤,读者可以学会从零开始构建一个展示数据的网站。
一、Django服务开启
1.python 安装Django
安装过程参考官网
2.cmd命令创建一个project文件夹
django-admin startproject firstsite3.进入文件夹运行manage.py创建一个app
python manage.py startapp firstapp4.把app名称加入到settings.py中
# Application definition

INSTALLED_APPS = [
    'django.contrib.admin',
    'django.contrib.auth',
    'django.contrib.contenttypes',
    'django.contrib.sessions',
    'django.contrib.messages',
    'django.contrib.staticfiles',
    'firstapp'
]
5.运行migrate初始化
python manage.py migrate
会出现以下结果

Operations to perform:
  Apply all migrations: admin, auth, contenttypes, sessions
Running migrations:
  Applying contenttypes.0001_initial... OK
  Applying auth.0001_initial... OK
  Applying admin.0003_logentry_add_action_flag_choices... OK
  Applying contenttypes.0002_remove_content_type_name... OK
  Applying auth.0002_alter_permission_name_max_length... OK
  Applying auth.0003_alter_user_email_max_length... OK
  Applying auth.0004_alter_user_username_opts... OK
  Applying auth.0005_alter_user_last_login_null... OK
  Applying auth.0006_require_contenttypes_0002... OK
  Applying auth.0007_alter_validators_add_error_messages... OK
  Applying auth.0008_alter_user_username_max_length... OK
  Applying auth.0009_alter_user_last_name_max_length... OK
  Applying auth.0010_alter_group_name_max_length... OK
  Applying auth.0011_update_proxy_permissions... OK
  Applying sessions.0001_initial... OK
6.运行runserver 开启服务器
python manage.py runserver

出现以下结果
Watching for file changes with StatReloader
Performing system checks...

System check identified no issues (0 silenced).
April 25, 2021 - 17:57:36
Django version 2.2, using settings 'firstsite.settings'
Starting development server at http://127.0.0.1:8000/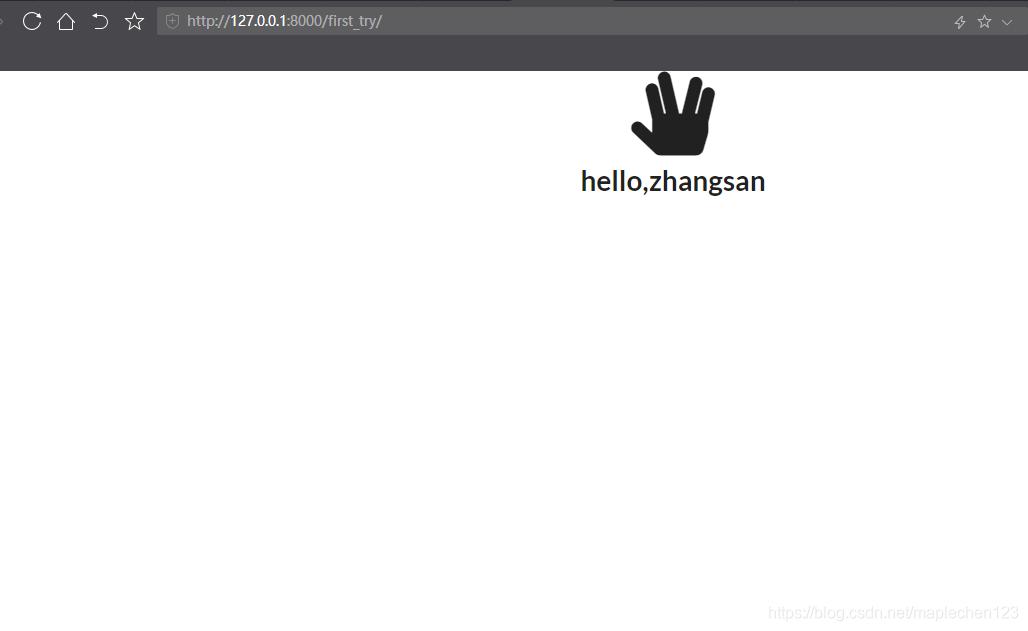
Quit the server with CTRL-BREAK.7.此时Django服务器就运行成功了,打开http://127.0.0.1:8000/就可以看到最原始的网页

二、创建数据库中的数据表
1.打开app中的models.py定义一个人员类,有名字和工作字段
# Create your models here.
class Person(models.Model):
    # null 数据库可以没有数据   blank 内容可以为空 ,max_length最大长度
    name = models.CharField(null=True, blank=True, max_length=200)
    job = models.CharField(null=True, blank=True, max_length=200)
2.打开终端,运行makemigrations创建这个表
python manage.py makemigrations
显示结果
Migrations for 'firstapp':
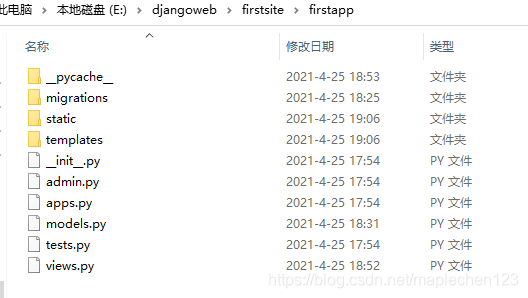
firstapp\migrations\0001_initial.py
- Create model Person3.文件夹内会多一个migrations文件夹,打开initial.py可以看到
rom django.db import migrations, models


class Migration(migrations.Migration):

    initial = True

    dependencies = [
    ]

    operations = [
        migrations.CreateModel(
            name='Person',
            fields=[
                ('id', models.AutoField(auto_created=True, primary_key=True, serialize=False, verbose_name='ID')),
                ('name', models.CharField(blank=True, max_length=200, null=True)),
                ('job', models.CharField(blank=True, max_length=200, null=True)),
            ],
        ),
    ]
4.再运行migrate,至此这个表就创建完成
python manage.py migrate

结果如下,至此这个表就创建完成
Operations to perform:
  Apply all migrations: admin, auth, contenttypes, firstapp, sessions
Running migrations:
  Applying firstapp.0001_initial... OK
5.打开View.py,添加一个类,实列一个数据,并返回一个渲染后的html
from django.shortcuts import render,HttpResponse
from firstapp.models import Person
from django.template import Context,Template

# Create your views here.
def first_try(request):
    person = Person(name='zhangsan',job='manong')
    html_string = '''
        <!DOCTYPE html>
        <html lang="en">
        <head>
        <meta charset="UTF-8">
        <meta http-equiv="X-UA-Compatible" content="IE=edge">
        <meta name="viewport" content="width=device-width, initial-scale=1.0">
        <link rel="stylesheet" href="https://cdnjs.cloudflare.com/ajax/libs/semantic-ui/2.4.1/semantic.min.css" integrity="sha512-8bHTC73gkZ7rZ7vpqUQThUDhqcNFyYi2xgDgPDHc+GXVGHXq+xPjynxIopALmOPqzo9JZj0k6OqqewdGO3EsrQ==" crossorigin="anonymous" />
        <title>Document</title>
        </head>
        <body>
            <h1 class="ui center aligned icon header">
                <i class="hand spock icon"></i>
                hello,{{ person.name }}
            </h1>
        </body>
    </html>
    '''
    t = Template(html_string)
    c = Context({'person':person})
    web_page = t.render(c)
    return HttpResponse(web_page)
6.打开urls.py 添加路径
from django.contrib import admin
from django.urls import path
from firstapp.views import first_try

urlpatterns = [
    path('admin/', admin.site.urls),
    path('first_try/', first_try),
]
7.开启Django服务器
python manage.py runserver8.打开网页,正确显示人名和图片
三、完善整个结构
1.创建静态网页和模板文件夹
2.在setting中添加路径
TEMPLATES = [
    {
        'BACKEND': 'django.template.backends.django.DjangoTemplates',
        'DIRS': [os.path.join(BASE_DIR,'templates').replace('\\','/')],
        'APP_DIRS': True,
        'OPTIONS': {
            'context_processors': [
                'django.template.context_processors.debug',
                'django.template.context_processors.request',
                'django.contrib.auth.context_processors.auth',
                'django.contrib.messages.context_processors.messages',
            ],
        },
    },
]
3.创建后台管理员名字和密码
python manage.py createsuperuser

结果如下
Username (leave blank to use 'my'): admin
Email address:
Password:
Password (again):
Superuser created successfully.
4.进入后台
http://127.0.0.1:8000/admin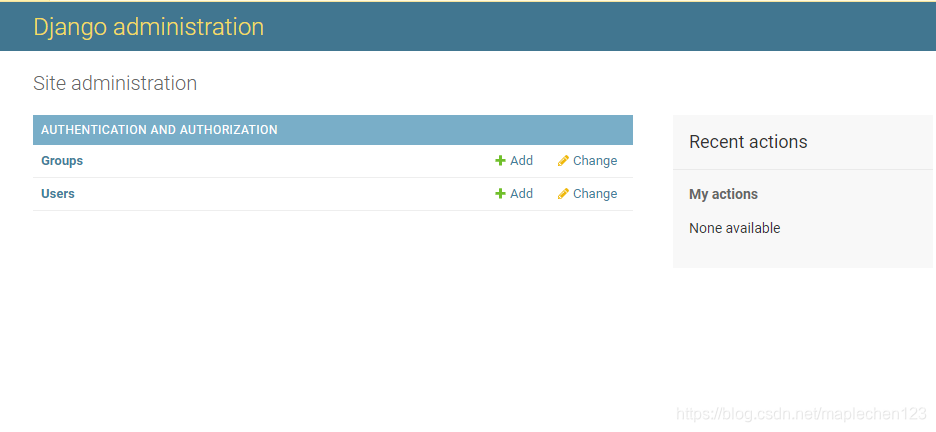
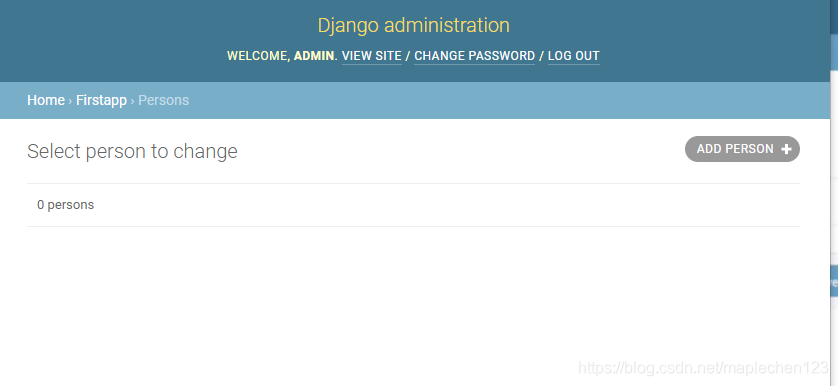
5.没有发现我们创建的Person表,是因为之前没有向admin中注册我们的数据表
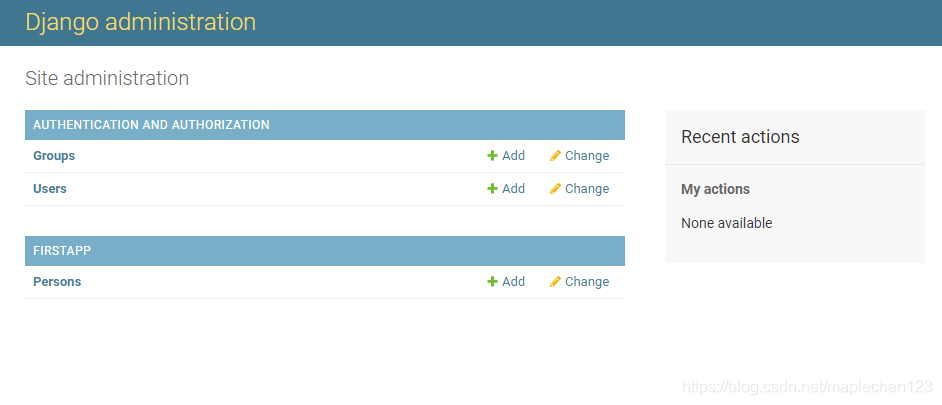
from django.contrib import admin
from firstapp.models import Person

admin.site.register(Person)
6.刷新网页
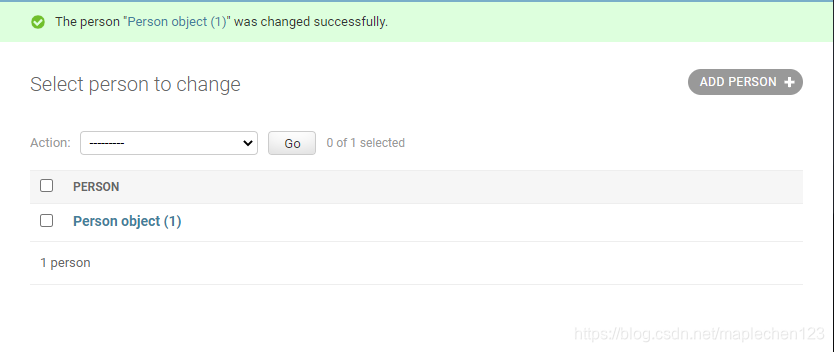
7.数据表中添加一个数据

8.但是显示的并不是这个数据内容 而是一个object
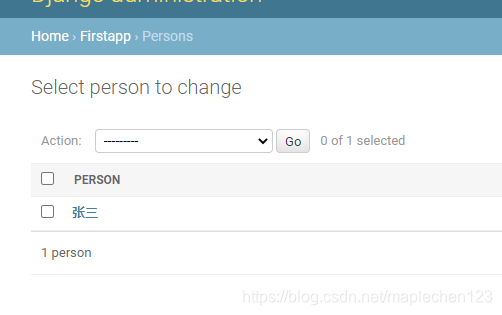
9.回到models 我们需要把class中添加一个返回值
class Person(models.Model):
    # null 数据库可以没有数据   blank 内容可以为空 ,max_length最大长度
    name = models.CharField(null=True, blank=True, max_length=200)
    job = models.CharField(null=True, blank=True, max_length=200)
    def __str__(self):
        return self.name
10.再看后台数据库
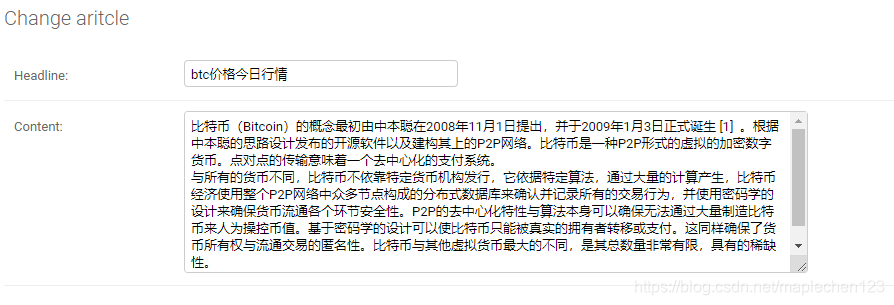
11.创建一个文章数据表
class Aritcle(models.Model):
    # null 数据库可以没有数据   blank 内容可以为空 ,max_length最大长度
    headline = models.CharField(null=True, blank=True, max_length=200)
    content = models.TextField(null=True, blank=True)
12.注册admin
from django.contrib import admin
from firstapp.models import Person,Aritcle

admin.site.register(Person)
admin.site.register(Aritcle)
13.运行manage.py
python manage.py makemigrations
Migrations for 'firstapp':
firstapp\migrations\0002_aritcle.py
- Create model Aritcle
python manage.py migrate
Operations to perform:
Apply all migrations: admin, auth, contenttypes, firstapp, sessions
Running migrations:
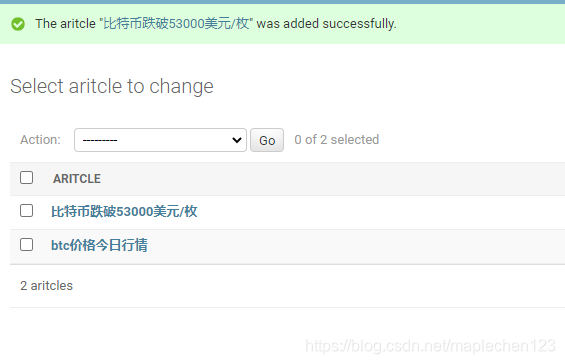
Applying firstapp.0002_aritcle... OK14.再看网页

15.添加两篇文章
16.添加后的数据表
17.view中加一个方法获取文章的内容
def aritic_try(request):
    context = {}
    aritic_list = Aritcle.objects.all()
    context['aritic_list'] = aritic_list
    aritic_page =render(request,'nn.html',context)
    return aritic_page
18.在模板中加一个html
<!DOCTYPE html>
{% load staticfiles %}
<html lang="en">
<head>
    <meta charset="UTF-8">
    <meta http-equiv="X-UA-Compatible" content="IE=edge">
    <meta name="viewport" content="width=device-width, initial-scale=1.0">
    <link rel="stylesheet" href="{% static 'css/semantic.min.css' %}">
    <title>Document</title>
    </head>
    <body>


        {% for aritic in aritic_list %}
        <div class="ui segment vertical">
            <div class="ui container red vertical segment">
                <h1 class="ui header red">
                    {{aritic.headline}}
                </h1>
                <p>
                    {{aritic.content}}
                </p>
            </div>
        </div>
        {%endfor%}
    </body>
</html>
19.加路径
from django.contrib import admin
from django.urls import path
from firstapp.views import first_try,aritic_try

urlpatterns = [
    path('admin/', admin.site.urls),
    path('first_try/', first_try),
    path('aritic/', aritic_try),
20.打开网站,显示2篇新加的文章


 1505
1505

 被折叠的 条评论
为什么被折叠?
被折叠的 条评论
为什么被折叠?
 到【灌水乐园】发言


