


导入必要的库
import cv2
import numpy as np
定义显示图像的函数
def cv_show(name, img):
    cv2.imshow(name, img)
    cv2.waitKey(0)
    cv2.destroyAllWindows()
读取图像


# 读取名为 'name.jpg' 的图像
img = cv2.imread('name.jpg')

# 读取名为 'sun.jpg' 的图像
img2 = cv2.imread('sun.jpg')
转换为灰度图像
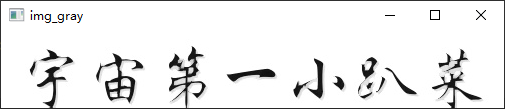
# 将 'img' 转换为灰度图像
img_gray = cv2.cvtColor(img, cv2.COLOR_BGR2GRAY)
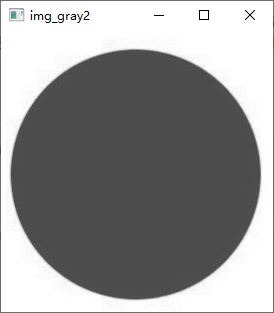
# 将 'img2' 转换为灰度图像
img_gray2 = cv2.cvtColor(img2, cv2.COLOR_BGR2GRAY)
应用二值化反转阈值处理
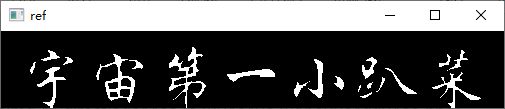
# 对 'img_gray' 应用二值化反转阈值处理,阈值为 127
ret, ref = cv2.threshold(img_gray, 127, 255, cv2.THRESH_BINARY_INV)
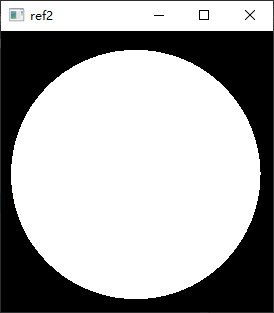
# 对 'img_gray2' 应用二值化反转阈值处理,阈值为 127
ret2, ref2 = cv2.threshold(img_gray2, 127, 255, cv2.THRESH_BINARY_INV)
显示处理后的图像
# 显示处理后的 'ref' 图像
cv_show('ref', ref)
应用腐蚀操作
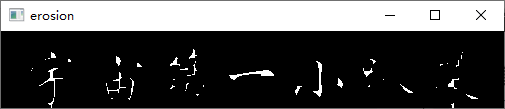
# 创建一个 3x3 的结构元素
kernel = np.ones((3, 3), np.uint8)

# 对 'ref' 应用腐蚀操作,迭代次数为 1
erosion = cv2.erode(ref, kernel, iterations=1)
# 显示侵蚀一次后的图像
cv_show('erosion', erosion)

# 创建一个 30x30 的结构元素
kernel_ = np.ones((30, 30), np.uint8)

# 对 'ref2' 应用腐蚀操作,迭代次数为 1
erosion1 = cv2.erode(ref2, kernel_, iterations=1)

# 对 'ref2' 应用腐蚀操作,迭代次数为 2
erosion2 = cv2.erode(ref2, kernel_, iterations=2)

# 对 'ref2' 应用腐蚀操作,迭代次数为 3
erosion3 = cv2.erode(ref2, kernel_, iterations=3)
水平堆叠图像

# 将腐蚀后的图像水平堆叠在一起(横着加在一块)
res = np.hstack((erosion1, erosion2, erosion3))

# 显示堆叠后的结果图像
cv_show('res', res)


 851
851

 被折叠的 条评论
为什么被折叠?
被折叠的 条评论
为什么被折叠?
 到【灌水乐园】发言


