


Selenium 是一个用于Web应用程序测试的工具。Selenium测试直接运行在浏览器中,就像真正的用户在操作一样。支持的浏览器包括IE,Mozilla Firefox,Safari,Google Chrome,Opera等。这个工具的主要功能包括:测试与浏览器的兼容性——测试你的应用程序看是否能够很好得工作在不同浏览器和操作系统之上。测试系统功能——创建回归测试检验软件功能和用户需求。支持自动录制动作和自动生成 .Net、Java、Perl等不同语言的测试脚本。
首先下载驱动文件:https://chromedriver.storage.googleapis.com/index.html?path=2.39/
放入google目录下

测试代码,测试是否能读取到驱动文件。
| 1 2 3 4 5 6 7 8 |
|
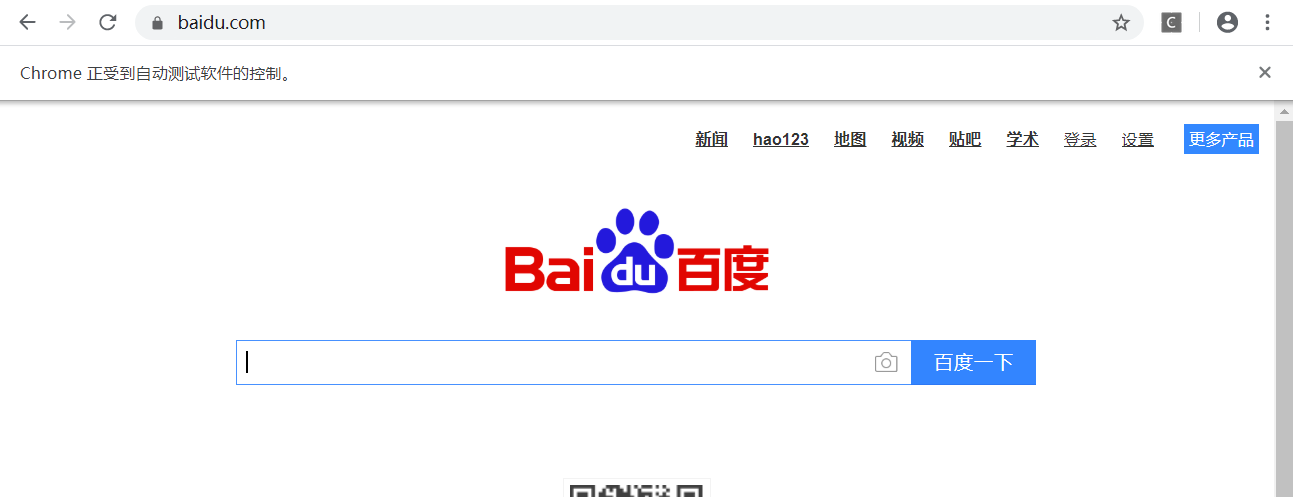
简单的实现浏览器测试
| 1 2 3 4 5 6 7 8 9 10 |
|
Selenium 自动化测试库的使用:
| 1 2 3 4 5 6 7 8 9 10 11 12 13 14 15 16 17 18 19 20 21 22 |
|
通过简单的浏览文件并实现简单的定位.
| 1 2 3 4 5 6 7 8 9 10 11 12 13 14 15 16 17 18 19 20 21 22 23 24 25 26 27 |
|
通过xpath定位标签并自动输入内容,发送登录请求到后端,写法如下.
| 1 2 3 4 5 6 7 8 9 10 11 12 13 14 15 16 17 |
|
通过键盘鼠标类库记录并可回放
| 1 2 3 4 5 6 7 8 9 10 11 12 13 14 15 16 17 18 19 20 21 22 23 24 25 26 27 28 29 30 31 32 33 34 35 36 37 38 39 40 41 42 43 44 45 46 47 48 49 50 51 52 53 |
|
简单的点击事件
| 1 2 3 4 5 6 7 8 9 10 11 12 13 14 15 16 17 18 19 20 21 22 |
|

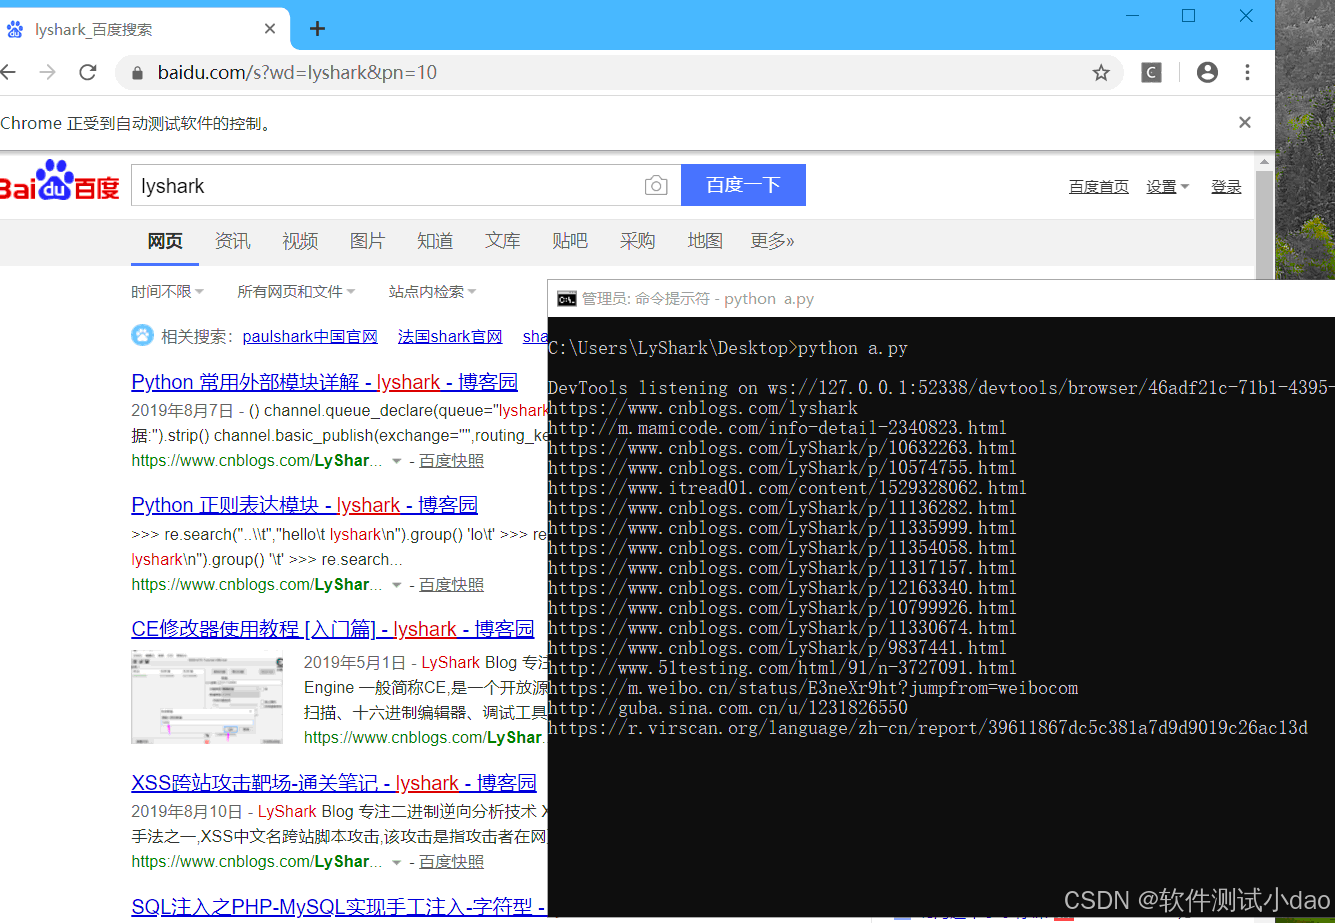
百度自动收集
| 1 2 3 4 5 6 7 8 9 10 11 12 13 14 15 16 17 18 19 20 21 22 23 24 25 26 27 28 |
|
页面等待
| 1 2 3 4 5 6 7 8 9 10 11 12 13 |
|
键盘操作
| 1 2 3 4 5 6 7 8 9 10 11 12 13 14 15 16 17 18 19 20 21 22 23 24 25 26 27 28 29 30 |
|
最后感谢每一个认真阅读我文章的人,看着粉丝一路的上涨和关注,礼尚往来总是要有的,虽然不是什么很值钱的东西,如果你用得到的话可以直接拿走! 希望能帮助到你!【100%无套路免费领取】


 1029
1029

 被折叠的 条评论
为什么被折叠?
被折叠的 条评论
为什么被折叠?
 到【灌水乐园】发言


