


 本文从Spring角度出发,阐述其强大的扩展能力。通过简单测试代码,展示了Spring容器启动获取bean对象的过程。分析了核心启动逻辑中构造方法的操作,指出资源处理器可自行实现。还提到配置环境变量能实现xml切换,鼓励多了解Spring接口以发掘更多玩法。
扩展–一切皆有可能
其实从spring角度来说,最强大的能力是它无与伦比的扩展能力,从简单的启动代码里看一看它的扩展能力的强大之处.
	public static void main(String[] args) {
		ClassPathXmlApplicationContext context = new ClassPathXmlApplicationContext("applicationContext.xml");
		Person test = context.getBean("test", Person.class);
		System.out.println(test.getName());
		System.out.println(test.getAge());

	}
<?xml version="1.0" encoding="UTF-8"?>
<beans xmlns="http://www.springframework.org/schema/beans"
	   xmlns:xsi="http://www.w3.org/2001/XMLSchema-instance"
	   xsi:schemaLocation="http://www.springframework.org/schema/beans
        http://www.springframework.org/schema/beans/spring-beans.xsd">
	<bean id="test" class="org.springframework.l1.Person"/>
</beans>
上面是一份简单的测试代码,通过XML声明了一个person类,并通过ClassPathXmlApplicationContext来启动spring容器来获取person的bean对象
/**
* Create a new ClassPathXmlApplicationContext, loading the definitions
* from the given XML file and automatically refreshing the context.
* @param configLocation resource location
* @throws BeansException if context creation failed
*/
public ClassPathXmlApplicationContext(String configLocation) throws BeansException {
this(new String[] {configLocation}, true, null);
}
/**
* Create a new ClassPathXmlApplicationContext with the given parent,
* loading the definitions from the given XML files.
* @param configLocations array of resource locations
* @param refresh whether to automatically refresh the context,
* loading all bean definitions and creating all singletons.
* Alternatively, call refresh manually after further configuring the context.
* @param parent the parent context
* @throws BeansException if context creation failed
* @see #refresh()
*/
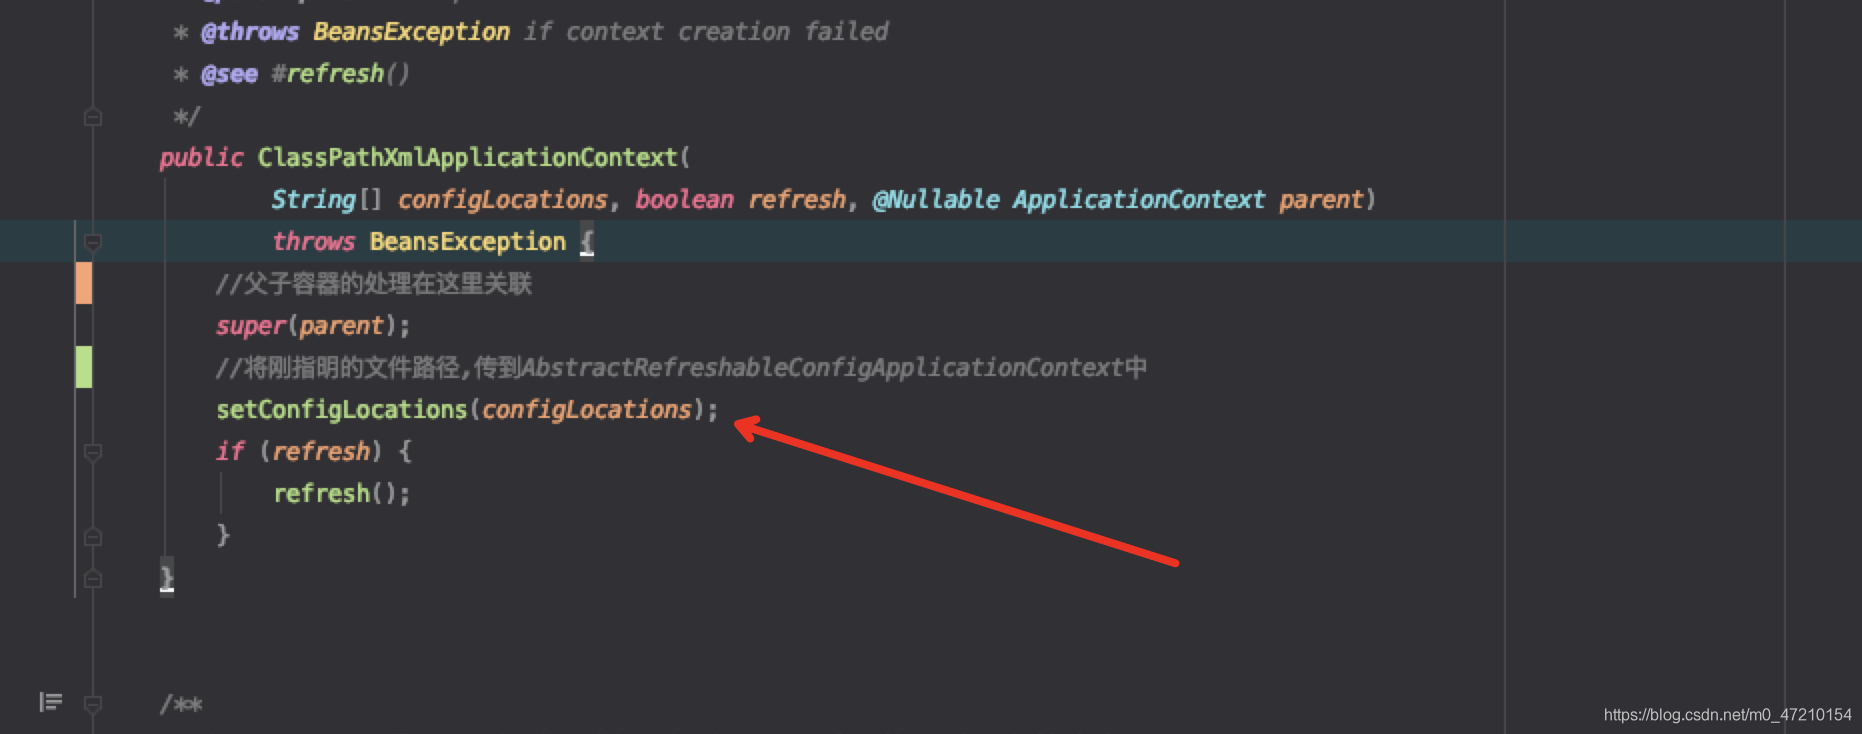
public ClassPathXmlApplicationContext(
String[] configLocations, boolean refresh, @Nullable ApplicationContext parent)
throws BeansException {
//父子容器的处理在这里关联
super(parent);
//将刚指明的文件路径,传到AbstractRefreshableConfigApplicationContext中
setConfigLocations(configLocations);
if (refresh) {
refresh();
}
}
通过上面的源码注释也能看出来,核心的启动逻辑只是调用了一下父容器的构造方法,然后设置了一下指定的配置文件,最后调用了refresh()方法,先瞧一眼构造方法做了什么
org.springframework.context.support.AbstractApplicationContext
/**
* Create a new AbstractApplicationContext with the given parent context.
*
* @param parent the parent context
*/
public AbstractApplicationContext(@Nullable ApplicationContext parent) {
//创建一个reslover,初际上就是调用了getResourcePatternResolver()方法
this();
//设置父容器
setParent(parent);
}
/**
* Create a new AbstractApplicationContext with no parent.
*/
public AbstractApplicationContext() {
this.resourcePatternResolver = getResourcePatternResolver();
}
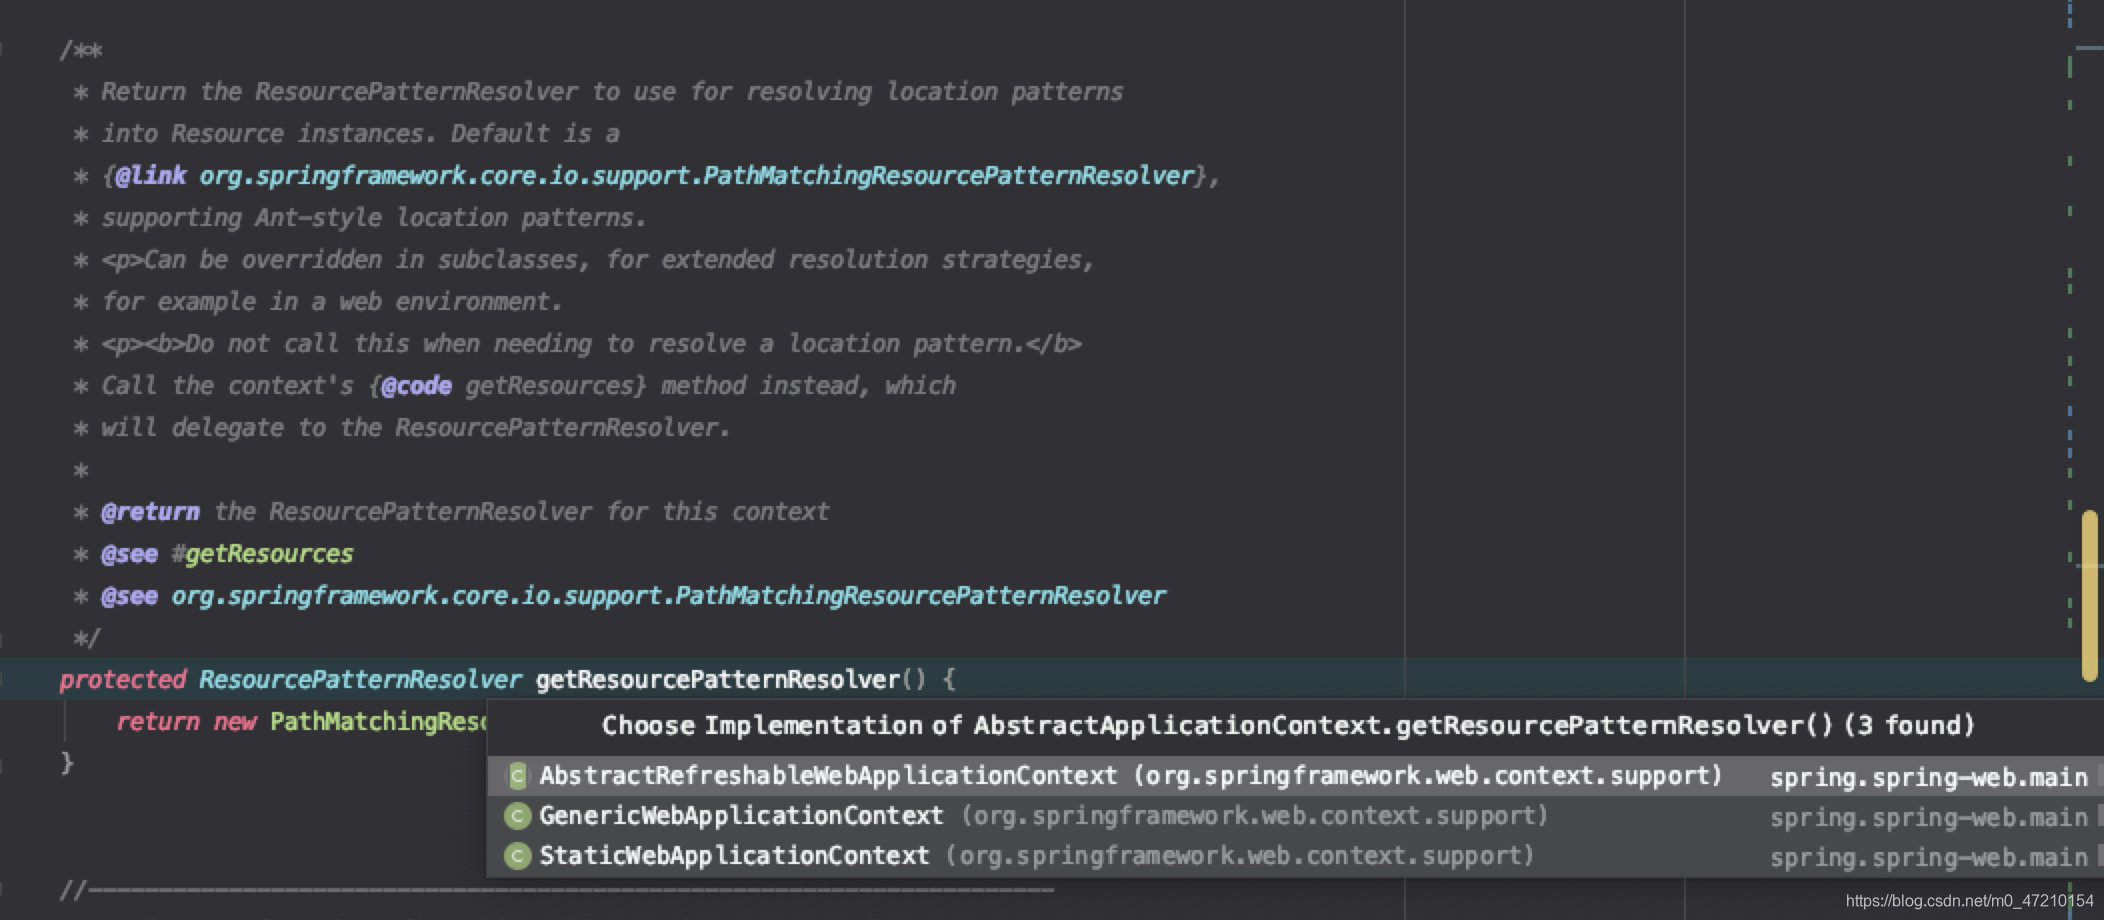
/**
* Return the ResourcePatternResolver to use for resolving location patterns
* into Resource instances. Default is a
* {@link org.springframework.core.io.support.PathMatchingResourcePatternResolver},
* supporting Ant-style location patterns.
* <p>Can be overridden in subclasses, for extended resolution strategies,
* for example in a web environment.
* <p><b>Do not call this when needing to resolve a location pattern.</b>
* Call the context's {@code getResources} method instead, which
* will delegate to the ResourcePatternResolver.
*
* @return the ResourcePatternResolver for this context
* @see #getResources
* @see org.springframework.core.io.support.PathMatchingResourcePatternResolver
*/
protected ResourcePatternResolver getResourcePatternResolver() {
return new PathMatchingResourcePatternResolver(this);
}
/**
* Set the parent of this application context.
* <p>The parent {@linkplain ApplicationContext#getEnvironment() environment} is
* {@linkplain ConfigurableEnvironment#merge(ConfigurableEnvironment) merged} with
* this (child) application context environment if the parent is non-{@code null} and
* its environment is an instance of {@link ConfigurableEnvironment}.
*
* @see ConfigurableEnvironment#merge(ConfigurableEnvironment)
*/
@Override
public void setParent(@Nullable ApplicationContext parent) {
this.parent = parent;
if (parent != null) {
Environment parentEnvironment = parent.getEnvironment();
if (parentEnvironment instanceof ConfigurableEnvironment) {
//还存在父环境合并的问题
getEnvironment().merge((ConfigurableEnvironment) parentEnvironment);
}
}
}
一是调用了 getResourcePatternResolver()方法
二是调用了setParent()方法
其实在这里就可以注意到,getResourcePatternResolver是可以被子类做自己的实现的,也就是说资源的处理器你可以自行去实现,而且可以在源码里看到,它在web工程中被实现了多次,这就是spring如此流行的原因吧,它帮你实现通用的几种处理方式,如果你不满意,可以,自己去实现就成,接入的成本非常低
OK,接着回来看设置配置文件地址的地方
看下这个方法
	/**
	 * Set the config locations for this application context.
	 * <p>If not set, the implementation may use a default as appropriate.
	 */
	public void setConfigLocations(@Nullable String... locations) {
		//首先不能为空
		if (locations != null) {
			Assert.noNullElements(locations, "Config locations must not be null");
			this.configLocations = new String[locations.length];
			for (int i = 0; i < locations.length; i++) {
				//其次会去这里验证文件是否存在
				this.configLocations[i] = resolvePath(locations[i]).trim();
			}
		}
		else {
			this.configLocations = null;
		}
	}
里面主要的验证方法就是 resolvePath
	/**
	 * Resolve the given path, replacing placeholders with corresponding
	 * environment property values if necessary. Applied to config locations.
	 *
	 * @param path the original file path
	 * @return the resolved file path
	 * @see org.springframework.core.env.Environment#resolveRequiredPlaceholders(String)
	 */
	protected String resolvePath(String path) {
		//获取环境参数,这里取了系统变量与环境变量
		return getEnvironment()
			//这里做了占位替换
			.resolveRequiredPlaceholders(path);
	}
所以我们可以这样,只要配置一个环境变量,就可以让这样的xml执行启动过程中的切换,是不是想起了 applicationContext-dev.xml,applicationContext-prod.xml 通过 applicationContext-${spring.profiles.active}.xml 切换的事儿?
	public static void main(String[] args) {
		//在文件上使用占位符
		MyClassPathXmlApplicationContext context = new MyClassPathXmlApplicationContext("${xiaoyingge}.xml");
		Person test = context.getBean("test", Person.class);
		System.out.println(test.getName());
		System.out.println(test.getAge());
	}
多去了解spring提供的接口,玩法会越来越多,多去摸索咯


 2272
2272

 被折叠的 条评论
为什么被折叠?
被折叠的 条评论
为什么被折叠?
 到【灌水乐园】发言


