


 本文介绍了一种将Vue的编程习惯应用于微信小程序的方法,通过在utils文件夹下创建request.js进行请求的封装,简化了wx.request的使用。在api.js中进一步封装了特定的接口调用,如getList和getList1。使用示例展示了如何在页面中引入并调用这些封装后的接口,提高了代码的复用性和可读性。
使用小程序肯定离不开数据的渲染,微信提供的有wx.request,但是很多请求要写很多方法,想想都很麻烦。
wx.request({
        url: 'http://127.0.0.1:8088/test/imgs',
        method: 'get',
        success:function(res){

        }
      })
由于我习惯使用vue,所以呢我也要封装一下,方便日后重复使用
首先我在utils文件夹下面新建request.js
const baseUrl='http://127.0.0.1:8088/';

// 封装ajax
module.exports = {
  request: function(url, method, data) {
    console.log(data)
    wx.showLoading({ title: '加载中...' })
    return new Promise((resolve, reject)=>{
      wx.request({
        url: baseUrl+url,
        method: method,
        data: data,
        header: {
          'Content-type': 'application/x-www-form-urlencoded',
          'Token':'123456'
        },
        success(res) {
          if(res.statusCode === 200){
            if(res.data.code === 200){
              wx.hideLoading();//关闭loading
              resolve(res.data)
            }
          }else{
            wx.showToast({
              title: '未能成功连接上服务器',
              icon: 'none'
            })
            reject(res.data)
          }

        },
        fail() {
          wx.showToast({
            title: '接口有问题2',
            icon: 'none'
          })
          reject(res.data)
        }
      })
    })
  }
}
新建api.js
const { request } = require('../../utils/request')

module.exports = {
  // 获取列表
  getList:(data)=>request('getList', 'GET', data),
  getList1:(data)=>request('getList1', 'GET', data),
  getList3:(data)=>request('getList3/'+data, 'GET', null),
}
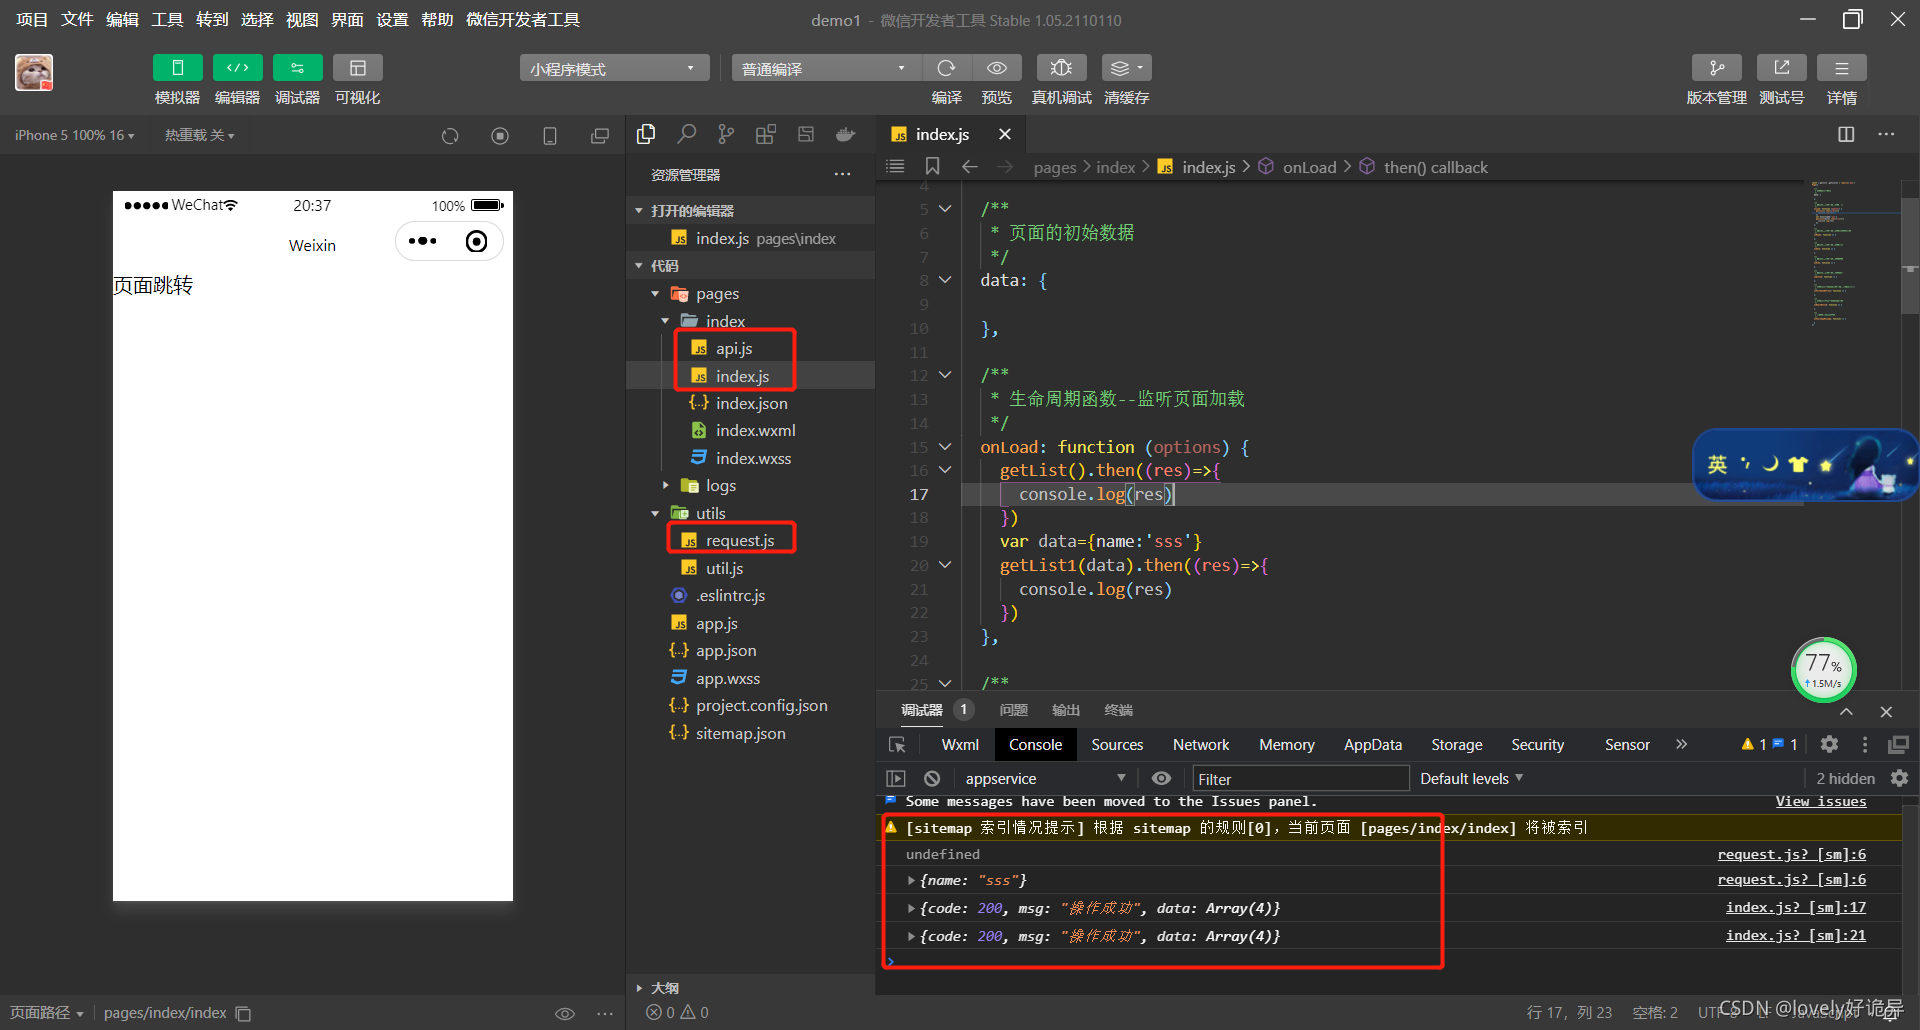
使用示例
const { getList ,getList1 } = require('../api')

  onLoad: function (options) {
    getList().then((res)=>{
      console.log(res)
    })
    var data={name:'sss'}
    getList1(data).then((res)=>{
      console.log(res)
    })
  },
最后贴上我的目录结构以及实战效果


 被折叠的 条评论
为什么被折叠?
被折叠的 条评论
为什么被折叠?
 到【灌水乐园】发言


