


springsecurity,一个很秀的框架,今天开始一步一步的去接触它,第一步添加依赖
<dependency>
			<groupId>org.springframework.boot</groupId>
			<artifactId>spring-boot-starter-security</artifactId>
		</dependency>
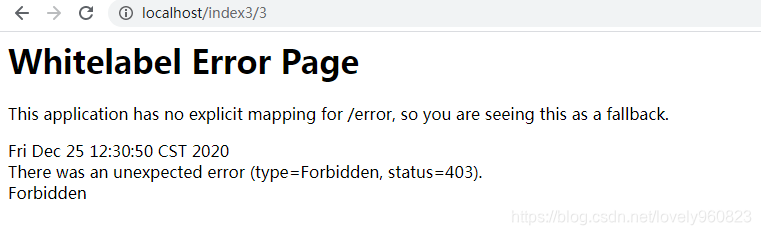
添加上依赖,我去访问项目,直接就这样了
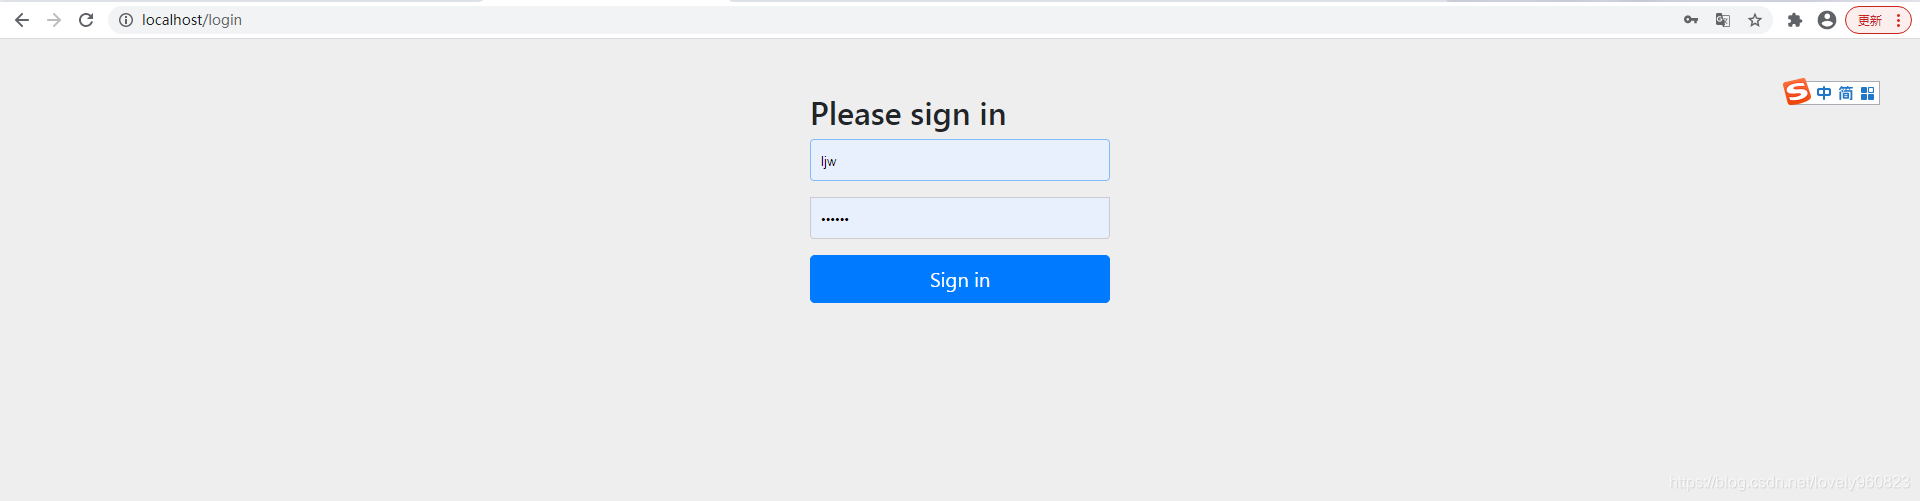
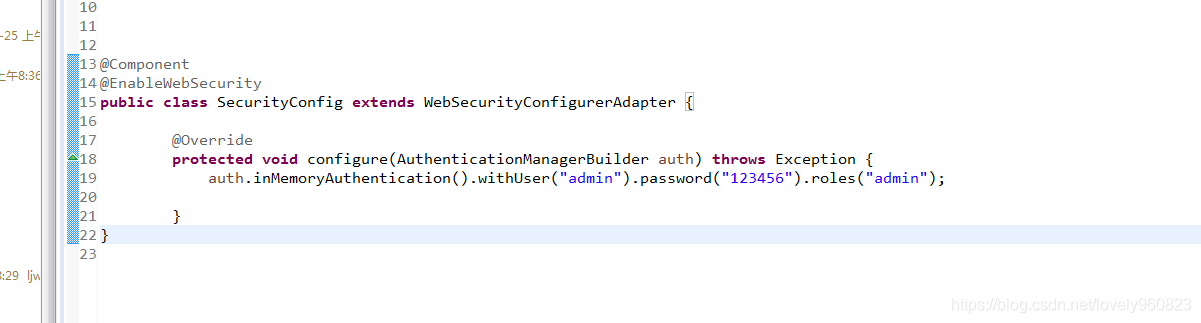
开始慢慢的去搞定它,新增一个配置类,手动增加一个用户
输入一个错误的示例
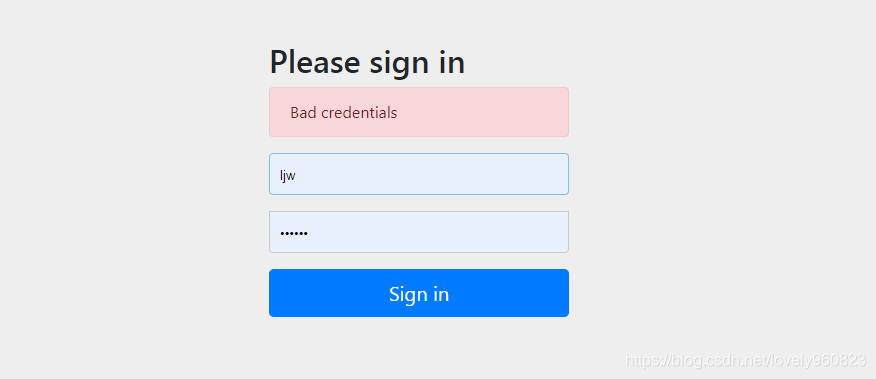
我输入正确的也没能登录进去,后台报错 There is no PasswordEncoder mapped for the id "null"
因为他的密码有加密方式,这里我们没有使用加密的,解决方法:可以去配置一下加密或者不使用加密,我选择先不加密,配置如下
@Bean
		public static NoOpPasswordEncoder passwordEncoder() {
			return (NoOpPasswordEncoder) NoOpPasswordEncoder.getInstance();
		}
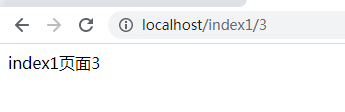
再次登录成功访问到我的请求。
开始处理不同用户不同权限

@Component
@EnableWebSecurity
public class SecurityConfig extends WebSecurityConfigurerAdapter {
@Override
protected void configure(HttpSecurity http) throws Exception {
http.authorizeRequests()
.antMatchers("/").permitAll() //这个请求不拦截
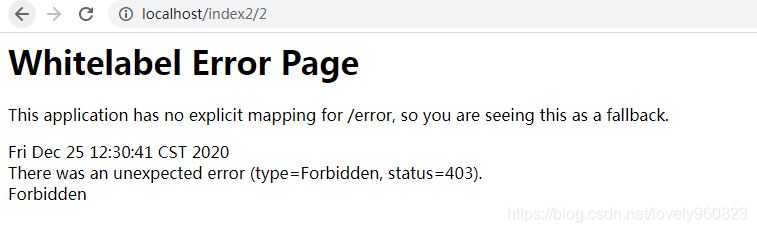
.antMatchers("/index1/**").hasRole("vip1") //有角色为vip1的才可以访问到index1下面的请求
.antMatchers("/index2/**").hasRole("vip2")
.antMatchers("/index3/**").hasRole("vip3");
http.formLogin();
}
@Override
protected void configure(AuthenticationManagerBuilder auth) throws Exception {
auth.inMemoryAuthentication().withUser("admin").password("123456").roles("vip1","vip2","vip3")
.and().withUser("test").password("123456").roles("vip1")
.and().withUser("ljw").password("123456").roles("vip2");//设置角色
}
@Bean
public static NoOpPasswordEncoder passwordEncoder() {
return (NoOpPasswordEncoder) NoOpPasswordEncoder.getInstance();
}
}
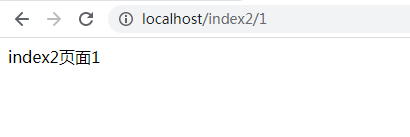
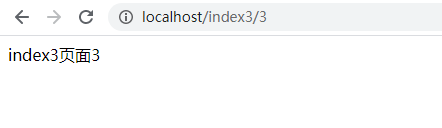
使用admin登录测试:都能访问到
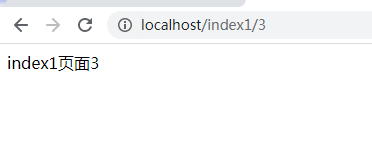
使用test用户测试
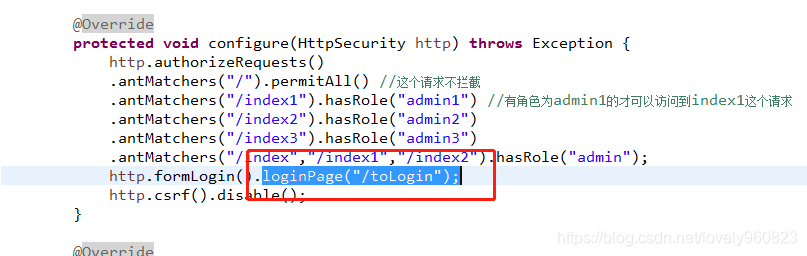
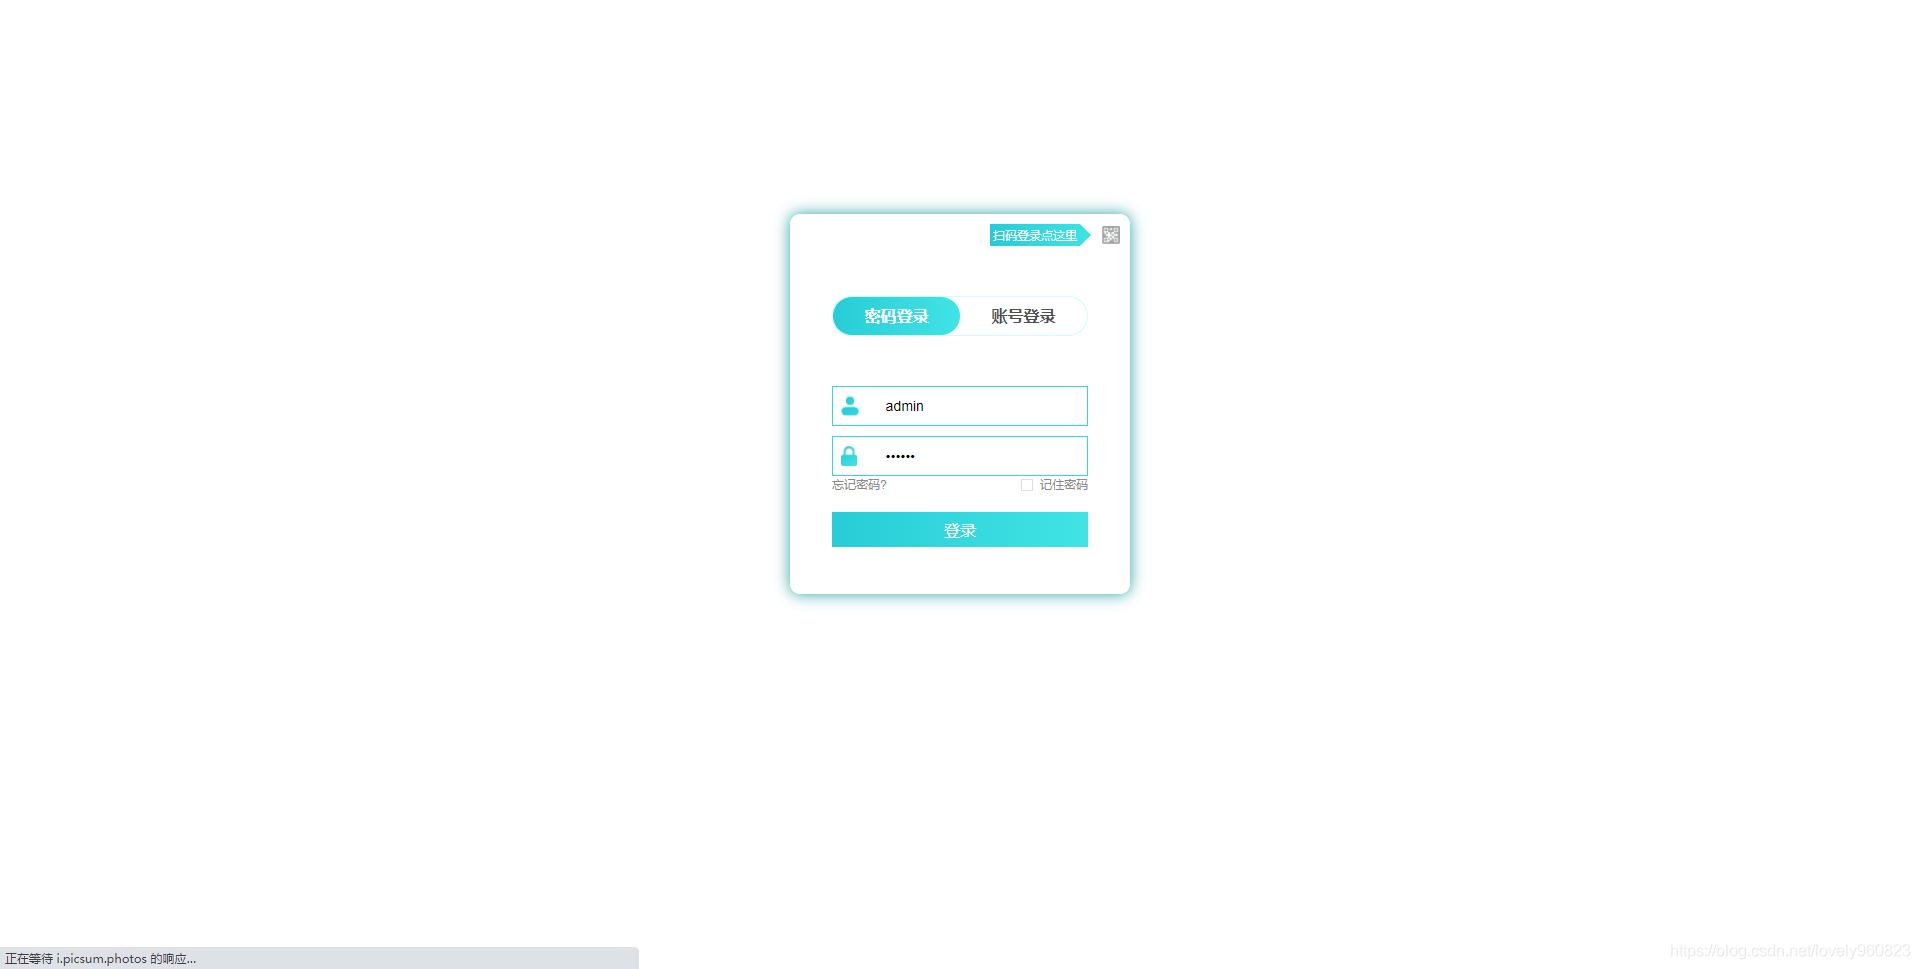
接下来要处理一下 如何将他的登录页修改为自己的,这样就ok了,注意事项:
1我没写其他东西,则默认我登录请求为login 用户名和密码为username和password,如果自己想改,自己再增加配置即可http.formLogin().loginPage("/toLogin").usernameParameter("username").passwordParameter("password").loginProcessingUrl("/login");

刚才是所有用户都能看到所有的东西,现在处理不同用户只能看到自己对应的链接。我使用的是thymeleaf,所以要整合一下,添加依赖 配合标签使用
<dependency>
            <groupId>org.thymeleaf.extras</groupId>
            <artifactId>thymeleaf-extras-springsecurity5</artifactId>
        </dependency>

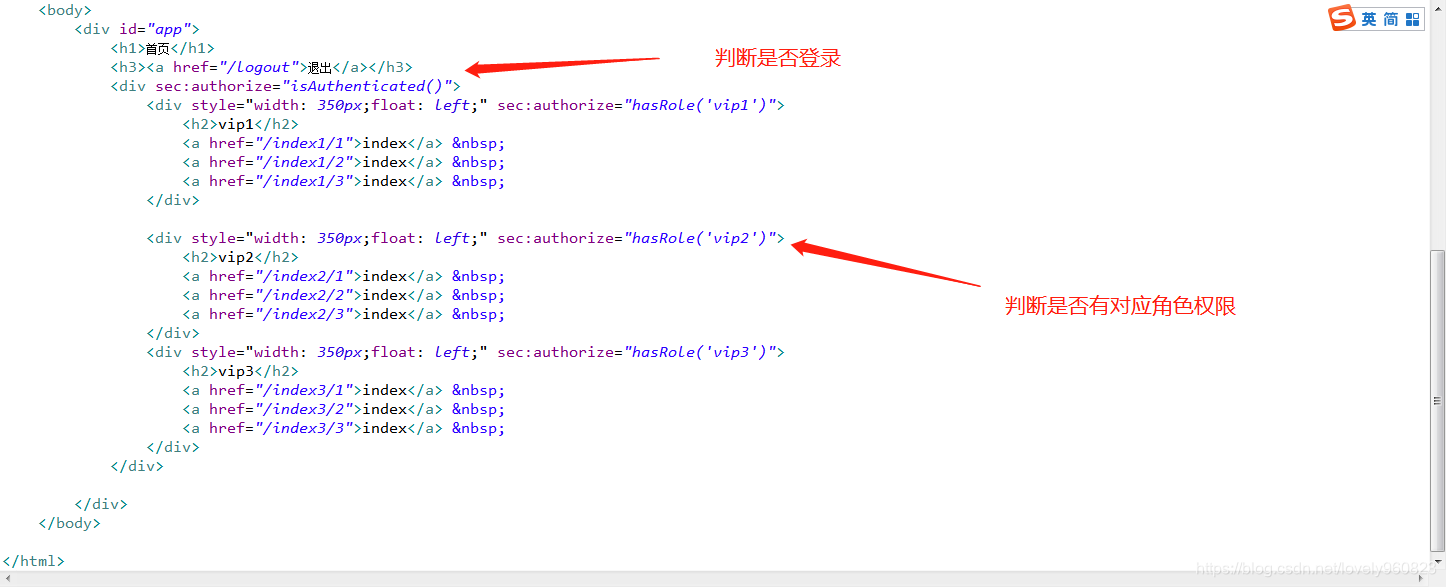
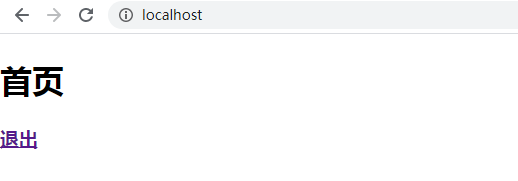
现在来看效果,未登录
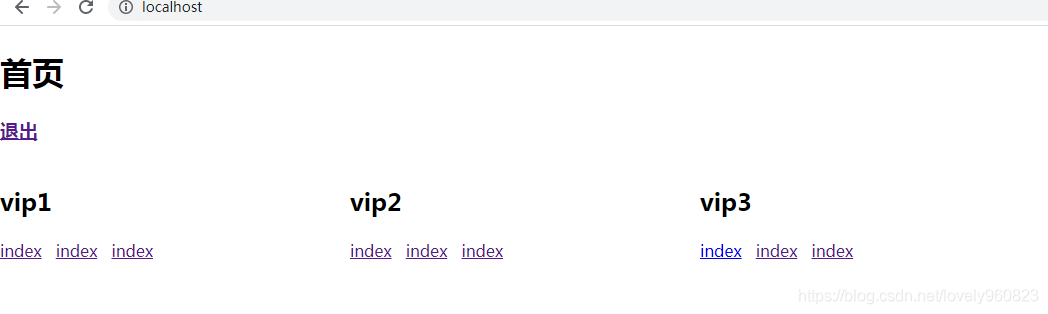
admin 登录
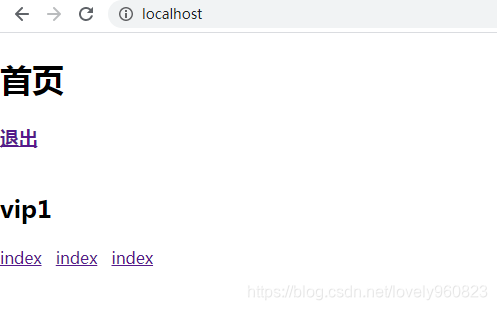
test 登录
上面是基于角色的权限处理,接下来是基于权限标识符的处理了,如下
页面使用标签如下

这里就不测试了,结果肯定跑不掉的。
接下来是从数据库查询用户和权限了,我们需要实现UserDetailsService类
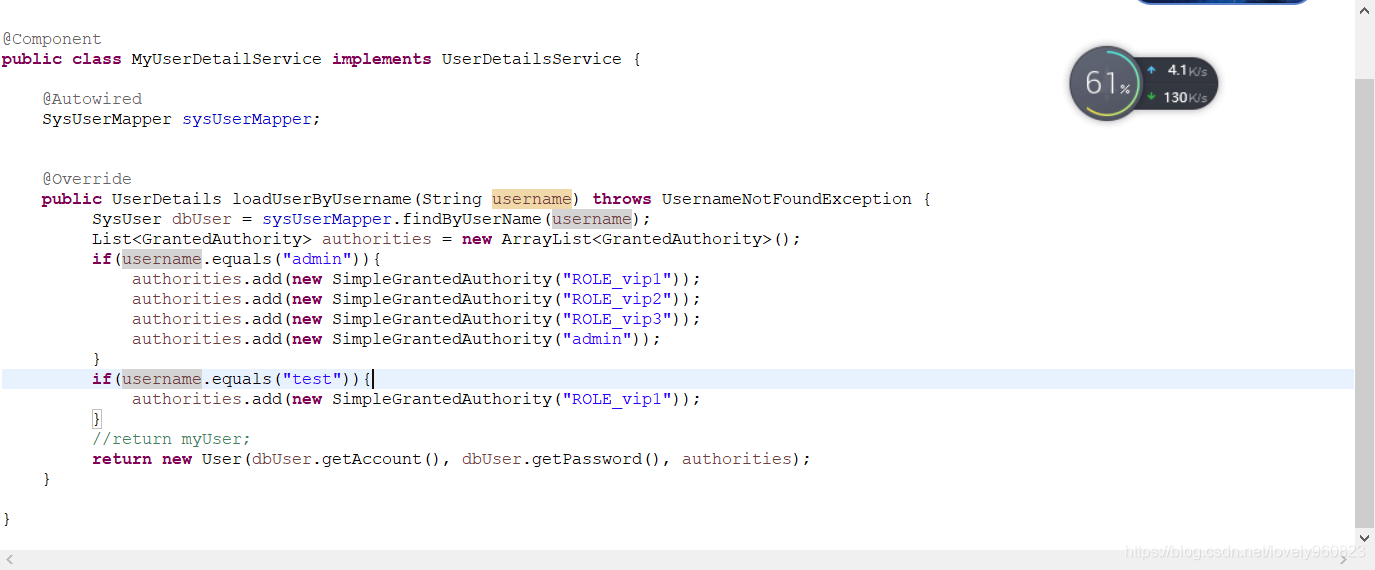
这样既可,我们实现这个类,然后返回一个user对象,这个user对象也可以自己去重写,也可以用它的,我这里暂时返回对象的时候传递了三个参数, 用户名,密码和对应的权限。
这里权限分为了两种,一个角色权限(以ROLE_开头),还一个权限标识符权限(不是以ROLE_开头),为什么这样做,我们点开配置类的hasRole
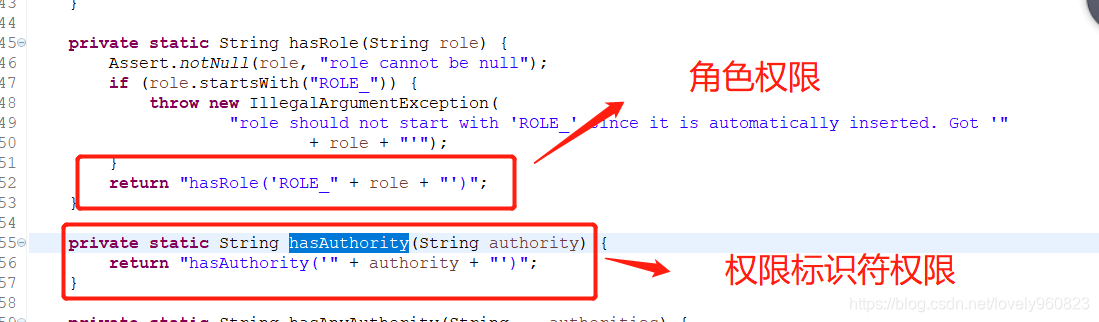
源码给我们默认加了一个ROLE_,所以我们查询的时候角色权限要这样加一个,包括接下来的注解角色权限也要加上,否则你是没有对应的权限,然而标识符权限是直接返回你传入的值的,所以不是以ROLE_开头的就是你对应的标识符权限,补充一句,在UserDetailsService传权限的时候不能为空
接下来是权限注解的使用,就不演示了,直接说一下简单使用,
我们使用角色和标识符注解,首先要开启注解
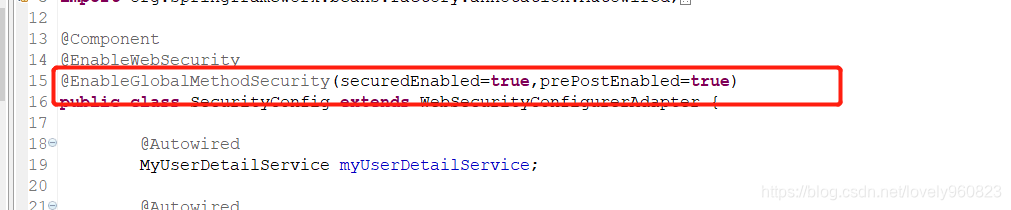
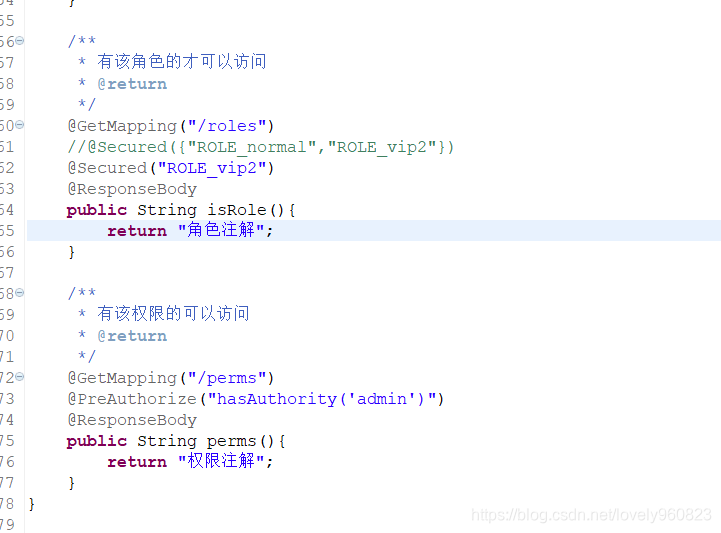
就是这样使用的,具体更多细节使用也可以百度
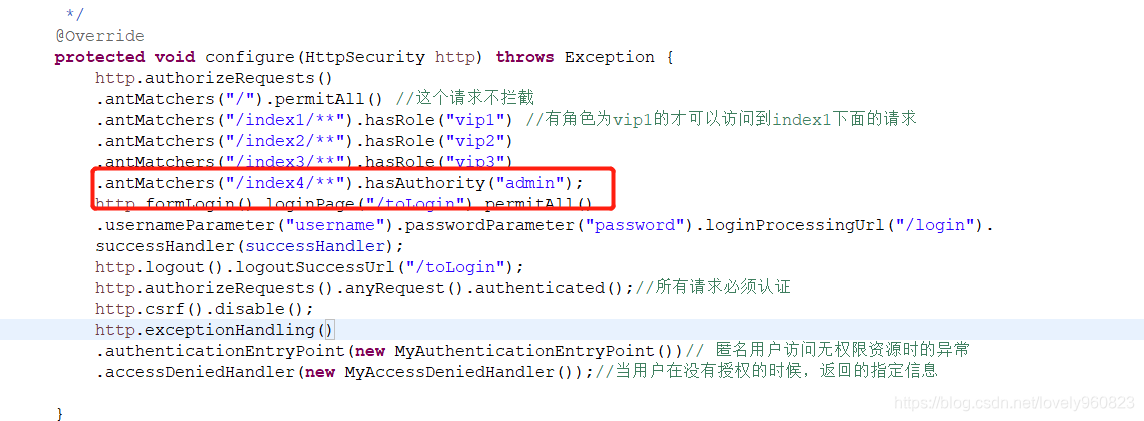
最后处理一下动态请求权限配置,有的人就说了,你那样直接写死多不好
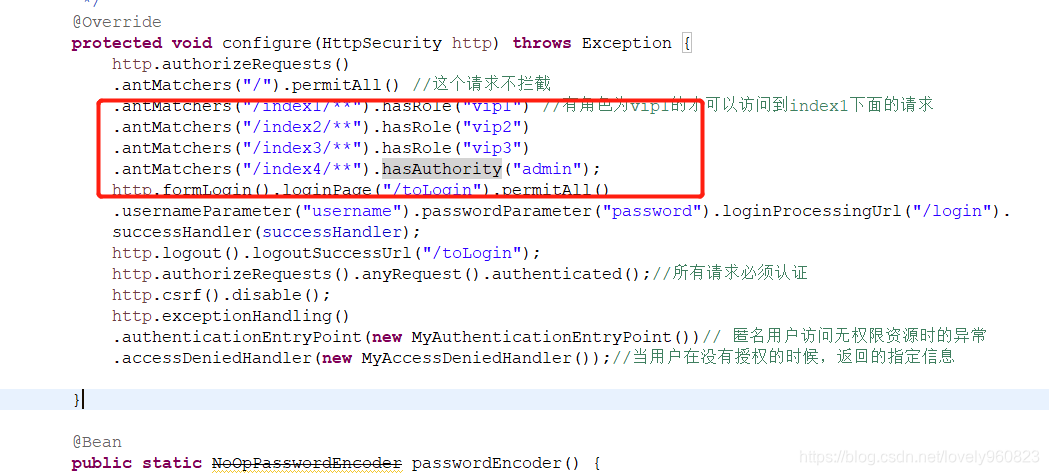
手写,你也可以不写,直接使用注解,不想用注解,就是想在这里配置,可以把所有的请求和请求权限查出来直接放上去就完事了,因为他是链式的,所有很方便的,具体也不上代码了。
自定义认证成功:
// 认证成功
@Component
public class MyAuthenticationSuccessHandler implements AuthenticationSuccessHandler {

	public void onAuthenticationSuccess(HttpServletRequest req, HttpServletResponse res, Authentication arg2)throws IOException, ServletException {
		System.err.println("用户认证成功");
		res.sendRedirect("/");
	}
自定义未登录无权限
/**
 *  未登录访问资源时无权限的处理
 * @author Administrator
 *
 */
@Component
public class MyAuthenticationEntryPoint implements AuthenticationEntryPoint{

	  @Override
	  public void commence(HttpServletRequest request, HttpServletResponse response,
	             AuthenticationException authException) throws IOException, ServletException {
	    response.setCharacterEncoding("utf-8");
	    response.setContentType("text/javascript;charset=utf-8");
	    response.getWriter().print(JSONObject.toJSONString("您未登录,没有访问权限"));
	  }
自定义无权限
/**
 * 当前用户没有相应权限返回信息
 * @author Administrator
 *
 */
@Component
public class MyAccessDeniedHandler implements AccessDeniedHandler {

    @Override
    public void handle(HttpServletRequest httpServletRequest, HttpServletResponse httpServletResponse, AccessDeniedException e) throws IOException {
        httpServletResponse.setStatus(HttpStatus.INTERNAL_SERVER_ERROR.value());
        httpServletResponse.setContentType("application/json;charset=UTF-8");
        httpServletResponse.getWriter().write(JSONObject.toJSONString("没有访问该资源的权限"));
    }
未完待续…


 5万+
5万+

 被折叠的 条评论
为什么被折叠?
被折叠的 条评论
为什么被折叠?
 到【灌水乐园】发言


