


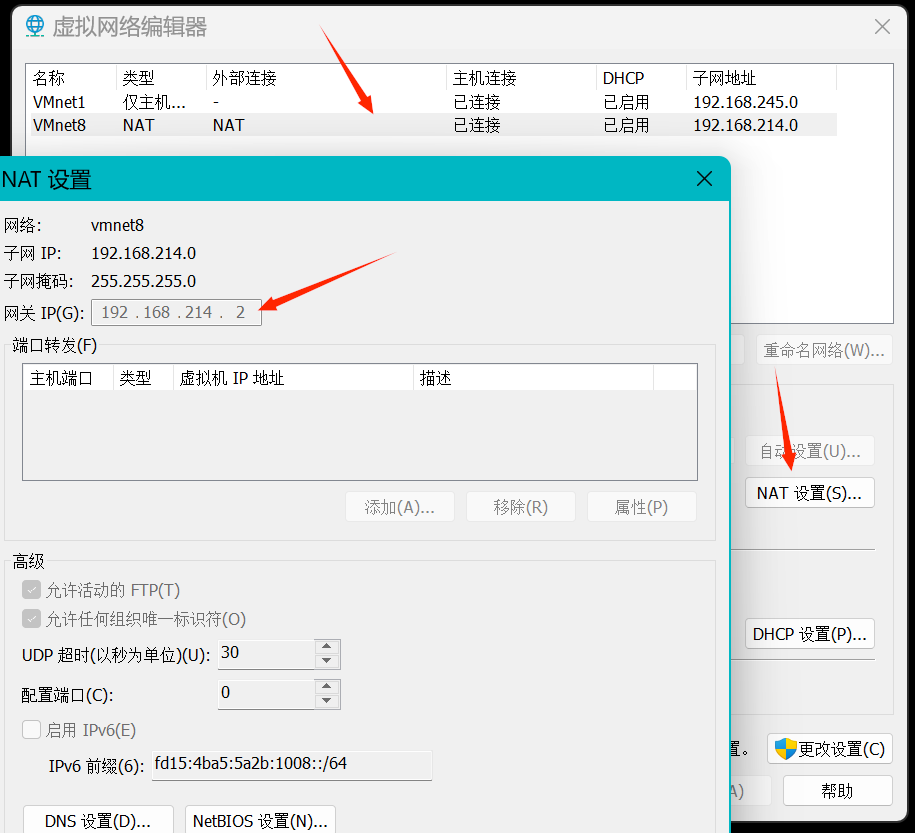
1、将你的虚拟机的网卡模式设置为nat模式,给虚拟机网卡配置三个主机位分别为100、200、168的ip地址
查看网关、是否启动nat模式:
进入文本图形界面配置网络 :
[root@xiaokeai ~]# nmtui
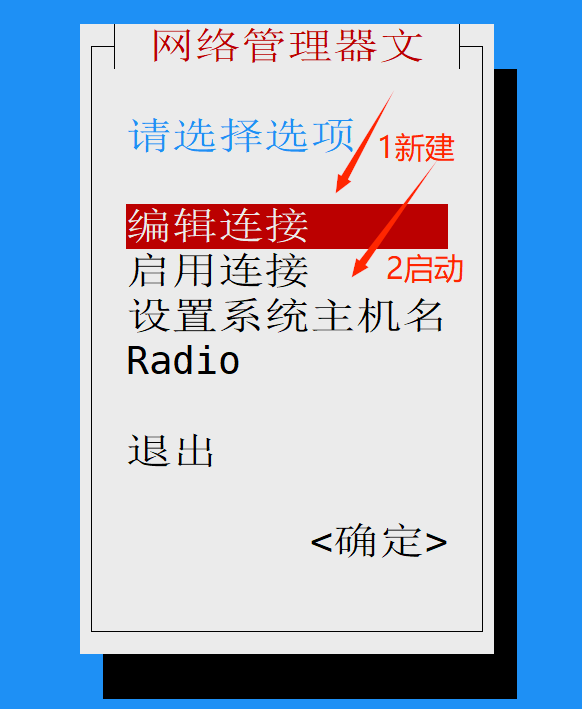
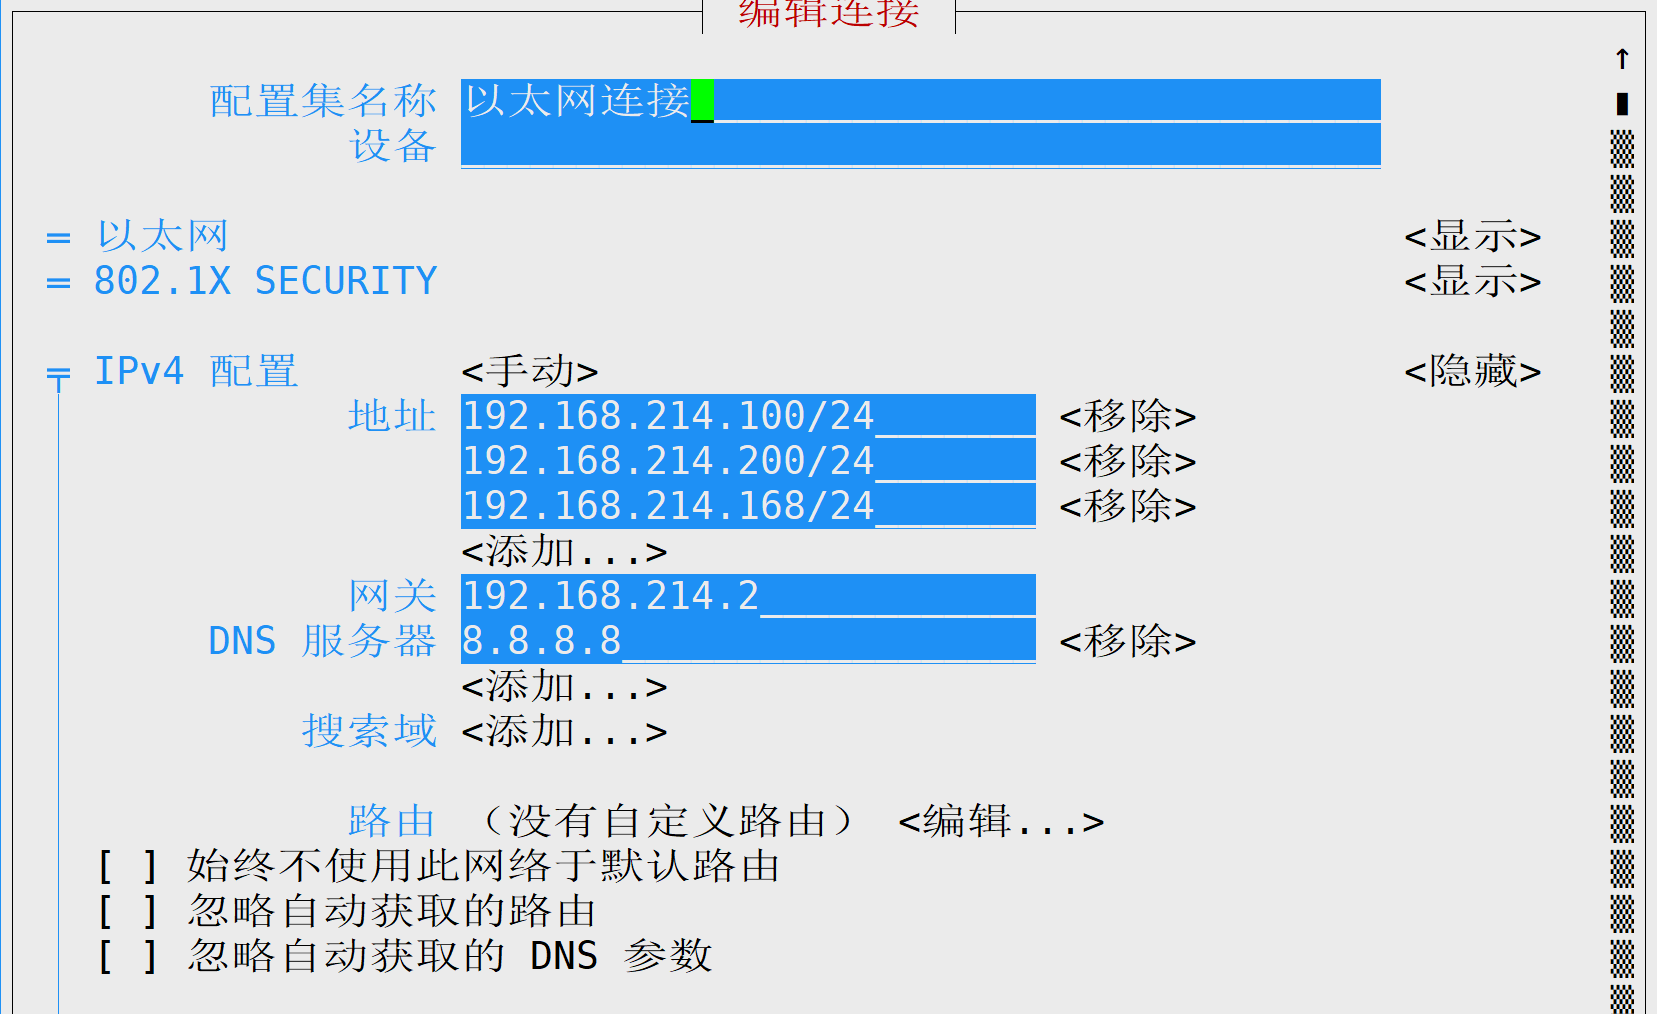
新建连接,配置符合自己网关的地址:
查看网络连接:
[root@xiaokeai ~]# nmcli connect
NAME          UUID                                  TYPE      DEVICE
以太网连接 1  74638777-45bb-4b46-8598-c27fad44bf3c  ethernet  ens160
lo            7aaf24c7-3a5d-4e89-a038-fed862afc6e1  loopback  lo
ens160        ad65a2d7-7fd1-3a5f-85a6-f9545e046d9b  ethernet  --

[root@xiaokeai ~]# ll /etc/NetworkManager/system-connections/
总用量 8
-rw-------. 1 root root 307  3月 30 16:41 '以太网连接 1.nmconnection'
-rw-------. 1 root root 229  3月 30 15:46  ens160.nmconnection

[root@xiaokeai ~]# cat /etc/NetworkManager/system-connections/'以太网连接 1.nmconnection'
[connection]
id=以太网连接 1
uuid=74638777-45bb-4b46-8598-c27fad44bf3c
type=ethernet
timestamp=1743320827

[ethernet]

[ipv4]
address1=192.168.214.100/24,192.168.214.2
address2=192.168.214.200/24
address3=192.168.214.168/24
dns=8.8.8.8;
method=manual

[ipv6]
addr-gen-mode=default
method=auto

[proxy]
2、测试你的虚拟机是否能够ping通网关和dns,如果不能请修改网关和dns的地址
[C:\~]$ ssh root@192.168.214.100
[root@xiaokeai ~]# ping 192.168.214.100
PING 192.168.214.100 (192.168.214.100) 56(84) 比特的数据。
64 比特,来自 192.168.214.100: icmp_seq=1 ttl=64 时间=0.039 毫秒
64 比特,来自 192.168.214.100: icmp_seq=2 ttl=64 时间=0.091 毫秒
64 比特,来自 192.168.214.100: icmp_seq=3 ttl=64 时间=0.150 毫秒

--- 192.168.214.100 ping 统计 ---
已发送 3 个包, 已接收 3 个包, 0% packet loss, time 2086ms
rtt min/avg/max/mdev = 0.039/0.093/0.150/0.045 ms

[root@xiaokeai ~]# ping 192.168.214.2
PING 192.168.214.2 (192.168.214.2) 56(84) 比特的数据。
64 比特,来自 192.168.214.2: icmp_seq=1 ttl=128 时间=0.195 毫秒
64 比特,来自 192.168.214.2: icmp_seq=2 ttl=128 时间=0.683 毫秒
64 比特,来自 192.168.214.2: icmp_seq=3 ttl=128 时间=0.500 毫秒

--- 192.168.214.2 ping 统计 ---
已发送 3 个包, 已接收 3 个包, 0% packet loss, time 2014ms
rtt min/avg/max/mdev = 0.195/0.459/0.683/0.201 ms

[root@xiaokeai ~]# ping 8.8.8.8
PING 8.8.8.8 (8.8.8.8) 56(84) 比特的数据。
64 比特,来自 8.8.8.8: icmp_seq=1 ttl=128 时间=144 毫秒
64 比特,来自 8.8.8.8: icmp_seq=2 ttl=128 时间=64.0 毫秒
64 比特,来自 8.8.8.8: icmp_seq=3 ttl=128 时间=142 毫秒

--- 8.8.8.8 ping 统计 ---
已发送 3 个包, 已接收 3 个包, 0% packet loss, time 2004ms
rtt min/avg/max/mdev = 63.950/116.829/144.438/37.403 ms
3、将如下内容写入/etc/hosts文件中(如果有多个ip地址则写多行):
你的第一个ip地址(不要写掩码) www.rhcsa1.com
你的第二个ip地址(不要写掩码) www.rhcsa2.com
[root@xiaokeai ~]# vim /etc/hosts
[root@xiaokeai ~]# cat /etc/hosts
127.0.0.1   localhost localhost.localdomain localhost4 localhost4.localdomain4
::1         localhost localhost.localdomain localhost6 localhost6.localdomain6
192.168.214.100 www.rhcsa1.com
192.168.214.200 www.rhcsa2.com
192.168.214.168 www.rhcsa3.com
4、使用ping命令测试能否ping通www.rhcsa1.com和www.rhcsa2.com
[root@xiaokeai ~]# ping www.rhcsa1.com
PING www.rhcsa1.com (192.168.214.100) 56(84) 比特的数据。
64 比特,来自 www.rhcsa1.com (192.168.214.100): icmp_seq=1 ttl=64 时间=0.039 毫秒
64 比特,来自 www.rhcsa1.com (192.168.214.100): icmp_seq=2 ttl=64 时间=0.239 毫秒
64 比特,来自 www.rhcsa1.com (192.168.214.100): icmp_seq=3 ttl=64 时间=0.211 毫秒

--- www.rhcsa1.com ping 统计 ---
已发送 3 个包, 已接收 3 个包, 0% packet loss, time 2051ms
rtt min/avg/max/mdev = 0.039/0.163/0.239/0.088 ms
[root@xiaokeai ~]# ping www.rhcsa2.com
PING www.rhcsa2.com (192.168.214.200) 56(84) 比特的数据。
64 比特,来自 www.rhcsa2.com (192.168.214.200): icmp_seq=1 ttl=64 时间=0.043 毫秒
64 比特,来自 www.rhcsa2.com (192.168.214.200): icmp_seq=2 ttl=64 时间=0.123 毫秒
64 比特,来自 www.rhcsa2.com (192.168.214.200): icmp_seq=3 ttl=64 时间=0.159 毫秒

--- www.rhcsa2.com ping 统计 ---
已发送 3 个包, 已接收 3 个包, 0% packet loss, time 2030ms
rtt min/avg/max/mdev = 0.043/0.108/0.159/0.048 ms
[root@xiaokeai ~]# ping www.rhcsa3.com
PING www.rhcsa3.com (192.168.214.168) 56(84) 比特的数据。
64 比特,来自 www.rhcsa3.com (192.168.214.168): icmp_seq=1 ttl=64 时间=0.038 毫秒
64 比特,来自 www.rhcsa3.com (192.168.214.168): icmp_seq=2 ttl=64 时间=0.151 毫秒
64 比特,来自 www.rhcsa3.com (192.168.214.168): icmp_seq=3 ttl=64 时间=0.148 毫秒

--- www.rhcsa3.com ping 统计 ---
已发送 3 个包, 已接收 3 个包, 0% packet loss, time 2036ms
rtt min/avg/max/mdev = 0.038/0.112/0.151/0.052 ms
5、使用yum安装nginx并运行
[root@xiaokeai ~]# wget http://nginx.org/packages/rhel/9/x86_64/RPMS/nginx-1.26.2-2.el9.ngx.x86_64.rpm
--2025-03-28 20:45:08-- http://nginx.org/packages/rhel/9/x86_64/RPMS/nginx-1.26.2-2.el9.ngx.x86_64.rpm
正在解析主机 nginx.org (nginx.org)... 3.125.197.172, 52.58.199.22, 2a05:d014:5c0:2600::6, ...
正在连接 nginx.org (nginx.org)|3.125.197.172|:80... 已连接。
已发出 HTTP 请求,正在等待回应... 200 OK
长度:1020146 (996K) [application/x-redhat-package-manager]
正在保存至: “nginx-1.26.2-2.el9.ngx.x86_64.rpm”
nginx-1.26.2-2.el9.ngx 100%[===========================>] 996.24K 37.4KB/s 用时 34s
2025-03-28 20:45:43 (29.0 KB/s) - 已保存 “nginx-1.26.2-2.el9.ngx.x86_64.rpm” [1020146/1020146])
[root@xiaokeai ~]# yum install nginx-1.26.2-2.el9.ngx.x86_64.rpm
正在更新 Subscription Management 软件仓库。
无法读取客户身份
This system is not registered with an entitlement server. You can use "rhc" or "subscription-manager" to register.
依赖关系解决。
===========================================================================================
软件包 架构 版本 仓库 大小
===========================================================================================
安装:
nginx x86_64 2:1.26.2-2.el9.ngx @commandline 996 k
事务概要
===========================================================================================
安装 1 软件包
总计:996 k
安装大小:3.3 M
确定吗?[y/N]: y
下载软件包:
运行事务检查
事务检查成功。
运行事务测试
事务测试成功。
运行事务
准备中 : 1/1
运行脚本: nginx-2:1.26.2-2.el9.ngx.x86_64 1/1
安装 : nginx-2:1.26.2-2.el9.ngx.x86_64 1/1
运行脚本: nginx-2:1.26.2-2.el9.ngx.x86_64 1/1
----------------------------------------------------------------------
Thanks for using nginx!
Please find the official documentation for nginx here:
* https://nginx.org/en/docs/
Please subscribe to nginx-announce mailing list to get
the most important news about nginx:
* https://nginx.org/en/support.html
Commercial subscriptions for nginx are available on:
* https://nginx.com/products/
----------------------------------------------------------------------
验证 : nginx-2:1.26.2-2.el9.ngx.x86_64 1/1
已更新安装的产品。
已安装:
nginx-2:1.26.2-2.el9.ngx.x86_64
完毕!
[root@first ~]# yum search nginx
正在更新 Subscription Management 软件仓库。
无法读取客户身份
This system is not registered with an entitlement server. You can use "rhc" or "subscription-manager" to register.
================================== 名称 精准匹配:nginx ===================================
nginx.x86_64 : High performance web server
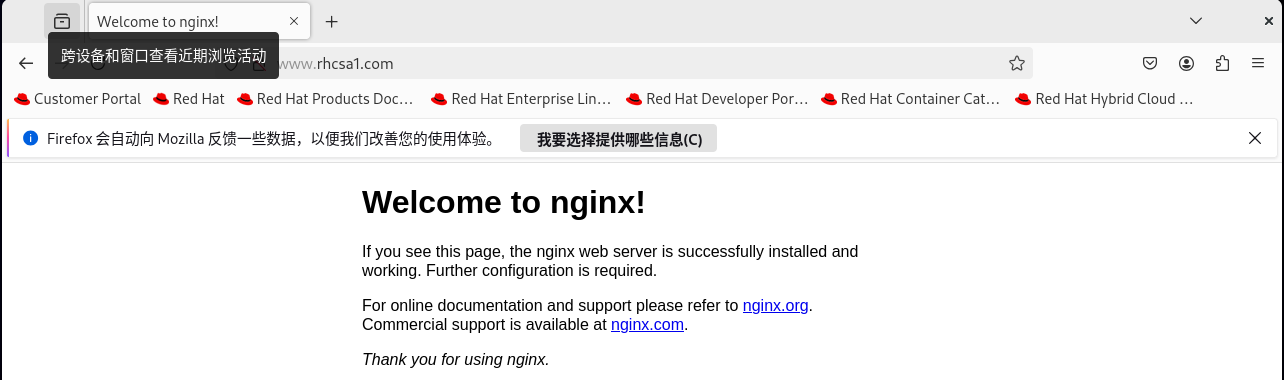
[root@xiaokeai ~]# systemctl start nginx
[root@xiaokeai ~]# systemctl status nginx
● nginx.service - nginx - high performance web server
Loaded: loaded (/usr/lib/systemd/system/nginx.service; disabled; preset: disabled)
Active: active (running) since Sun 2025-03-30 17:41:11 CST; 4min 42s ago
Docs: http://nginx.org/en/docs/
Process: 3116 ExecStart=/usr/sbin/nginx -c /etc/nginx/nginx.conf (code=exited, status=0/SUCCESS)
Main PID: 3117 (nginx)
Tasks: 3 (limit: 11964)
Memory: 4.8M
CPU: 17ms
CGroup: /system.slice/nginx.service
├─3117 "nginx: master process /usr/sbin/nginx -c /etc/nginx/nginx.conf"
├─3118 "nginx: worker process"
└─3119 "nginx: worker process"
3月 30 17:41:11 xiaokeai systemd[1]: Starting nginx - high performance web server...
3月 30 17:41:11 xiaokeai systemd[1]: Started nginx - high performance web server.
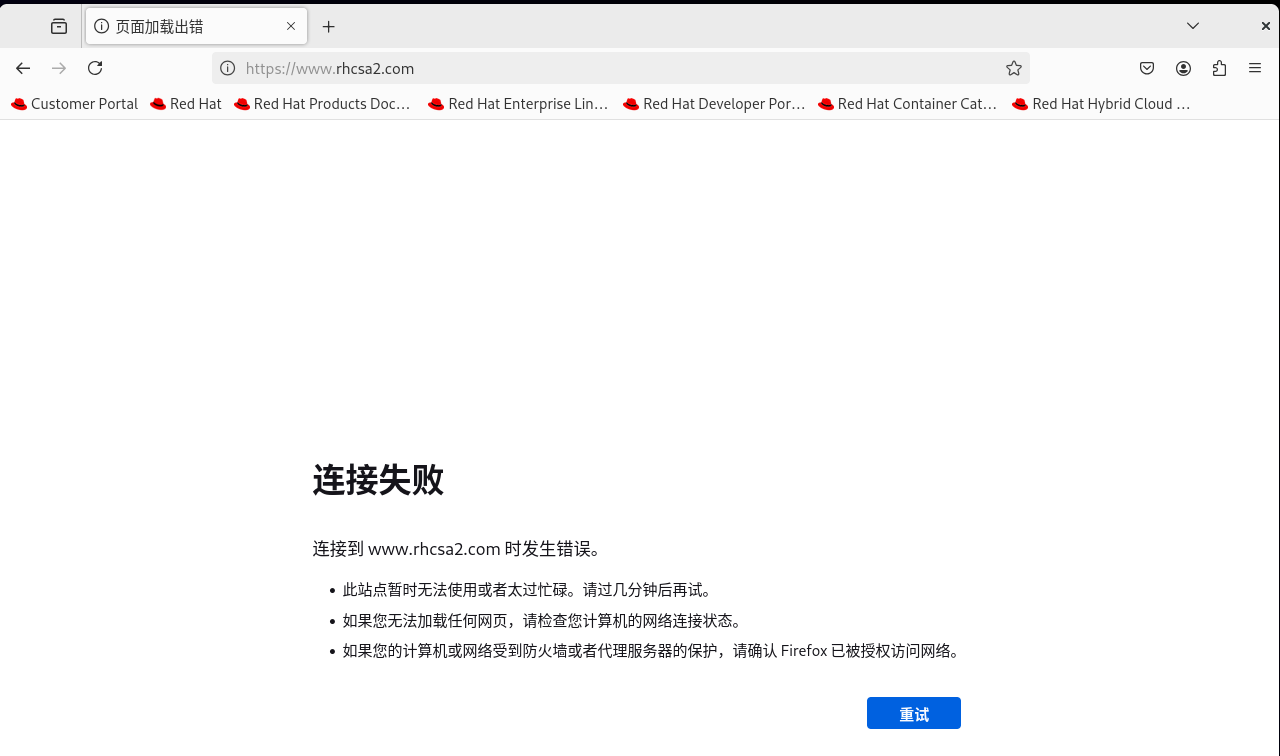
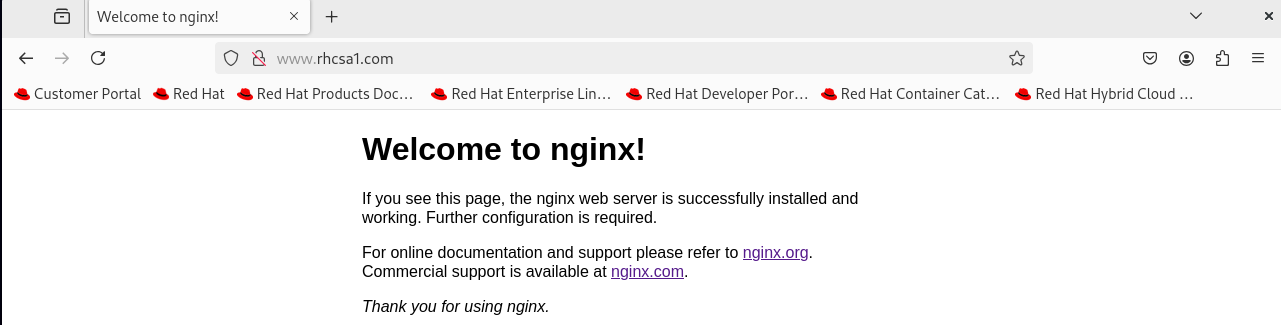
6、在linux的火狐浏览器上分别访问www.rhcsa1.com和www.rhcsa2.com网站
7、将你当前主机的ip地址,mac地址和主机名写入文件/usr/share/nginx/html/index.html
[root@xiaokeai ~]# ip a |grep inet|grep global|cut -d "/" -f1|cut -d " " -f6 >/usr/share/nginx/html/index.html
[root@xiaokeai ~]# ip a|grep link/ether|cut -d " " -f6 >>/usr/share/nginx/html/index.html
[root@xiaokeai ~]# hostname >>/usr/share/nginx/html/index.html
[root@xiaokeai ~]# cat /usr/share/nginx/html/index.html
192.168.214.100
192.168.214.200
192.168.214.168
00:0c:29:00:b2:4e
xiaokeai
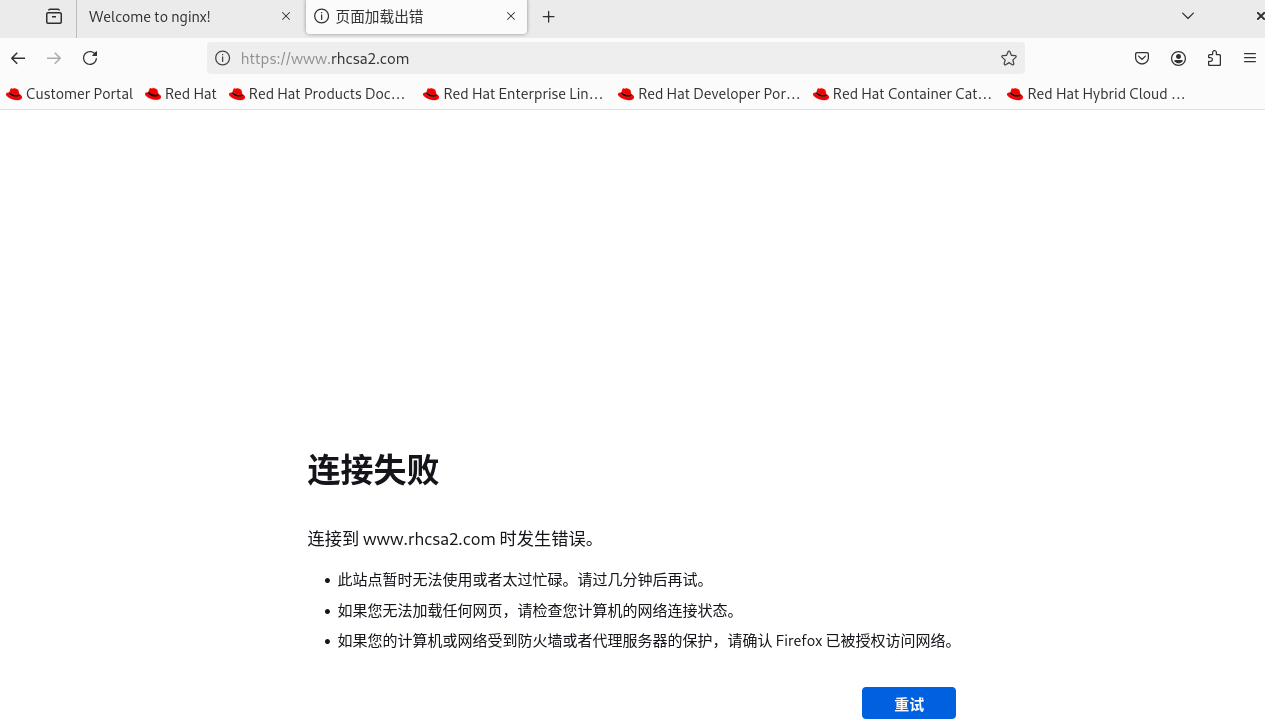
8、在linux的火狐浏览器上再分别访问www.rhcsa1.com和www.rhcsa2.com网站,看网站内容的变化

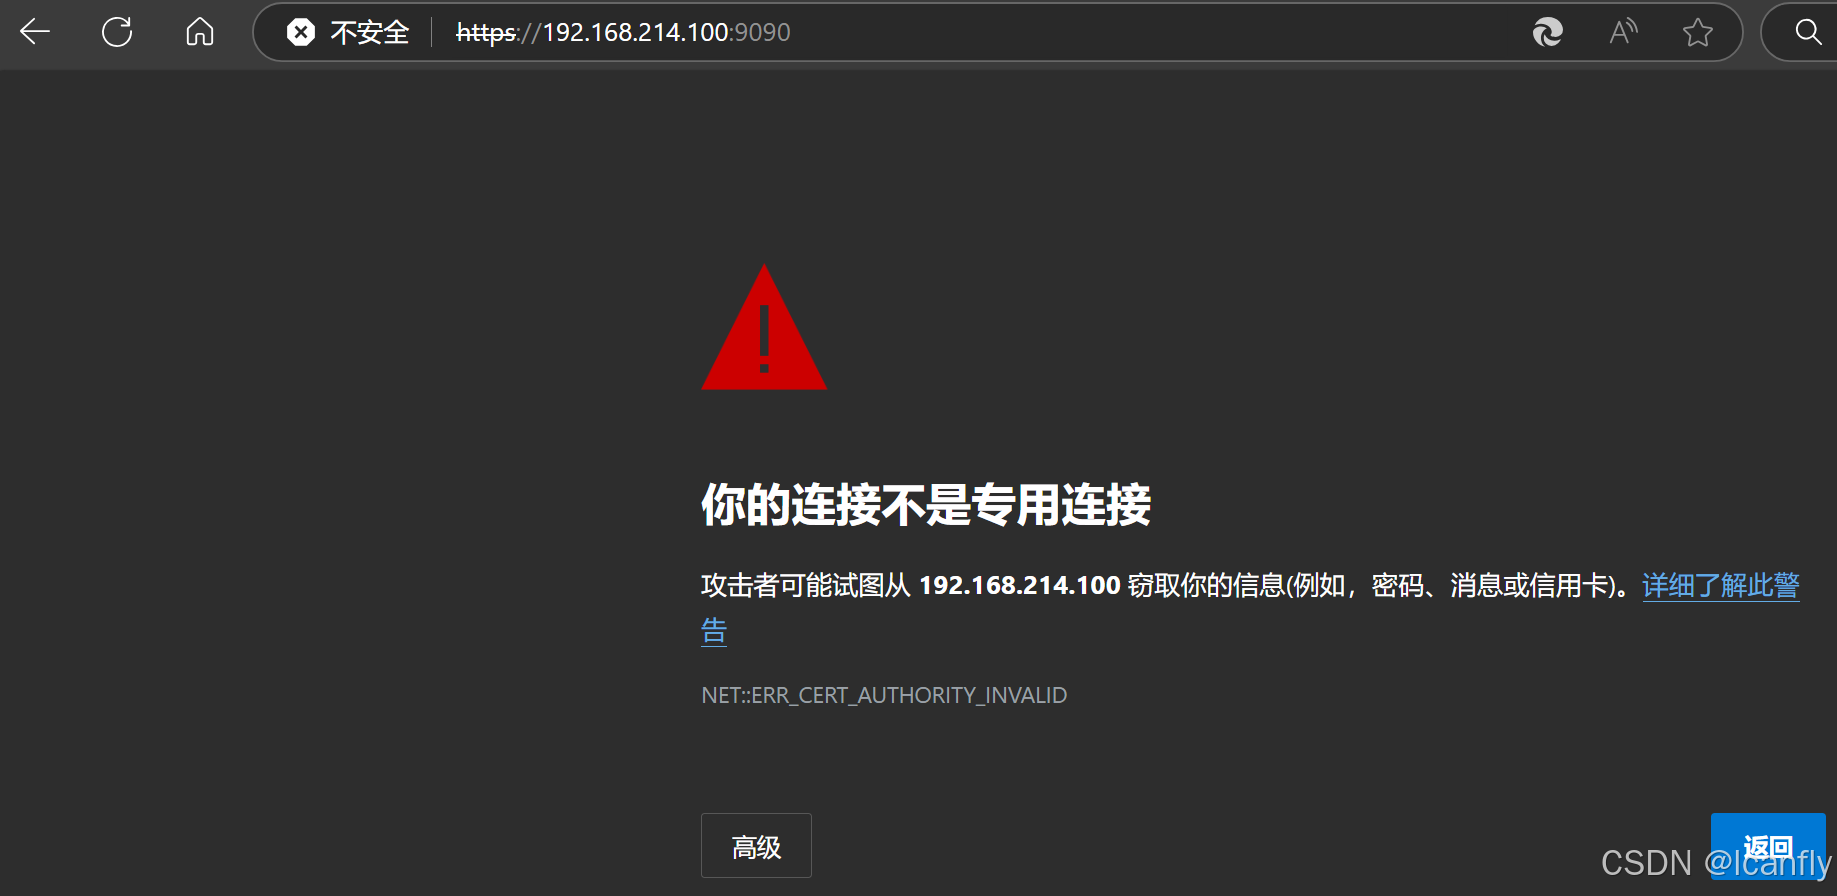
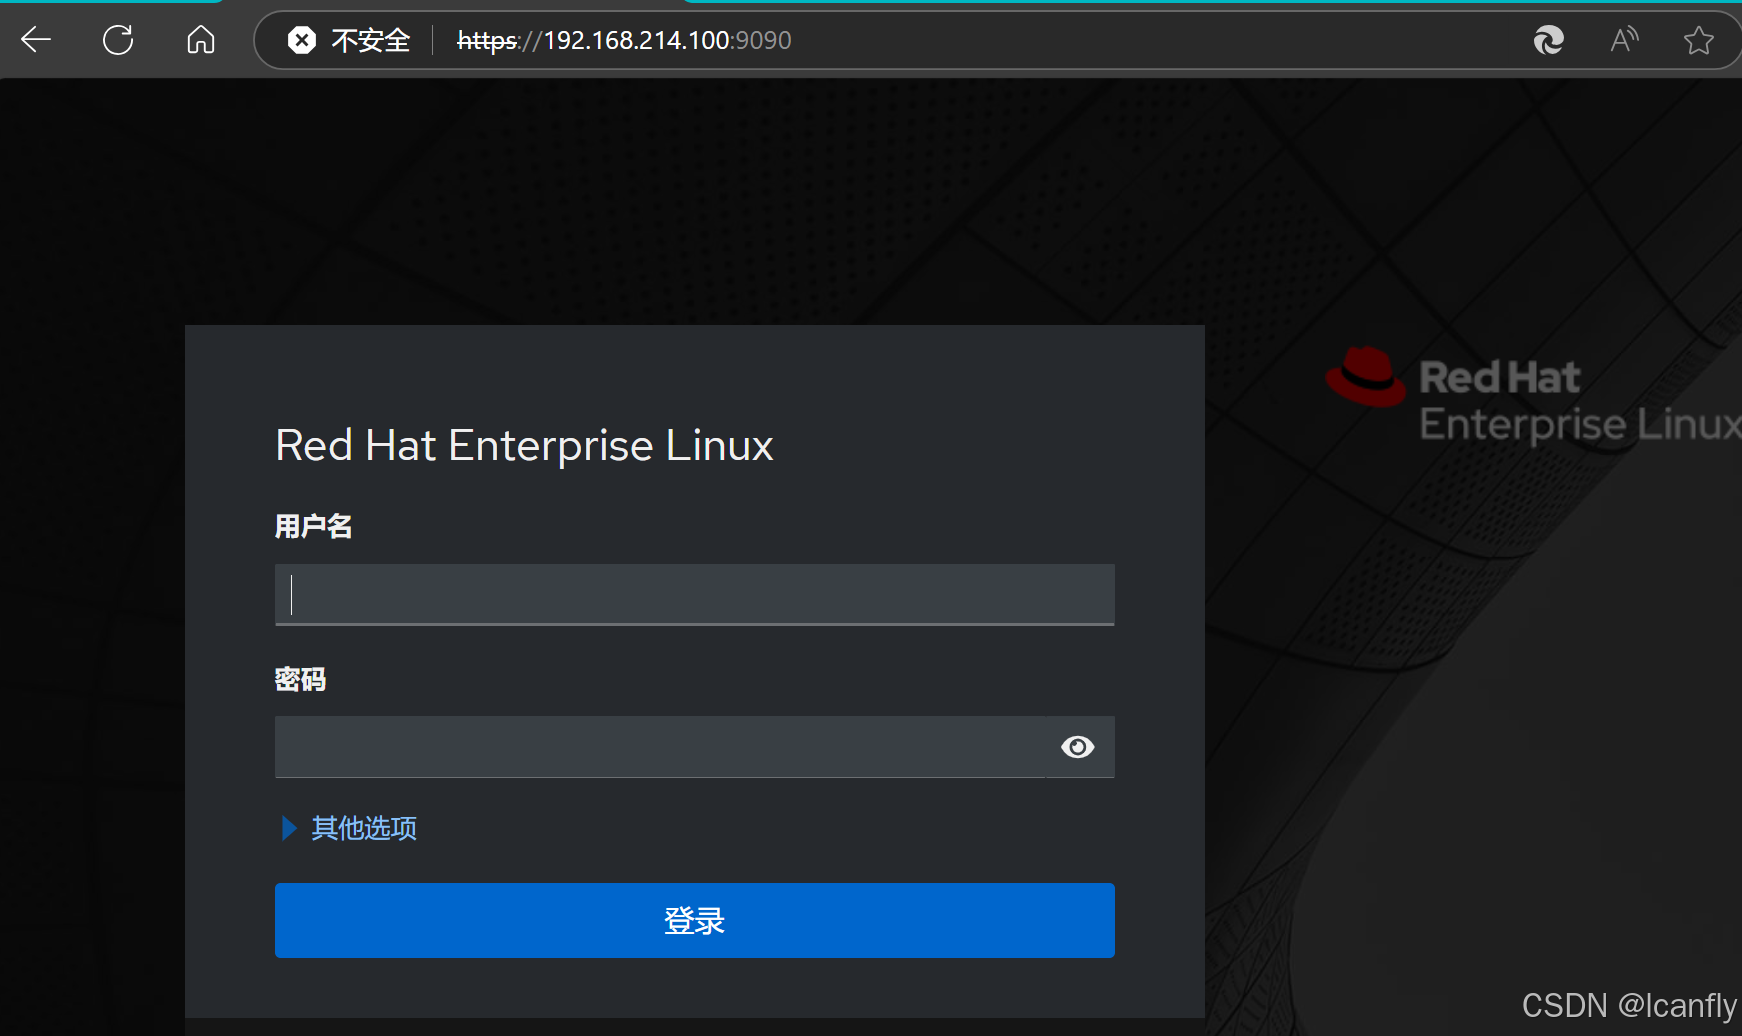
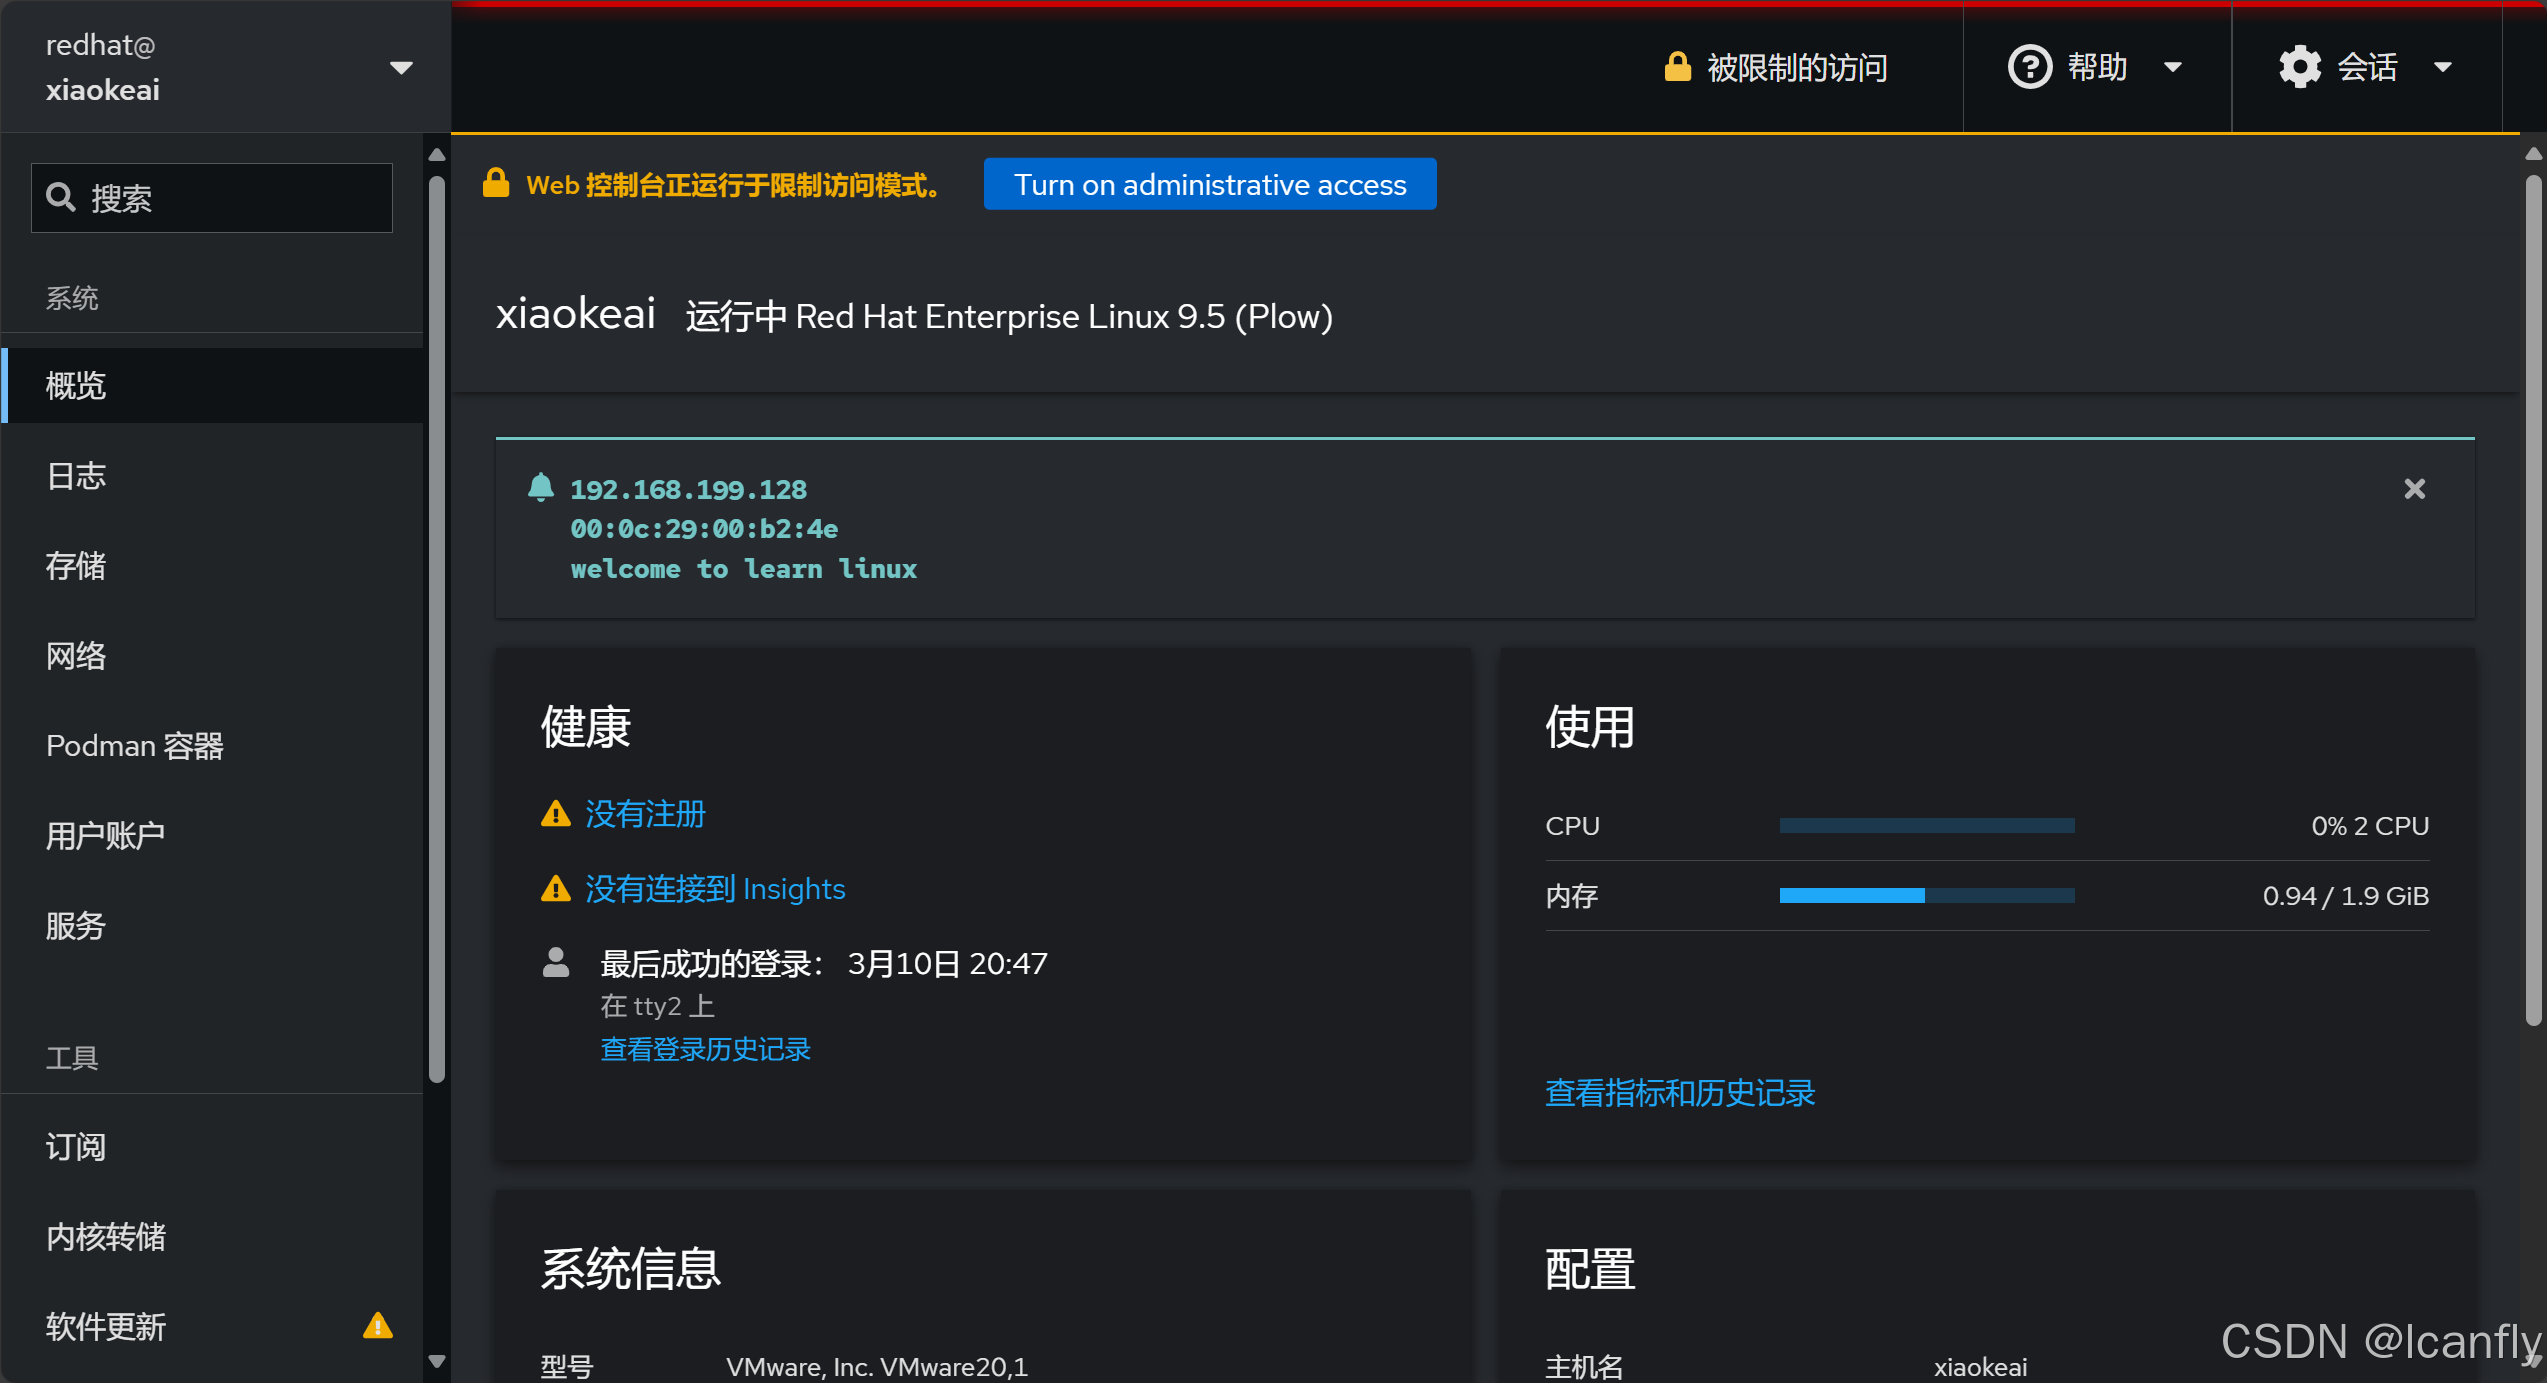
9、在windows的浏览器上输入你的虚拟机的ip地址访问查看效果
[root@xiaokeai ~]# systemctl start cockpit
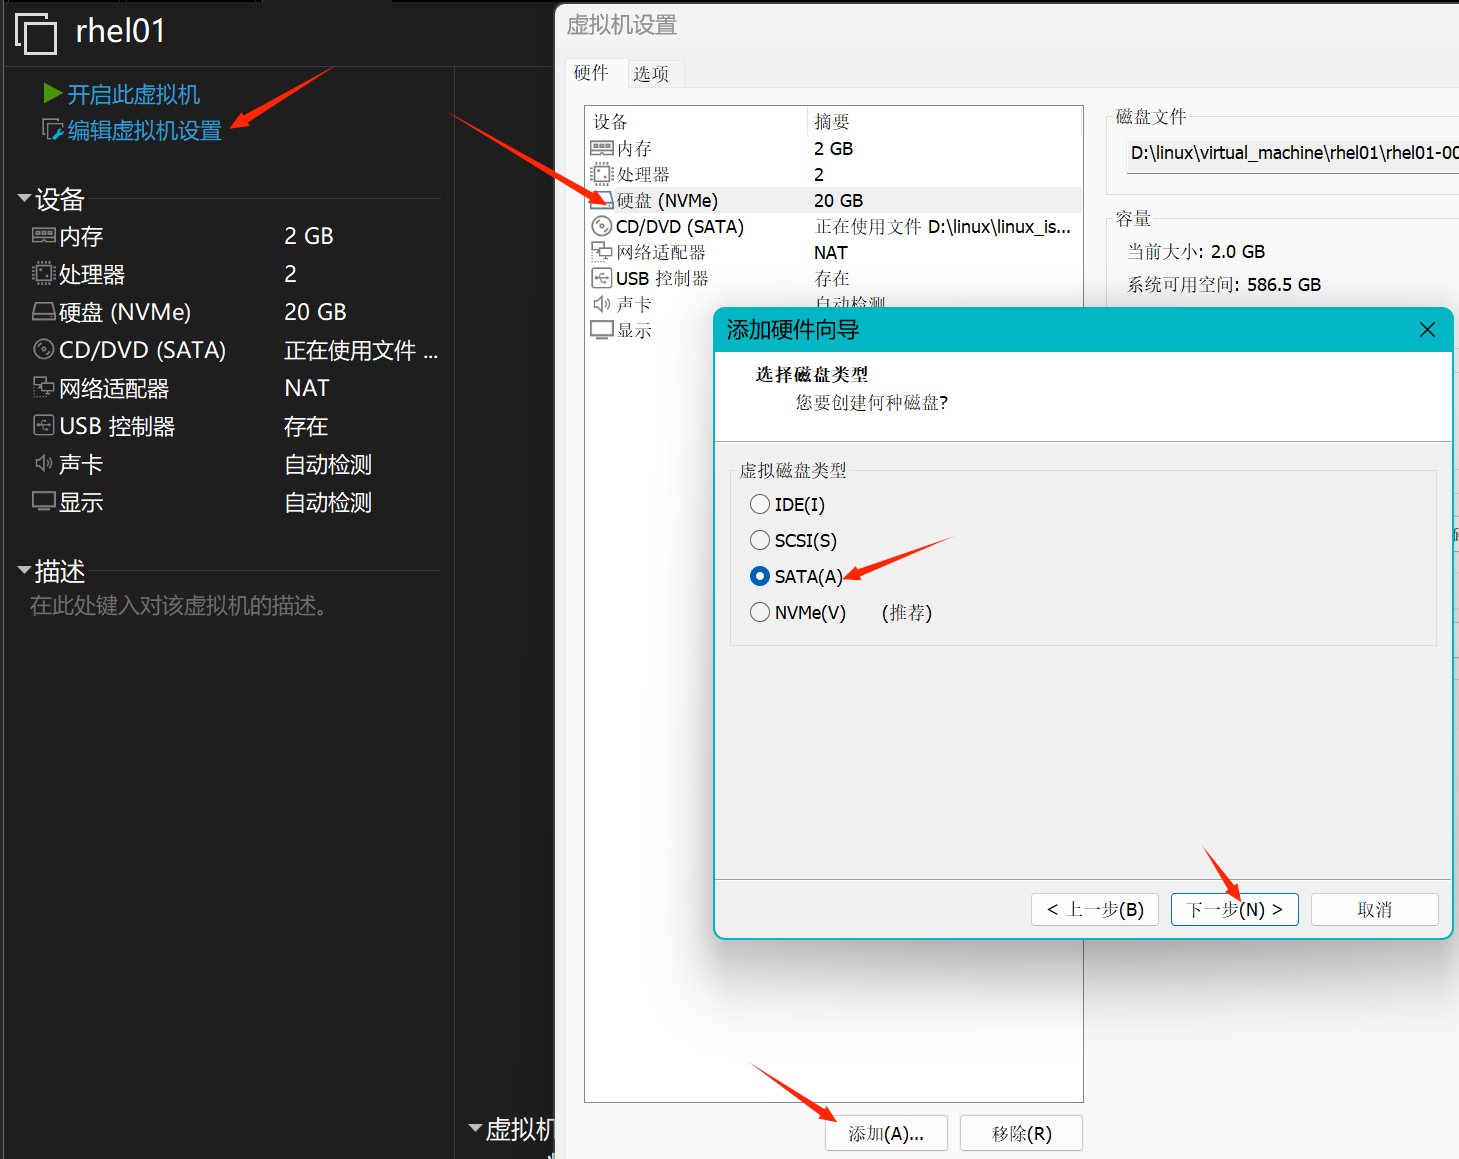
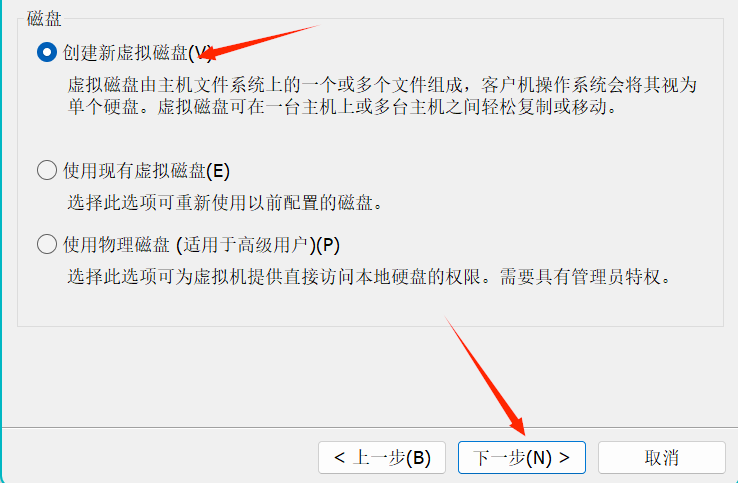
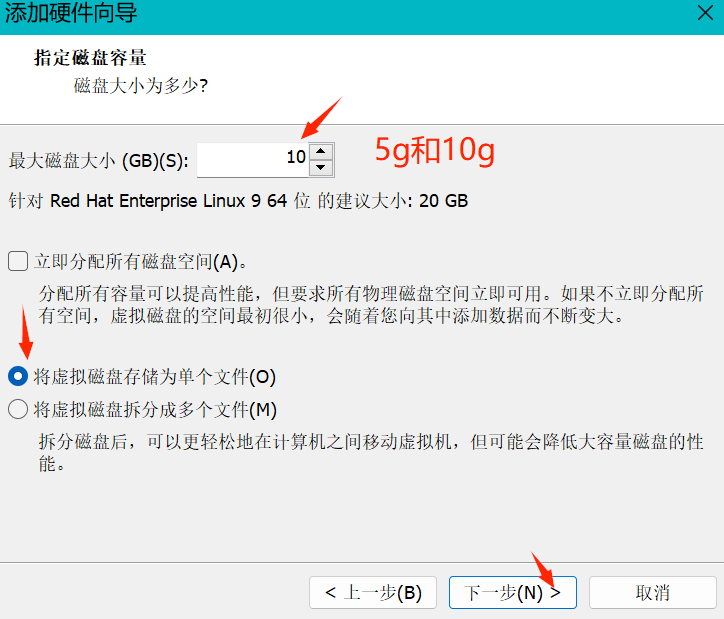
10、给虚拟机添加两个硬盘,大小分别为5G、10G
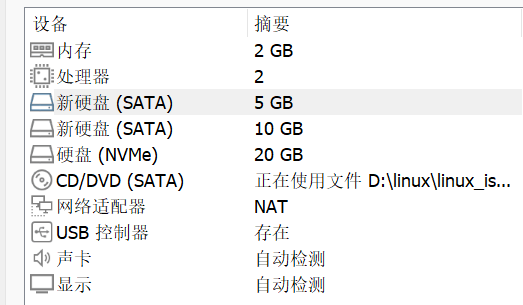
[root@xiaokeai ~]# lsblk
NAME          MAJ:MIN RM SIZE RO TYPE MOUNTPOINTS
sda             8:0    0   5G  0 disk
sdb             8:16   0  10G  0 disk
sr0            11:0    1  11G  0 rom
nvme0n1       259:0    0  20G  0 disk
├─nvme0n1p1   259:1    0   1G  0 part /boot/efi
├─nvme0n1p2   259:2    0   2G  0 part /boot
└─nvme0n1p3   259:3    0  17G  0 part
  ├─rhel-root 253:0    0  13G  0 lvm  /
  └─rhel-swap 253:1    0   4G  0 lvm  [SWAP]
11、给第一个硬盘分区为2个主分区(大小分别为2G,1G),2个逻辑分区(大小分别为1G);给第二个硬盘分5个区,大小分别为2G
lsblk # 查看位置
fdisk /dev/sda
n-p- - -+xG 主分区
n-e- - -+xG 扩展分区
gdisk /dev/sdb
n- - -+xG
[root@xiaokeai ~]# fdisk  /dev/sda

欢迎使用 fdisk (util-linux 2.37.4)。
更改将停留在内存中,直到您决定将更改写入磁盘。
使用写入命令前请三思。

设备不包含可识别的分区表。
创建了一个磁盘标识符为 0xb62fac0d 的新 DOS 磁盘标签。

命令(输入 m 获取帮助):n
分区类型
   p   主分区 (0 primary, 0 extended, 4 free)
   e   扩展分区 (逻辑分区容器)
选择 (默认 p):p
分区号 (1-4, 默认  1):
第一个扇区 (2048-10485759, 默认 2048):
最后一个扇区,+/-sectors 或 +size{K,M,G,T,P} (2048-10485759, 默认 10485759): +2g

创建了一个新分区 1,类型为“Linux”,大小为 2 GiB。

命令(输入 m 获取帮助):n
分区类型
   p   主分区 (1 primary, 0 extended, 3 free)
   e   扩展分区 (逻辑分区容器)
选择 (默认 p):p
分区号 (2-4, 默认  2):
第一个扇区 (4196352-10485759, 默认 4196352):
最后一个扇区,+/-sectors 或 +size{K,M,G,T,P} (4196352-10485759, 默认 10485759): +1g

创建了一个新分区 2,类型为“Linux”,大小为 1 GiB。

命令(输入 m 获取帮助):n
分区类型
   p   主分区 (2 primary, 0 extended, 2 free)
   e   扩展分区 (逻辑分区容器)
选择 (默认 p):e
分区号 (3,4, 默认  3):
第一个扇区 (6293504-10485759, 默认 6293504):
最后一个扇区,+/-sectors 或 +size{K,M,G,T,P} (6293504-10485759, 默认 10485759):

创建了一个新分区 3,类型为“Extended”,大小为 2 GiB。

命令(输入 m 获取帮助):n
所有主分区的空间都在使用中。
添加逻辑分区 5
第一个扇区 (6295552-10485759, 默认 6295552):
最后一个扇区,+/-sectors 或 +size{K,M,G,T,P} (6295552-10485759, 默认 10485759): +1g

创建了一个新分区 5,类型为“Linux”,大小为 1 GiB。

命令(输入 m 获取帮助):n
所有主分区的空间都在使用中。
添加逻辑分区 6
第一个扇区 (8394752-10485759, 默认 8394752):
最后一个扇区,+/-sectors 或 +size{K,M,G,T,P} (8394752-10485759, 默认 10485759):

创建了一个新分区 6,类型为“Linux”,大小为 1021 MiB。

命令(输入 m 获取帮助):p
Disk /dev/sda:5 GiB,5368709120 字节,10485760 个扇区
磁盘型号:VMware Virtual S
单元:扇区 / 1 * 512 = 512 字节
扇区大小(逻辑/物理):512 字节 / 512 字节
I/O 大小(最小/最佳):512 字节 / 512 字节
磁盘标签类型:dos
磁盘标识符:0xb62fac0d

设备       启动    起点     末尾    扇区  大小 Id 类型
/dev/sda1          2048  4196351 4194304    2G 83 Linux
/dev/sda2       4196352  6293503 2097152    1G 83 Linux
/dev/sda3       6293504 10485759 4192256    2G  5 扩展
/dev/sda5       6295552  8392703 2097152    1G 83 Linux
/dev/sda6       8394752 10485759 2091008 1021M 83 Linux

命令(输入 m 获取帮助):w
分区表已调整。
将调用 ioctl() 来重新读分区表。
正在同步磁盘。


[root@xiaokeai ~]# gdisk  /dev/sdb
GPT fdisk (gdisk) version 1.0.7

Partition table scan:
  MBR: not present
  BSD: not present
  APM: not present
  GPT: not present

Creating new GPT entries in memory.

Command (? for help): n
Partition number (1-128, default 1):
First sector (34-20971486, default = 2048) or {+-}size{KMGTP}:
Last sector (2048-20971486, default = 20971486) or {+-}size{KMGTP}: +2g
Current type is 8300 (Linux filesystem)
Hex code or GUID (L to show codes, Enter = 8300):
Changed type of partition to 'Linux filesystem'

Command (? for help): n
Partition number (2-128, default 2):
First sector (34-20971486, default = 4196352) or {+-}size{KMGTP}:
Last sector (4196352-20971486, default = 20971486) or {+-}size{KMGTP}: +2g
Current type is 8300 (Linux filesystem)
Hex code or GUID (L to show codes, Enter = 8300):
Changed type of partition to 'Linux filesystem'

Command (? for help): n
Partition number (3-128, default 3):
First sector (34-20971486, default = 8390656) or {+-}size{KMGTP}:
Last sector (8390656-20971486, default = 20971486) or {+-}size{KMGTP}: +2g
Current type is 8300 (Linux filesystem)
Hex code or GUID (L to show codes, Enter = 8300):
Changed type of partition to 'Linux filesystem'

Command (? for help):

Command (? for help): n
Partition number (4-128, default 4):
First sector (34-20971486, default = 12584960) or {+-}size{KMGTP}:
Last sector (12584960-20971486, default = 20971486) or {+-}size{KMGTP}: +2g
Current type is 8300 (Linux filesystem)
Hex code or GUID (L to show codes, Enter = 8300):
Changed type of partition to 'Linux filesystem'

Command (? for help): n
Partition number (5-128, default 5):
First sector (34-20971486, default = 16779264) or {+-}size{KMGTP}:
Last sector (16779264-20971486, default = 20971486) or {+-}size{KMGTP}:
Current type is 8300 (Linux filesystem)
Hex code or GUID (L to show codes, Enter = 8300):
Changed type of partition to 'Linux filesystem'

Command (? for help): p
Disk /dev/sdb: 20971520 sectors, 10.0 GiB
Model: VMware Virtual S
Sector size (logical/physical): 512/512 bytes
Disk identifier (GUID): 256D6D55-9AE1-425D-A9AC-F8151EA400DF
Partition table holds up to 128 entries
Main partition table begins at sector 2 and ends at sector 33
First usable sector is 34, last usable sector is 20971486
Partitions will be aligned on 2048-sector boundaries
Total free space is 2014 sectors (1007.0 KiB)

Number  Start (sector)    End (sector)  Size       Code  Name
   1            2048         4196351   2.0 GiB     8300  Linux filesystem
   2         4196352         8390655   2.0 GiB     8300  Linux filesystem
   3         8390656        12584959   2.0 GiB     8300  Linux filesystem
   4        12584960        16779263   2.0 GiB     8300  Linux filesystem
   5        16779264        20971486   2.0 GiB     8300  Linux filesystem

Command (? for help): w

Final checks complete. About to write GPT data. THIS WILL OVERWRITE EXISTING
PARTITIONS!!

Do you want to proceed? (Y/N): y
OK; writing new GUID partition table (GPT) to /dev/sdb.
The operation has completed successfully.
[root@xiaokeai ~]# lsblk
NAME          MAJ:MIN RM  SIZE RO TYPE MOUNTPOINTS
sda             8:0    0    5G  0 disk
├─sda1          8:1    0    2G  0 part
├─sda2          8:2    0    1G  0 part
├─sda3          8:3    0    1K  0 part
├─sda5          8:5    0    1G  0 part
└─sda6          8:6    0 1021M  0 part
sdb             8:16   0   10G  0 disk
├─sdb1          8:17   0    2G  0 part
├─sdb2          8:18   0    2G  0 part
├─sdb3          8:19   0    2G  0 part
├─sdb4          8:20   0    2G  0 part
└─sdb5          8:21   0    2G  0 part
sr0            11:0    1   11G  0 rom
nvme0n1       259:0    0   20G  0 disk
├─nvme0n1p1   259:1    0    1G  0 part /boot/efi
├─nvme0n1p2   259:2    0    2G  0 part /boot
└─nvme0n1p3   259:3    0   17G  0 part
  ├─rhel-root 253:0    0   13G  0 lvm  /
  └─rhel-swap 253:1    0    4G  0 lvm  [SWAP]
12、将第一个硬盘的第一个分区挂载至/guazai1,将第二个硬盘的第一个分区挂载至/guazai2
[root@xiaokeai ~]#  mkfs.xfs  /dev/sda1
meta-data=/dev/sda1              isize=512    agcount=4, agsize=131072 blks
         =                       sectsz=512   attr=2, projid32bit=1
         =                       crc=1        finobt=1, sparse=1, rmapbt=0
         =                       reflink=1    bigtime=1 inobtcount=1 nrext64=0
data     =                       bsize=4096   blocks=524288, imaxpct=25
         =                       sunit=0      swidth=0 blks
naming   =version 2              bsize=4096   ascii-ci=0, ftype=1
log      =internal log           bsize=4096   blocks=16384, version=2
         =                       sectsz=512   sunit=0 blks, lazy-count=1
realtime =none                   extsz=4096   blocks=0, rtextents=0
[root@xiaokeai ~]#  mkfs.xfs  /dev/sda1
mkfs.xfs: /dev/sda1 appears to contain an existing filesystem (xfs).
mkfs.xfs: Use the -f option to force overwrite.
[root@xiaokeai ~]#  mkfs.xfs  /dev/sdb1
meta-data=/dev/sdb1              isize=512    agcount=4, agsize=131072 blks
         =                       sectsz=512   attr=2, projid32bit=1
         =                       crc=1        finobt=1, sparse=1, rmapbt=0
         =                       reflink=1    bigtime=1 inobtcount=1 nrext64=0
data     =                       bsize=4096   blocks=524288, imaxpct=25
         =                       sunit=0      swidth=0 blks
naming   =version 2              bsize=4096   ascii-ci=0, ftype=1
log      =internal log           bsize=4096   blocks=16384, version=2
         =                       sectsz=512   sunit=0 blks, lazy-count=1
realtime =none                   extsz=4096   blocks=0, rtextents=0

[root@xiaokeai ~]# mkdir /guazai{1,2}
[root@xiaokeai ~]# mount /dev/sda1 /guazai1
[root@xiaokeai ~]# mount /dev/sda2 /guazai2
mount: /guazai2: 文件系统类型错误、选项错误、/dev/sda2 上有坏超级块、缺少代码页或帮助程序或其他错误.
[root@xiaokeai ~]# mount /dev/sdb1 /guazai2
[root@xiaokeai ~]# mount  |grep /dev/sd
/dev/sda1 on /guazai1 type xfs (rw,relatime,seclabel,attr2,inode64,logbufs=8,logbsize=32k,noquota)
/dev/sdb1 on /guazai2 type xfs (rw,relatime,seclabel,attr2,inode64,logbufs=8,logbsize=32k,noquota)

[root@xiaokeai ~]# lsblk
NAME          MAJ:MIN RM  SIZE RO TYPE MOUNTPOINTS
sda             8:0    0    5G  0 disk
├─sda1          8:1    0    2G  0 part /guazai1
├─sda2          8:2    0    1G  0 part
├─sda3          8:3    0    1K  0 part
├─sda5          8:5    0    1G  0 part
└─sda6          8:6    0 1021M  0 part
sdb             8:16   0   10G  0 disk
├─sdb1          8:17   0    2G  0 part /guazai2
├─sdb2          8:18   0    2G  0 part
├─sdb3          8:19   0    2G  0 part
├─sdb4          8:20   0    2G  0 part
└─sdb5          8:21   0    2G  0 part
sr0            11:0    1   11G  0 rom
nvme0n1       259:0    0   20G  0 disk
├─nvme0n1p1   259:1    0    1G  0 part /boot/efi
├─nvme0n1p2   259:2    0    2G  0 part /boot
└─nvme0n1p3   259:3    0   17G  0 part
  ├─rhel-root 253:0    0   13G  0 lvm  /
  └─rhel-swap 253:1    0    4G  0 lvm  [SWAP]
13、将/usr/share/nginx/html/index.html复制到/guazai1中,将 /etc/ssh/sshd_config复制到/guazai2
[root@xiaokeai ~]# cp -ra /usr/share/nginx/html/index.html /guazai1
[root@xiaokeai ~]# cp -ra  /etc/ssh/sshd_config /guazai2
[root@xiaokeai ~]# tree /guazai1
/guazai1
└── index.html

0 directories, 1 file
[root@xiaokeai ~]# tree /guazai2
/guazai2
└── sshd_config

0 directories, 1 file


 966
966

 被折叠的 条评论
为什么被折叠?
被折叠的 条评论
为什么被折叠?
 到【灌水乐园】发言


