


 本文详细介绍了Apache ActiveMQ的简介、部署步骤,并展示了如何在SpringBoot应用中整合ActiveMQ,包括添加依赖、配置属性、创建消息发送和接收接口。通过实例演示了ActiveMQ在队列和主题模式下的使用,以及单元测试验证。
一、ActiveMq简介
Apache ActiveMQ是最流行的开源、多协议、基于Java的消息代理。它支持行业标准协议,因此用户可以从多种语言和平台的客户端选择中获益。从用JavaScript、C、C++、Python编写的客户端连接。Net等。使用无处不在的AMQP协议集成多平台应用程序。使用STOMP over websockets在web应用程序之间交换消息。使用MQTT管理物联网设备。支持现有的JMS基础架构及其他。ActiveMQ提供了支持任何消息传递用例的功能和灵活性。
二、ActiveMq部署
1、ActiveMq下载
官网下载地址:https://activemq.apache.org/components/classic/download/
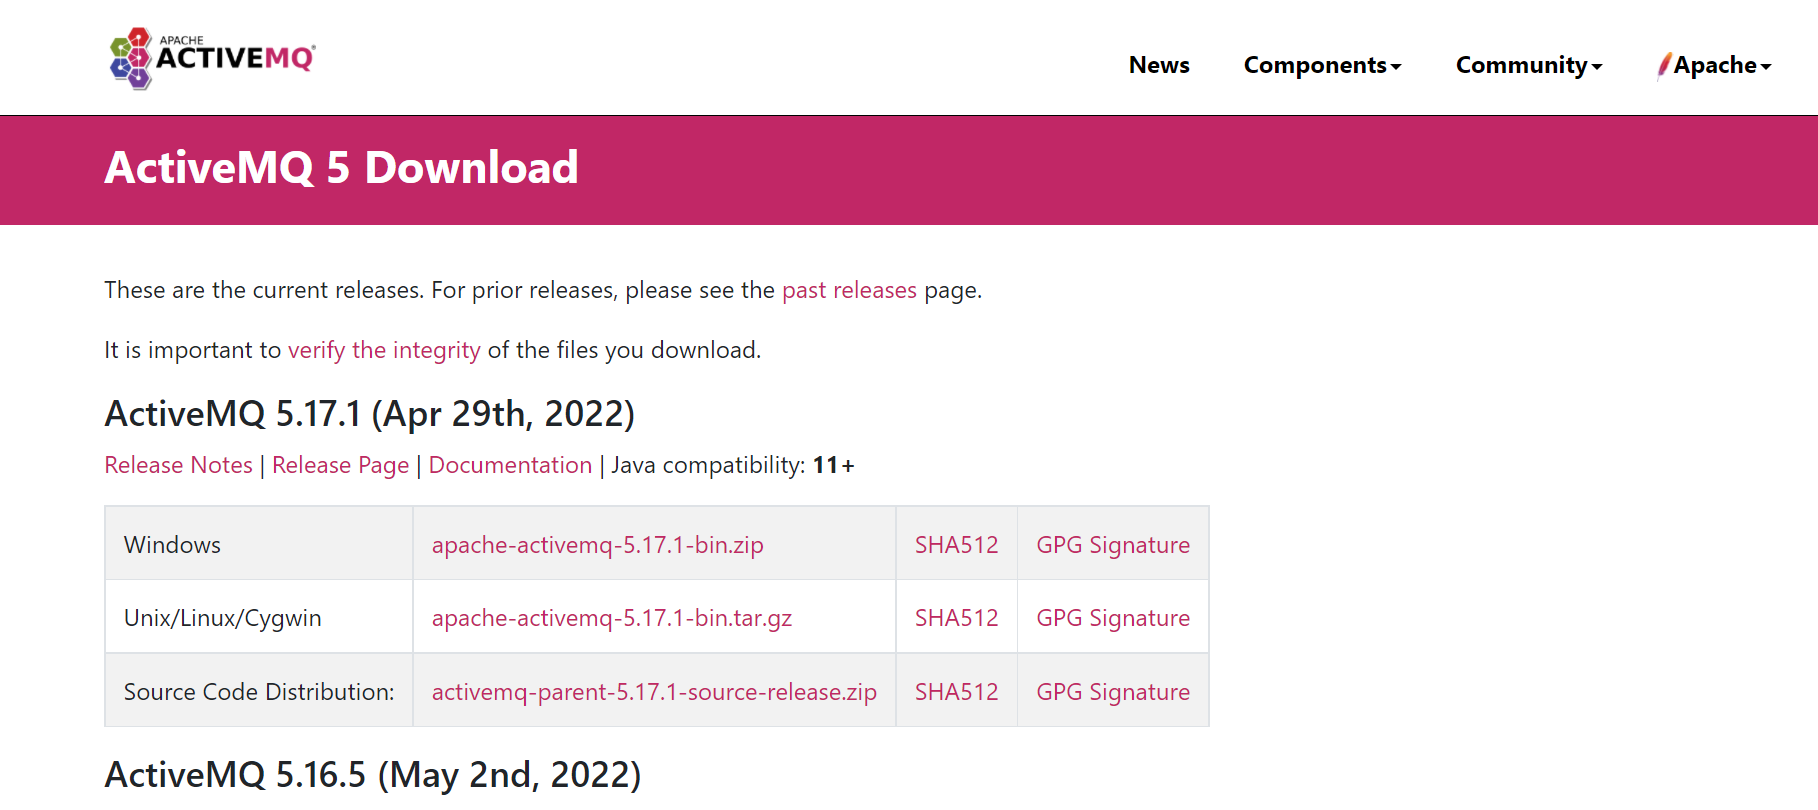
如上图所示根据自身需要下载对应版本的安装包,这里以Windows为例。
2、ActiveMq 部署
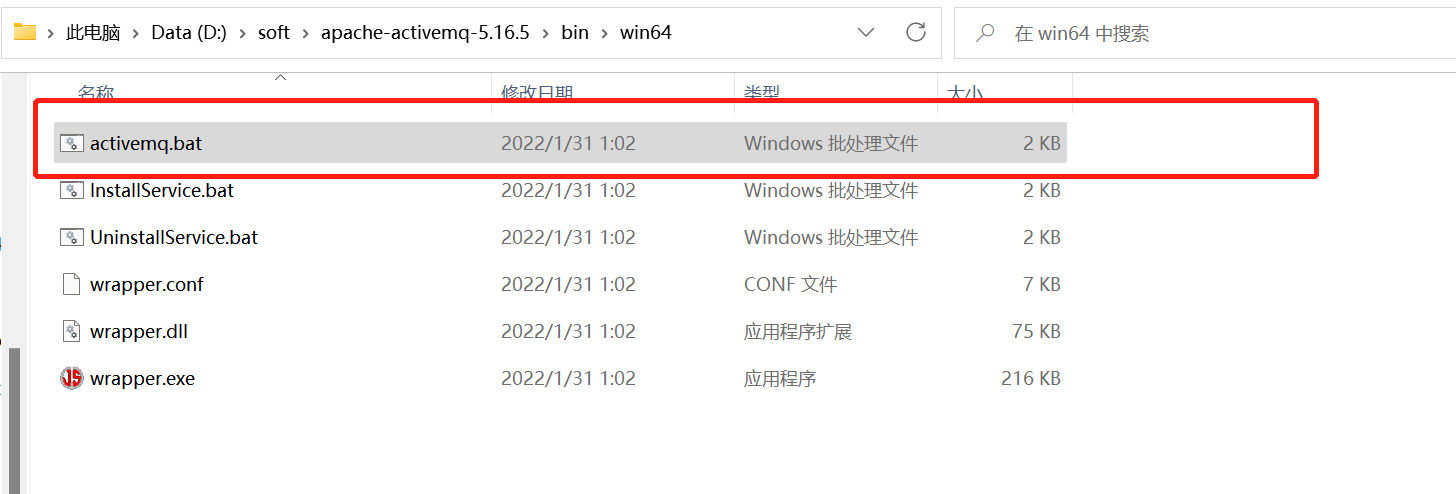
下载的压缩包解压到指定目录,如:D:\soft\apache-activemq-5.16.5
打开对应目录如下图所示,选择合适的操作系统,我这以win64为例

打开win64目录,找到activemq.bat文件,双击打开
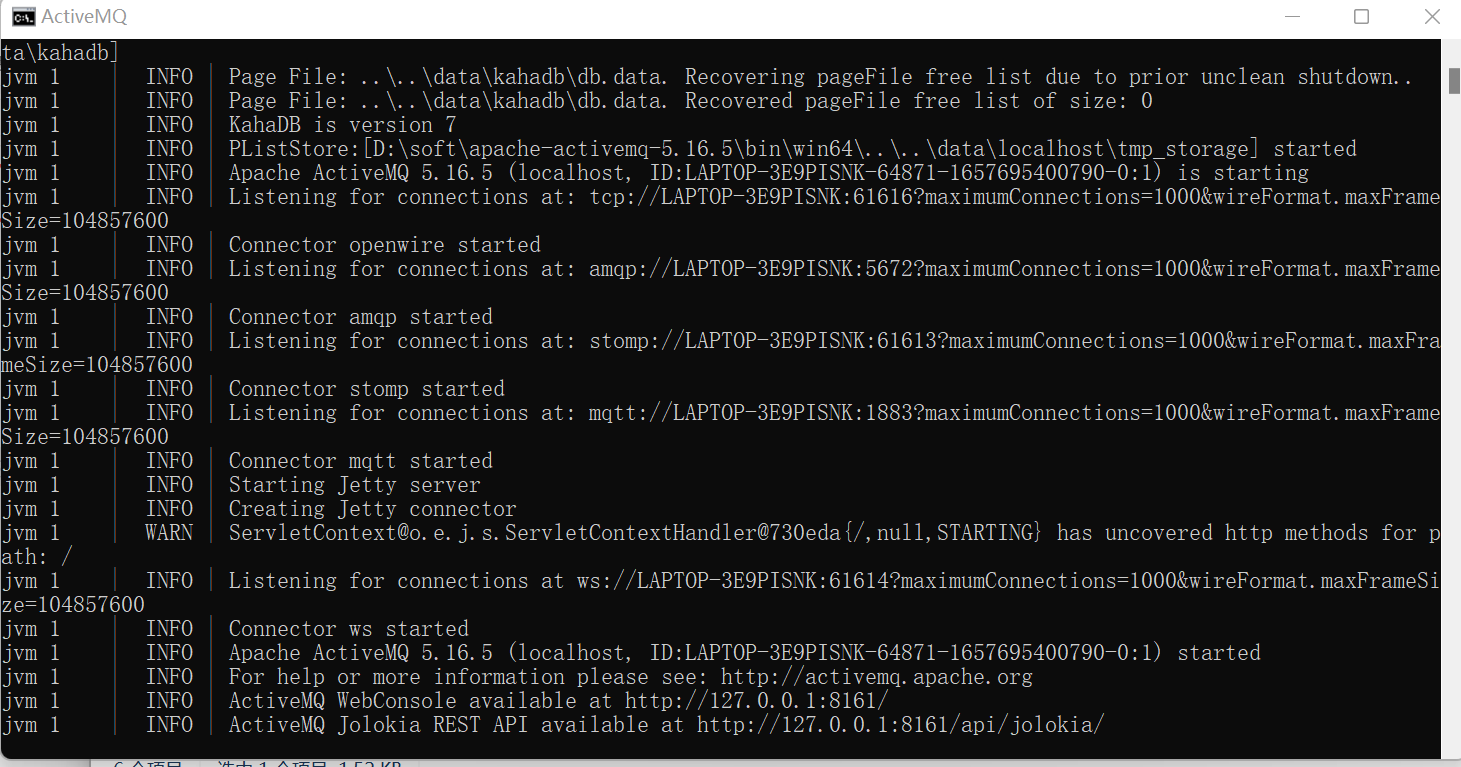
启动成功后如下图所示,至此部署成功
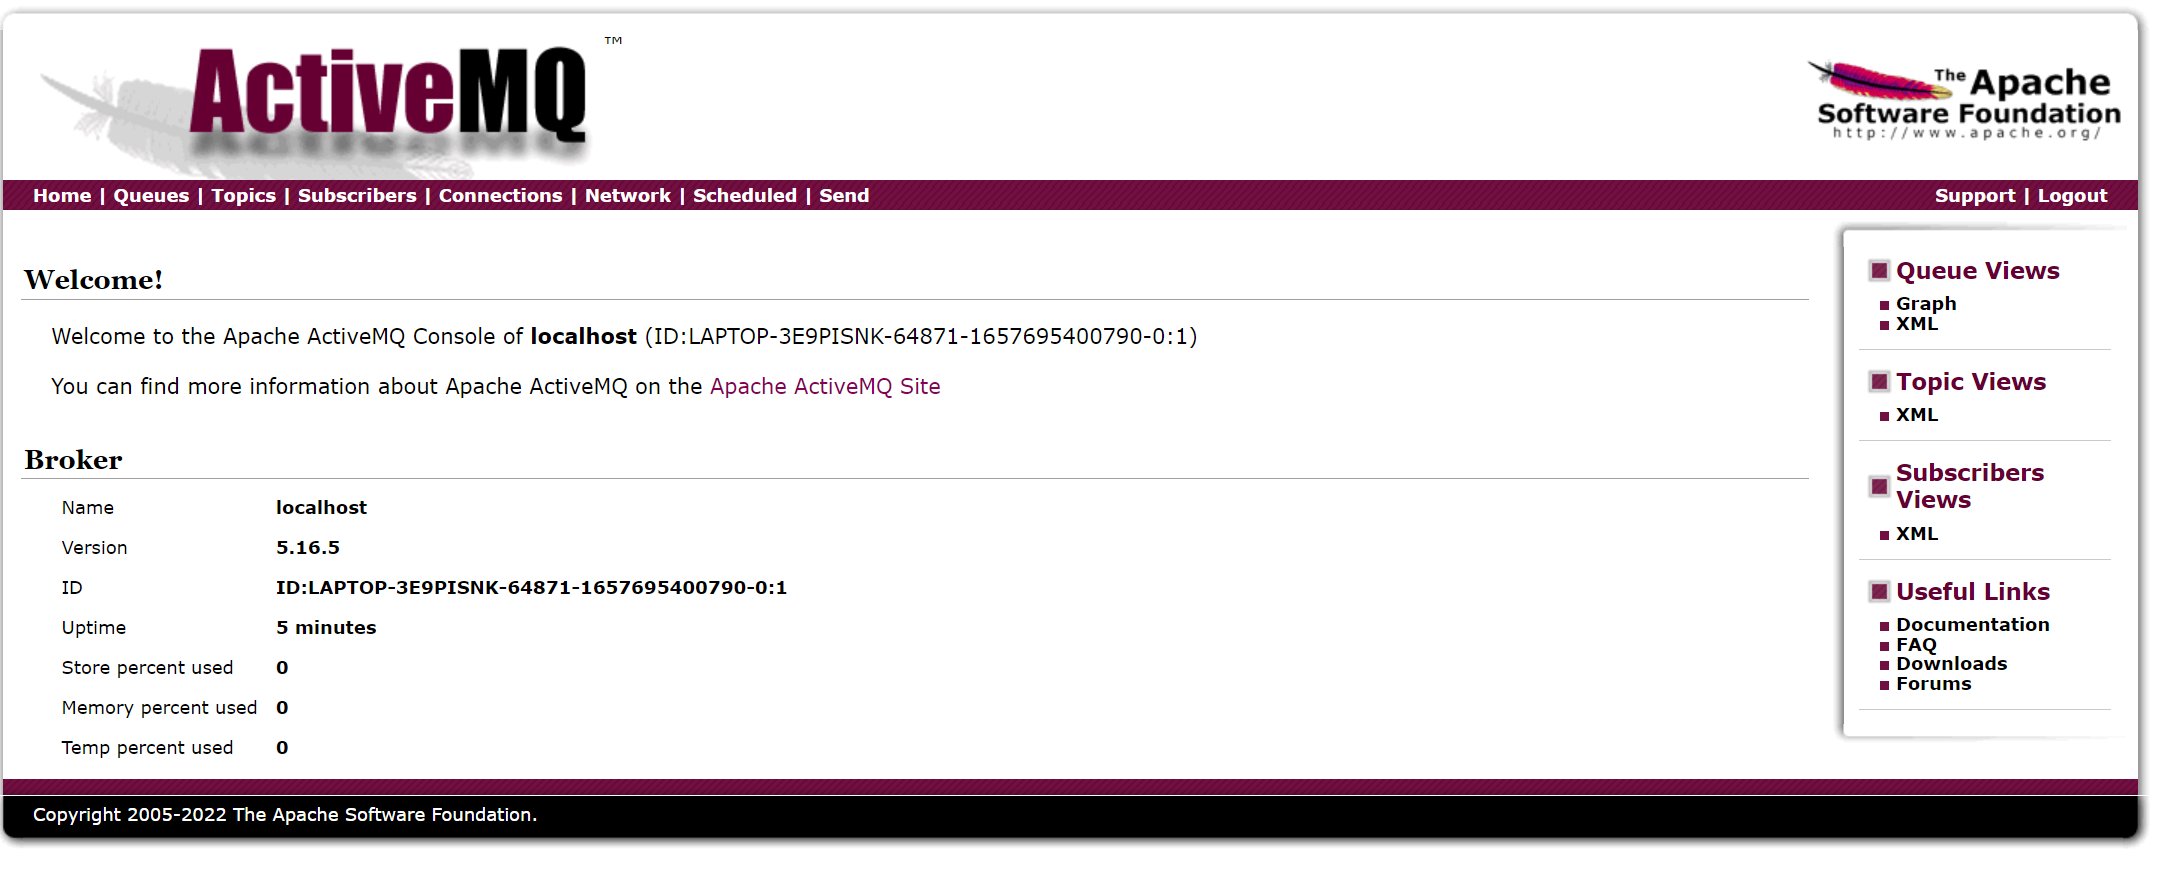
3、ActiveMq验证
在浏览器访问 http://localhost:8161 ,默认用户名和密码都为admin, 点击 Manage ActiveMq broker
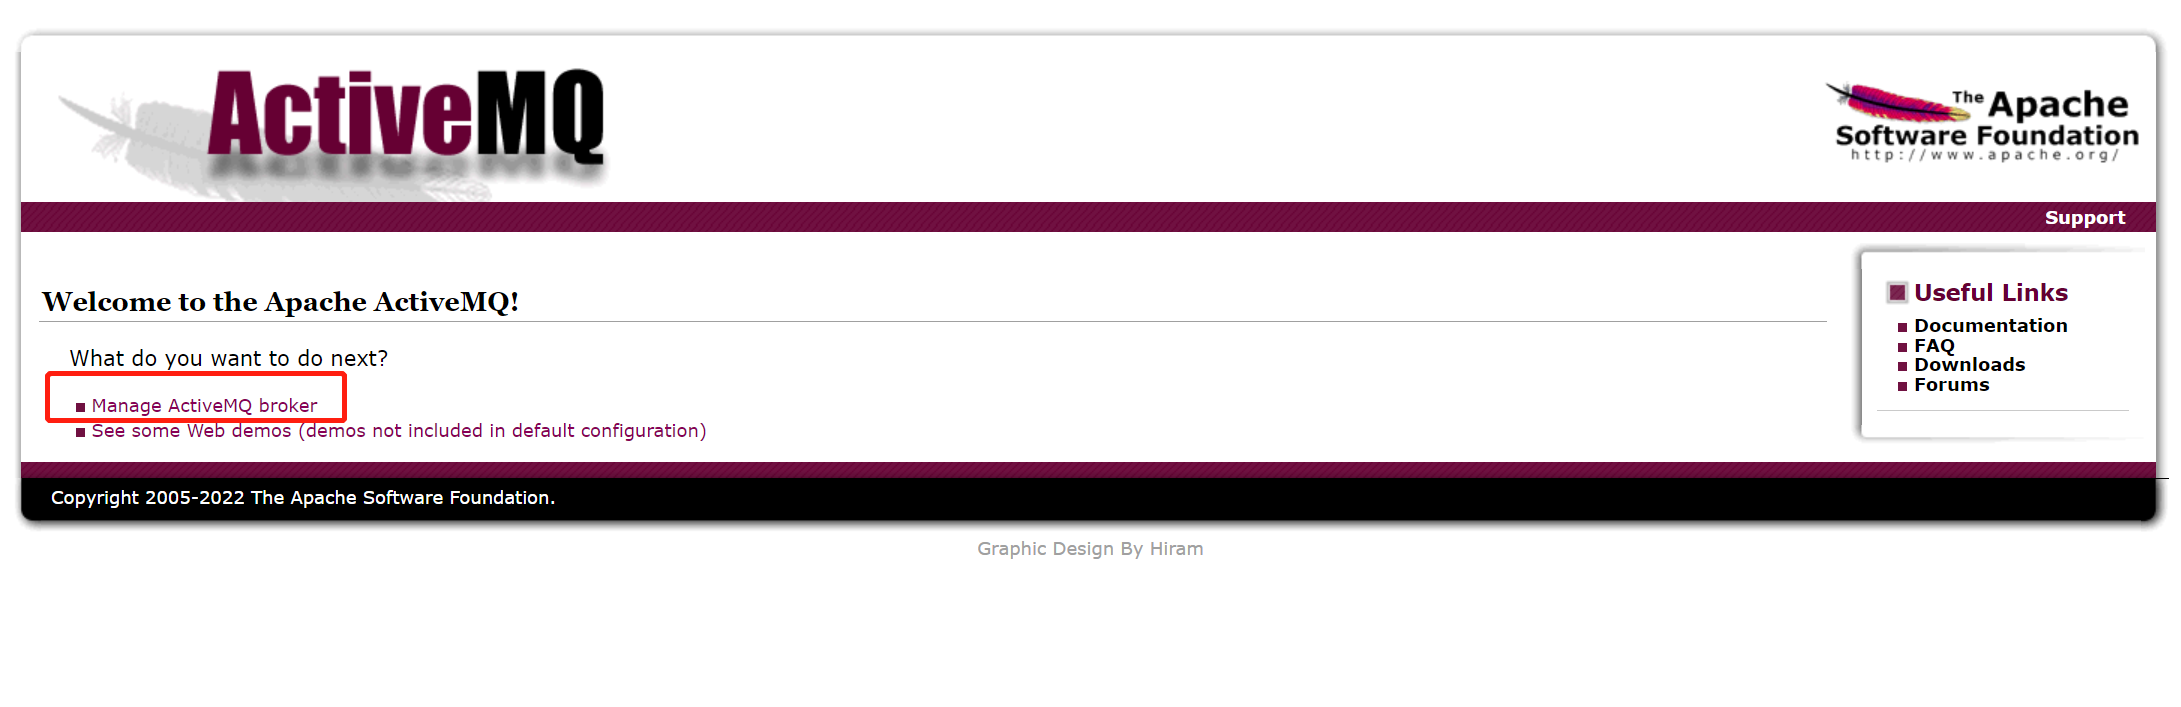
出现如下图所示,则ActiveMq部署成功
三、SpringBoot 整合 ActiveMq
1、pom文件添加相关依赖
<!--activemq相关依赖-->
<dependency>
    <groupId>org.springframework.boot</groupId>
    <artifactId>spring-boot-starter-activemq</artifactId>
</dependency>
<dependency>
    <groupId>org.apache.activemq</groupId>
    <artifactId>activemq-pool</artifactId>
    <version>5.12.1</version>
</dependency>
<!--junit单元测试-->
<dependency>
    <groupId>junit</groupId>
    <artifactId>junit</artifactId>
    <version>4.13</version>
    <scope>test</scope>
</dependency>
2、配置文件添加属性配置
spring:
  activemq:
    broker-url: tcp://127.0.0.1:61616  #activeMQ的ip和端口号
    user: admin   #activeMq账号
    password: admin #activeMq密码
    queue-name: active.queue #消息队列
    topic-name: active.topic #消息广播
    pool:
      enabled: true       #连接池启动
      max-connections: 10 #最大连接数
    #本地开发关闭jms
    jms:
      enable: true
3、添加ActiveMq配置类
import org.apache.activemq.ActiveMQConnectionFactory;

import org.apache.activemq.command.ActiveMQQueue;
import org.apache.activemq.command.ActiveMQTopic;
import org.springframework.beans.factory.annotation.Value;
import org.springframework.boot.autoconfigure.condition.ConditionalOnProperty;
import org.springframework.boot.autoconfigure.jms.JmsProperties;
import org.springframework.context.annotation.Bean;
import org.springframework.context.annotation.Configuration;
import org.springframework.jms.config.DefaultJmsListenerContainerFactory;
import org.springframework.jms.config.JmsListenerContainerFactory;
import org.springframework.jms.config.SimpleJmsListenerContainerFactory;

import javax.annotation.Resource;
import javax.jms.ConnectionFactory;
import javax.jms.Queue;
import javax.jms.Topic;

@Configuration
@ConditionalOnProperty(prefix = "spring.activemq.jms", name = "enable",havingValue = "true")
public class ActiveMQConfig{

    @Value("${spring.activemq.broker-url}")
    private String brokerUrl;

    @Value("${spring.activemq.user}")
    private String userName;

    @Value("${spring.activemq.password}")
    private String password;

    @Value("${spring.activemq.queue-name}")
    private String queueName;

    @Value("${spring.activemq.topic-name}")
    private String topicName;

    @Resource
    JmsProperties jmsProperties;

    @Bean
    public Queue queue() {
        System.out.println("注入队列实例:" + queueName);
        return new ActiveMQQueue(queueName);
    }

    @Bean
    public Topic topic() {
        System.out.println("注入广播实例:" + topicName);
        return new ActiveMQTopic(topicName);
    }

    @Bean
    public ConnectionFactory connectionFactory(){
        return new ActiveMQConnectionFactory(userName, password, brokerUrl);
    }

    // 在Queue模式中,对消息的监听需要对containerFactory进行配置
    //@Bean("queueListener")
    public JmsListenerContainerFactory<?> queueJmsListenerContainerFactory(ConnectionFactory connectionFactory){
        SimpleJmsListenerContainerFactory factory = new SimpleJmsListenerContainerFactory();
        factory.setConnectionFactory(connectionFactory);
        factory.setPubSubDomain(false);
        return factory;
    }

    @Bean(name = "queueListener")
    public JmsListenerContainerFactory<?> jmsListenerContainerQueue(ActiveMQConnectionFactory connectionFactory) {
        //如果用自定义bean,高版本需要添加这行,否则会报错
        connectionFactory.setTrustAllPackages(true);
        DefaultJmsListenerContainerFactory bean = new DefaultJmsListenerContainerFactory();
        bean.setConnectionFactory(connectionFactory);
        return bean;
    }

    @Bean(name = "topicListener")
    public JmsListenerContainerFactory<?> jmsListenerContainerTopic(ConnectionFactory  connectionFactory) {
        DefaultJmsListenerContainerFactory bean = new DefaultJmsListenerContainerFactory();
        bean.setConnectionFactory(connectionFactory);
        //设置广播模式,这样才能接收到topic 发送的消息
        bean.setPubSubDomain(true);
        return bean;
    }
}
4、编写消息发送接口与消息接收接口
1)自定义消息实体
import lombok.Data;

import java.io.Serializable;

/**
 * 如果用自定义bean作为activemq的参数,则必须实现序列化
 */
@Data
public class ActiveMqBean implements Serializable {

    private Integer messageType;

    private String message;
}
2)定义消息发送类
消息发送有queue模式和topic模式,queue模式可以有一个@JmsListener()注解的消息接收者,发送方法如:sendQueue,topic 模式可以有多个@JmsListener()注解的消息接收者,只要监听的名字相同就可以接收到消息发送者信息,发送方法如:sendTopic
import com.example.springbootdemo.demo.entity.ActiveMqBean;
import org.springframework.beans.factory.annotation.Autowired;
import org.springframework.boot.autoconfigure.condition.ConditionalOnProperty;
import org.springframework.jms.core.JmsMessagingTemplate;
import org.springframework.web.bind.annotation.RestController;

import javax.jms.Destination;
import javax.jms.Queue;
import javax.jms.Topic;

@RestController
@ConditionalOnProperty(prefix = "spring.activemq.jms", name = "enable",havingValue = "true")
public class ActiveProducterController {

    @Autowired
    private JmsMessagingTemplate jmsMessagingTemplate;

    @Autowired
    private Queue queue;

    @Autowired
    private Topic topic;

    /**
     * 发送消息
     * @param bean
     */
    public void sendQueue(ActiveMqBean bean) {
        System.out.println(String.format("activeMq 使用 queue 模式发送消息:%s", bean.toString()));
        sendMessage(queue, bean);
    }

    public void sendTopic(String message){
        System.out.println(String.format("activeMq 使用 topic 模式发送消息:%s", message));
        sendMessage(topic, message);
    }

    // 发送消息,destination是发送到的队列,message是待发送的消息
    private void sendMessage(Destination destination, String message){
        jmsMessagingTemplate.convertAndSend(destination, message);
    }

    // 发送消息,destination是发送到的队列,message是待发送的消息
    private void sendMessage(Destination destination, ActiveMqBean bean){
        System.out.println("activeMq 发送自定义Bean");
        jmsMessagingTemplate.convertAndSend(destination, bean);
    }

}
3)定义消息接收类
消息接收分queue模式和topic模式,queue模式通过一个@JmsListener()监听名字相同的消息发送者,如:readActiveQueue,topic 模式可以通过多个@JmsListener()监听名字相同的消息发送者(广播),只要监听的名字相同就可以接收到消息发送者信息,如readActiveTopic1,readActiveTopic2
package com.example.springbootdemo.demo.controller;

import com.example.springbootdemo.demo.entity.ActiveMqBean;
import org.springframework.boot.autoconfigure.condition.ConditionalOnProperty;
import org.springframework.jms.annotation.JmsListener;
import org.springframework.stereotype.Component;

@Component
@ConditionalOnProperty(prefix = "spring.activemq.jms", name = "enable",havingValue = "true")
public class QueueConsumerListener {

    @JmsListener(destination="${spring.activemq.queue-name}")
    public void readActiveQueue(ActiveMqBean message) throws Exception{
        System.out.println(String.format("activeMq 使用 queue 模式接收到消息:%s", message.toString()));
    }

    @JmsListener(destination="${spring.activemq.topic-name}", containerFactory = "topicListener")
    public void readActiveTopic1(String message) throws Exception{
        System.out.println(String.format("activeMq1 使用 topic 模式接收到消息:%s", message));
    }

    @JmsListener(destination="active.topic" , containerFactory = "topicListener")
    public void readActiveTopic2(String message) throws Exception{
        System.out.println(String.format("activeMq2 使用 topic 模式接收到消息:%s", message));
    }
}
4)编写junit测试方法
@Resource
private ActiveProducterController activeProducterController;

@org.junit.jupiter.api.Test
public void test() throws Exception{

    activeProducterController.sendTopic("topic: 我来发广播了!");

    ActiveMqBean bean = new ActiveMqBean();
    bean.setMessageType(1);
    bean.setMessage("bean消息");
    activeProducterController.sendQueue(bean);

}
5)结果展示


 3088
3088

 被折叠的 条评论
为什么被折叠?
被折叠的 条评论
为什么被折叠?
 到【灌水乐园】发言


