


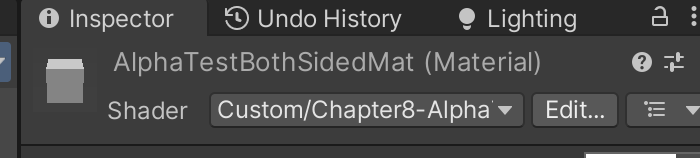
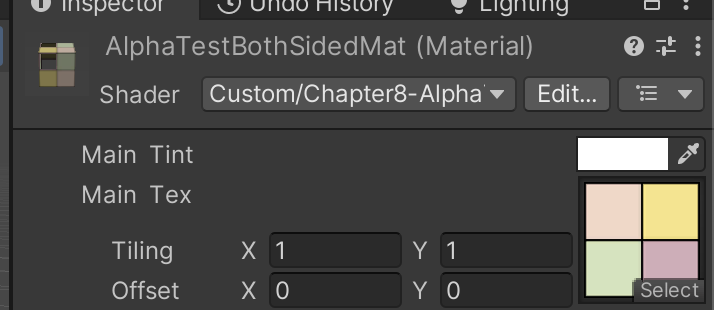
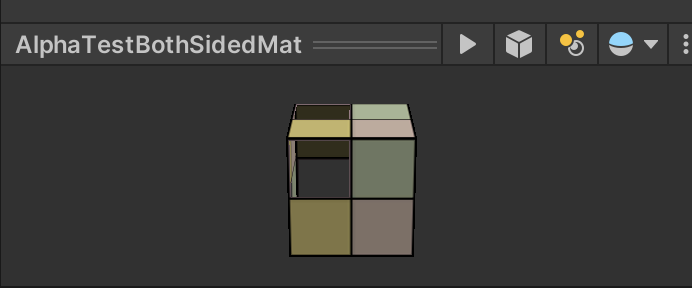
我们新建了一个场景,在本章资源中,该场景名为Scene_8_7_1,场景中同样包含了一个正方体,它使用的材质和Unity Shader分别名为AlphaTestBothSidedMat和Chapter8-AlphaTestBothSided。
仿照8.3,具体操作过程略


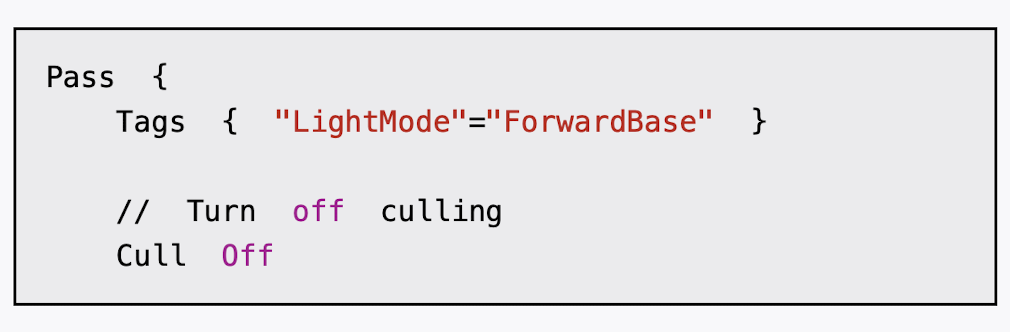
Chapter8-AlphaTestBothSided的代码和8.3节中的Chapter8-AlphaTest几乎完全一样,只添加了一行代码:
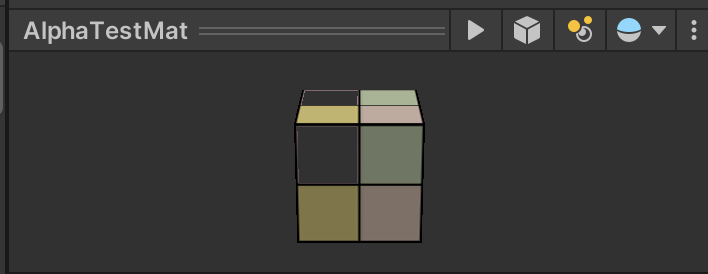
此时,我们可以透过正方体的镂空区域看到内部的渲染结果。
Shader "Custom/Chapter8-AlphaTestBothSided"

{
    Properties {
        _Color  ("Main  Tint",  Color)  =  (1,1,1,1)
        _MainTex  ("Main  Tex",  2D)  =  "white"  {}
        _Cutoff  ("Alpha  Cutoff",  Range(0,  1))  =  0.5 //_Cutoff参数用于决定我们调用clip进行透明度测试时使用的判断条件
    }

    Subshader {
        Tags {
            "Queue"="AlphaTest"
            "IgnoreProjector"="True"  //IgnoreProjector设置为True,这意味着这个Shader不会受到投影器(Projectors)的影响。
            "RenderType"="TransparentCutout" //RenderType标签可以让Unity把这个Shader归入到提前定义的组(这里就是TransparentCutout组)中,以指明该Shader是一个使用了透明度测试的Shader
            //通常,使用了透明度测试的Shader都应该在SubShader中设置这三个标签
        }
        Pass {
            Tags  {  "LightMode"="ForwardBase" }
            Cull Off
            CGPROGRAM
            #pragma  vertex  vert
            #pragma  fragment  frag
            #include  "Lighting.cginc"
            fixed4  _Color;
            sampler2D  _MainTex;
            float4  _MainTex_ST;
            fixed  _Cutoff;

            struct  a2v  {
                float4  vertex  :  POSITION;
                float3  normal  :  NORMAL;
                float4  texcoord  :  TEXCOORD0;
            };

            struct  v2f  {
                float4  pos  :  SV_POSITION;
                float3  worldNormal  :  TEXCOORD0;
                float3  worldPos  :  TEXCOORD1;
                float2  uv  :  TEXCOORD2;
            };

            v2f  vert(a2v  v)  {
                v2f  o;
                o.pos  =  UnityObjectToClipPos(v.vertex);
                o.worldNormal  =  UnityObjectToWorldNormal(v.normal);
                o.worldPos  =  mul(unity_ObjectToWorld,  v.vertex).xyz;
                o.uv  =  TRANSFORM_TEX(v.texcoord,  _MainTex);
                return  o;
            }

            fixed4  frag(v2f  i)  :  SV_Target  {
                fixed3  worldNormal  =  normalize(i.worldNormal);
                fixed3  worldLightDir  =  normalize(UnityWorldSpaceLightDir(i.worldPos));
                fixed4  texColor  =  tex2D(_MainTex,  i.uv);

                //  Alpha  test
                clip  (texColor.a  -  _Cutoff);//判断它的参数,即texColor.a - _Cutoff是否为负数,如果是就会舍弃该片元的输出
                fixed3  albedo  =  texColor.rgb  *  _Color.rgb;
                fixed3  ambient  =  UNITY_LIGHTMODEL_AMBIENT.xyz  *  albedo;
                fixed3 diffuse = _LightColor0.rgb * albedo * max(0, dot(worldNormal, worldLightDir));
                return  fixed4(ambient  +  diffuse,  1.0);
            }
            ENDCG
        }
    }

    Fallback  "Transparent/Cutout/VertexLit"
}
Alpha Cutoff = 0.569
对比8.3和8.7.1
8.3
8.7.1


 650
650

 被折叠的 条评论
为什么被折叠?
被折叠的 条评论
为什么被折叠?
 到【灌水乐园】发言


