


 本文档介绍了如何在SpringBoot项目中集成Mybatis-Plus、Bootstrap、JSP和Webjars,详细阐述了每个步骤,包括创建项目、配置JSP、使用Bootstrap、整合Mybatis-Plus、PageHelper分页、Ajax查询、员工增删改查功能的实现。
尚硅谷SSM框架实战课程,我把整个框架改为springboot+mybatis-plus+bootstrap+jQuery+jsp的项目
gitee地址:https://gitee.com/niucheng/sbm
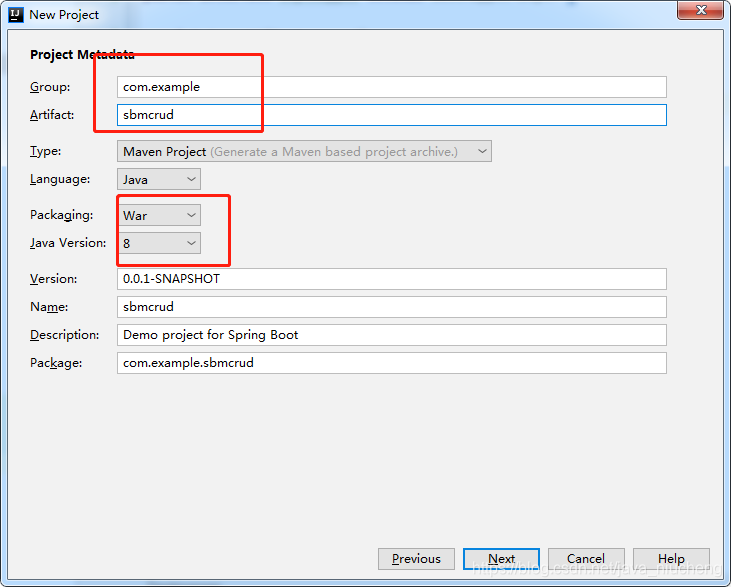
一、创建springboot项目
使用idea创建springboot项目
二、引入依赖
		<!--Springboot整合web组件-->
        <dependency>
            <groupId>org.springframework.boot</groupId>
            <artifactId>spring-boot-starter-web</artifactId>
        </dependency>

        <!--1:jsp的依赖-->
        <dependency>
            <groupId>org.springframework.boot</groupId>
            <artifactId>spring-boot-starter-tomcat</artifactId>
            <!--Provided 编译和测试的时候使用-->
            <scope>provided</scope>
        </dependency>
        <!-- 对jsp的支持的依赖 -->
        <dependency>
            <groupId>org.apache.tomcat.embed</groupId>
            <artifactId>tomcat-embed-jasper</artifactId>
            <!--Provided 编译和测试的时候使用-->
            <scope>provided</scope>
        </dependency>
        <!-- jstl -->
        <dependency>
            <groupId>javax.servlet</groupId>
            <artifactId>jstl</artifactId>
        </dependency>

        <!--2: webjar的方式引入bootstrap和Jquery-->
        <!--jquery 的webjar-->
        <dependency>
            <groupId>org.webjars</groupId>
            <artifactId>jquery</artifactId>
            <version>3.3.1</version>
        </dependency>
        <!--boot strap 的webjar-->
        <dependency>
            <groupId>org.webjars</groupId>
            <artifactId>bootstrap</artifactId>
            <version>4.0.0</version>
        </dependency>

        <!--3:mybatisPlus、数据库链接驱动、druid连接池、pagehelper-->
        <!--mybatisPlus3.1.0-->
        <dependency>
            <groupId>com.baomidou</groupId>
            <artifactId>mybatis-plus-boot-starter</artifactId>
            <version>3.1.0</version>
        </dependency>
        <dependency>
            <groupId>com.baomidou</groupId>
            <artifactId>mybatis-plus-generator</artifactId>
            <version>3.1.1</version>
        </dependency>

        <!--mysql驱动、连接池-->
        <dependency>
            <groupId>mysql</groupId>
            <artifactId>mysql-connector-java</artifactId>
            <version>8.0.19</version>
        </dependency>
        <dependency>
            <groupId>com.alibaba</groupId>
            <artifactId>druid</artifactId>
            <version>1.1.17</version>
        </dependency>
        <!-- 分页插件 -->
        <dependency>
            <groupId>com.github.pagehelper</groupId>
            <artifactId>pagehelper-spring-boot-starter</artifactId>
            <version>1.2.13</version>
        </dependency>


        <!--其他包-->
        <dependency>
            <groupId>org.springframework.boot</groupId>
            <artifactId>spring-boot-devtools</artifactId>
            <scope>runtime</scope>
            <optional>true</optional>
        </dependency>
        <dependency>
            <groupId>org.projectlombok</groupId>
            <artifactId>lombok</artifactId>
            <optional>true</optional>
        </dependency>
        <dependency>
            <groupId>junit</groupId>
            <artifactId>junit</artifactId>
            <version>4.12</version>
        </dependency>

        <dependency>
            <groupId>org.assertj</groupId>
            <artifactId>assertj-core</artifactId>
            <scope>test</scope>
        </dependency>
        <dependency>
            <groupId>org.springframework.boot</groupId>
            <artifactId>spring-boot-starter-test</artifactId>
            <scope>test</scope>
        </dependency>
三、配置文件中配置相应的jsp的文件目录及后缀
在application.properties文件中填加
#项目的访问名字,使用jsp一定要加上。
server.servlet.context-path=/sbm
#项目的服务名字
spring.application.name=/sbm
#视图解析配置
spring.mvc.view.prefix=/WEB-INF/jsp/
spring.mvc.view.suffix=.jsp
四:编写controller中通用跳转页面方法
@Controller
public class BaseController {
    //去主页 http://127.0.0.1:8080/sbm/index
    @GetMapping("/index")
    public String index(){
        return "index";
    }
    //http://127.0.0.1:8080/sbm/
    @GetMapping("/")
    public String index1(){
        return "index";
    }
    //跳转页面,前段传jsp文件名就可以跳转该页面
    @RequestMapping("/forPage")
    protected String forPageJsp(String pageName) {
        return pageName;
    }

}
五、整合jsp中使用bootstrap、同时使用basepath,Ajax使用需要。
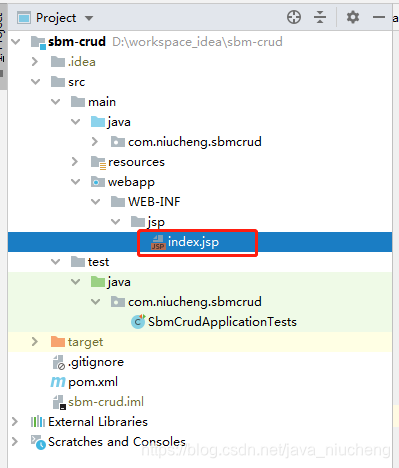
1、src目录下,新建webapp/WEB-INF/jsp/目录,然后新建index.jsp
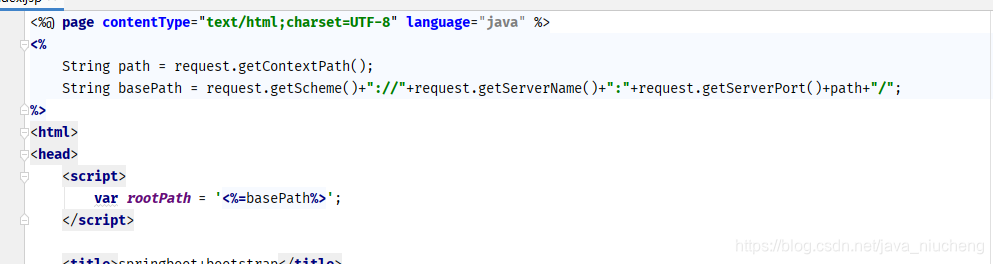
在jsp页面中顶部增加增加basepath代码
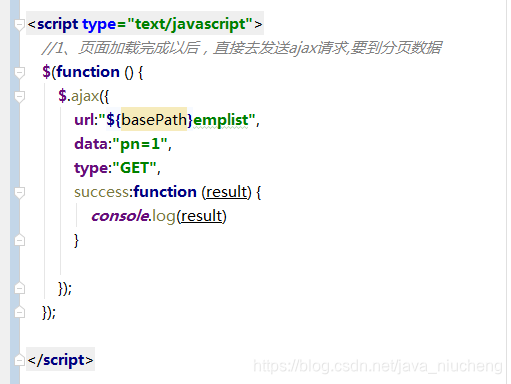
Ajax使用basepath:
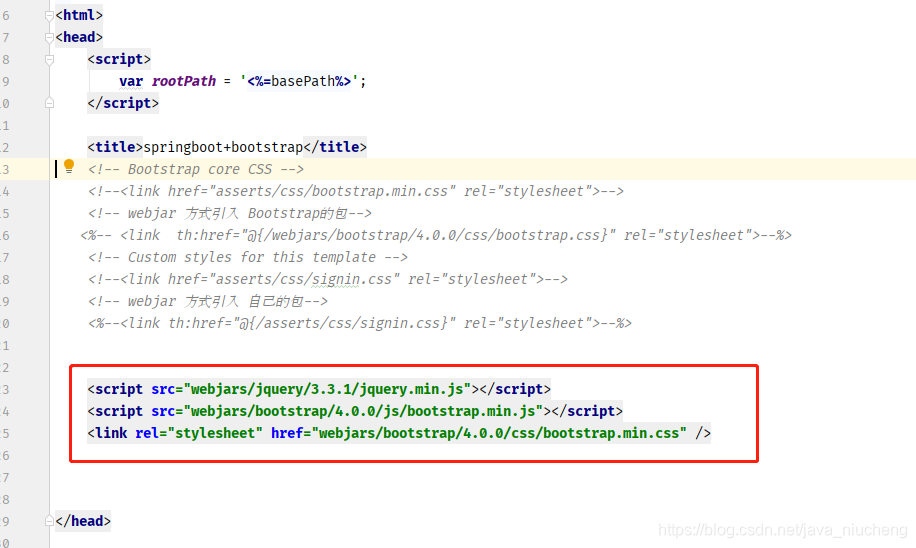
webjars的方式引入bootstrap4.0.0和jquery3.3.1
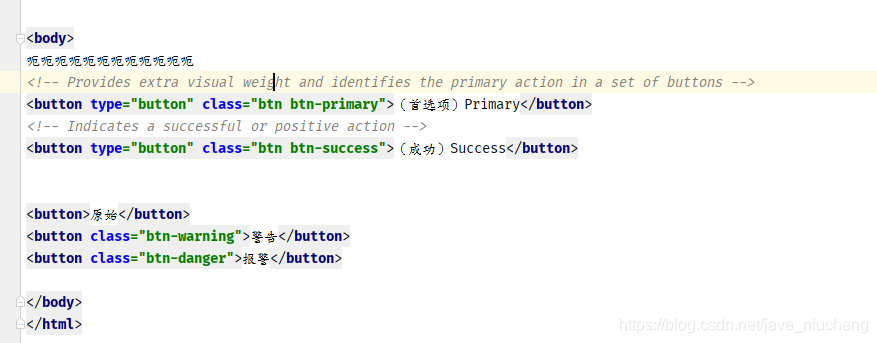
使用bootstrap,访问地址:http://127.0.0.1:8080/sbm/index,访问成功后是下方左边的样子。

index.jsp页面的完整代码:
<%@ page contentType="text/html;charset=UTF-8" language="java" %>
<%
    String path = request.getContextPath();
    String basePath = request.getScheme()+"://"+request.getServerName()+":"+request.getServerPort()+path+"/";
%>
<html>
<head>
    <script>
        var rootPath = '<%=basePath%>';
    </script>

    <title>springboot+bootstrap</title>
    <!-- Bootstrap core CSS -->
    <!--<link href="asserts/css/bootstrap.min.css" rel="stylesheet">-->
    <!-- webjar 方式引入 Bootstrap的包-->
 最低0.47元/天 解锁文章


 491
491


 到【灌水乐园】发言


