


书生浦语大模型实战营Camp4-L0:Python 前置基础
- 教程地址:https://github.com/InternLM/Tutorial/blob/camp4/docs/L0/Python/readme.md
- 任务地址:https://github.com/InternLM/Tutorial/blob/camp4/docs/L0/Python/task.md
| 任务类型 | 任务内容 | 预计耗时 |
|---|---|---|
| 闯关任务 | Leetcode 383(笔记中提交代码与leetcode提交通过截图) | 20mins |
| 闯关任务 | Vscode连接InternStudio debug笔记 | 10mins |
| 可选任务 | pip安装到指定目录 | 10mins |
作业总共分为三个任务,两个闯关任务均完成视作闯关成功。
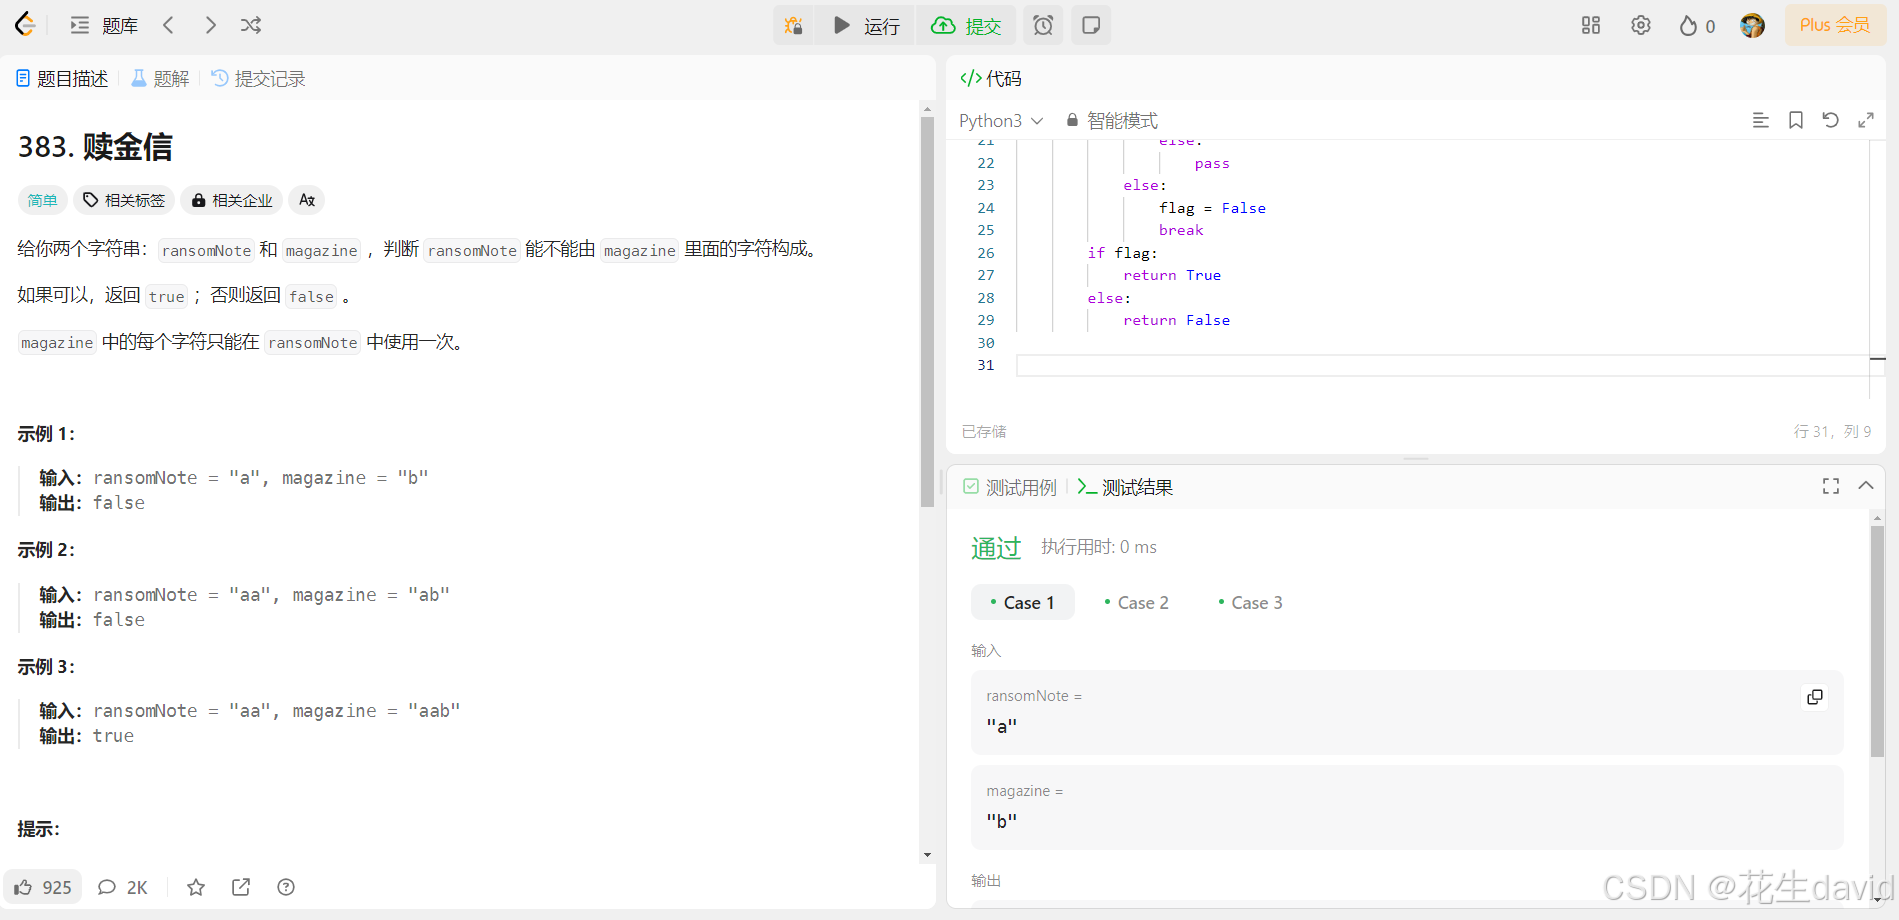
Leetcode 383(笔记中提交代码与leetcode提交通过截图)
class Solution:
    def canConstruct(self, ransomNote: str, magazine: str) -> bool:
        flag = True
        info_a = {}
        for i in ransomNote:
            if i in info_a.keys():
                info_a[i] += 1
            else:
                info_a[i] = 1
        info_b = {}
        for i in magazine:
            if i in info_b.keys():
                info_b[i] += 1
            else:
                info_b[i] = 1
        for key,value in info_a.items():
            if key in info_b.keys():
                if info_a[key]>info_b[key]:
                    flag = False
                    break
                else:
                    pass
            else:
                flag = False
                break
        if flag:
            return True
        else:
            return False
运行通过示例:
Python实现wordcount
这个是camp3的作业,做完才发现看错了,放这里吧
参考上一次作业,基于vscode打开开发机:
- Camp4-L0:Linux 前置基础
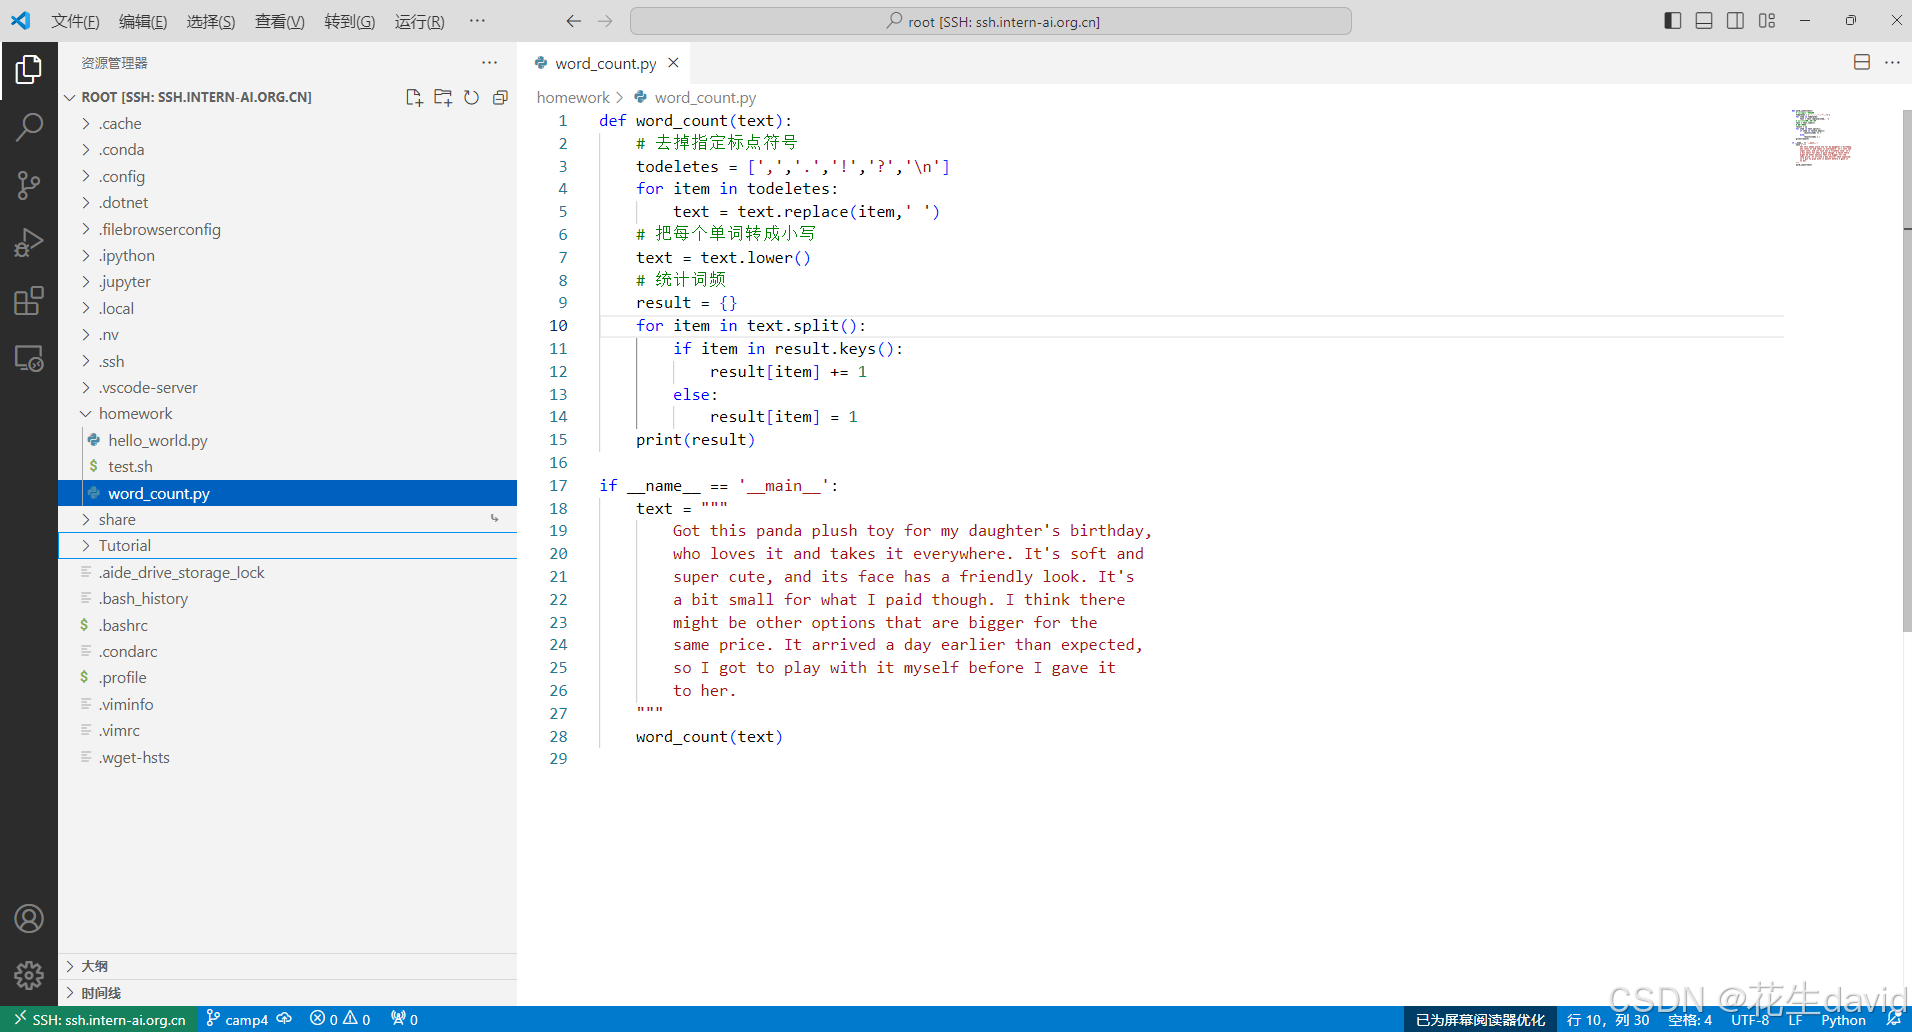
在homework文件夹中新建word_count.py文件,填入如下内容:
def word_count(text):
    # 去掉指定标点符号
    todeletes = [',','.','!','?','\n']
    for item in todeletes:
        text = text.replace(item,' ')
    # 把每个单词转成小写
    text = text.lower()
    # 统计词频
    result = {}
    for item in text.split():
        if item in result.keys():
            result[item] += 1
        else:
            result[item] = 1
    print(result)

if __name__ == '__main__':
    text = """
        Got this panda plush toy for my daughter's birthday,
        who loves it and takes it everywhere. It's soft and
        super cute, and its face has a friendly look. It's
        a bit small for what I paid though. I think there
        might be other options that are bigger for the
        same price. It arrived a day earlier than expected,
        so I got to play with it myself before I gave it
        to her.
    """
    word_count(text)
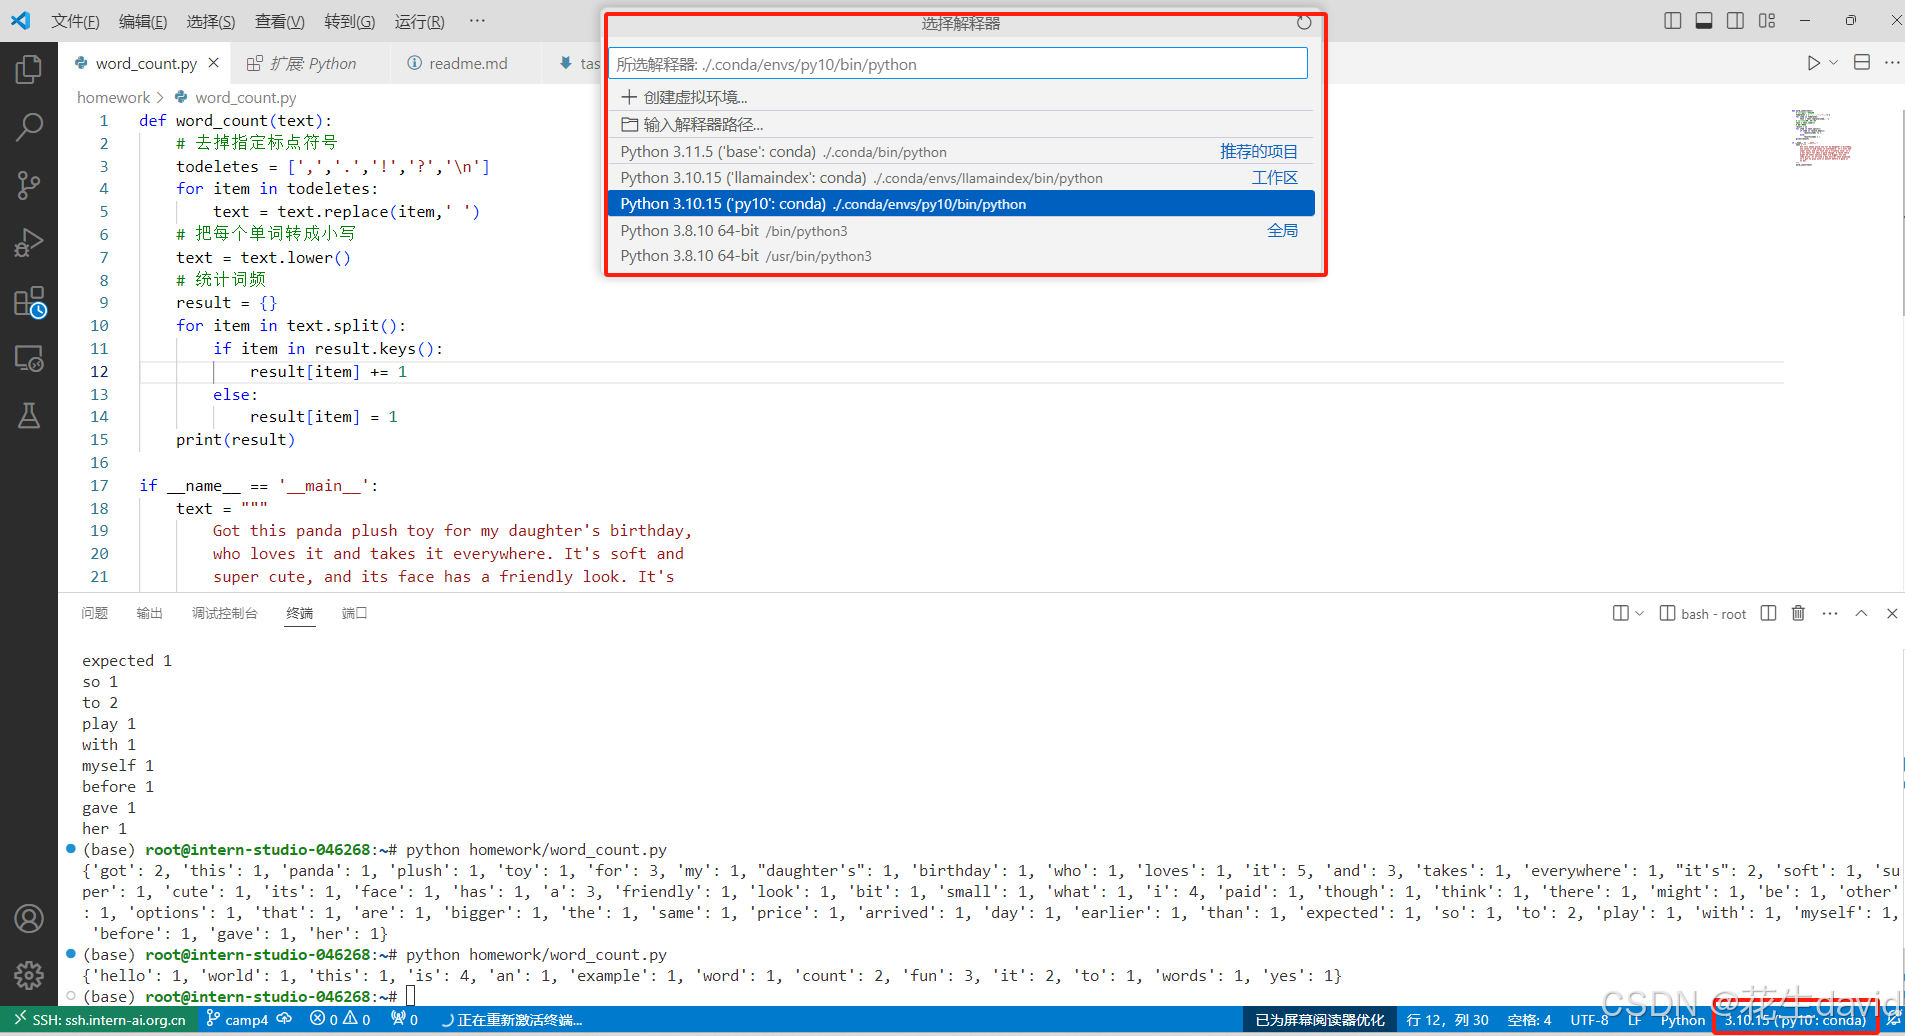
运行python word_count.py,输出如下内容:

大功告成!
Vscode连接InternStudio debug笔记
这个是camp3的那个,放这里吧,就不删除了
参考上一次作业或者教程网址,基于vscode打开开发机:
- Camp4-L0:Linux 前置基础
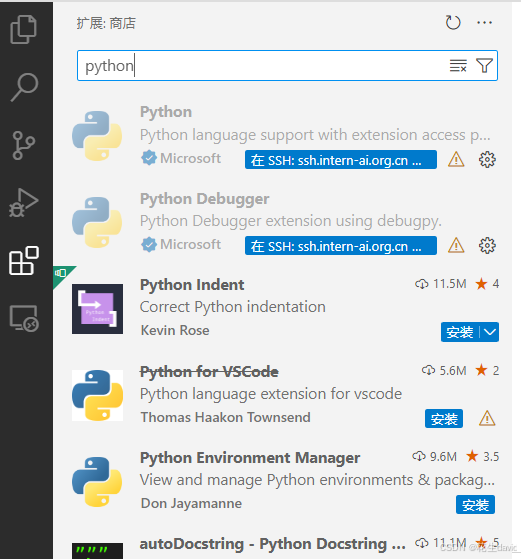
哈哈,我这个右下角没有python解释器选择,然后在应用商店中安装python和python debugger:
安装完之后就可以看右下角,选择python解释器,示例如下:
第一种方式
切到运行和调试这里,在第7行和第14行设置断点:
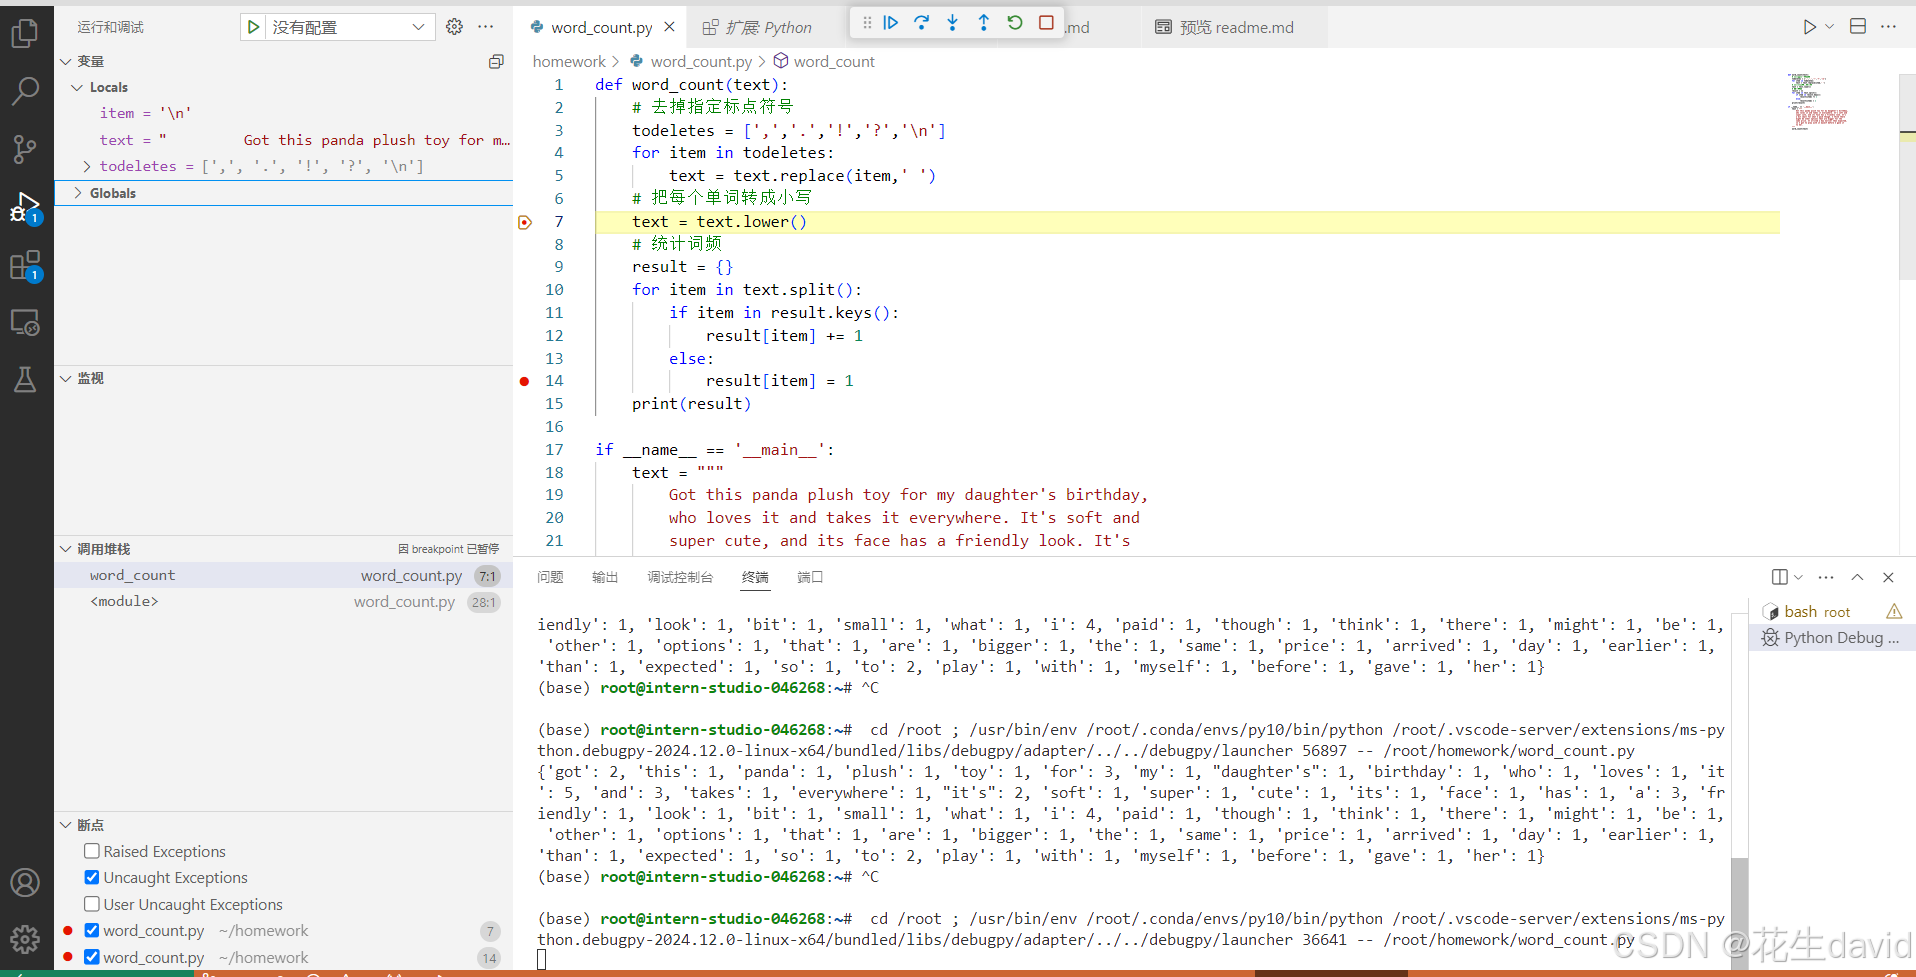
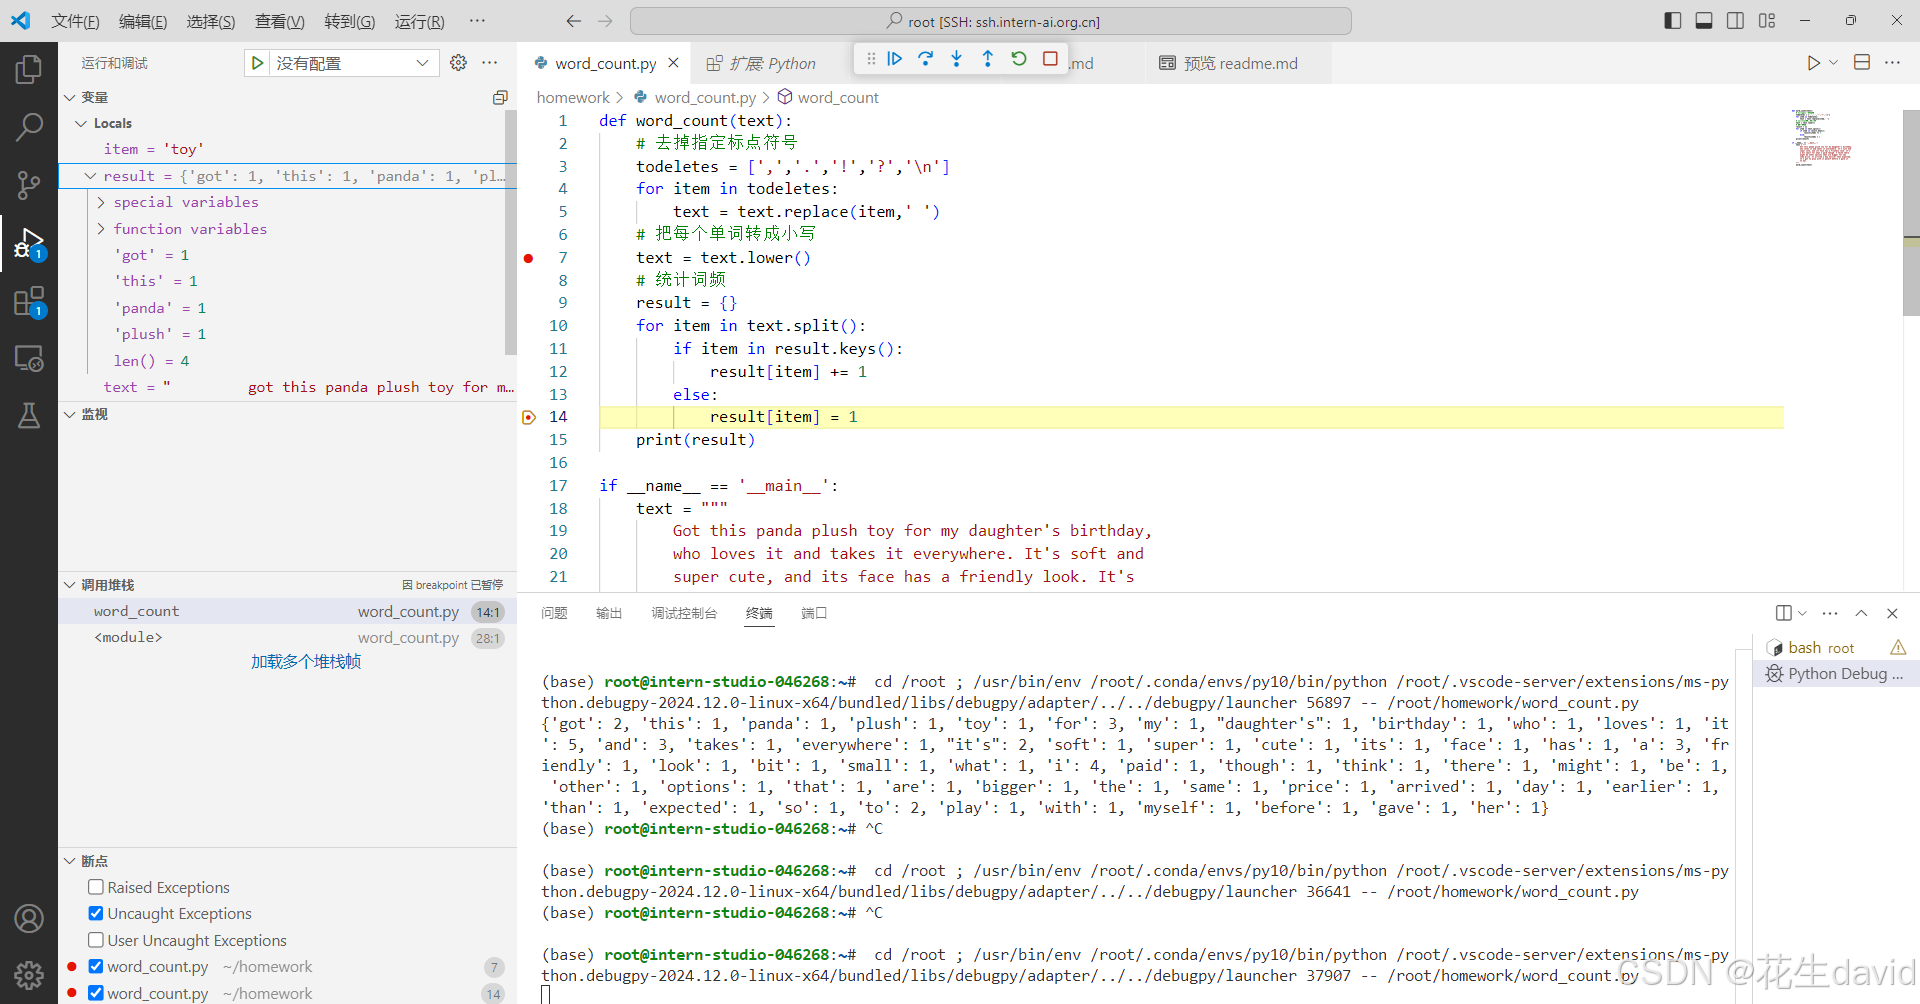
可以看到目前的变量,查看是否符合预期,然后点击中间左侧的继续运行即可
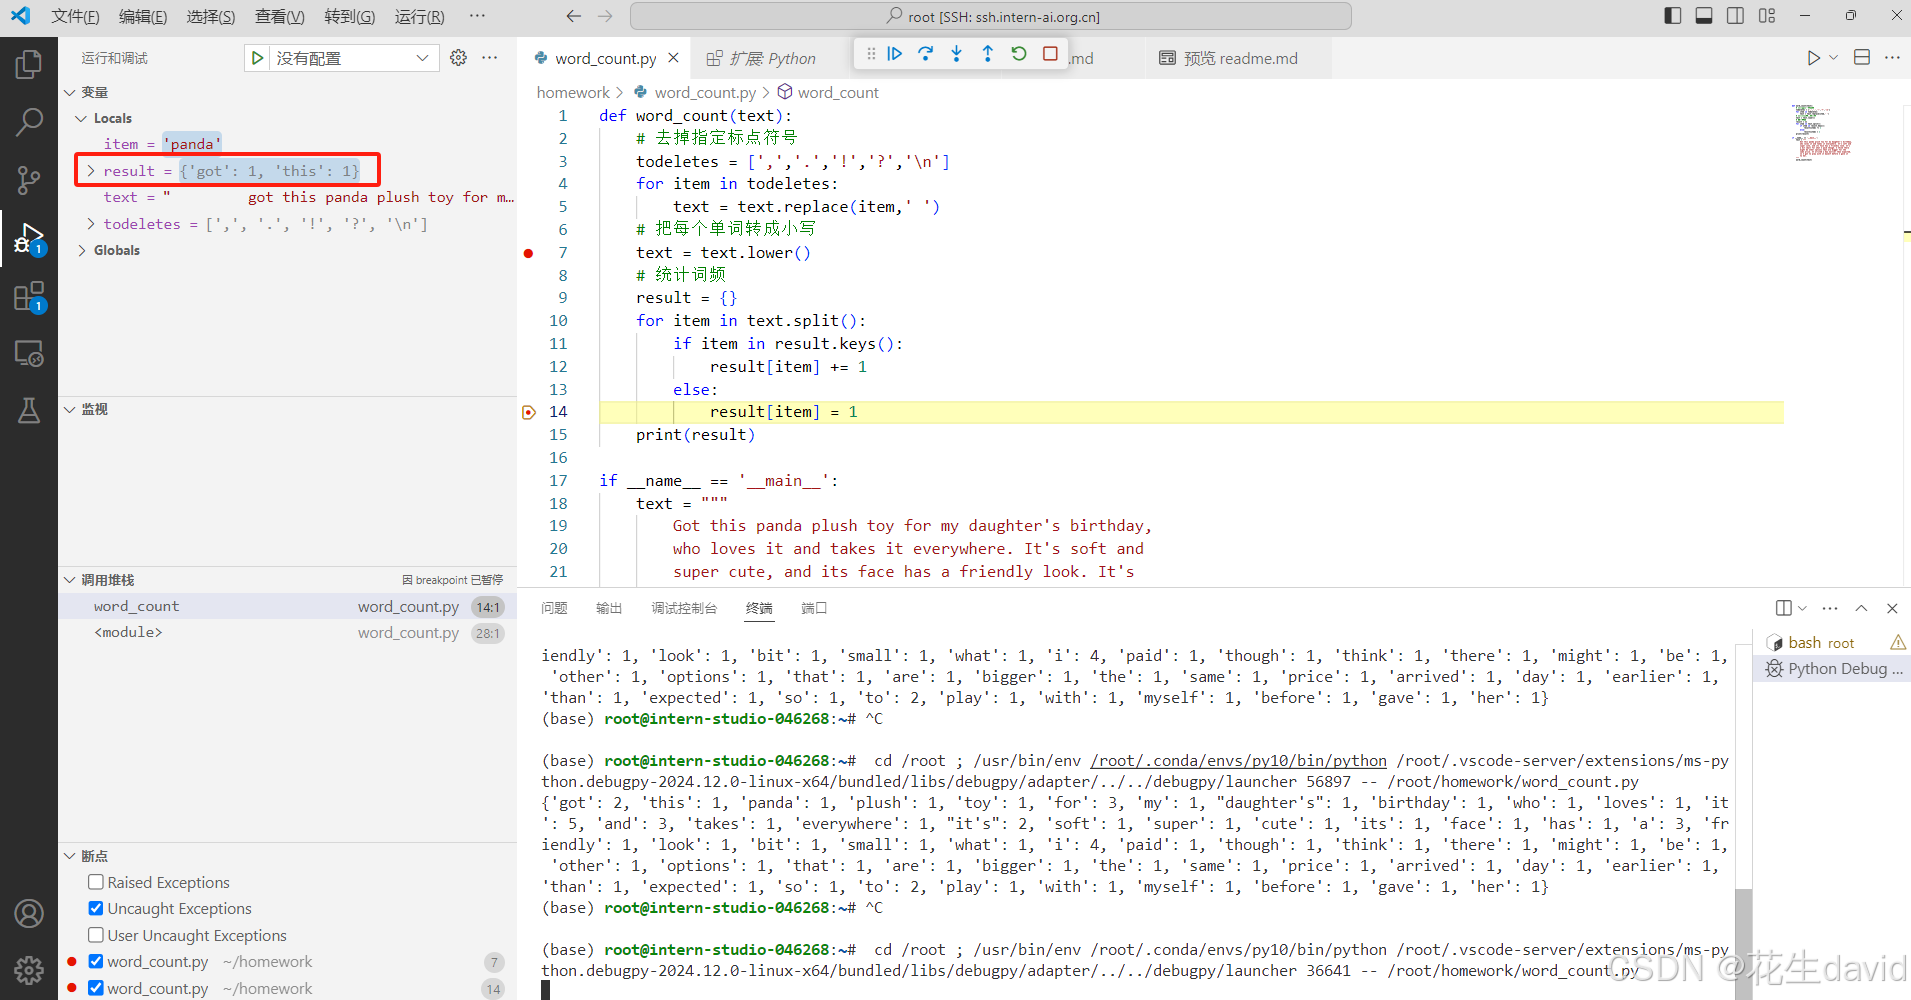
看下result的变量,debug模式能够对for循环每一步进行查看,这是运行了两次,可以看到result统计了两个词的频率,继续点击,会逐渐更新,感觉还是蛮有意思:
第二种方式:使用命令行进行debug
按照教程配置json文件
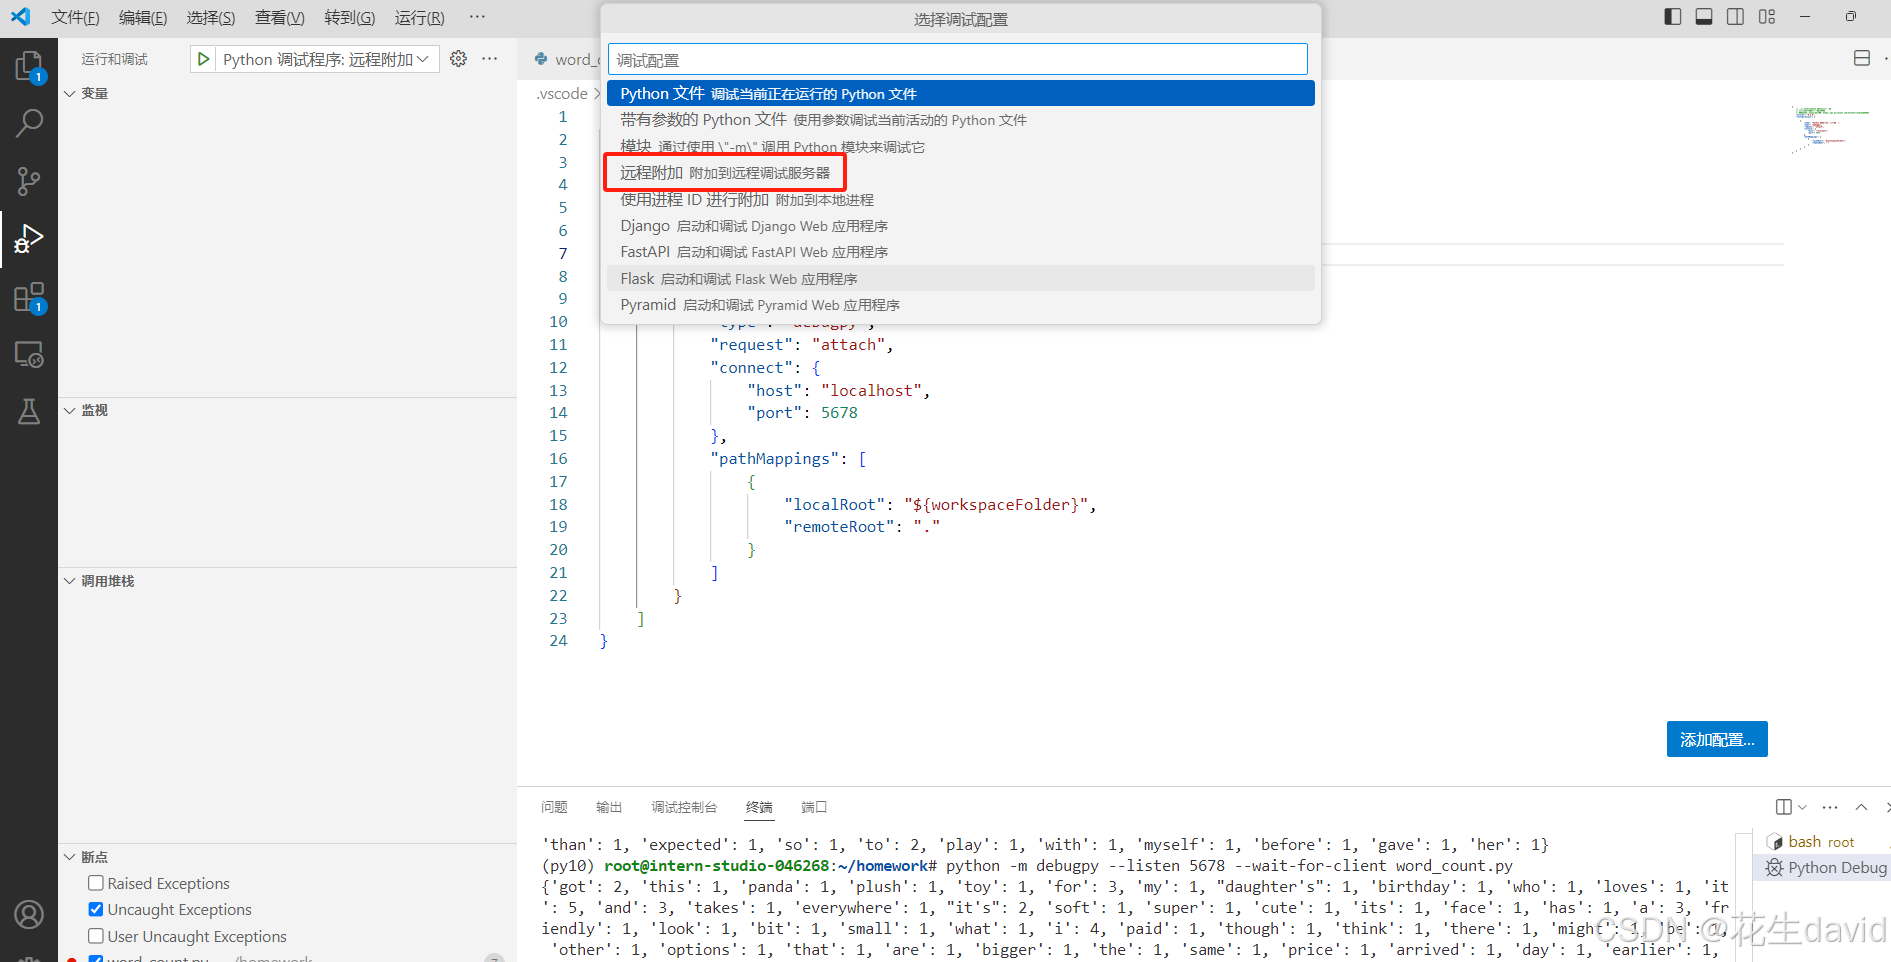
然后一路默认回车即可
安装debugpy:pip install debugpy
命令行输入下述命令即可:
python -m debugpy --listen 5678 --wait-for-client word_count.py
后面就跟前面那个差不多了,别名简化命令:
这边有个不方便的地方,python -m debugpy --listen 5678 --wait-for-client这个命令太长了,每次都打很麻烦。这里我们可以给这段常用的命令设置一个别名。
在linux系统中,可以对 ~/.bashrc 文件中添加以下命令
alias pyd='python -m debugpy --wait-for-client --listen 5678'
然后执行
source ~/.bashrc
这样之后使用 pyd 命令(你可以自己命名) 替代 python 就能在命令行中起debug了,之前的debug命令就变成了
pyd ./myscript.py
备注:debug这个用起来感觉还行,可以跟jupyter搭配着使用
pip安装到指定目录
这个主要是实战营可以直接使用share目录下的conda环境,但share目录只有读权限,所以要安装额外的包时我们不能直接使用pip将包安装到对应环境中,需要安装到我们自己的目录下。
这时我们在使用pip的时候可以使用--target或-t参数来指定安装目录,此时pip会将你需要安装的包安装到你指定的目录下。
主要命令如下:
# 首先激活环境
conda activate /root/share/pre_envs/pytorch2.1.2cu12.1

# 创建一个目录/root/myenvs,并将包安装到这个目录下
mkdir -p /root/myenvs
pip install <somepackage> --target /root/myenvs

# 注意这里也可以使用-r来安装requirements.txt
pip install -r requirements.txt --target /root/myenvs
调用的时候需要添加一下目录:
要使用安装在指定目录的python包,可以在python脚本开头临时动态地将该路径加入python环境变量中去
import sys

# 你要添加的目录路径
your_directory = '/root/myenvs'

# 检查该目录是否已经在 sys.path 中
if your_directory not in sys.path:
    # 将目录添加到 sys.path
    sys.path.append(your_directory)

# 现在你可以直接导入该目录中的模块了
# 例如:import your_module


 291
291

 被折叠的 条评论
为什么被折叠?
被折叠的 条评论
为什么被折叠?
 到【灌水乐园】发言


