


1,首先建立一个fragment的模型类,存储一些数据,比如标题,比如事件,数据等等。
public class FragmentMode {

    Fragment fragment;

    String title;

    View.OnClickListener rightClick;

    View.OnClickListener leftClick;

    Bundle bundle;

    private volatile static FragmentMode fragmentMode;

    private FragmentMode() {
    }

    public static FragmentMode newInstance() {
        if (fragmentMode == null) {
            synchronized (FragmentMode.class) {
                if (fragmentMode == null) {
                    fragmentMode = new FragmentMode();
                }
            }
        }
        return fragmentMode;
    }

    /**
     * 调用时一定要调用这个方法,初始化数据
     * @param isBoole
     * @return
     */
    public FragmentMode isStart(boolean isBoole){
        if (isBoole) {
            initData(this);
        }
        return this;
    }

    /**
     * 初始化所有条件,防止重新覆盖
     * @param fragmentMode
     */
    private  void initData(FragmentMode fragmentMode) {
        fragmentMode.bundle=null;
        fragmentMode.fragment=null;
        fragmentMode.leftClick=null;
        fragmentMode.title=null;
        fragmentMode.rightClick=null;
    }

    public FragmentMode setFragment(Fragment fragment) {
        this.fragment = fragment;
        return this;
    }

    public FragmentMode setTitle(String title) {
        this.title = title;
        return this;
    }

    public FragmentMode setRightClick(View.OnClickListener rightClick) {
        this.rightClick = rightClick;
        return this;
    }

    public FragmentMode setLeftClick(View.OnClickListener leftClick) {
        this.leftClick = leftClick;
        return this;
    }

    public FragmentMode setBundle(Bundle bundle) {
        this.bundle = bundle;
        return this;
    }

    public Fragment getFragment() {
        return fragment;
    }

    public String getTitle() {
        return title;
    }

    public View.OnClickListener getRightClick() {
        return rightClick;
    }

    public View.OnClickListener getLeftClick() {
        return leftClick;
    }

    public Bundle getBundle() {
        return bundle;
    }

    public void startCreateFragment(Activity activity){
        //这个activity就是总的那个activity,提前创建好
        Intent intent=new Intent(activity, FragmentControllerActivity.class);
        activity.startActivity(intent);
    }


}
2,创建fragment的容器activity 名称:FragmentControllerActivity
public class FragmentControllerActivity extends AppCompatActivity {

    @BindView(R.id.left_icon)
    ImageView leftIcon;
    @BindView(R.id.title)
    TextView title;
    @BindView(R.id.right_icon)
    ImageView rightIcon;
    @BindView(R.id.title_parent)
    LinearLayout titleParent;
    @BindView(R.id.fragment_base)
    FrameLayout fragmentBase;
    FragmentMode fragmentMode;
    private FragmentManager manager;
    private FragmentTransaction transaction;
    @Override
    protected void onCreate(Bundle savedInstanceState) {
        super.onCreate(savedInstanceState);
        setContentView(R.layout.activity_fragment_controller);
        ButterKnife.bind(this);
        initData();


    }

    private void initData() {
        /**
         * 拿到事务管理器并开启事务
         */
        manager = getSupportFragmentManager();
        transaction = manager.beginTransaction();
        fragmentMode = FragmentMode.newInstance();
        Fragment fragment = fragmentMode.getFragment();
        if (fragment != null) {
            //参数不为空直接传参
            if (fragmentMode.getBundle() != null) {
                 fragment.setArguments(fragmentMode.getBundle());
            }
            transaction.replace(R.id.fragment_base, fragment);
            transaction.commit();
        }

        //标题赋值
        if (fragmentMode.getTitle() != null) {
            title.setText(fragmentMode.getTitle());
        }
    }

    @OnClick({R.id.left_icon, R.id.right_icon})
    public void onClick(View view) {
        switch (view.getId()) {
            case R.id.left_icon:
                if (fragmentMode.getLeftClick() != null) {
                    fragmentMode.getLeftClick().onClick(view);
                }
                break;
            case R.id.right_icon:
                if (fragmentMode.getRightClick() != null) {
                    fragmentMode.getRightClick().onClick(view);
                }
                break;
        }
    }
    //将模块返回过去,供fragment调用
    public FragmentMode getFragmentMode() {
        return fragmentMode;
    }
容器fragment的布局,这个根据个人情况创建,这里只创建常见的布局:
<?xml version="1.0" encoding="utf-8"?>
<androidx.constraintlayout.widget.ConstraintLayout xmlns:android="http://schemas.android.com/apk/res/android"
    xmlns:app="http://schemas.android.com/apk/res-auto"
    xmlns:tools="http://schemas.android.com/tools"
    android:layout_width="match_parent"
    android:layout_height="match_parent"
    tools:context=".activity.FragmentControllerActivity">
    <LinearLayout
        android:id="@+id/title_parent"
        android:layout_width="match_parent"
        android:layout_height="50dp"
        android:orientation="horizontal"
        android:gravity="center"
        android:background="#999"
        app:layout_constraintTop_toTopOf="parent"
        >
        <ImageView
            android:id="@+id/left_icon"
            android:layout_width="50dp"
            android:layout_height="match_parent"
            android:src="@mipmap/ic_launcher"
            />
        <TextView
            android:id="@+id/title"
            android:layout_width="0dp"
            android:layout_weight="1"
            android:layout_height="wrap_content"
            android:gravity="center"
            android:text="标题"
            />
        <ImageView
            android:id="@+id/right_icon"
            android:layout_width="50dp"
            android:src="@mipmap/ic_launcher"
            android:layout_height="match_parent"/>
    </LinearLayout>
    <FrameLayout
        android:id="@+id/fragment_base"
        android:layout_width="match_parent"
        android:layout_height="match_parent"
        app:layout_constraintTop_toBottomOf="@id/title_parent"
        android:layout_marginTop="50dp"
        >

    </FrameLayout>
</androidx.constraintlayout.widget.ConstraintLayout>
4,调用方法并使用 infolist是个listview,都是高手,我就不细说怎么创建了:
 infoList.setOnItemClickListener(new AdapterView.OnItemClickListener() {
            @Override
            public void onItemClick(AdapterView<?> parent, View view, int position, long id) {
                if (position%2==0) {
                    FragmentMode.newInstance().isStart(true)
                            .setFragment(new FirstFragment())
                            .setTitle("第一个标题")
                            .startCreateFragment(MainActivity.this);
                }else{
                    FragmentMode.newInstance().isStart(true)
                            .setFragment(new SecondFragment())
                            .setTitle("第二个标题")
                            .startCreateFragment(MainActivity.this);
                }
            }
        });
5,在fragment里面调用点击事件:
@Override
    public View onCreateView(LayoutInflater inflater, ViewGroup container,
                             Bundle savedInstanceState) {
        // Inflate the layout for this fragment
        View view = inflater.inflate(R.layout.fragment_first, container, false);
        ((FragmentControllerActivity)getActivity()).getFragmentMode().setLeftClick(new View.OnClickListener() {
            @Override
            public void onClick(View v) {
                Toast.makeText(getActivity(), "第一个的左点击", Toast.LENGTH_SHORT).show();
            }
        });
        ((FragmentControllerActivity)getActivity()).getFragmentMode().setRightClick(new View.OnClickListener() {
            @Override
            public void onClick(View v) {
                Toast.makeText(getActivity(), "第一个的右点击", Toast.LENGTH_SHORT).show();
            }
        });

        return view;
    }

@Override
    public View onCreateView(LayoutInflater inflater, ViewGroup container,
                             Bundle savedInstanceState) {
        // Inflate the layout for this fragment
        View inflate = inflater.inflate(R.layout.fragment_second, container, false);

        ((FragmentControllerActivity)getActivity()).getFragmentMode().setLeftClick(new View.OnClickListener() {
            @Override
            public void onClick(View v) {
                Toast.makeText(getActivity(), "第二个的左点击", Toast.LENGTH_SHORT).show();
            }
        });
        ((FragmentControllerActivity)getActivity()).getFragmentMode().setRightClick(new View.OnClickListener() {
            @Override
            public void onClick(View v) {
                Toast.makeText(getActivity(), "第二个的右点击", Toast.LENGTH_SHORT).show();
            }
        });

        return inflate;
    }
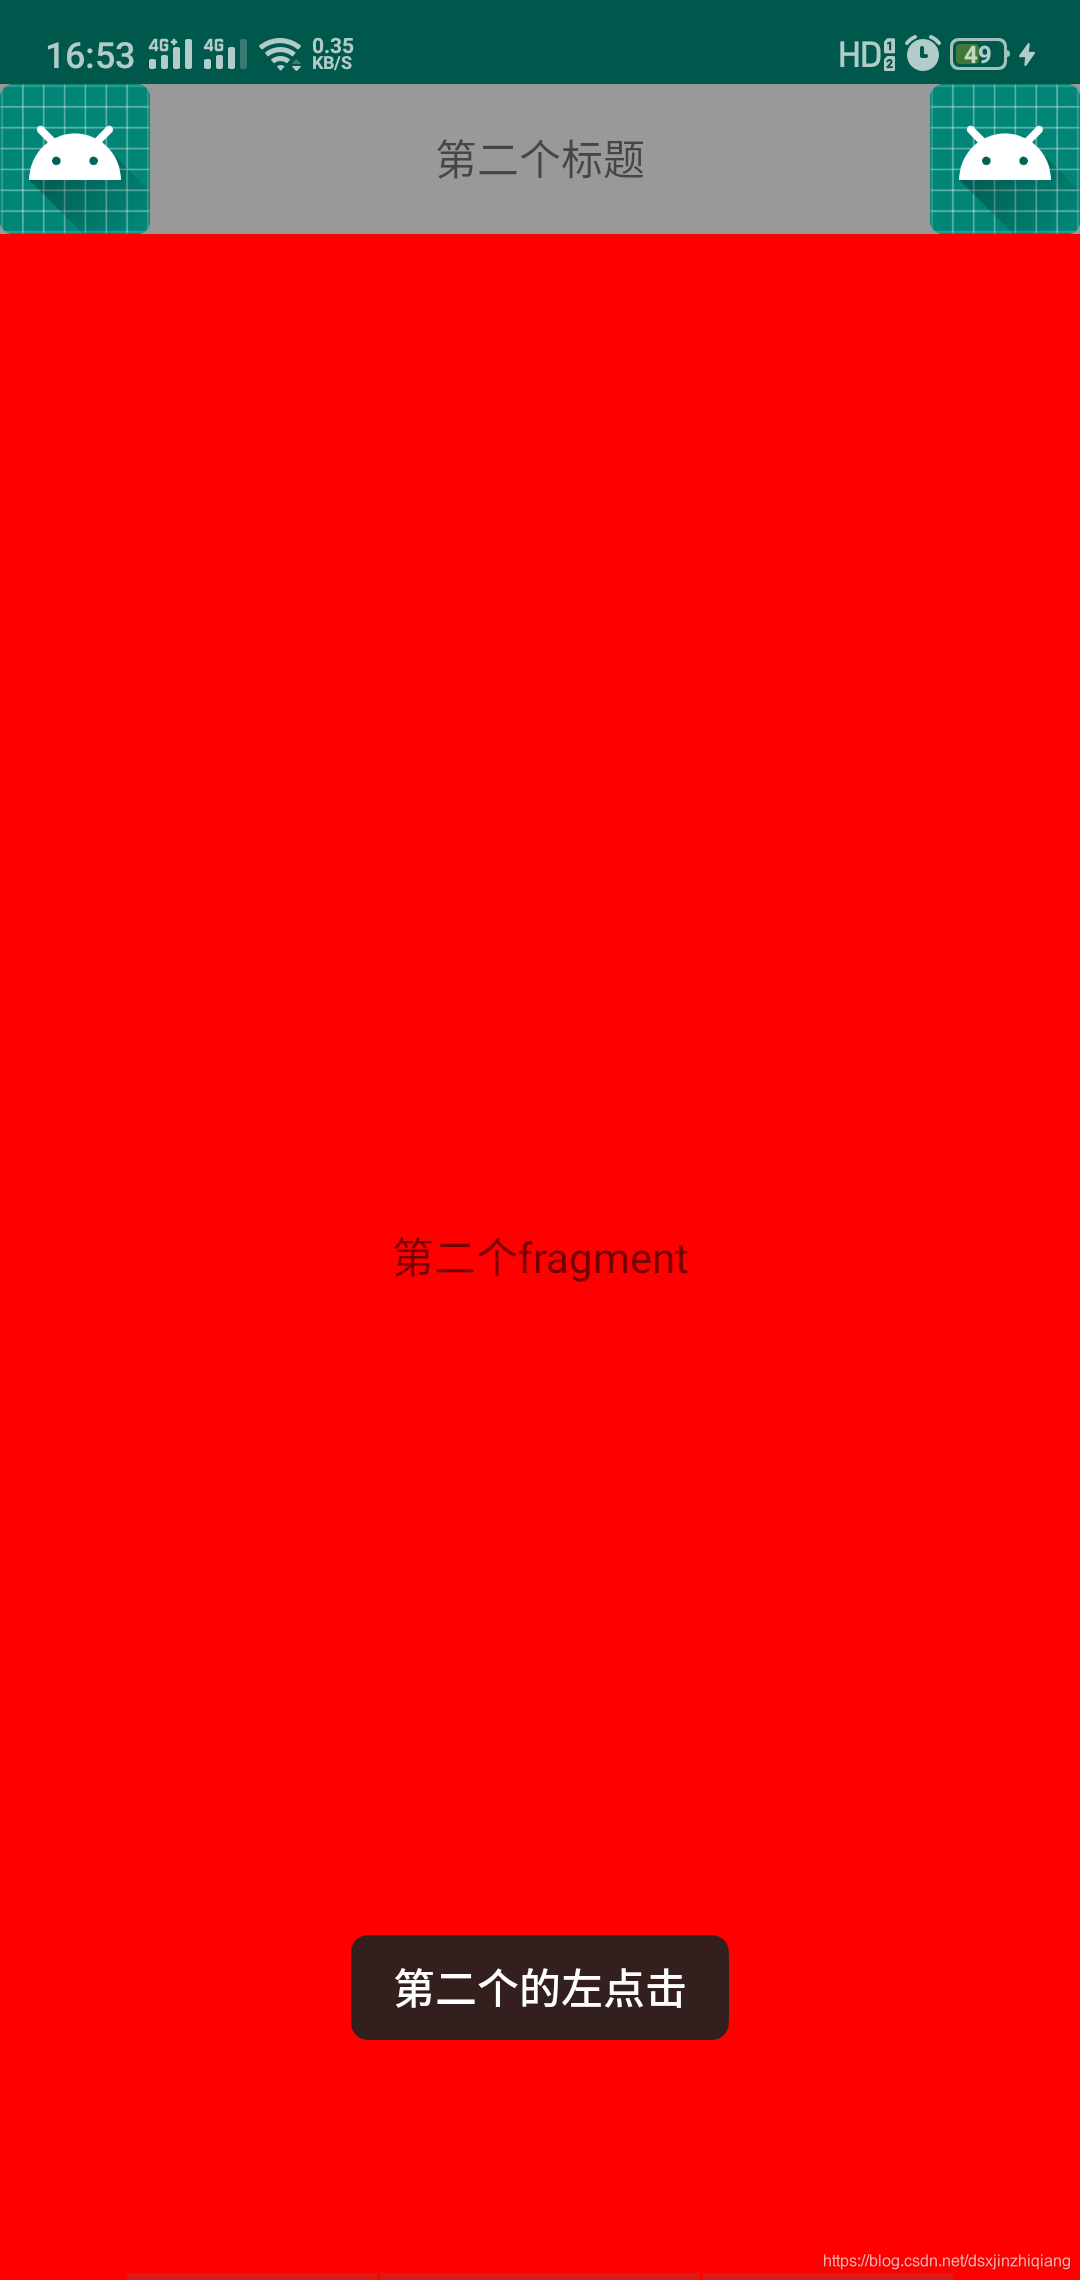
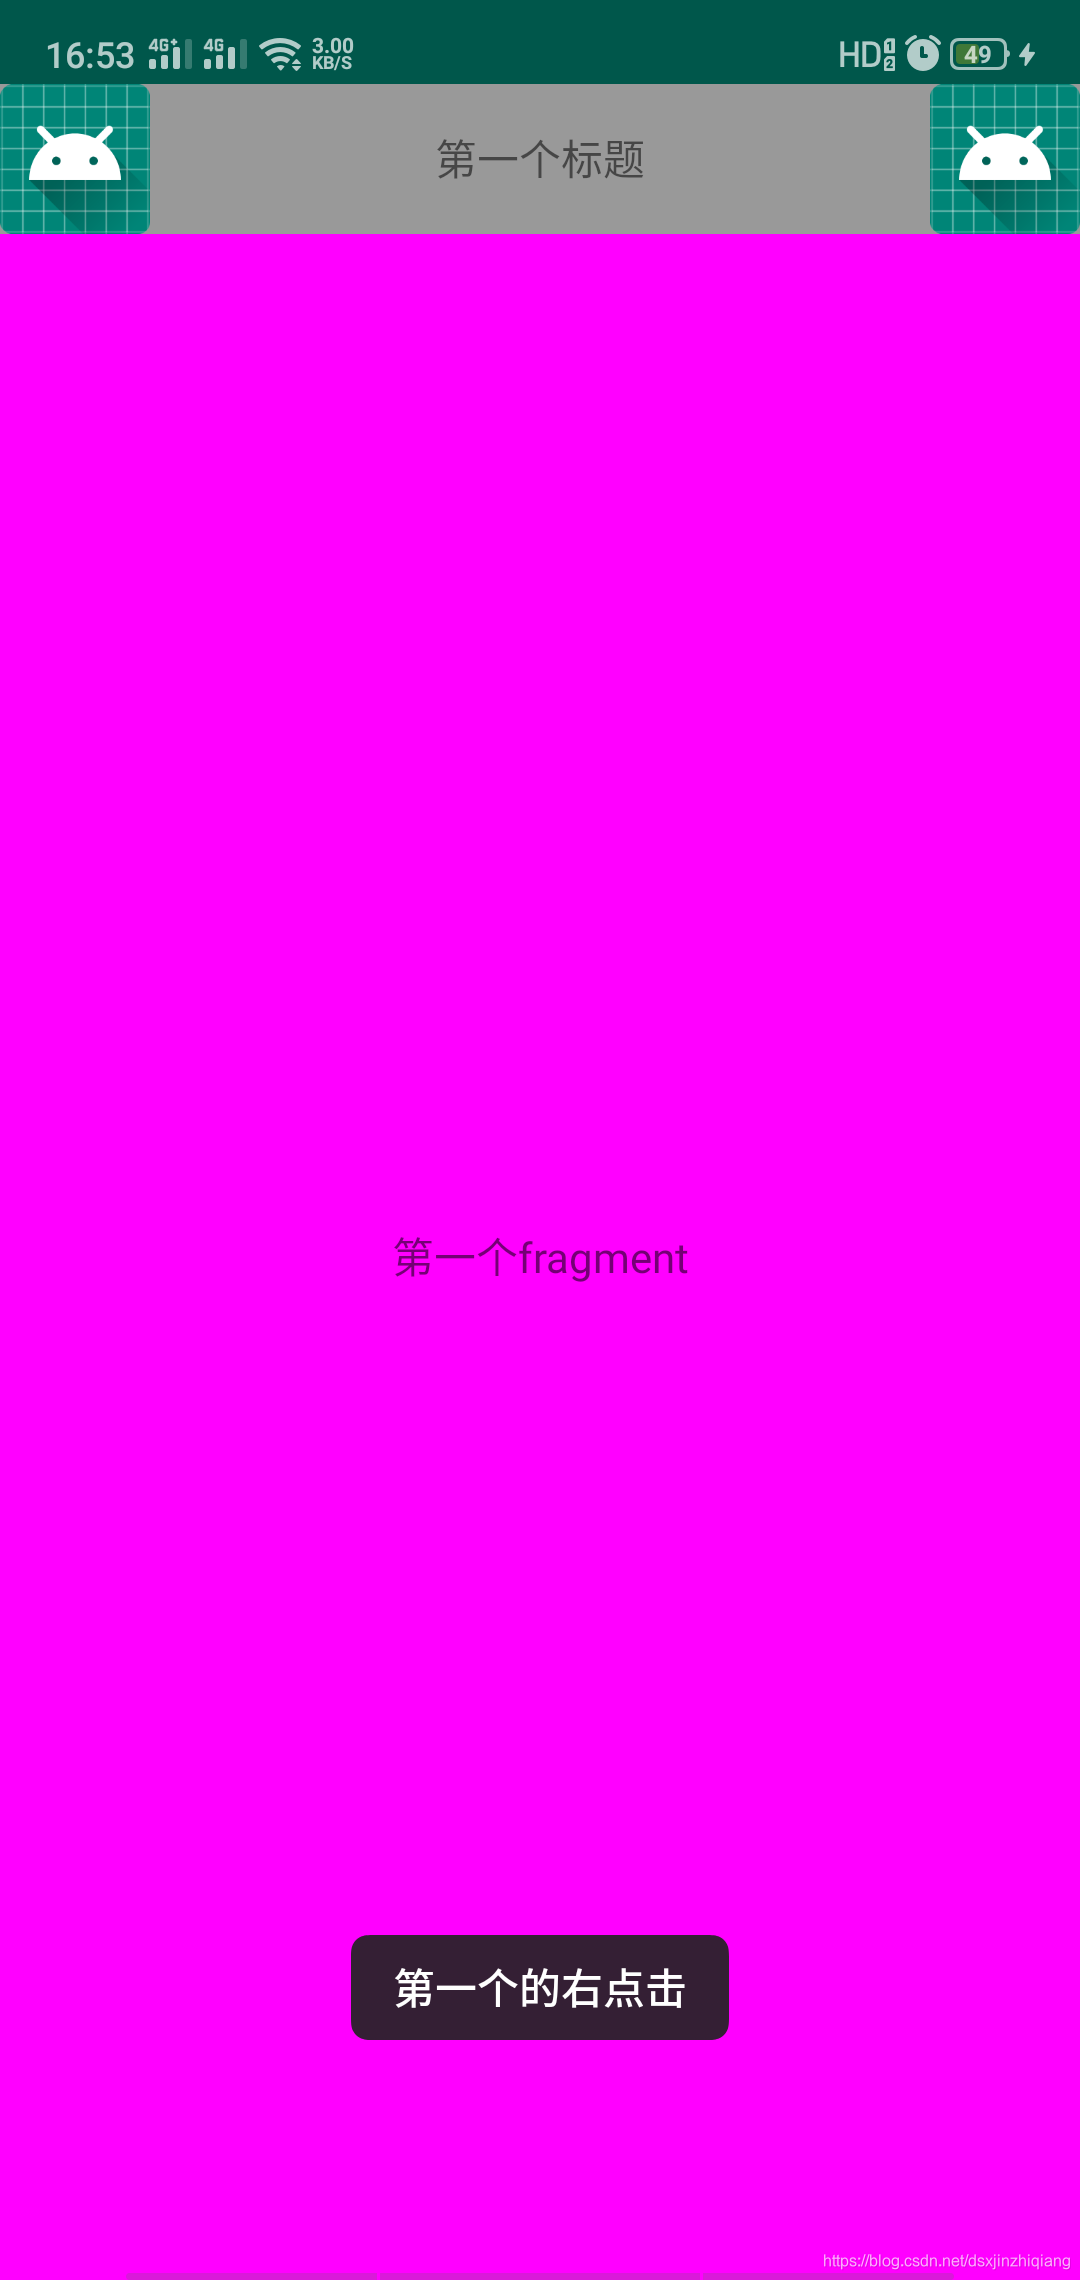
6,最后附上两张效果图(有点难看):


 被折叠的 条评论
为什么被折叠?
被折叠的 条评论
为什么被折叠?
 到【灌水乐园】发言


