


1、安装准备
1.1 参考链接
grpc记录(一)windows下使用Qt的MinGW编译grpc
1.2 提前安装好的软件
Vs2015 Update2或3:(VS2015+vs2015.3.ent_enu)
CMake:(CMake 3.30.0)
Git:(Git-2.46.0-64-bit)
Nasm:(nasm-2.16.02-win64)
Go:(go1.8.3.windows-amd64)
ActivePerl:(ActivePerl)
2、安装
2.1 下载源码
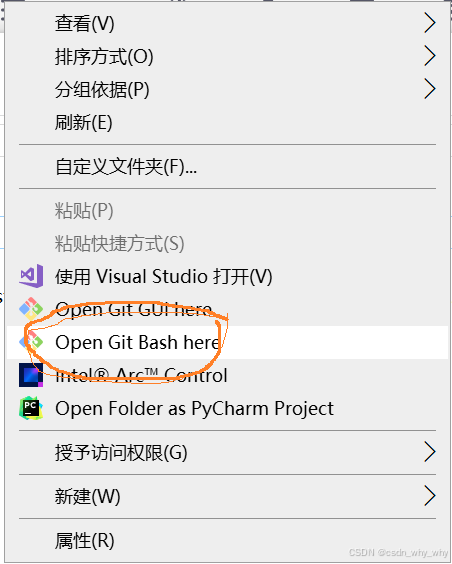
步骤一:在指定要安装的目录下,鼠标右键选择“ git Bash Here”
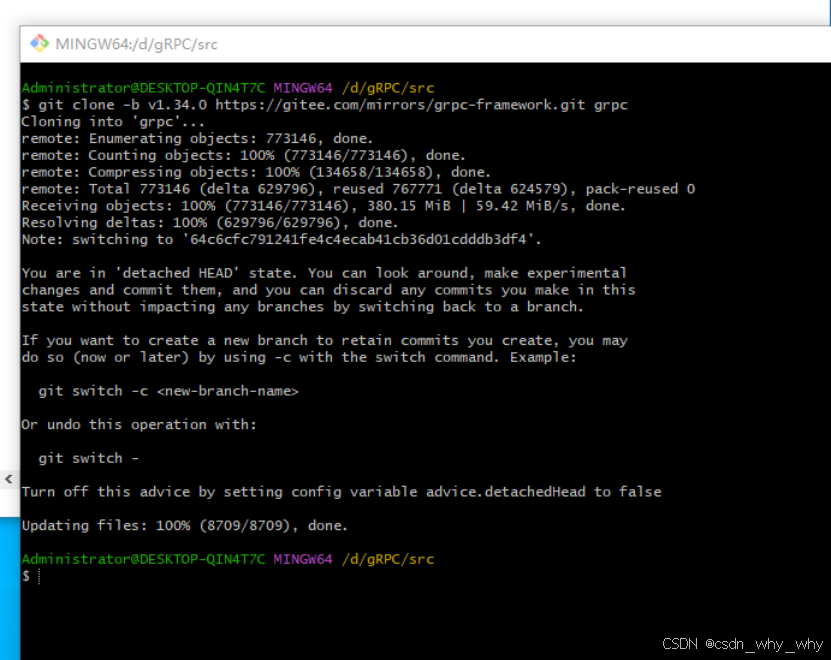
步骤二:输入命令:
git clone -b v1.34.0 https://gitee.com/mirrors/grpc-framework.git grpc
源码 ( v1.34.0)下载完成,如下图所示:
2.2 更新
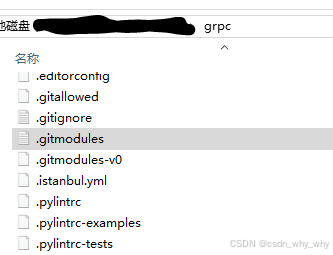
步骤一:修改“.gitmodules”
找到“./grpc”目录下的“.gitmodules”,为提高下载成功率,修改文件中url的https地址:
替换内容:
[submodule "third_party/zlib"]
    path = third_party/zlib
    #url = https://github.com/madler/zlib
    url = https://gitee.com/mirrors/zlib.git
    # When using CMake to build, the zlib submodule ends up with a
    # generated file that makes Git consider the submodule dirty. This
    # state can be ignored for day-to-day development on gRPC.
    ignore = dirty
[submodule "third_party/protobuf"]
    path = third_party/protobuf
    #url = https://github.com/google/protobuf.git
    url = https://gitee.com/local-grpc/protobuf.git
[submodule "third_party/googletest"]
    path = third_party/googletest
    #url = https://github.com/google/googletest.git
    url = https://gitee.com/local-grpc/googletest.git
[submodule "third_party/benchmark"]
    path = third_party/benchmark
    #url = https://github.com/google/benchmark
    url = https://gitee.com/mirrors/google-benchmark.git
[submodule "third_party/boringssl-with-bazel"]
    path = third_party/boringssl-with-bazel
    #url = https://github.com/google/boringssl.git
    url = https://gitee.com/mirrors/boringssl.git
[submodule "third_party/re2"]
    path = third_party/re2
    #url = https://github.com/google/re2.git
    url = https://gitee.com/local-grpc/re2.git
[submodule "third_party/cares/cares"]
    path = third_party/cares/cares
    #url = https://github.com/c-ares/c-ares.git
    url = https://gitee.com/mirrors/c-ares.git
    branch = cares-1_12_0
[submodule "third_party/bloaty"]
    path = third_party/bloaty
    #url = https://github.com/google/bloaty.git
    url = https://gitee.com/local-grpc/bloaty.git
[submodule "third_party/abseil-cpp"]
    path = third_party/abseil-cpp
    #url = https://github.com/abseil/abseil-cpp.git
    url = https://gitee.com/mirrors/abseil-cpp.git
    branch = lts_2020_02_25
[submodule "third_party/envoy-api"]
    path = third_party/envoy-api
    #url = https://github.com/envoyproxy/data-plane-api.git
    url = https://gitee.com/local-grpc/data-plane-api.git
[submodule "third_party/googleapis"]
    path = third_party/googleapis
    #url = https://github.com/googleapis/googleapis.git
    url = https://gitee.com/mirrors/googleapis.git
[submodule "third_party/protoc-gen-validate"]
    path = third_party/protoc-gen-validate
    #url = https://github.com/envoyproxy/protoc-gen-validate.git
    url = https://gitee.com/local-grpc/protoc-gen-validate.git
[submodule "third_party/udpa"]
    path = third_party/udpa
    #url = https://github.com/cncf/udpa.git
    url = https://gitee.com/local-grpc/udpa.git
[submodule "third_party/libuv"]
    path = third_party/libuv
    #url = https://github.com/libuv/libuv.git
    url = https://gitee.com/mirrors/libuv.git
步骤二: 更新命令
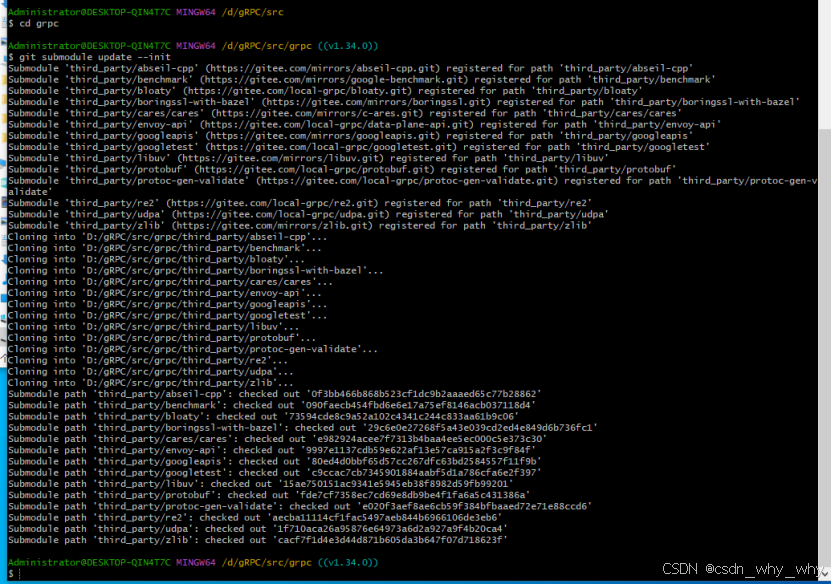
“./grpc”目录下,在git上使用更新命令:
cd grpc
git submodule update --init
运行结果示例:
如果某个子模块下载失败,则可多次执行下方命令(试过可用):
git submodule update --recursive也可以自己行下载模块,copy到“./grpc/third_party”中对应的子模块目录中(未试用)。
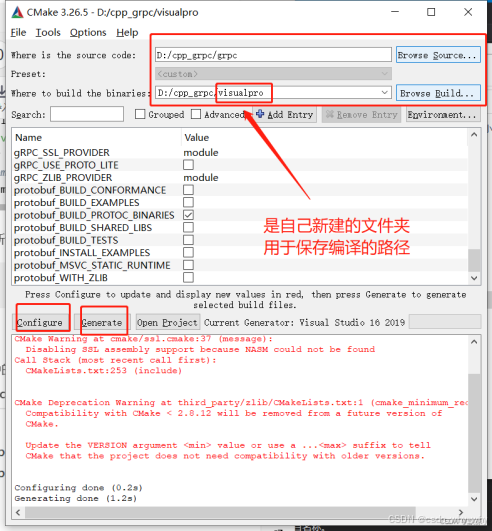
2.3 cmake编译
直接借用大神的图,我自己用的cmake3.30.0:
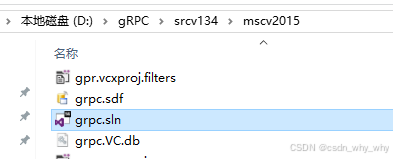
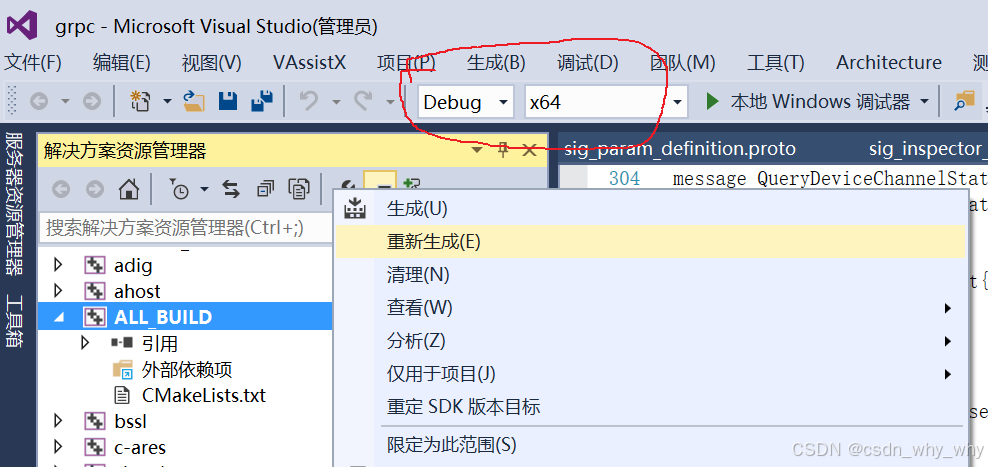
2.4 VS2015编译
cmake编译结束后,使用vs2015打开目录中的grpc.sln文件,右键ALL_BUILD,点击重新生成(Debug/Release),注意图中标红圈里的选择项,关乎编译出来的版本和32/64位数。这里vs2015至少需要安装update2(有坑踩过)。


 977
977

 被折叠的 条评论
为什么被折叠?
被折叠的 条评论
为什么被折叠?
 到【灌水乐园】发言


