


Zephyr是一个Linux基金会退出的支持物联网的实时操作系统RTOS,其可以在ESP32C上运行。
本文介绍如何编译并运行两个zephyr显示例程。
配置zephyr编译环境
Getting Started Guide — Zephyr Project Documentation
按照zephyr “Getting Started”网页安装zephyr编译环境,包括python, west,vscode等工具的安装。推荐使用virtual box虚拟机安装ubuntu,然后通过vscode在ubuntu上进行zephyr的开发和编译。
使用zephyr 4.0 (GitHub - zephyrproject-rtos/zephyr at v4.0.0),因为4.0才支持abrobot esp32c3使用的board configuration ("01space/esp32c3_042_oled")。
确保“zephyrproject/zephyr/samples/hello_world”能正常编译通过。
编译“zephyr/samples/drivers/display”
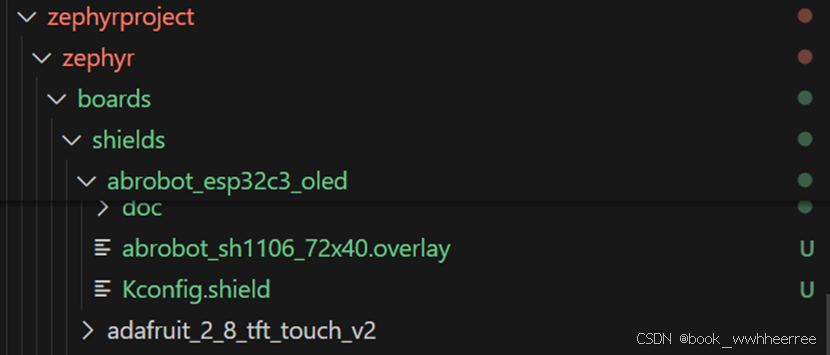
1. 解压并复制esp32c3oled专属的配置文件到“/zephyrproject/zephyr/boards/shields”。我已经配置文件提交到zephyr github (https://github.com/zephyrproject-rtos/zephyr/pull/85012),但不知何时能merge。
2. 运行“west build -p always -b esp32c3_042_oled --shield abrobot_sh1106_72x40 samples/drivers/display/”
“-b esp32c3_042_oled” 表示编译的board是esp32c3_042_oled
“--shield abrobot_sh1106_72x40” 表示使用abrobot oled的配置覆盖“esp32c3_042_oled”的一些关于显示的配置参数。

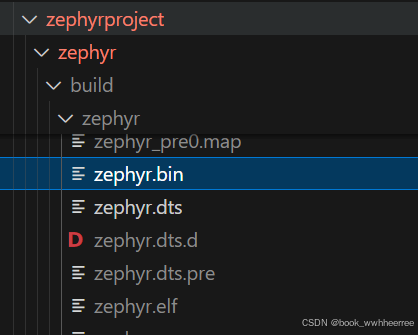
编译成功后,在“zephyrproject/zephyr/build/zephyr”目录里会有一个“zephyr.bin”
3. 安装烧录工具
wsl 调用 esp8266 命令行工具esptool.py_esptool esp8266-优快云博客
参考这篇文章,使用"pip3 install esptool"在windows里安装esp32烧录工具
4. 烧录zephyr image
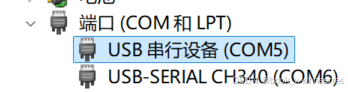
检查esp32c3的usb 映射的COM口,比如COM5.
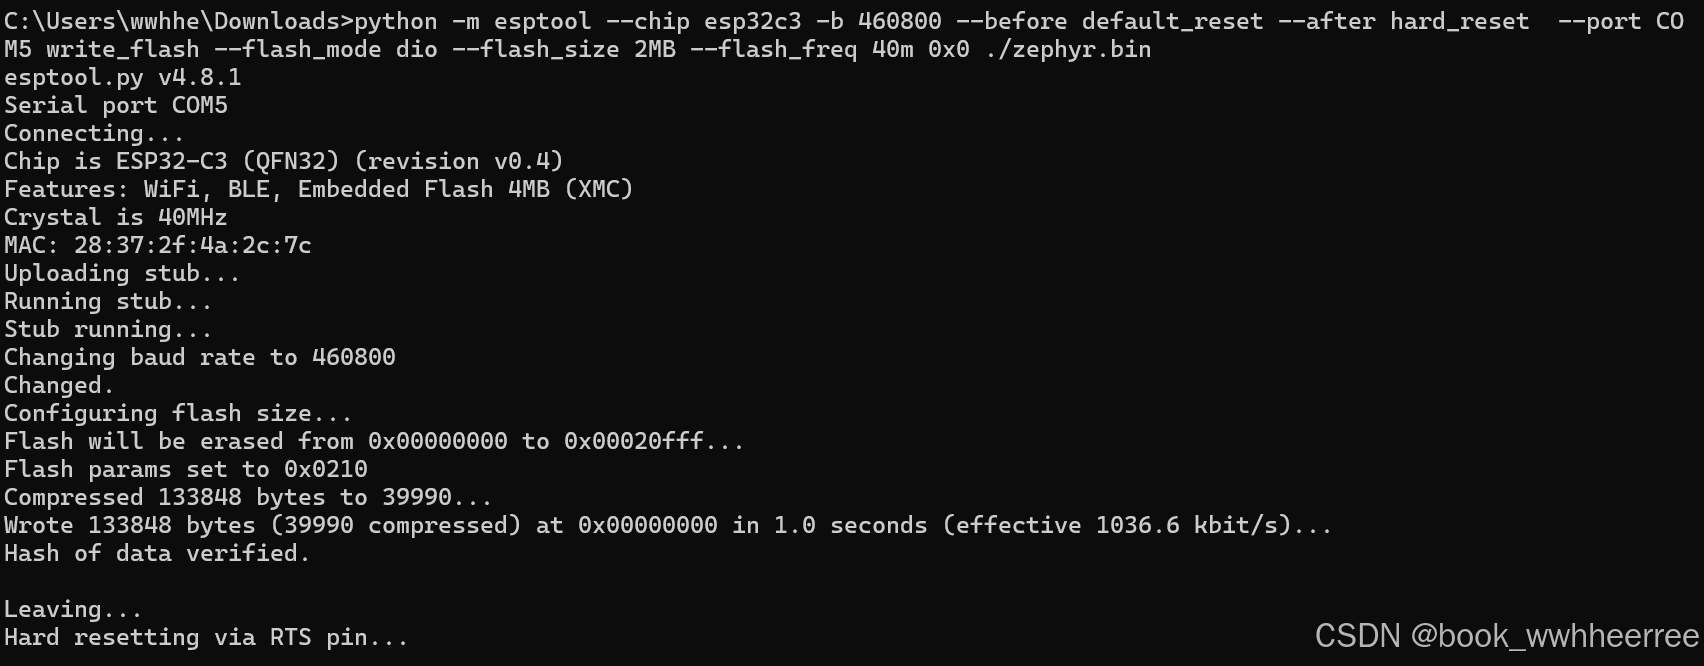
运行”python -m esptool --chip esp32c3 -b 460800 --before default_reset --after hard_reset --port COM5 write_flash --flash_mode dio --flash_size 2MB --flash_freq 40m 0x0 ./zephyr.bin“将zephyr.bin烧录到abrobot中。
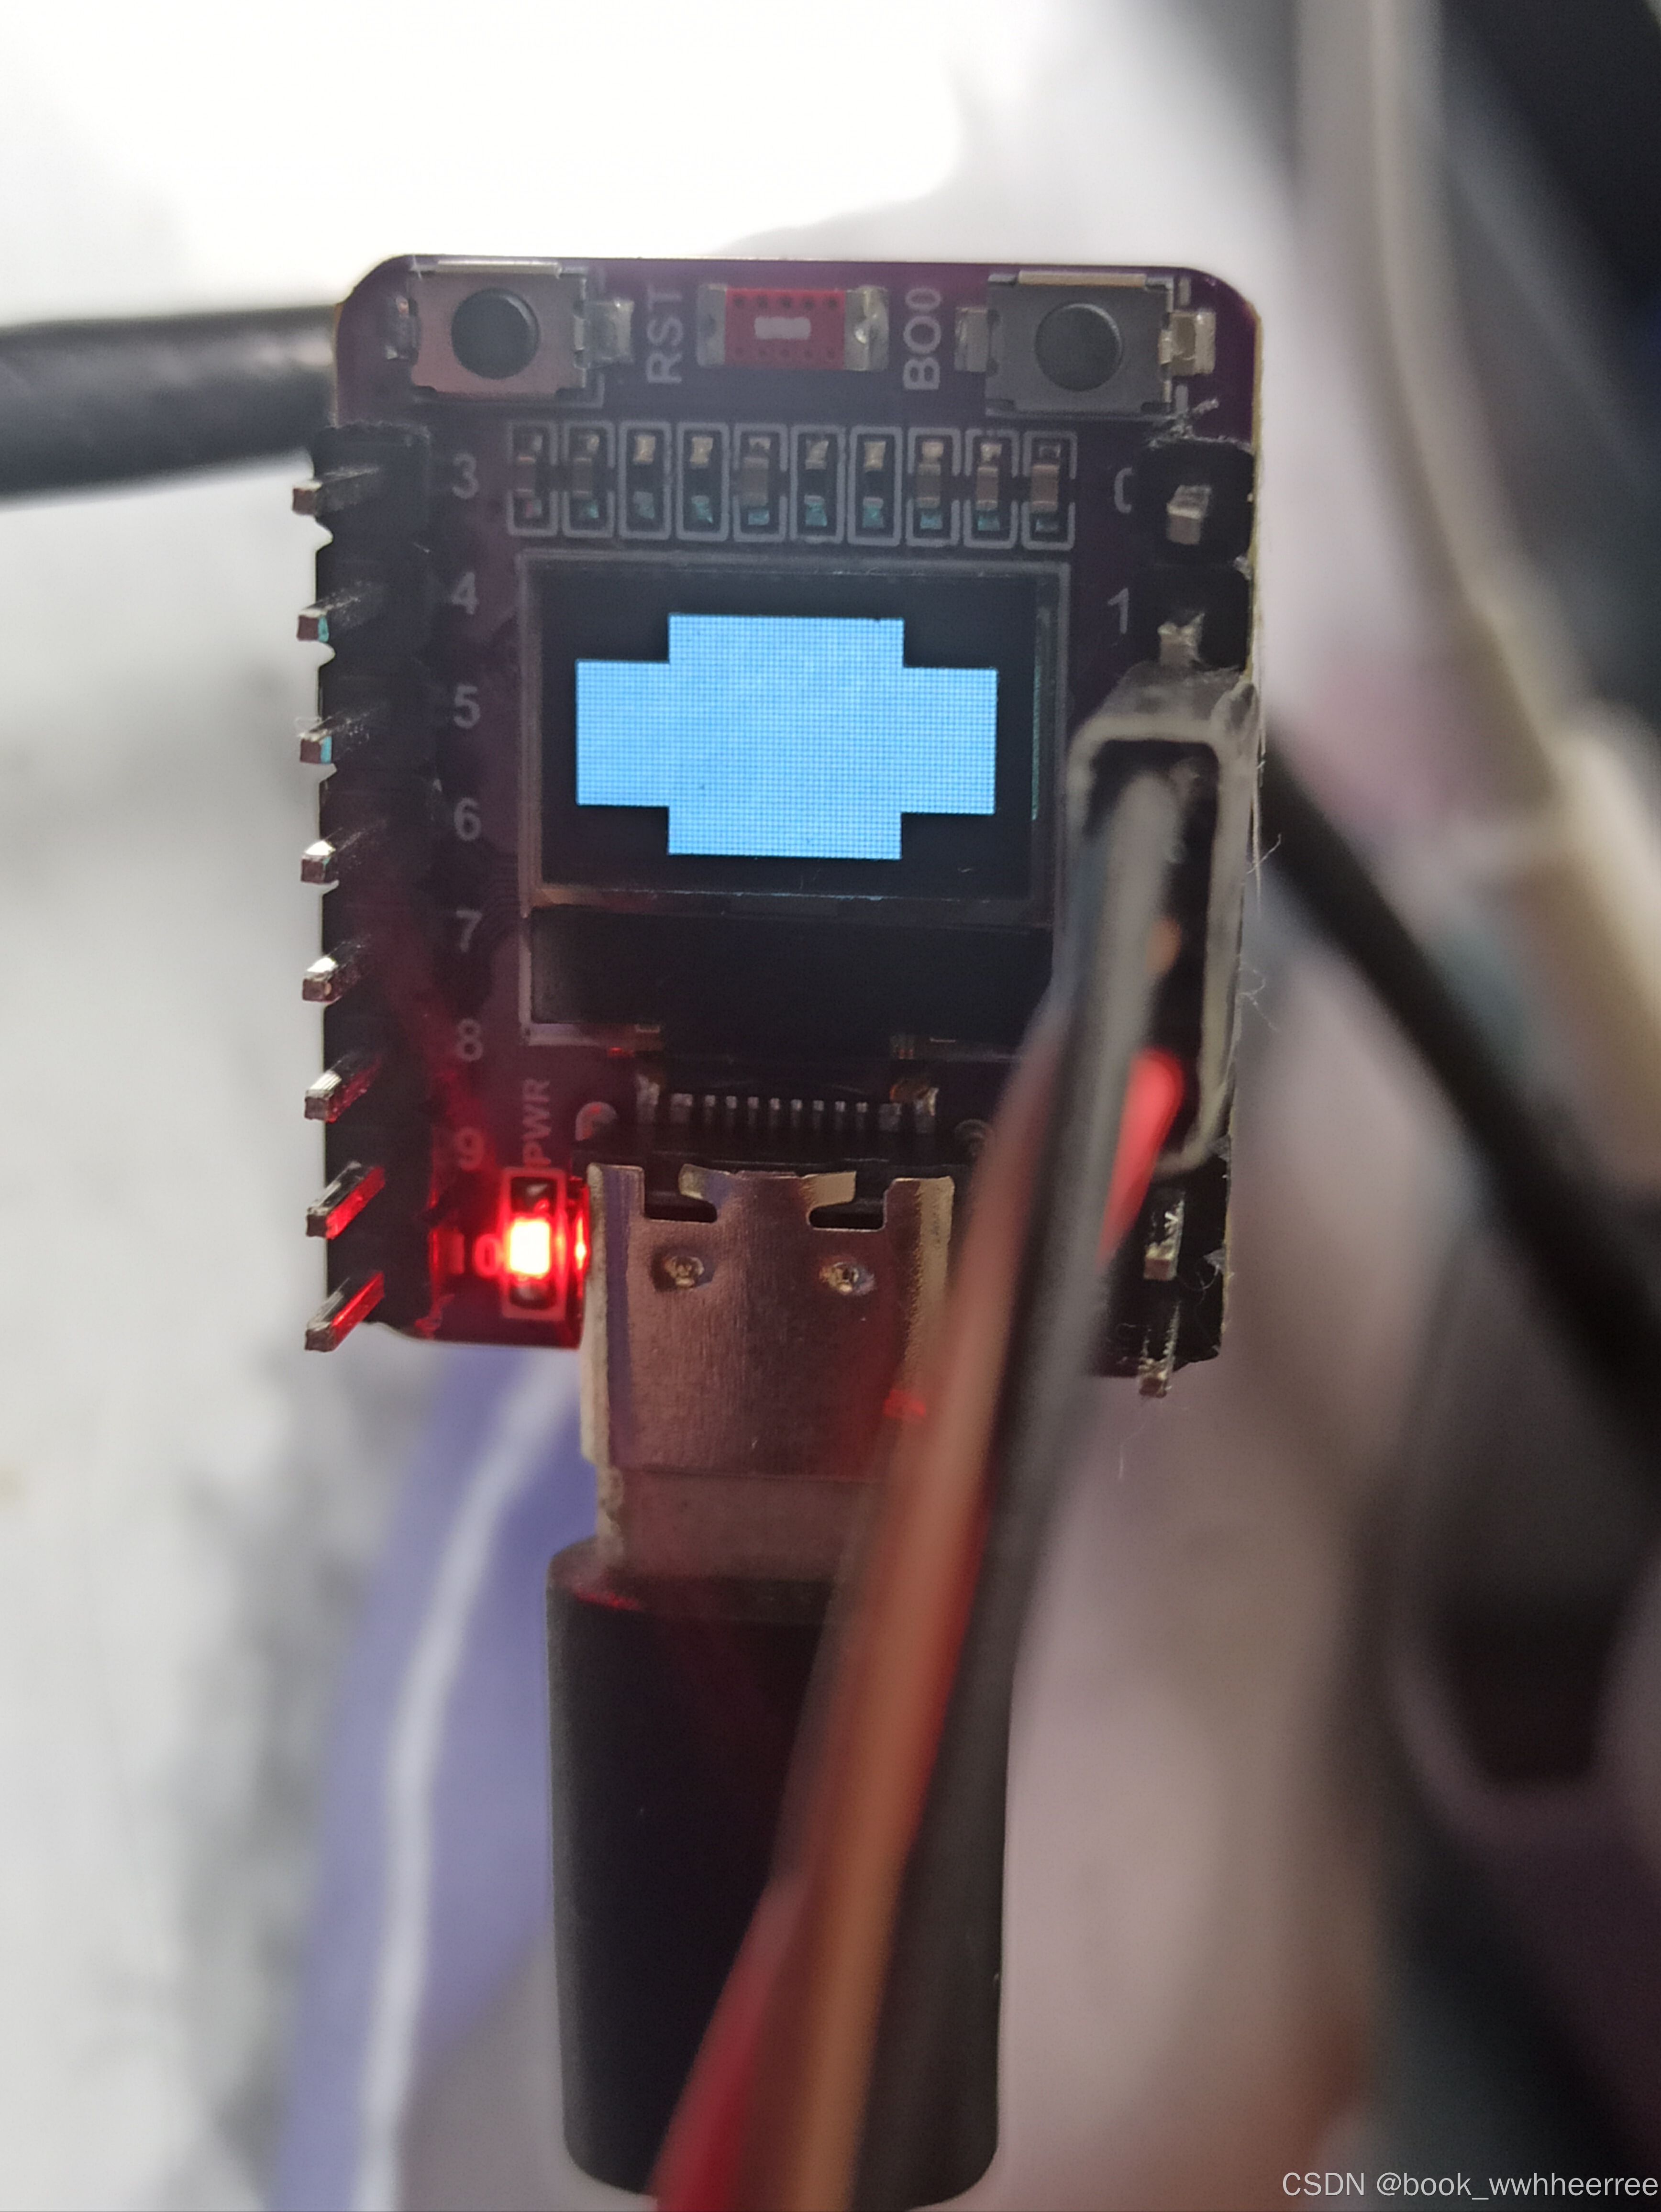
重启以后,OLED会显示如下图像。
编译“zephyr/samples/subsys/display/cfb_custom_font”
这个sample能在屏幕上ASCII码对应的字体图片。
1. 修改字体图片大小
OLED的分辨率是72*40,sample里自带的dice.png分辨率是32x32,需要修改成16x16才能完美显示。![]() <<-------这是我已经修改完分辨率的字体图片。
<<-------这是我已经修改完分辨率的字体图片。
2. 修改CMakeLists.txt
将CMakeLists.txt的最后一行修改为“generate_cfb_font_for_target(app fonts/dice2.png ${gen_dir}/cfb_font_dice.h 16 16 --first 49 --last 54)”

3. 编译zephyr image
运行“west build -p always -b esp32c3_042_oled --shield abrobot_sh1106_72x40 samples/subsys/display/cfb_custom_font/”
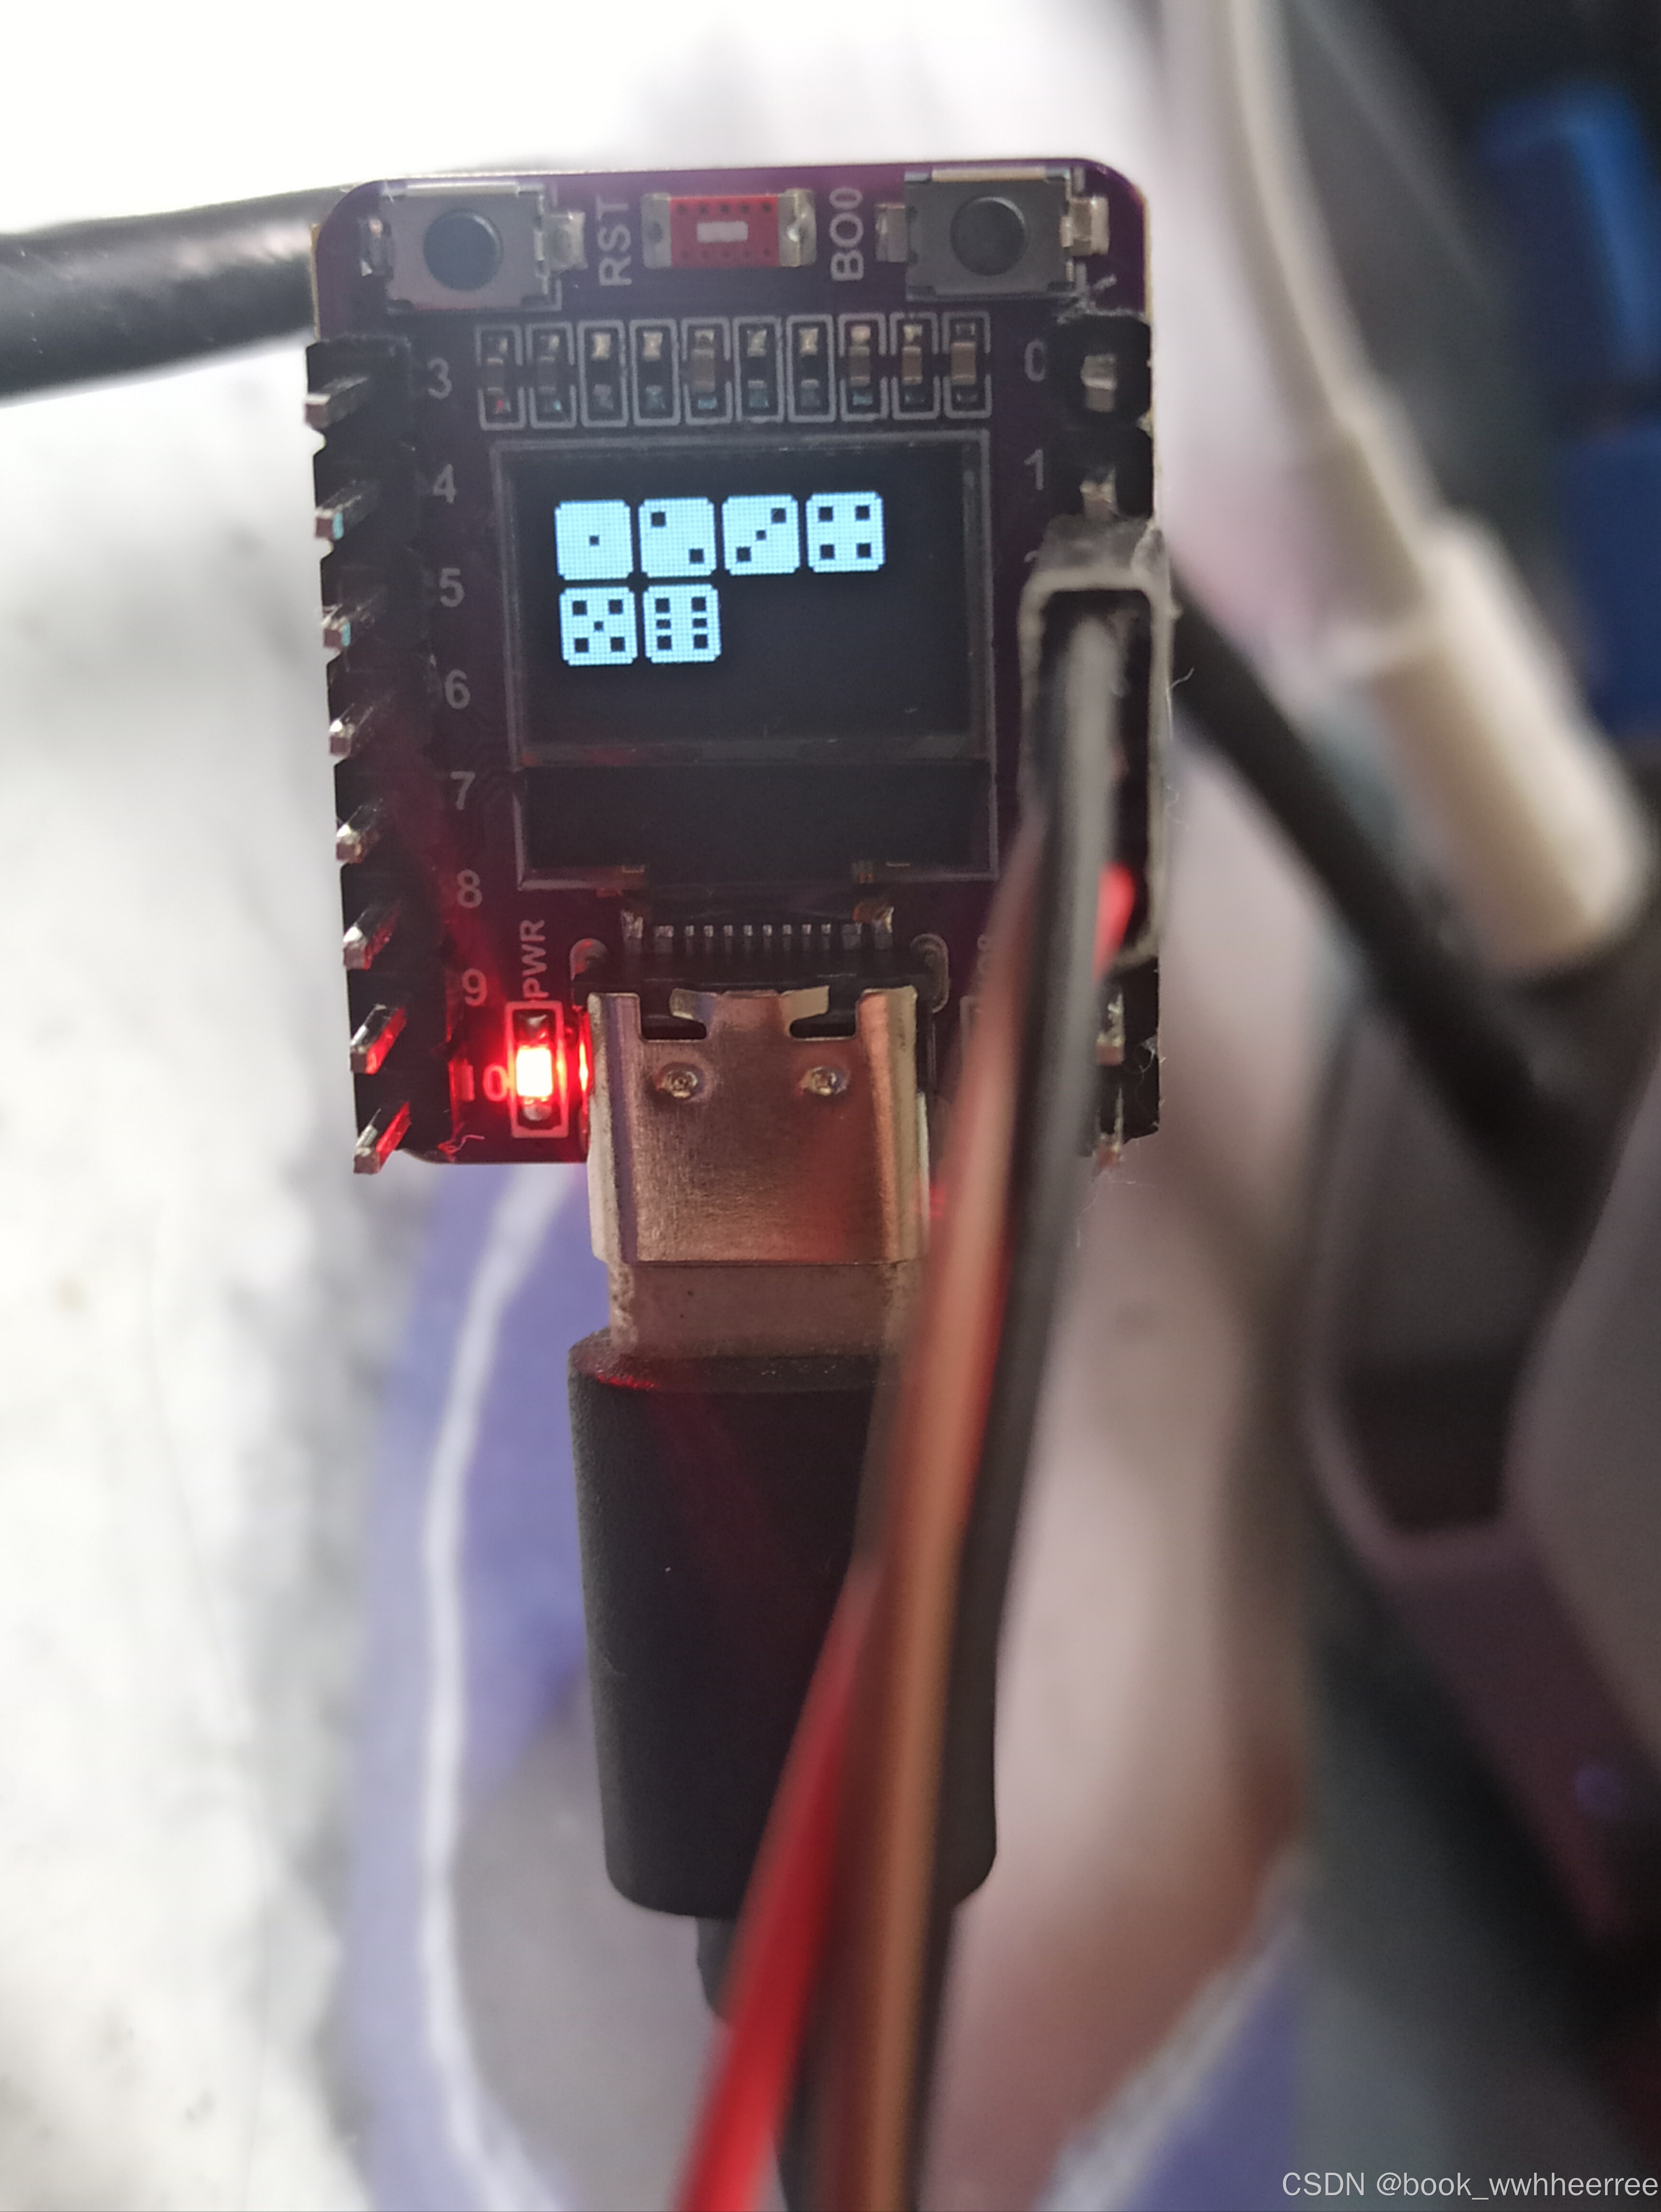
4. 运行zephyr imagez


 被折叠的 条评论
为什么被折叠?
被折叠的 条评论
为什么被折叠?
 到【灌水乐园】发言


