


 本文讲述了作者解决将纹理正确映射到三维模型上的挑战,历经三个月,通过调试重心坐标计算和UV插值,最终实现与教程一致的纹理效果。
Lesson 3 Extra : Texture
时隔不知道多久,估计有快三个月了,终于来写这个Lesson 3 Extra的内容,即:将纹理正确地映射到这个非洲老哥的头上。为了做到这件事情,我是经历了一番追寻啊。。
事不宜迟马上来进入这个折磨了我快两个月的部分吧。
首先第一件事情,其实纹理映射的原理在本来的教程中已经阐述得很清楚了:获取纹理坐标、纹理,然后正确地映射到对应的顶点上,然后逐像素插值这个UV,我们就能得到正确的UV值。其实这一部分的代码我也早就完成了:
//TinyRenderer.cpp
void textureShading(Model* model, int width, int height, TGAImage& image, TGAImage& texture, float* zbuffer) {
    for (int i = 0; i < model->nfaces(); i++) {
        std::vector<int> face = model->face(i);
        Vec3f screen_coords[3];
        Vec3f world_coords[3];
        Vec2f uv_coords[3];
        Vec3f normal_coords[3];
        for (int j = 0; j < 3; j++) {
            Vec3f v = model->vert(face[j * 3]);
            Vec2f tex = model->uv(face[j * 3 + 1]);
            Vec3f norm = model->normal(face[j * 3 + 2]);
            screen_coords[j] = Vec3f((v.x + 1.) * width / 2., (v.y + 1.) * height / 2., v.z);
            world_coords[j] = v;
            uv_coords[j] = tex;
            normal_coords[j] = norm;

        }

        //获取平面法向量
        Vec3f n = (world_coords[2] - world_coords[0]) ^ (world_coords[1] - world_coords[0]);
        n.normalize();
        //计算法向量和光照的点乘
        float intensity = n * light_dir;
        //如果Intensity < 0,说明面片处于背面(摄像机看不到的位置),直接discard(不做渲染)
        if (intensity > 0) {
            rst::triangle_texture(screen_coords, uv_coords, normal_coords, zbuffer, image, texture, width, intensity);
        }

        //插值法向量
        //rst::triangle_texture(screen_coords, uv_coords, normal_coords, zbuffer, image, texture, width, light_dir);


    }
}

//Rasterization.cpp
void rst::triangle_texture(Vec3f pts[3], Vec2f uvs[3], Vec3f norms[3], float* zbuffer,
        TGAImage& image, TGAImage& texture, const int& width, float intensity) {
        //先求出bounding box
        int minx = min(pts[0].x, min(pts[1].x, pts[2].x));
        int maxx = max(pts[0].x, max(pts[1].x, pts[2].x));
        int miny = min(pts[0].y, min(pts[1].y, pts[2].y));
        int maxy = max(pts[0].y, max(pts[1].y, pts[2].y));

        for (int i = minx; i <= maxx; ++i) {
            for (int j = miny; j <= maxy; ++j) {
                Vec3f P(i, j, 0);
                Vec2f T(0, 0);
                Vec3f N(0, 0, 0);
                Vec3f coord = barycentric(pts, P);
                int w = texture.get_width();
                int h = texture.get_height();
                //optimization for small black holes (REALLY DISGUSTING)
                if (coord.x < -.01 || coord.y < -.01 || coord.z < -.01) continue;
                Vec3i colors[3] = {
                    Vec3i(255,0,0),
                    Vec3i(0,255,0),
                    Vec3i(0,0,255)

                };

                for (int i = 0; i < 3; i++) {
                    P.z += pts[i].z * coord[i];
                    T.x += uvs[i].x * coord[i];
                    T.y += uvs[i].y * coord[i];
                }

                //Texture Sampling
                //w *= T.x;
                w = (int)(w * T.x);
                //cout << "width of the texture: " << w << endl;
                h = (int)(h * T.y);
                //h *= T.y;
                //cout << "height of the texture: " << h << endl;
                TGAColor color = texture.get(w, h);


                float x_ratio = (P.x - minx) / (float)(maxx - minx);
                float y_ratio = (P.y - miny) / (float)(maxy - miny);

                //z-buffering
                if (zbuffer[int(P.x + P.y * width)] < P.z) {
                    zbuffer[int(P.x + P.y * width)] = P.z;
                    //image.set(P.x, P.y, TGAColor(color.r * intensity, color.g * intensity, color.b * intensity));
                    image.set(P.x, P.y, TGAColor(color.r * intensity, color.g * intensity, color.b * intensity));
                }

            }
        }
    }
无非是如此:按照之前做z-buffer的时候的插值做法,在同一个位置对UV进行一个插值,再用这个插值后的UV去做一个纹理采样,设置颜色,这样就做完了。
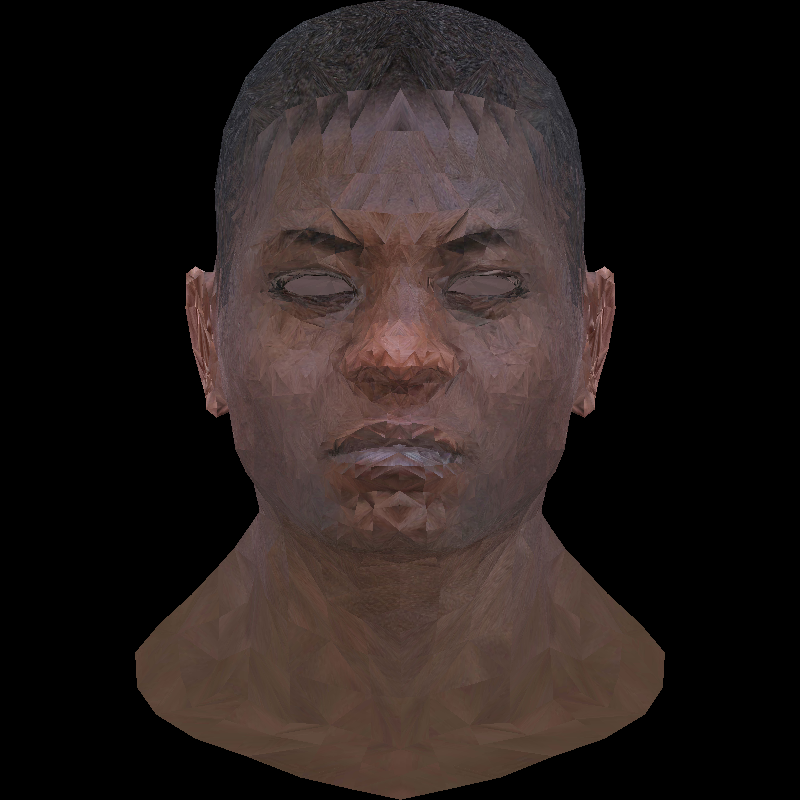
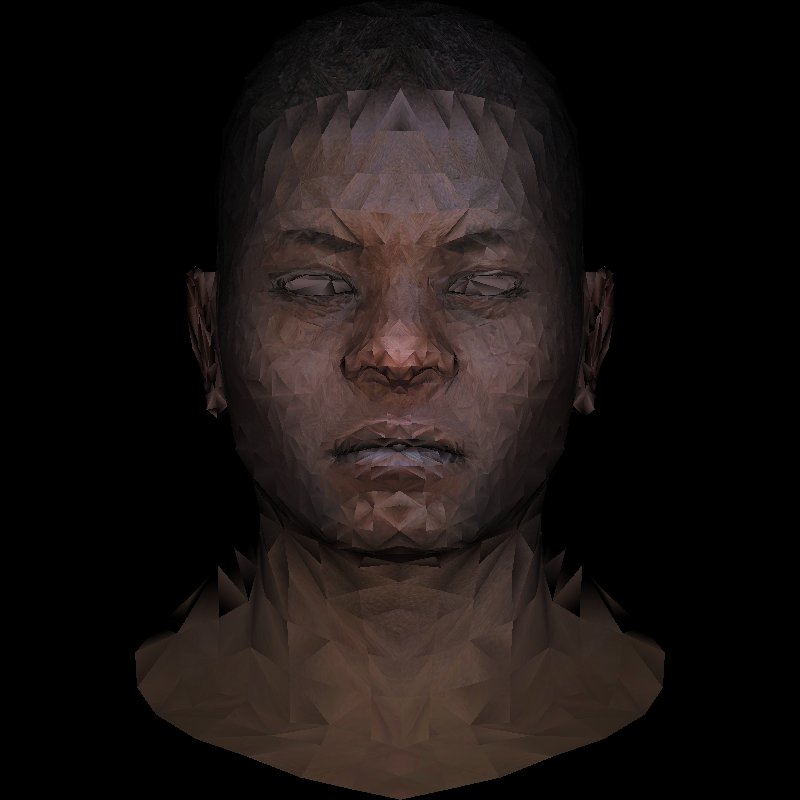
这本来应该就是一个如此简单的事情。。我得到的结果如下:
怎么说呢。。当时得到这个结果,和教程中给出的结果对比一下,你说像吧,那也确实挺像的;但是你说不像吧,又确实有那么一点别扭。别扭的点主要在于,他的脸有点太棱角分明了(这是和期望的结果对比而言,尽管期望的结果本来也挺棱角分明的);特别是在期望的结果中该是平坦的部分,我的结果却显得特别坑洼,怎么看都是纹理采样哪里出了问题。我实在是觉得这看起来很别扭,于是我发誓一定要得出和教程一模一样的结果,开始了漫长的debug之旅。
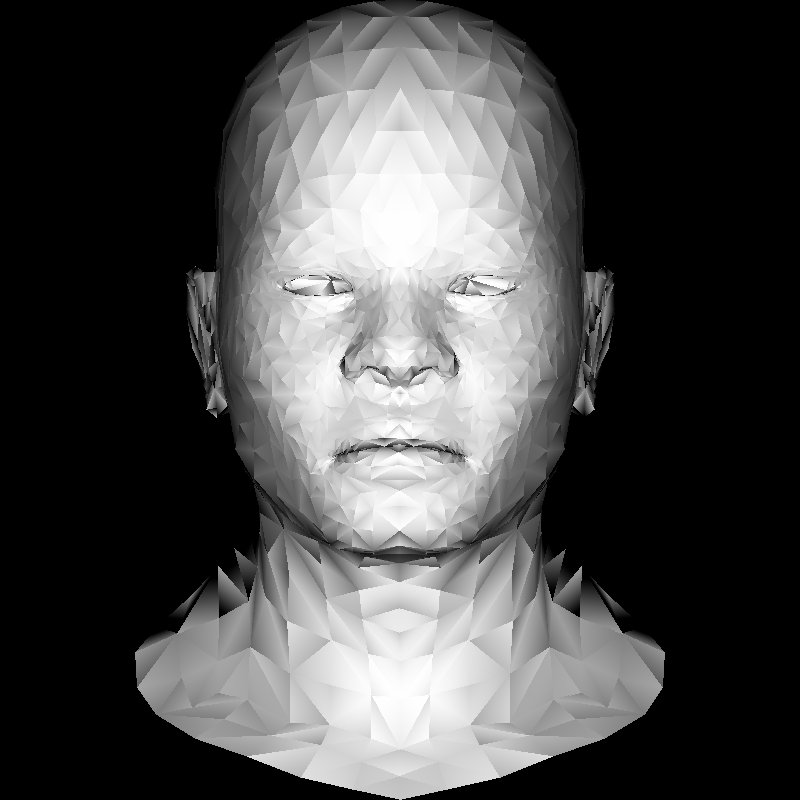
以下的这些图都是我debug期间输出的一些图片,由于时间跨度实在是太长了,我还是忘记了当时是怎样一个情形。。我尤其记得的是我试过的其中一个方法是我不去插值UV,而是先用UV查颜色,再去插值颜色;最后得出的结果当然是大错特错。这段就权当看一乐吧。

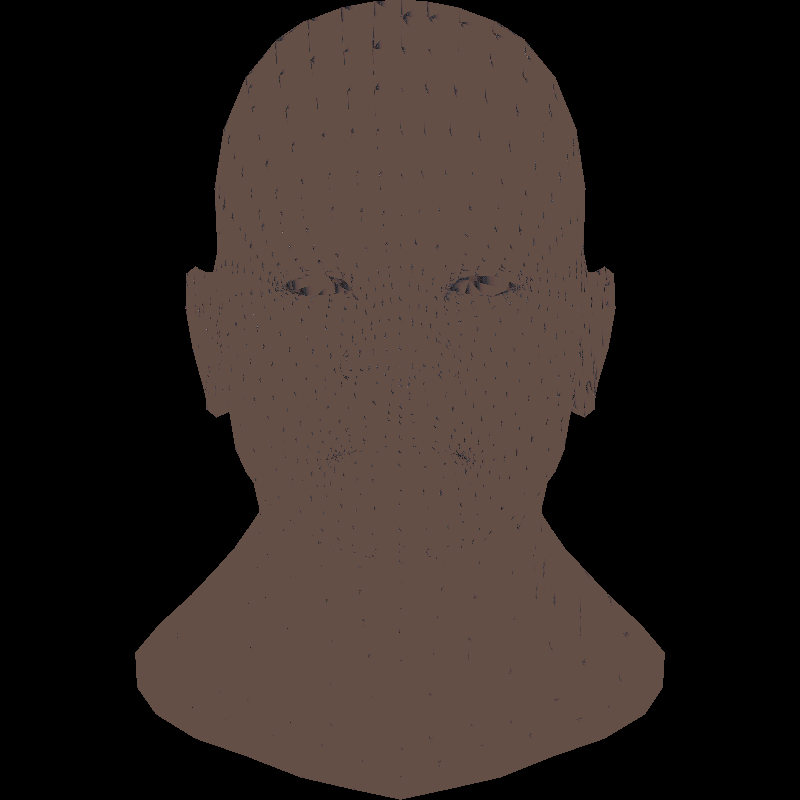
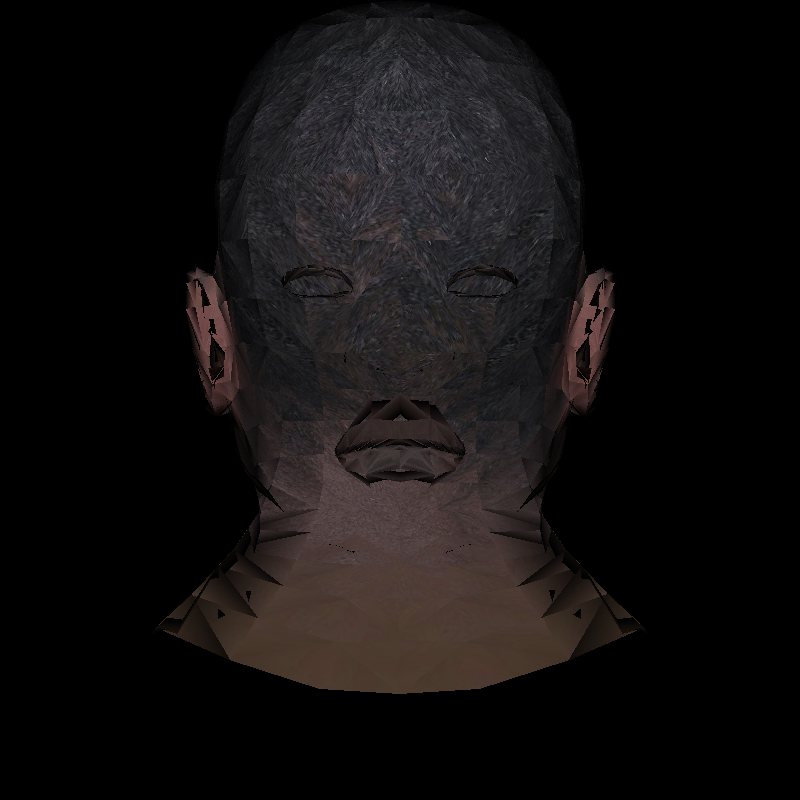
到了某个时间点我就放弃了,我一度觉得我是不可能搞明白这个问题到底出在哪了,正好当时又有其他事情,于是这个项目就理所当然地被搁置了。
这么一放就到了6月,我再一次心血来潮打开这个项目,这次又经过了一番debug后我发觉此事只靠我自己的力量怕是无法解决了,于是最终还是决定求助Github大神。于是我最后还是在Github上提了Issue:
Problem about texture mapping · Issue #105 · ssloy/tinyrenderer (github.com)
最后的问题是出在我的重心坐标计算上。原来重心坐标返回的顺序也是有讲究的,我以为是自己定的。。大家看回这个Issue就明白了,是我对三角形三个顶点的RGB映射出了问题,导致了每个三角形中的纹理没有被正确地旋转,而UV插值本身应该是没有任何问题的。于是经过了一系列尝试之后,我终于得到了正确的结果,这也说明我之前重心坐标计算的代码有问题,勘误如下:
//求解重心坐标
    //输入:数组pts[3],指向一个顺序为点A、B、C的Vec2i数组
    //
    //     P点为所求的重心坐标对应的点
    Vec3f rst::barycentric(Vec3f pts[3], Vec3f P) {
        int Xa = pts[0].x;
        int Xb = pts[1].x;
        int Xc = pts[2].x;
        int Ya = pts[0].y;
        int Yb = pts[1].y;
        int Yc = pts[2].y;
        float u1 = (float)Xa * Yb - Xb * Ya;
        float u = ((Ya - Yb) * P.x + (Xb - Xa) * P.y + u1) / ((Ya - Yb) * Xc + (Xb - Xa) * Yc + u1);
        float v1 = (float)Xa * Yc - Xc * Ya;
        float v = ((Ya - Yc) * P.x + (Xc - Xa) * P.y + v1) / ((Ya - Yc) * Xb + (Xc - Xa) * Yb + v1);
        float a = 1 - u - v;
        //return Vec3f(1 - u - v, u, v);

        //The order matters!!!!!
        return Vec3f(1 - u - v, v, u);
    }
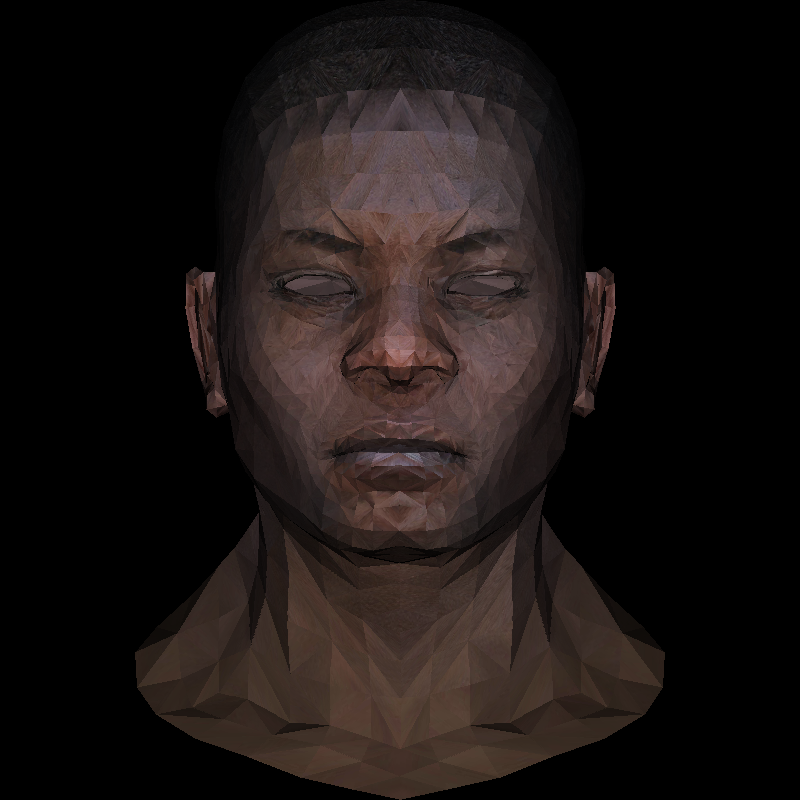
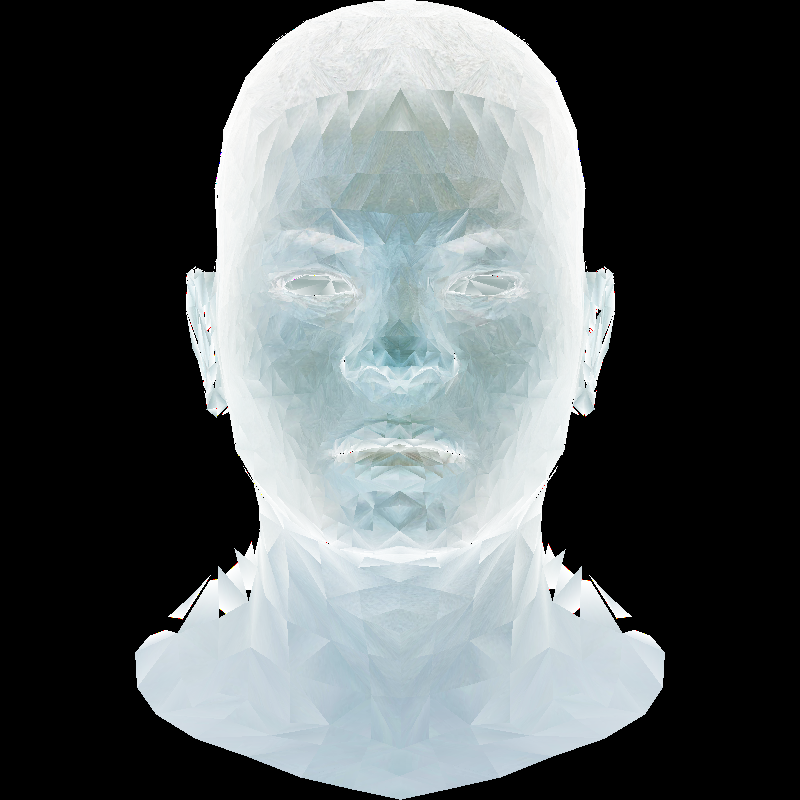
替换掉重心坐标计算(其实就改了一行代码),加上前面的UV插值,用插值后的UV去查纹理的颜色(Sampling),就能得到正确的结果:

大功告成。Lesson 3 extra 结束。


 被折叠的 条评论
为什么被折叠?
被折叠的 条评论
为什么被折叠?
 到【灌水乐园】发言


