


1.mnist数据集下载不下来的解决办法:【Windows系统】
下载链接:https://pan.baidu.com/s/1U7KhKOs6f-UvdxRDERGRhA 密码:u6oi
下载下来之后,我又在site-packages底下的keras文件夹新建了一个examples文件夹,将这个下载下来的npz文件放在里面了。
然后在用到的时候指定路径,在load就可以啦:
import numpy as np
import matplotlib.pyplot as plt
path = r"E:\anaconda3\Lib\site-packages\keras\examples\mnist.npz"
f = np.load(path)
x_train, y_train = f['x_train'], f['y_train']
x_test, y_test = f['x_test'], f['y_test']
f.close()
print(x_train.shape)
print(x_test.shape)
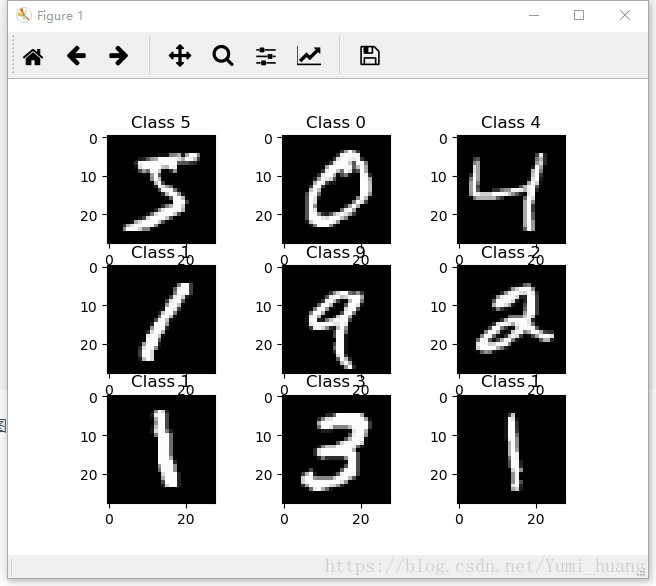
for i in range(9):
plt.subplot(3,3,i+1)
plt.imshow(x_train[i], cmap='gray', interpolation='none')
plt.title("Class {}".format(y_train[i]))
plt.show()结果图:
2.解决完了就可以进行下一步了=。=
from keras.datasets import mnist
from keras.models import Sequential
from keras.layers.core import Dense, Activation, Dropout
from keras.utils import np_utils
import numpy as np
import matplotlib.pyplot as plt
from keras.optimizers import RMSprop
path = r"E:\anaconda3\Lib\site-packages\keras\examples\mnist.npz"
f = np.load(path)
x_train, y_train = f['x_train'], f['y_train']
x_test, y_test = f['x_test'], f['y_test']
f.close()
# print(x_train.shape)
# print(x_test.shape)
# for i in range(9):
# plt.subplot(3,3,i+1)
# plt.imshow(x_train[i], cmap='gray', interpolation='none')
# plt.title("Class {}".format(y_train[i]))
# plt.show()
#将二维数据变为一维
X_train = x_train.reshape(len(x_train), -1)
X_test = x_test.reshape(len(x_test), -1)
X_train = X_train.astype('float32')
X_test = X_test.astype('float32')
# Normalization.scaling it so that all values are in the [0, 1] interval.
X_train = (X_train - 127) / 127
X_test = (X_test - 127) / 127
#one hot encoding
y_train = np_utils.to_categorical(y_train, num_classes=10)
y_test = np_utils.to_categorical(y_test, num_classes=10)
model = Sequential([
Dense(512, input_dim=784),
Activation('relu'),
Dropout(0.2),
# Dense(512),
# Activation('relu'),
# Dropout(0.2),
Dense(10),
Activation('softmax'),
])
rmsprop = RMSprop(lr=0.001, rho=0.9, epsilon=1e-08, decay=0.0)
# We add metrics to get more results you want to see
model.compile(optimizer=rmsprop,
loss='categorical_crossentropy',
metrics=['accuracy'])
print('Training ------------')
# Another way to train the model
model.fit(X_train, y_train, epochs=20, batch_size=100)
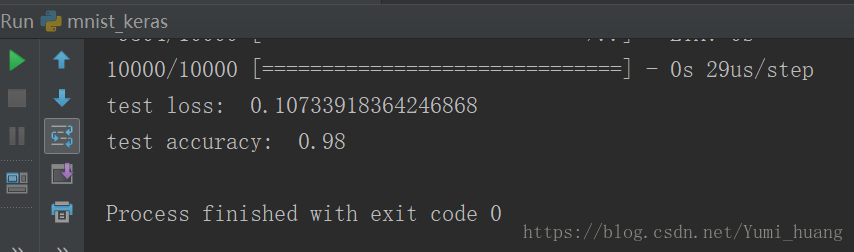
print('\nTesting ------------')
# Evaluate the model with the metrics we defined earlier
loss, accuracy = model.evaluate(X_test, y_test)
print('test loss: ', loss)
print('test accuracy: ', accuracy)但是不明白每一层设置神经元的数量,以及batch_size和epoch是怎么定的。。
结果:


 359
359

 被折叠的 条评论
为什么被折叠?
被折叠的 条评论
为什么被折叠?
 到【灌水乐园】发言


