


 本文分享了在IVIEW框架中实现表格嵌套的具体方法,包括如何利用render函数加载子表格,并通过修改样式来优化显示效果。此外,还介绍了如何结合表头分组功能进一步优化布局。
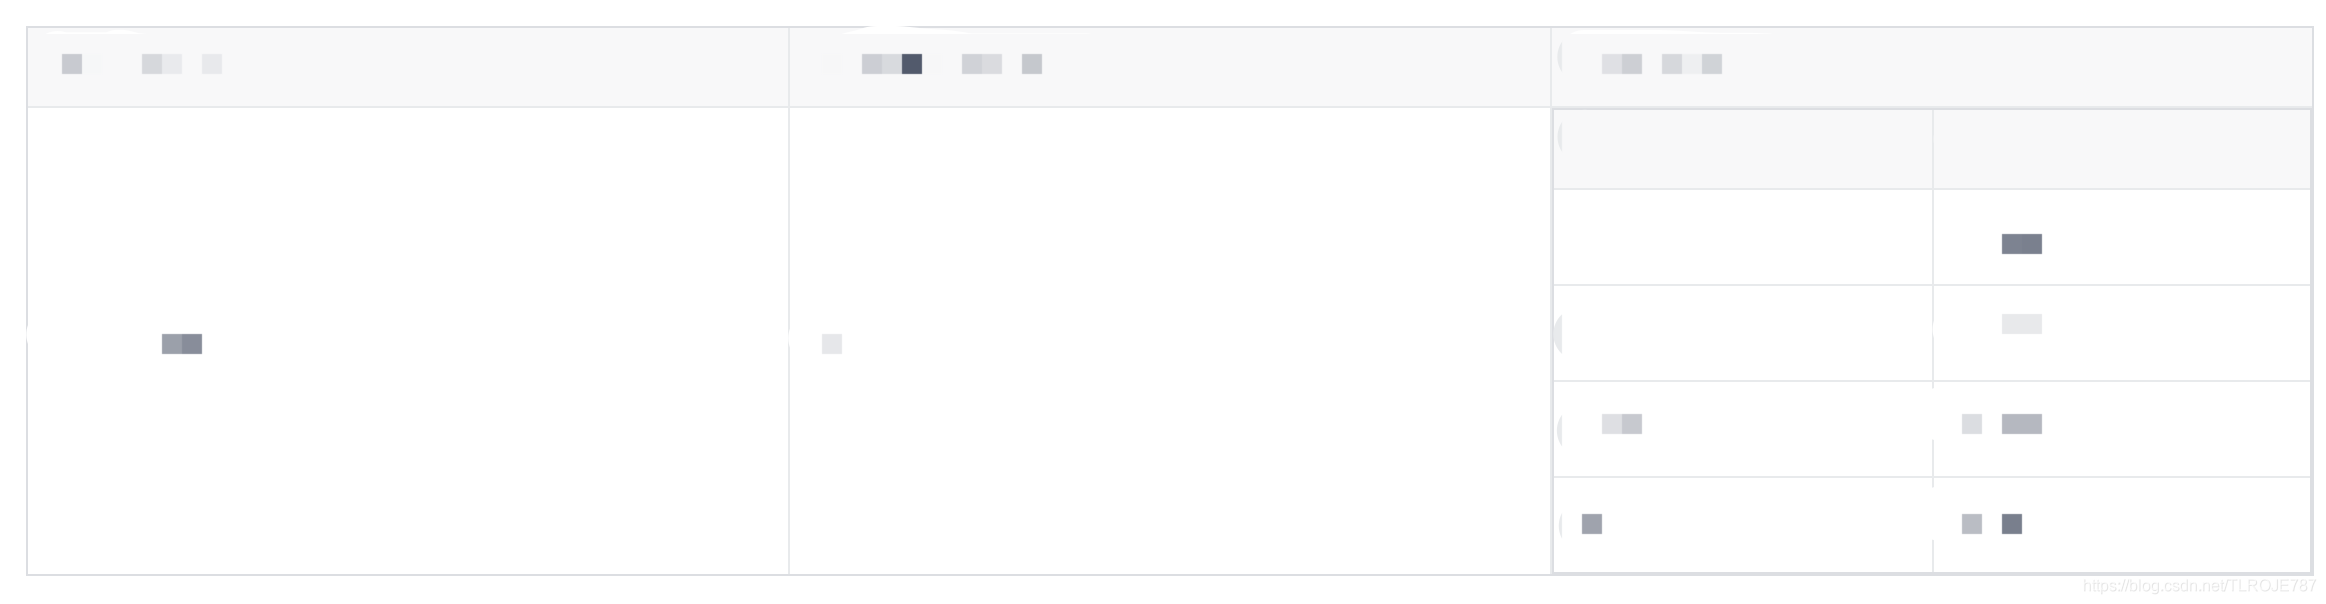
今天在写一行对多行表格的时候发现IVEIW自带的表格样式并不是很符合我的想法,下面这张图是官方例子

在官方例子中,Name被加载了多次,很不方便
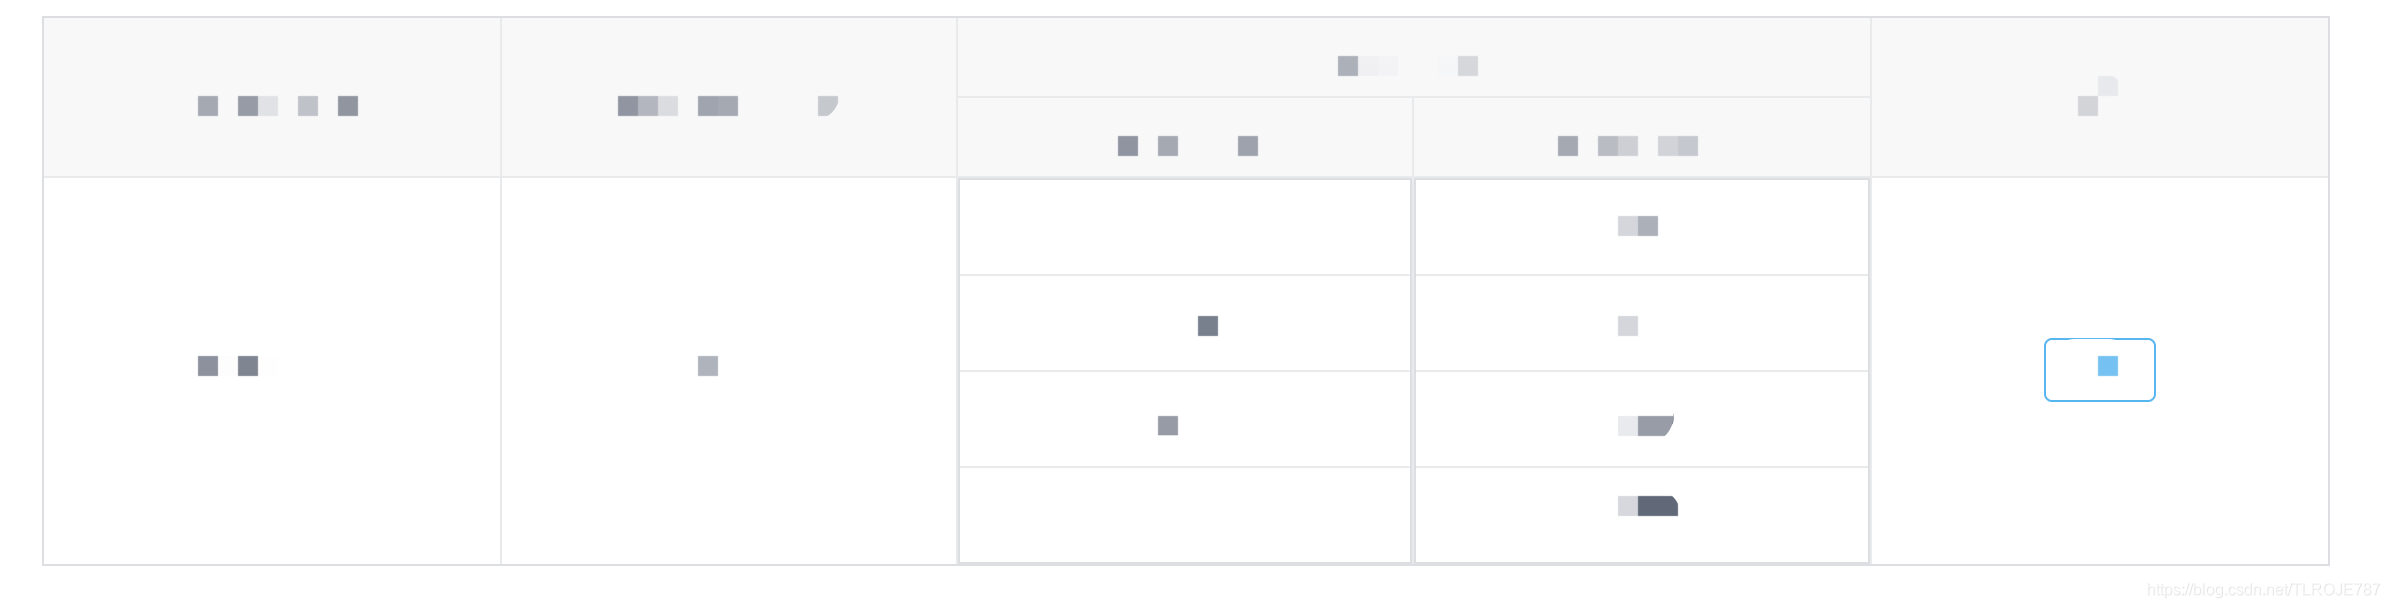
所以我做了些修改写出了如下例子
其主要原理是在一行表格使用render函数加载另一个表格,而在这时render的Table的数据加载就出现了问题,不可能再像文档中:columns和:data各自绑定一个数据,这会导致加载时候,多个表格加载数据相同
我们想要的是子表格加载的是这一行数据里某个字段的子数据
这时候我发现render函数的params中有一个row属性可以获取到这一行的所有数据,既然如此只需要把子Table的data属性设为params.row.子对象 即可
样式需要做些修改,因为iview的table是有18px的左右padding的。修改列样式需要className属性:'CSS的class’配合.ivu-table td.刚刚写的class>.ivu-table-cell,吧padding=0即可
代码如下
父表格
<Table border :columns="columns10" :data="data10" :style="{margin:'14px'}"></Table>
子表格
      columns10: [
        {
          title: "product_name",
          key: "product_name"
        },
        {
          title: "product_version",
          key: "product_version",
          sortable: true
        },
        {
          title: "components",
          className: 'no_padding',
            render: (h, params) => {
              return h("div", [
                h("Table", {
                  props: {
                    columns: [{ title:"component",key: "component"},{title:"version_name",key:"version_name"}],
                    data: params.row.components
                  },
                }),
              ]);
            }
        }
      ],
      data10: [],
样式写在了外部css中
.ivu-table td.no_padding>.ivu-table-cell{
  padding-left: 0;
  padding-right: 0;
}
样式再改一改会更好看,目前两个table有一部分border重合导致页面有些难看,以后会再调试
2019/7/17 5:43修改
改进了原图的样子,综合了表头分组与之前的思想优化表格样式
主要原理:使用表头分组(用到table的columns下的children属性 和 去掉表头的show-header=false)
代码如下
      columns10: [
        {
          title: "t1",
          align: 'center',
          key: "k1"
        },
        {
          title: "t2",
          key: "k2",
          align: 'center',
          sortable: true
        },
        {
          title: "t3",
          align: 'center',
          children:[
            { title:"s_header1",className: 'no_padding',render:(h,params)=>{
              return h("div", [
                h("Table", {
                  props: {
                    columns: [{key: "s_t1",align: 'center',}],
                    data: params.row.s_t1,
                    "show-header":false,
                  },
                }),
              ]);
            },align: 'center',},
            {title:"s_header2",className: 'no_padding',render:(h,params)=>{
              return h("div", [
                h("Table", {
                  props: {
                    columns: [{title:"s_t2",key:"s_k2",align: 'center'}],
                    data: params.row.components,
                    "show-header":false,
                  },
                }),
              ]);
            },align: 'center',}
          ],
        },
        {
          title:"操作",
          align: 'center',
          render:(h,params) =>{
            return h("div",[
              h("Button",{
                props:{
                  type:"info",
                  ghost:true,
                },
                on:{
                  "click":()=>{//点击跳页
                    console.log(params.row.id);
                    this.$router.push({path:'/ProjectListDetail', query: { Oid: params.row.id }})
                  }
                }
              },'详情')
            ])
          }
        }
      ],
2019/7/18 2:23 再次修改表格样式如下
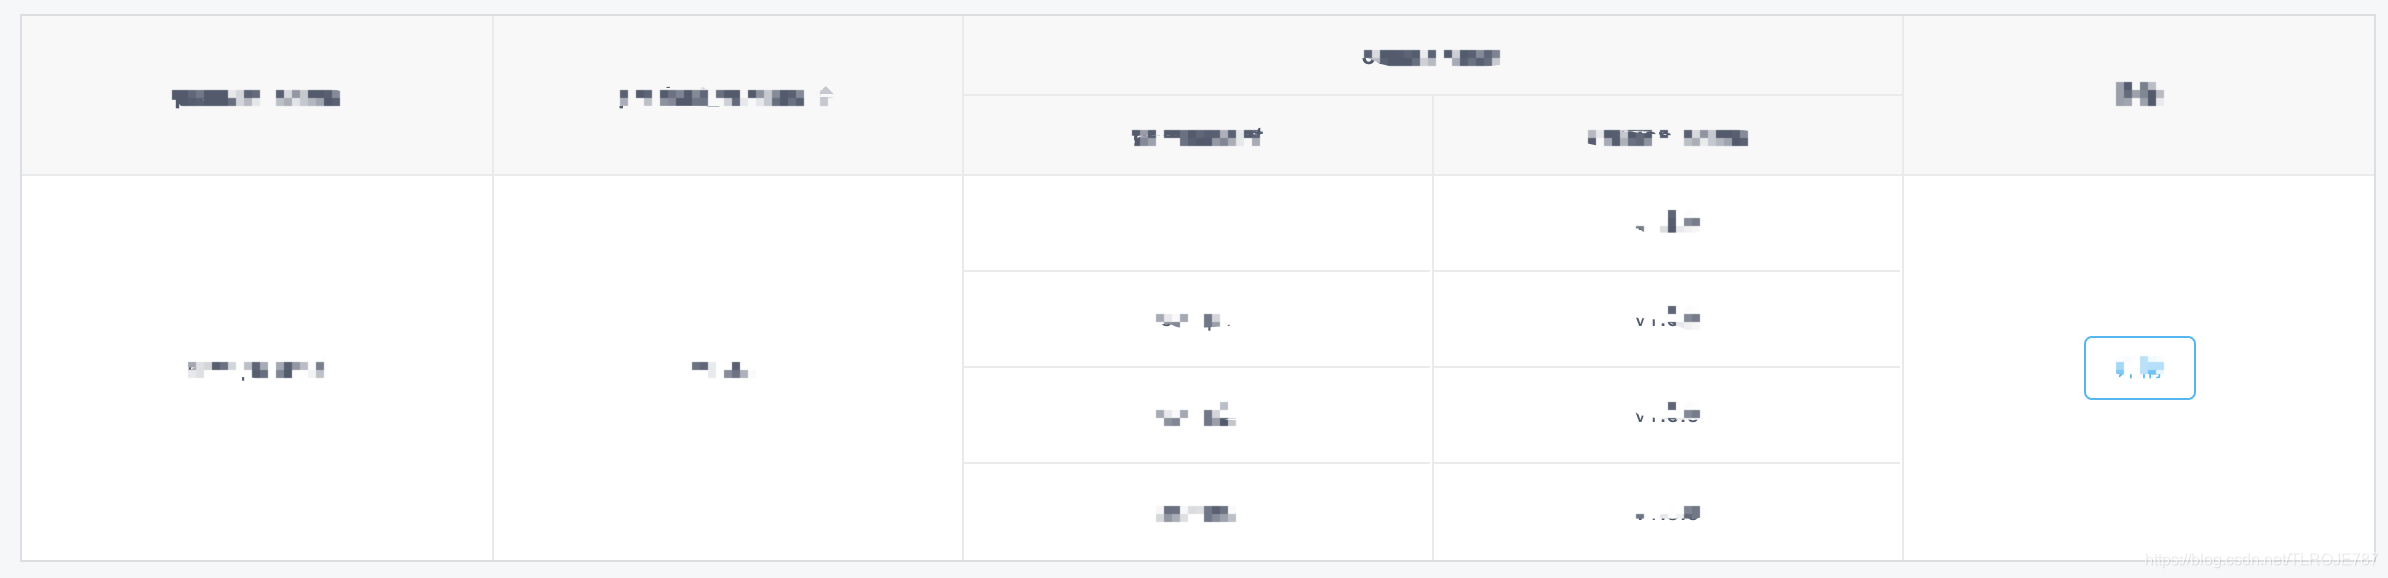
- 主要步骤就是先给children里的两个render函数里加一个no_border的class
- 然后在全局CSS覆盖iview样式
- 以下是CSS代码
/*去掉构建看板子表格边框*/
.no_border.ivu-table-wrapper{
  border:none;
}
.no_border.ivu-table td,.no_border.ivu-table th{
  border:none;
}
.no_border .ivu-table.ivu-table-default::after,.no_border .ivu-table.ivu-table-default::before{
  display:none !important;
}
.no_border .ivu-table-column-center{
  border-right: none;
}
.no_border .ivu-table-row:last-child .ivu-table-column-center{
  border-bottom: none;
}
/*子表格修改完毕*/


 1458
1458

 被折叠的 条评论
为什么被折叠?
被折叠的 条评论
为什么被折叠?
 到【灌水乐园】发言


