


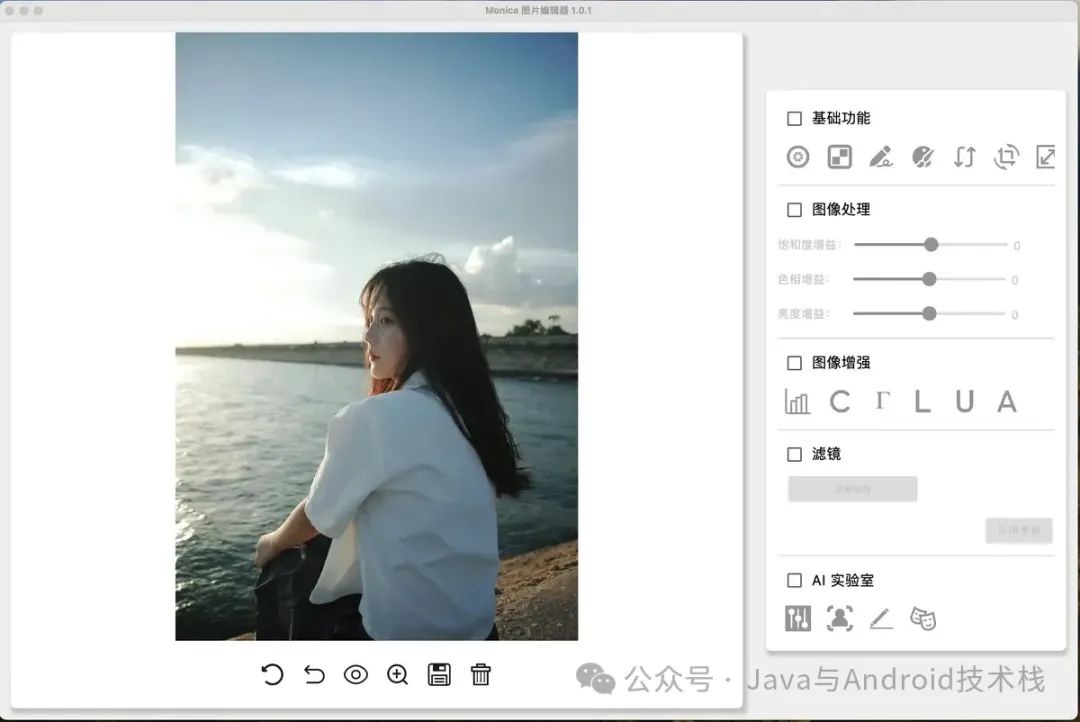
一. 图像编辑器 Monica
Monica 是一款跨平台的桌面图像编辑软件(早期主要是个人为了验证一些算法而产生的)。
其技术栈如下:
Kotlin 编写 UI(使用 Compose Desktop 作为 UI 框架)
部分算法使用 Kotlin 实现
基于 mvvm 架构,使用 koin 作为依赖注入框架
使用 JDK 17 进行编译
其余的算法使用 OpenCV C++ 来实现,Kotlin 通过 jni 来调用。
深度学习的模型主要使用 ONNXRuntime 进行部署和推理
少部分模型使用 OpenCV DNN 进行部署和推理。
Monica 目前还处于开发阶段,当前版本的可以参见 github 地址:https://github.com/fengzhizi715/Monica
二. 实验性的功能——为简单的 CV 算法提供快速调参的能力
由于工作原因,我时常需要写一些 CV 的算法,也时常会为了某个算法而不断地调参。有时也厌烦枯燥的调参,所以在 Monica 中做了这个模块。前期主要是方便自己能够对一些简单的算法快速调参,后续希望它也可以帮助到别人。
下面展示该模块的入口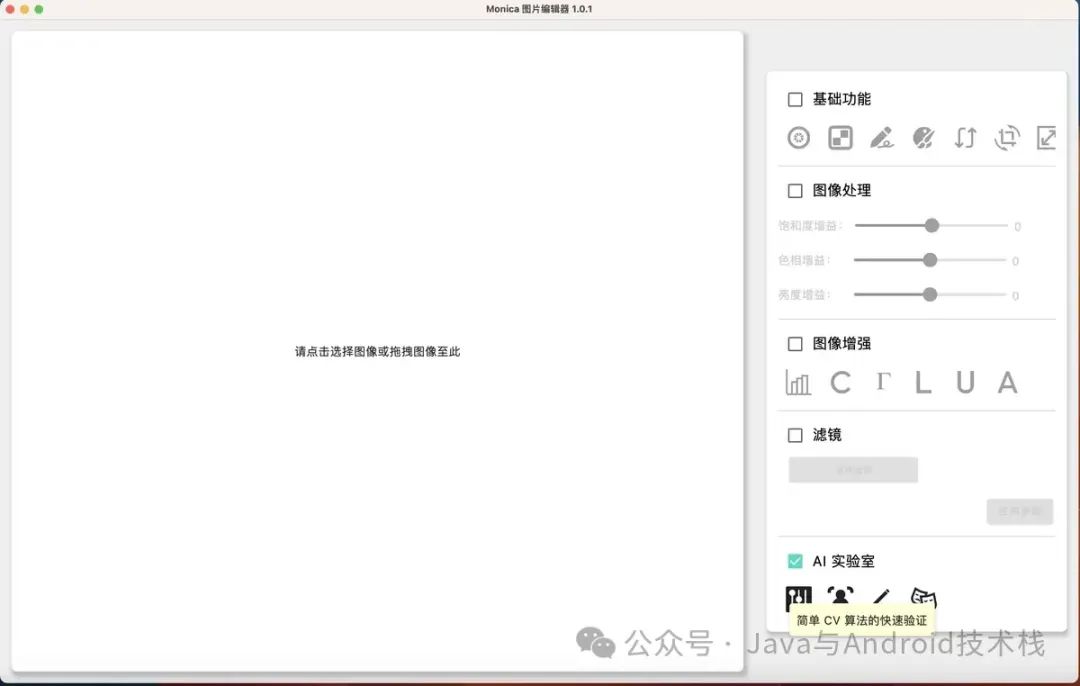
以及该模块的首页
目前我只规划了二值化、边缘检测、轮廓分析、图像卷积、形态学操作、模版匹配等功能,并实现了其中几个。
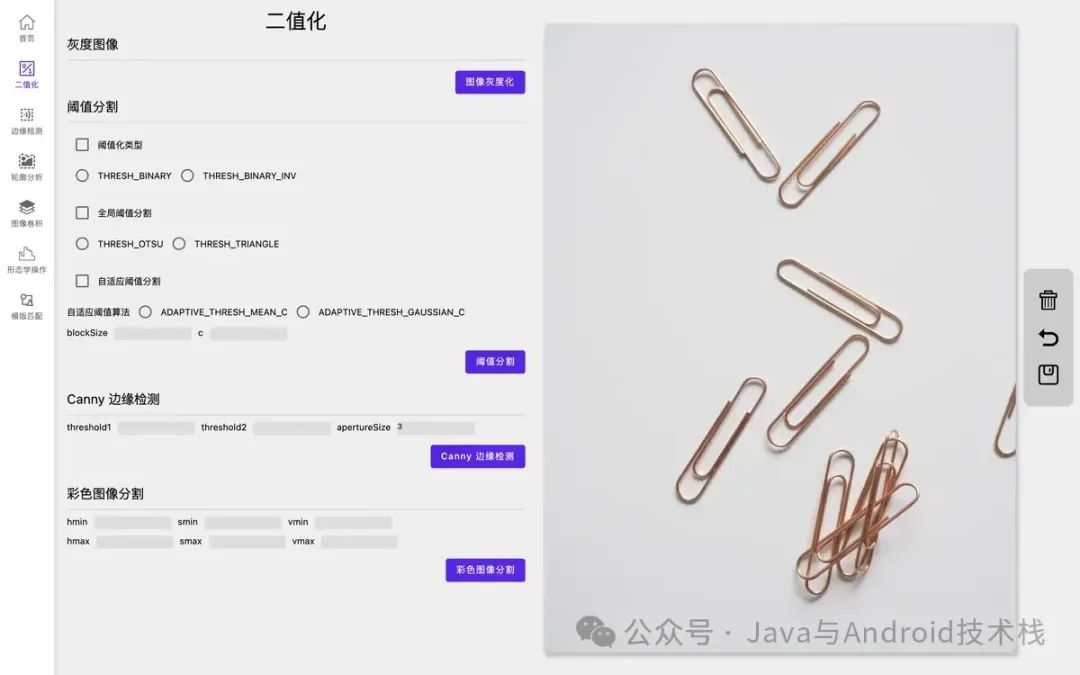
2.1 二值化
Monica 提供了全局阈值分割、自适应阈值分割、Canny 边缘检测以及通过 OpenCV 的 inRange() 函数进行彩色图像分割来实现二值化。这些都是比较常见的二值化的方法。
下面加载的图片是我工作中经常遇到的,并需要做图像处理的,所以以下图为例
通过全局阈值分割实现二值化,就可以看到手机的轮廓。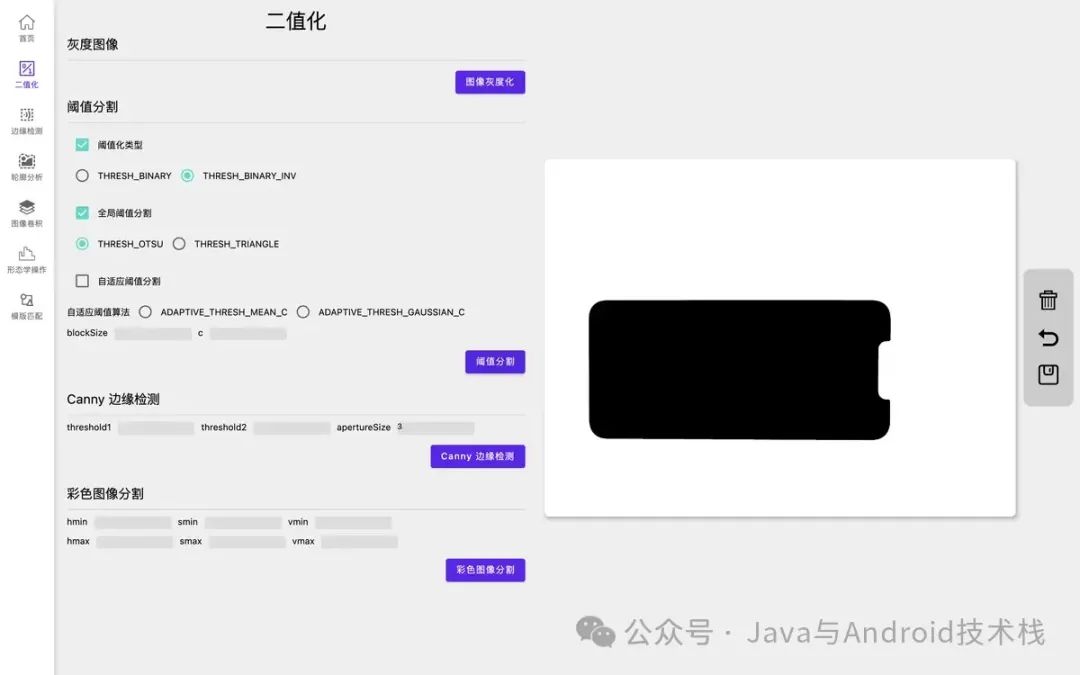
下图是为了展示 Canny 边缘检测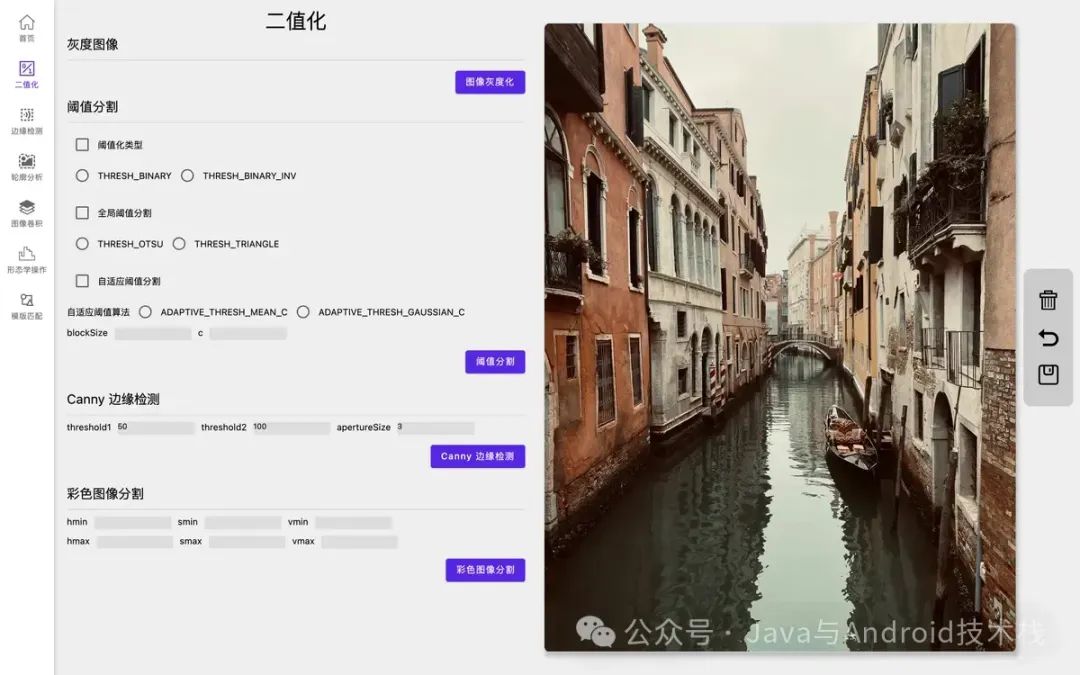
通过 Canny 边缘检测实现二值化。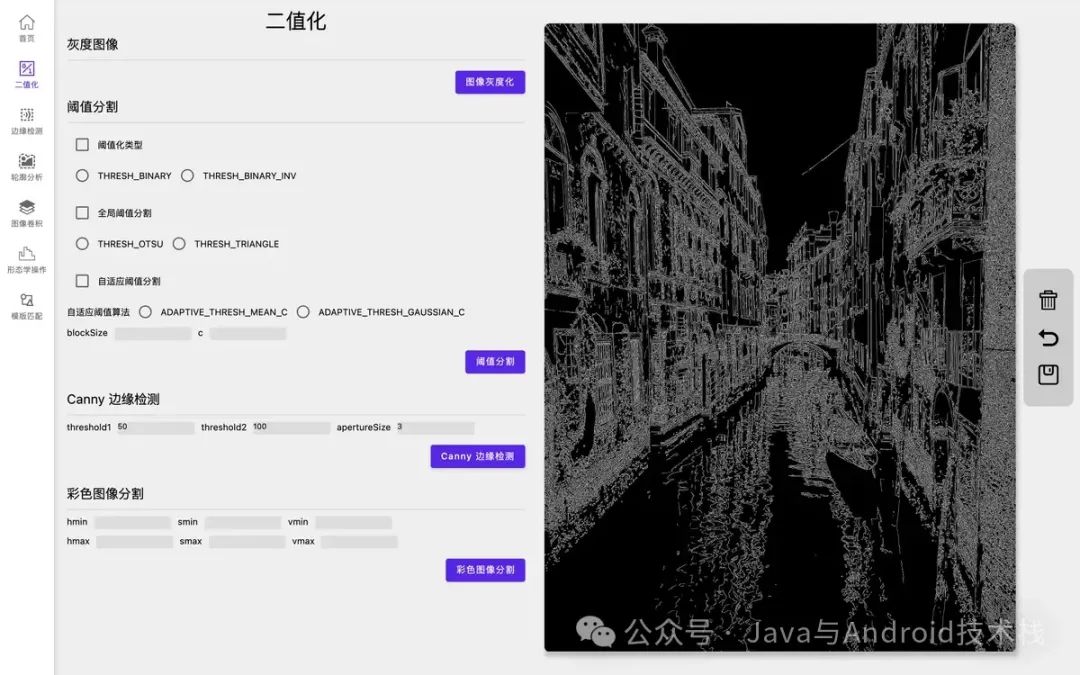
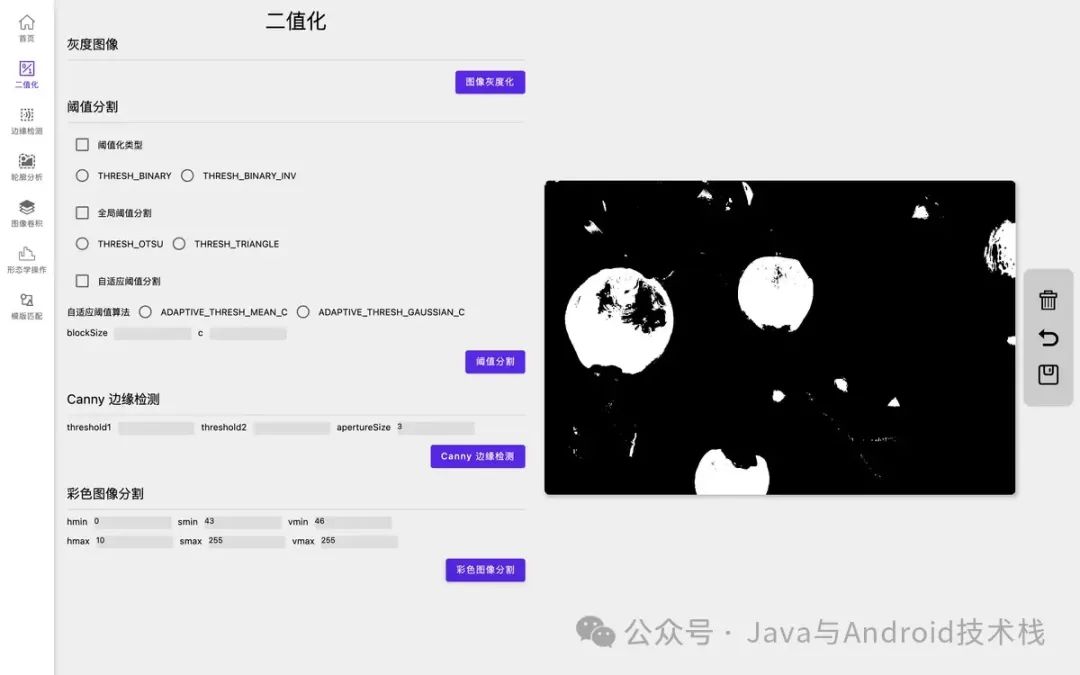
下图是为了展示彩色图像分割
图像通过色彩空间转换,在 OpenCV 中将图像从 BGR 转换成 HSV,然后再用 inRange() 进行颜色分割实现二值化。对于该二值化的图像,后续还要再进行一些形态学的操作,才有助于进一步的轮廓分析。
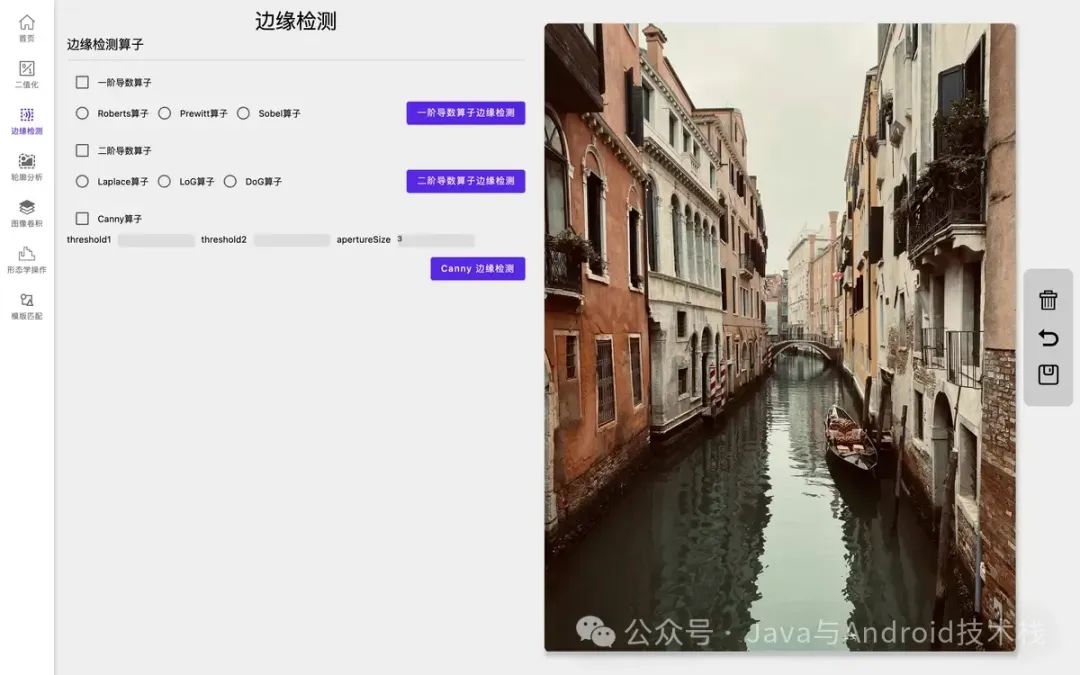
2.2 边缘检测
图像的边缘是图像中亮度变化比较大的点。Monica 提供了常见的边缘检测算子。
下面以 Laplace 算子为例,实现边缘检测。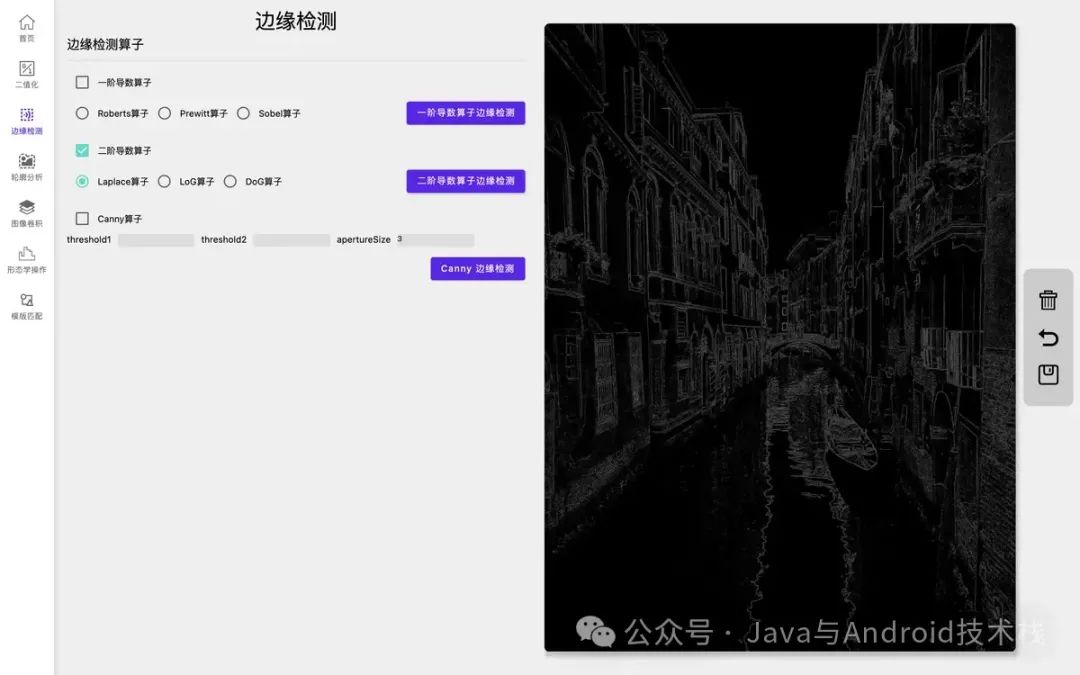
2.3 轮廓分析
图像的轮廓是指图像中具有相同颜色或灰度值的连续点的曲线。轮廓和边缘是有联系的,边缘是轮廓的基础,轮廓是边缘的连续集合。轮廓分析呢,简而言之就是找到图像中物体的轮廓。
下图以回形针为例,查找图中回形针的轮廓。
首先对图像进行二值化。
然后对二值图像进行轮廓查找,并将轮廓的外接矩形、最小外接矩形、质心显示到原图中。
有时为了找个某些轮廓,需要对所有轮廓进行过滤。目前支持通过周长、面积、圆度、长宽比这些设置来过滤轮廓。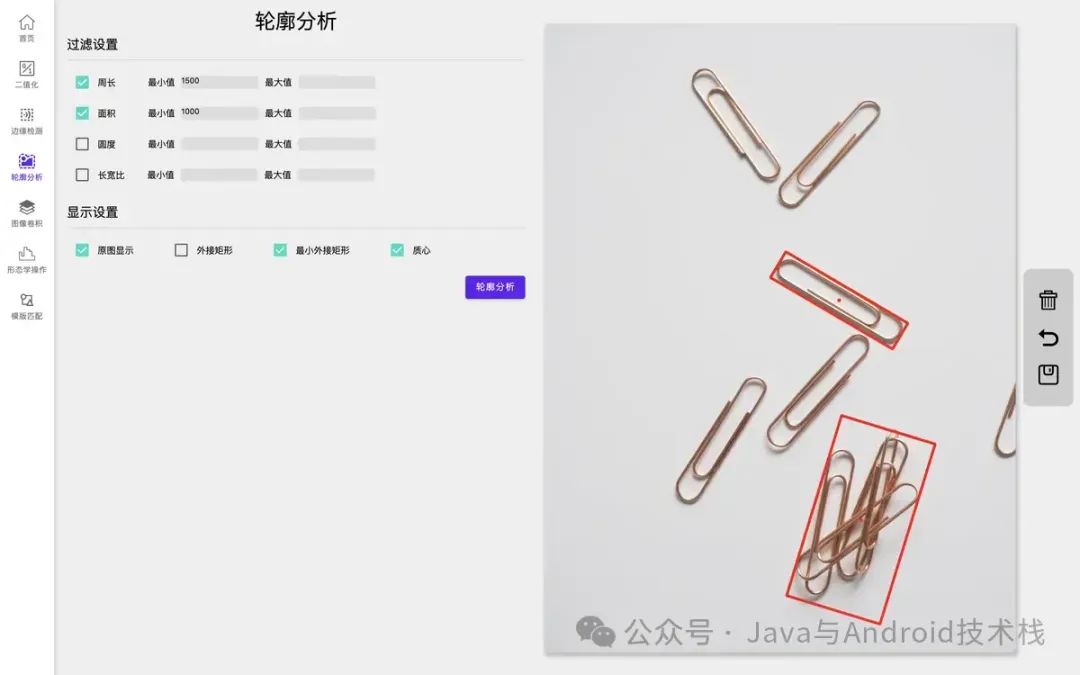
三. 功能的实现
该模块功能的实现,主要是封装 OpenCV 各个函数的调用,其实是蛮简单的。
不过有一些需要注意比如:
jni 层调用 OpenCV 函数实现二值化后,生成的二值图像如何在应用层展示?
应用层需要处理的二值图像(BufferedImage.TYPE_BYTE_BINARY),通过 byte array 如何由 jni 转换成 OpenCV 的 Mat 对象?
下面以调用 canny 函数和轮廓分析为例,简单进行说明。<
 最低0.47元/天 解锁文章


 1011
1011

 被折叠的 条评论
为什么被折叠?
被折叠的 条评论
为什么被折叠?
 到【灌水乐园】发言


