


一、模型介绍
Calligrapher 是蚂蚁集团与香港科技大学的研究团队共同开发的一个创新的基于扩散模型的框架,主要用于数字书法和设计应用中的文本图像定制与风格转换。Calligrapher可以提供个性化的文本图像定制,它允许用户使用各种风格化的图像和文本提示执行自定义。目前模型支持英文的修改,同时支持使用算家云青春版A100免部署直接调用。
以下是关于 Calligrapher 模型的详细介绍:
- 模型特点:
- 风格复现精准:能够准确还原复杂字体风格的细节,如笔画粗细、弯曲程度、装饰性元素等,实现字符级别的精确排布,提升视觉一致性。
- 适应性强、泛化能力好:在多个字体风格和设计场景下均表现优越,即使在未见过的参考风格或文本输入下,仍能生成高质量图像。
- 自动化程度高:显著减少人工操作与微调需求,极大提升字体设计效率,适用于品牌定制、广告排版、包装视觉等多种场景。在定性和定量评估中,包括用户研究在内的多项指标均优于现有模型,在无需微调的条件下,也能良好完成参考风格生成任务。
- 支持功能:
- 自由文本风格化:通过多样化风格图像和文本提示生成个性化文字。
- 多种参考模式:支持自参考、交叉参考和无文本参考的定制方式。
- 多语言支持:可进行跨多种语言的风格化文本定制。
详细信息可以参考:Calligrapher2025/Calligrapher:书法家:Freestyle 文字图片定制 Calligrapher2025/Calligrapher · Hugging Face
二、模型部署步骤
部署环境
| uibuntu | 22.04 |
|---|---|
| cuda | 12.1.1 |
| python | 3.10 |
| NVIDIA Corporation | A100 SXM4 |
模型运行所需显存较高,且只能选择单张卡,建议选择高显存卡
文档中建议Python 3.10 + PyTorch 2.5.0 + CUDA,注意版本需要相匹配
1.更新基础的软件包
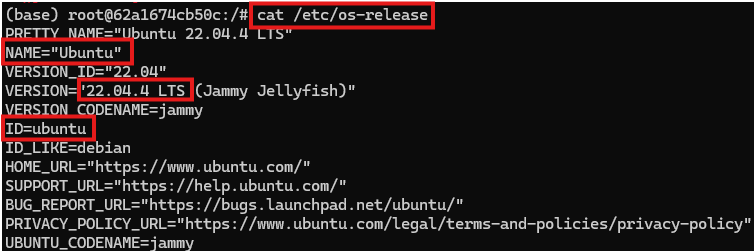
查看系统版本信息
#查看系统的版本信息,包括ID(如ubuntu、centos等)、版本号、名称、版本号ID等
cat /etc/os-release
配置国内源
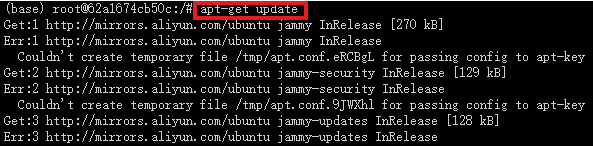
apt 配置阿里源
![]()
将以下内容粘贴进文件中
deb http://mirrors.aliyun.com/debian/ bullseye main non-free contrib
deb-src http://mirrors.aliyun.com/debian/ bullseye main non-free contrib
deb http://mirrors.aliyun.com/debian-security/ bullseye-security main
deb-src http://mirrors.aliyun.com/debian-security/ bullseye-security main
deb http://mirrors.aliyun.com/debian/ bullseye-updates main non-free contrib
deb-src http://mirrors.aliyun.com/debian/ bullseye-updates main non-free contrib
deb http://mirrors.aliyun.com/debian/ bullseye-backports main non-free contrib
deb-src http://mirrors.aliyun.com/debian/ bullseye-backports main non-free contrib
2.基础Miniconda3环境
查看系统是否有 miniconda 的环境
conda -V
![]()
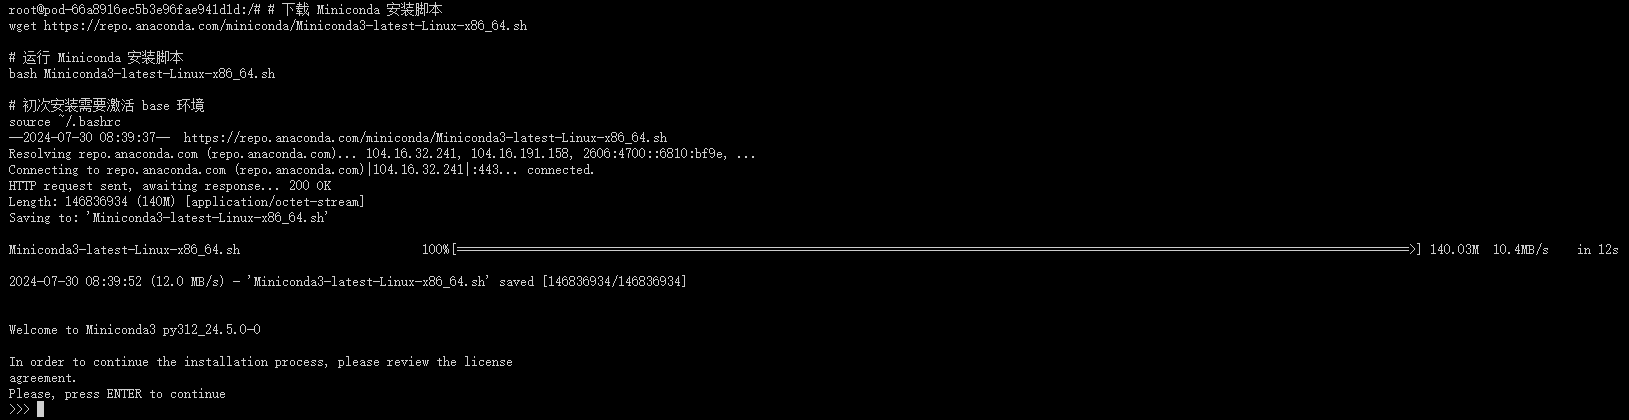
显示如上输出,即安装了相应环境,若没有 miniconda 的环境,通过以下方法进行安装
#下载 Miniconda 安装脚本
wget https://repo.anaconda.com/miniconda/Miniconda3-latest-Linux-x86_64.sh
#运行 Miniconda 安装脚本
bash Miniconda3-latest-Linux-x86_64.sh
#初次安装需要激活 base 环境
source ~/.bashrc
按下回车键(enter)
输入 yes
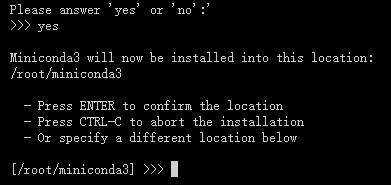
输入 yes
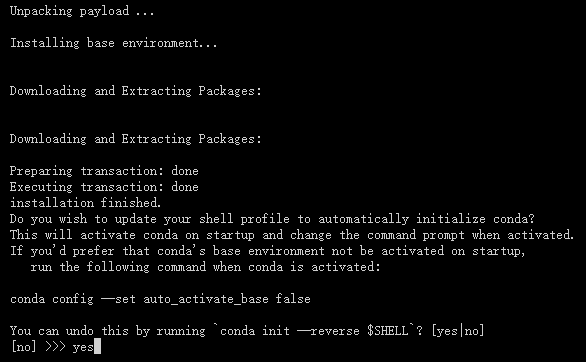
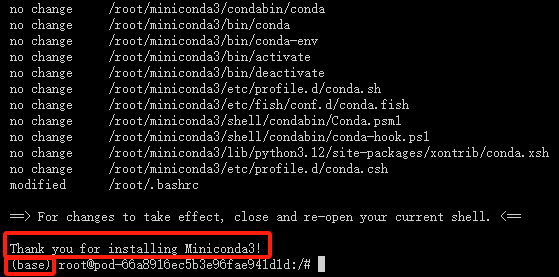
安装成功如下图所示
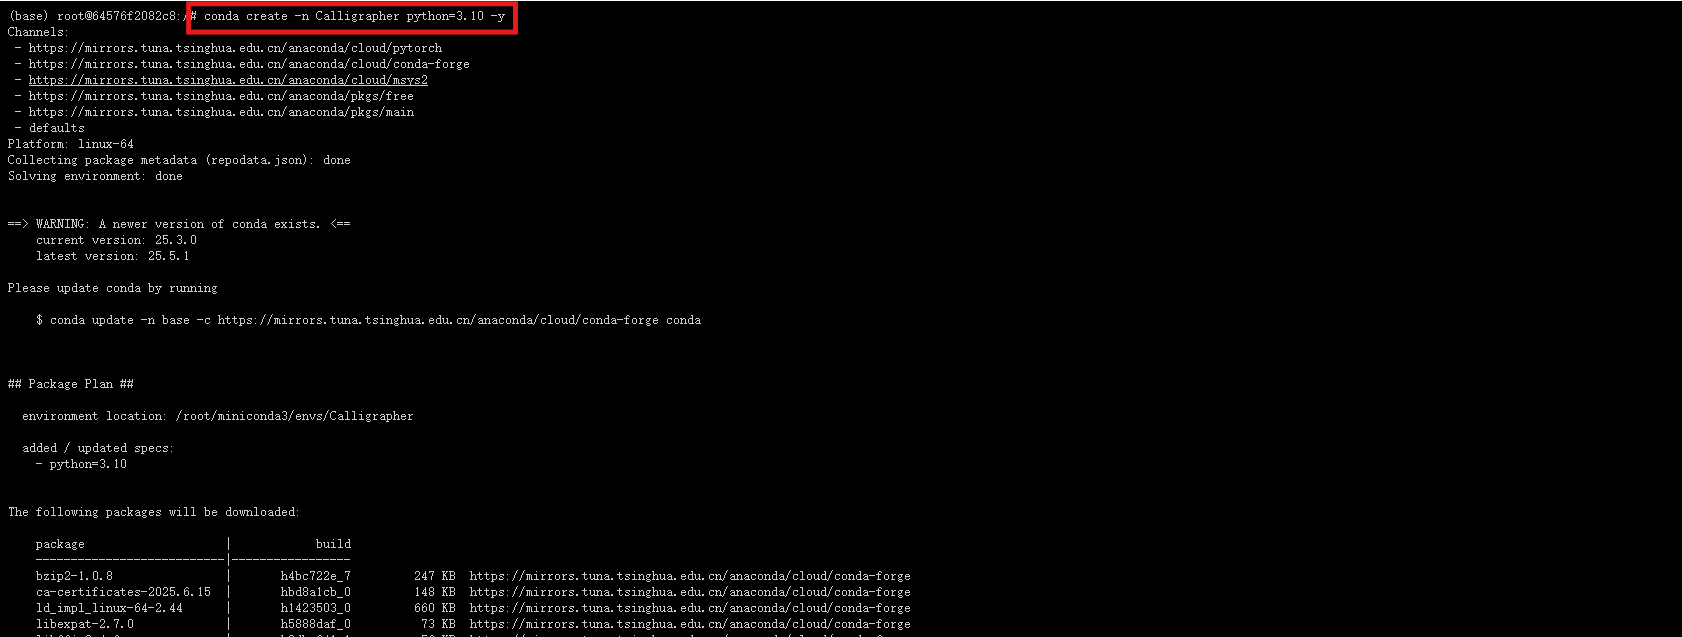
3.创建虚拟环境
创建名为Calligrapher的虚拟环境
conda create -n Calligrapher python=3.10 -y
激活虚拟环境
conda activate Calligrapher
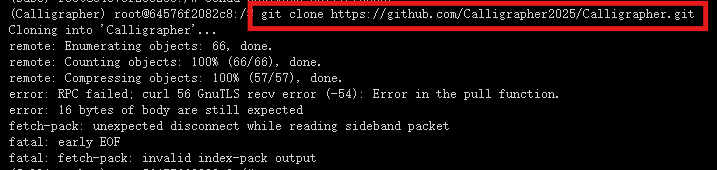
4.从github仓库克隆项目
输入命令克隆仓库并进入到项目之中
git clone https://github.com/Calligrapher2025/Calligrapher.git
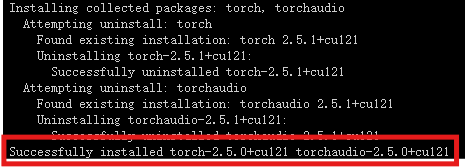
5.安装pytorch环境
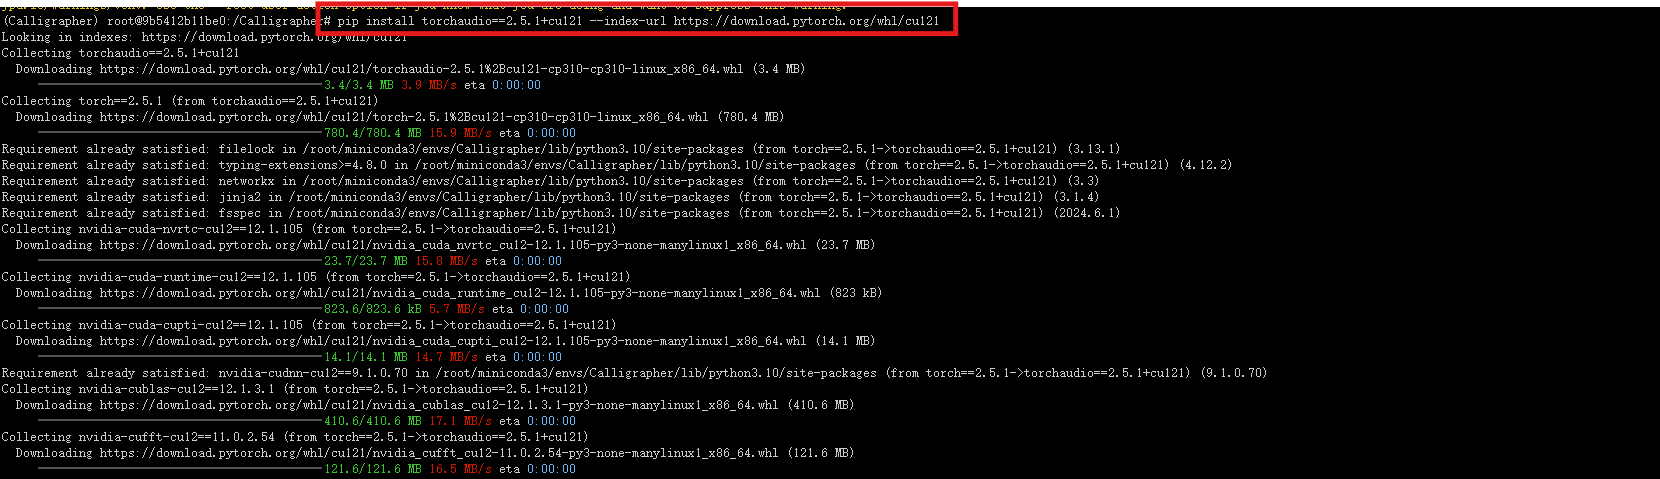
出现successfully则安装成功
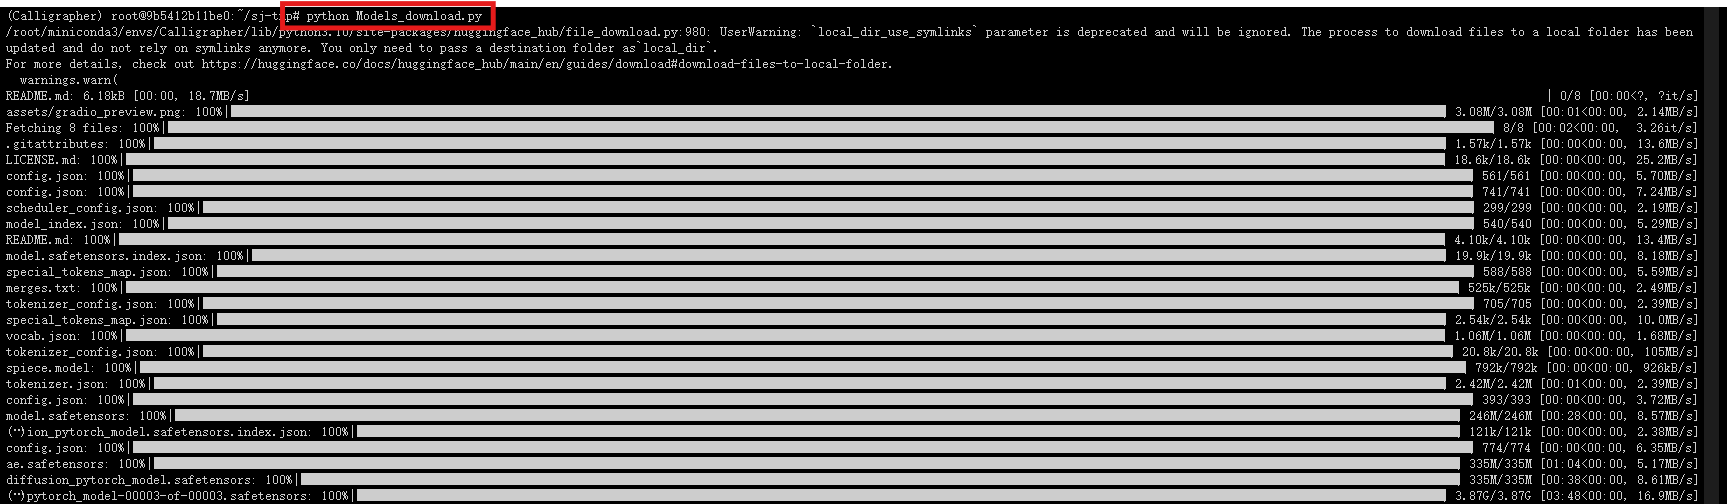
6.下载模型依赖库
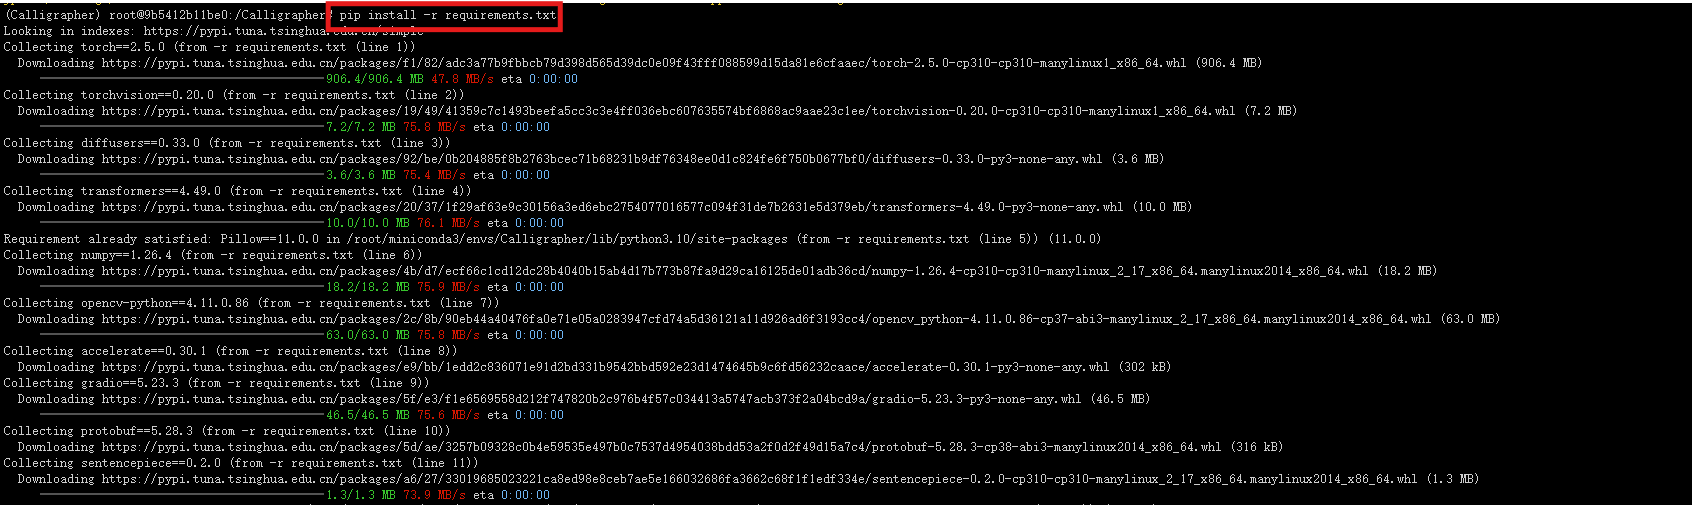
运行模型下载工具,自定义模型下载位置
from huggingface_hub import snapshot_download
# Download the base model FLUX.1-Fill-dev (granted access needed)
snapshot_download("black-forest-labs/FLUX.1-Fill-dev", token="your_token")
# Download SigLIP image encoder (this model can also be automatically downloaded when running the code)
snapshot_download("google/siglip-so400m-patch14-384")
# Download Calligrapher model and test data
snapshot_download("Calligrapher2025/Calligrapher")
下载内容包括Calligrapher模型权重、基础模型FLUX.1-Fill-dev、SigLIP 图像编码器模型以及测试数据集
7.配置路径 path_dict.json
将路径修改为实际的存储地址
{
"data_dir": "path/to/Calligrapher_bench_testing",
"cli_save_dir": "path/to/cli_results",
"gradio_save_dir": "path/to/gradio_results",
"gradio_temp_dir": "path/to/gradio_tmp",
"base_model_path": "path/to/FLUX.1-Fill-dev",
"image_encoder_path": "path/to/siglip-so400m-patch14-384",
"calligrapher_path": "path/to/calligrapher.bin"
}
三、通过gradio进行演示
下载其他缺失依赖包

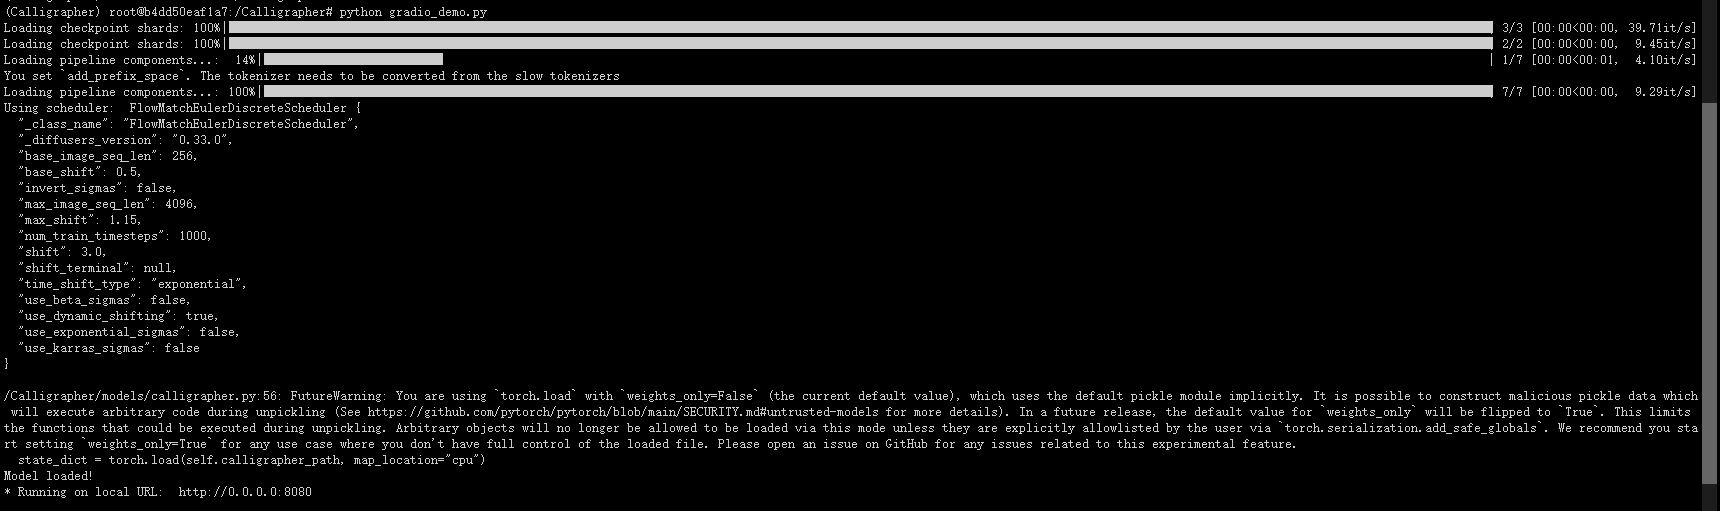
访问界面
# Basic Gradio demo
python gradio_demo.py
下面是Gradio演示界面
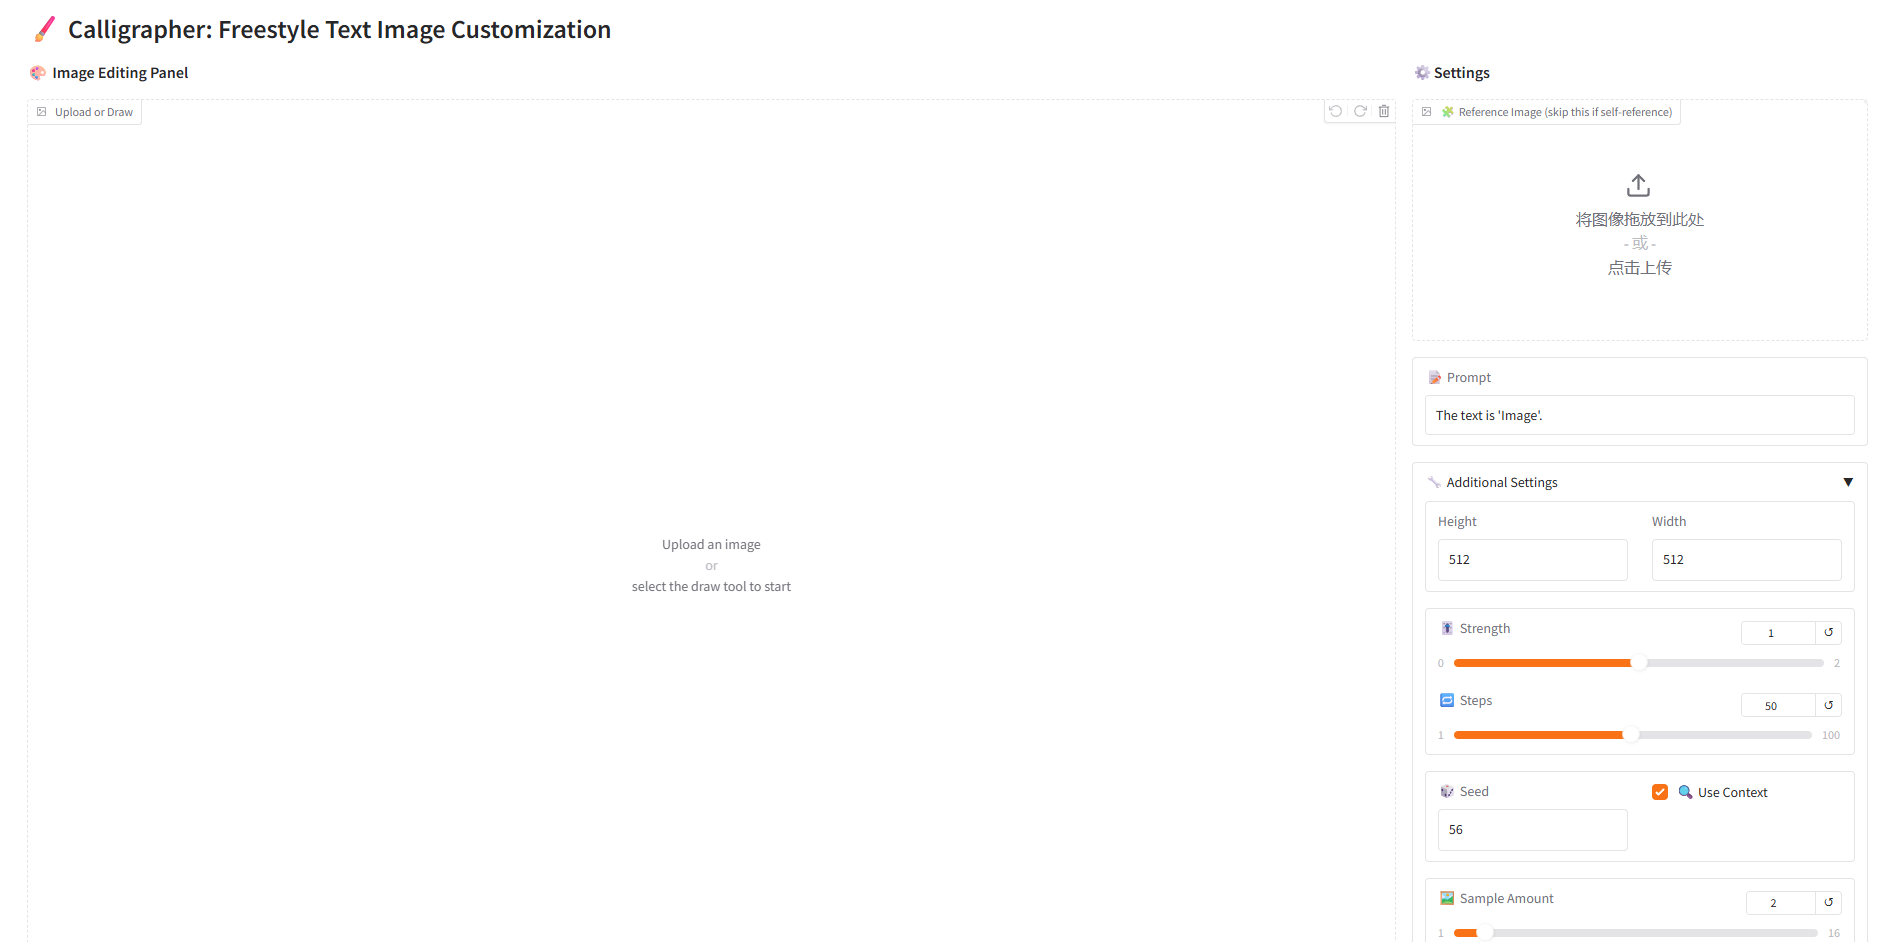
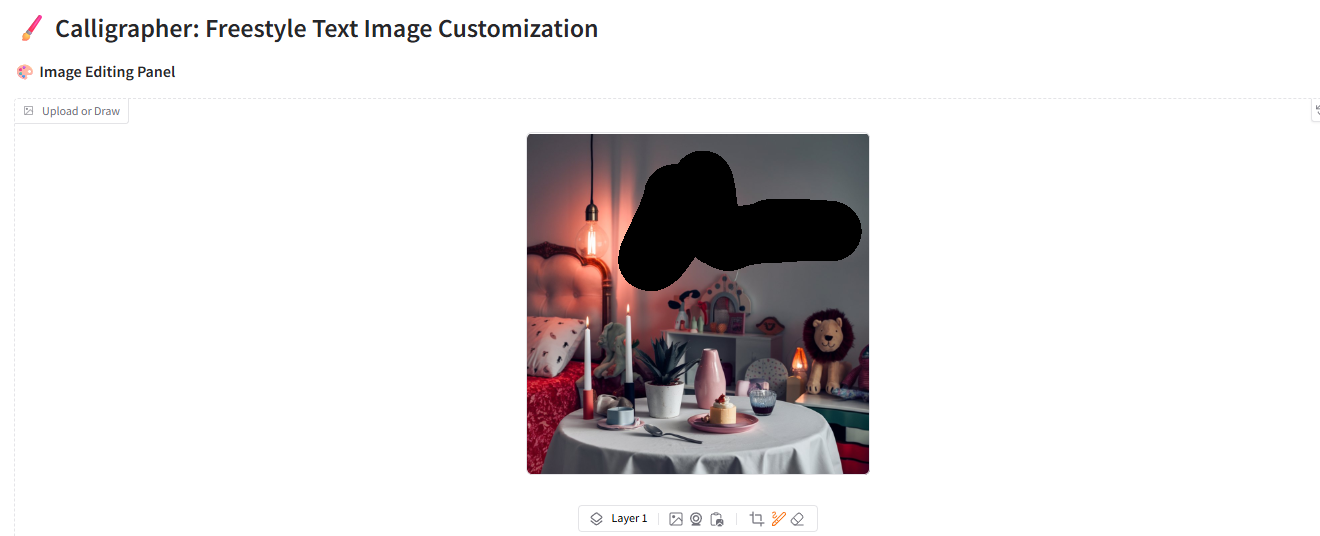
将自己选中的图片放进预选框,然后将图片放进编辑框
将图片拖入编辑框,并且选中画笔将需要修改的地方进行涂抹
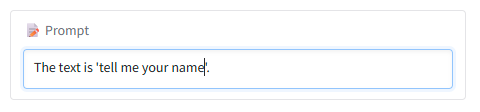
输入想要修改的文字

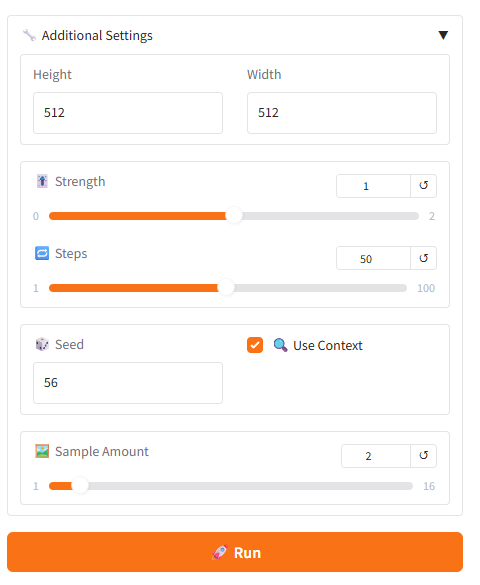
根据需求调整
点击运行,等待过后得到结果

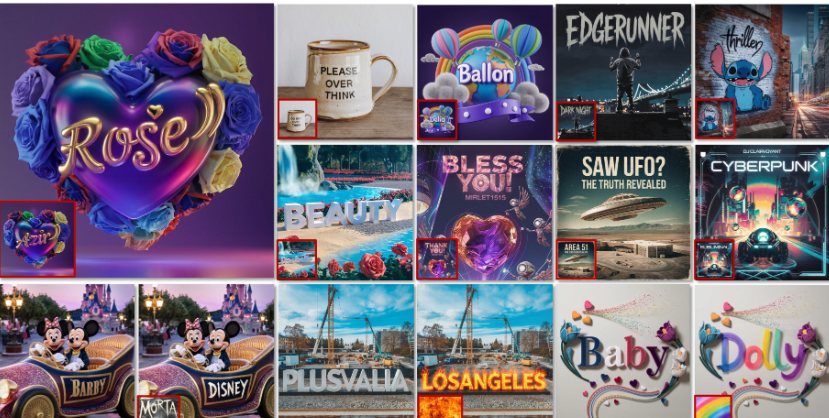
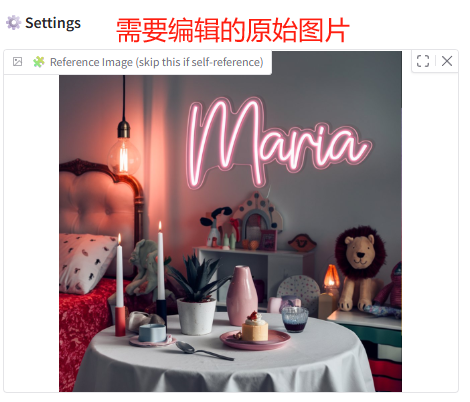
其他演示图


 732
732

 被折叠的 条评论
为什么被折叠?
被折叠的 条评论
为什么被折叠?
 到【灌水乐园】发言


