


 本文详细介绍了如何在Windows系统上通过修改配置文件和启动类,搭建一个由三个节点组成的Eureka服务集群,实现服务的注册与发现。文章提供了具体的YAML配置示例,包括端口设置、实例名称定义及注册中心的自我排除配置。
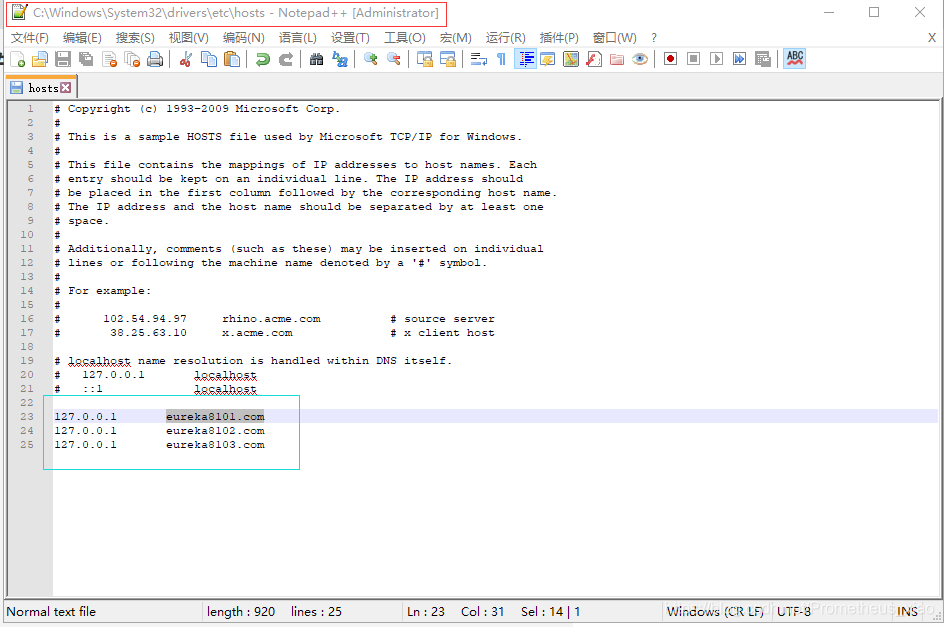
1. 修改windows系统的配置文件
2. 编写yml配置文件
server:
  port: 8103

eureka:
  instance:
    hostname: eureka8103.com #eureka服务端的实例名称
  client:
    register-with-eureka: false     #false表示不向注册中心注册自己。
    fetch-registry: false     #false表示自己端就是注册中心,我的职责就是维护服务实例,并不需要去检索服务
    service-url:
      defaultZone: http://eureka8101.com:8101/eureka/,http://eureka8102.com:8102/eureka/
3. 修改启动类
package com.system;

import org.springframework.boot.SpringApplication;
import org.springframework.boot.autoconfigure.SpringBootApplication;
import org.springframework.cloud.netflix.eureka.server.EnableEurekaServer;

@EnableEurekaServer
@SpringBootApplication
public class EurekaServerApplication {

    public static void main(String[] args) {
        SpringApplication.run(EurekaServerApplication.class, args);
    }

}
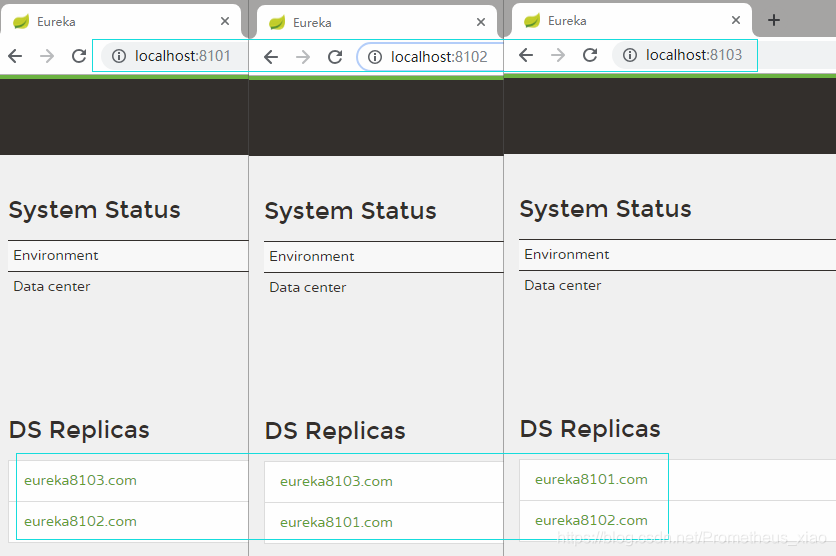
4. 测试
http://localhost:8101/
http://localhost:8102/
http://localhost:8103/


 4346
4346

 被折叠的 条评论
为什么被折叠?
被折叠的 条评论
为什么被折叠?
 到【灌水乐园】发言


