 AutoDL版SplatFields环境安装指南


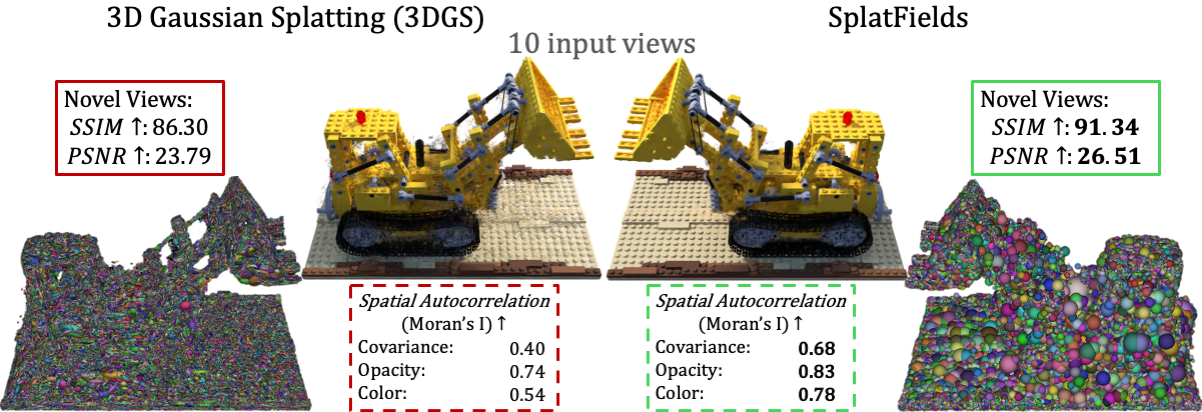
SplatFields:Neural Gaussian Splats for Sparse 3D and 4D Reconstruction
SplatFields Github仓库![]() https://github.com/markomih/SplatFields?tab=readme-ov-file
https://github.com/markomih/SplatFields?tab=readme-ov-file
系统环境预备
实验平台:AutoDL(云服务器租赁平台) + 4090 + Cuda 11.6 + Ubuntu 20.04
下载代码
git clone https://github.com/markomih/SplatFields.git
cd SplatFields
创建虚拟环境
conda create -n SplatFields python==3.7.13
source activate
conda activate SplatFields
安装环境
pip install torch==1.12.1+cu116 torchvision==0.13.1+cu116 torchaudio==0.12.1 --extra-index-url https://download.pytorch.org/whl/cu116
pip install plyfile==0.8.1
pip install tqdm
新建一个requirements.txt文件,内容为:
lpips
laspy
opencv-python
trimesh
imageio
packaging
scikit-learn
imageio==2.31.2
imageio-ffmpeg==0.4.9
imagesize==1.4.1
scikit-image==0.19.3
# diffusers==0.21.4
mmcv==1.6.0
# mmcv-full==1.6.0
然后,执行代码:
pip install -r requirements.txt安装完成后接下来分别安装 diffuser 以及 mmcv-full,因为安装这两个包可能出现一些小问题。
首先安装diffuser:
pip install diffusers==0.21.4若出现如下报错,无报错则可跳过
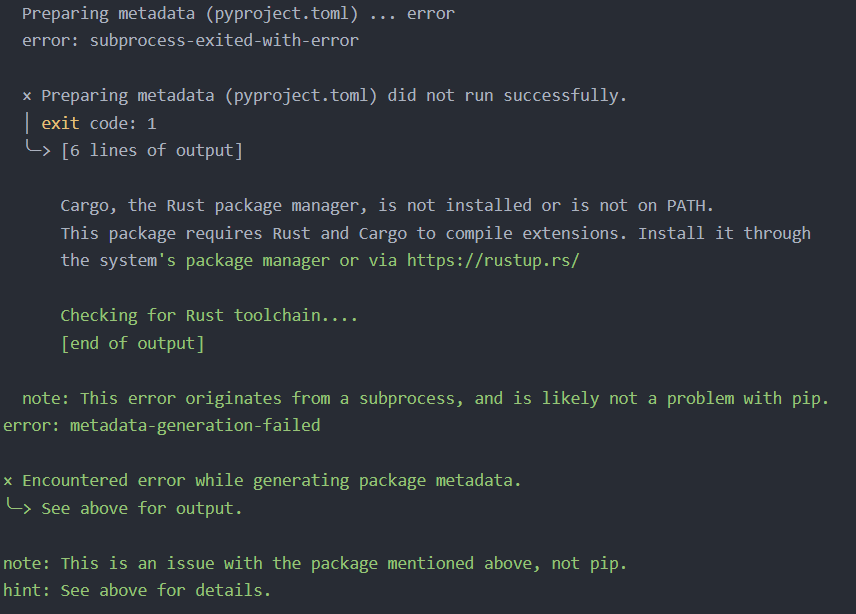
可以先使用Rustup安装Rust 和 Cargo:
# 临时设置环境变量以替换默认更新源和分发服务器
export RUSTUP_UPDATE_ROOT=https://mirrors.aliyun.com/rustup/rustup
export RUSTUP_DIST_SERVER=https://mirrors.aliyun.com/rustup

# 执行安装
curl --proto '=https' --tlsv1.2 -sSf https://sh.rustup.rs | sh

# 更新环境
source $HOME/.cargo/env
然后再次安装diffuse:
pip install diffusers==0.21.4接着安装mmcv-full:
pip install mmcv-full==1.6.0 若安装缓慢,一直卡在Build wheel,则可按如下办法解决:
下载对应版本官方的预编译包pip install mmcv-full=={mmcv_version} -f https://download.openmmlab.com/mmcv/dist/cu1xx/torch1.x.0/index.html
# 以我的环境为例 (注意x.x.x的最后一个x要抹零!)
pip install mmcv-full==1.6.0 -f https://download.openmmlab.com/mmcv/dist/cu116/torch1.12.0/index.html
即可很快安装成功。
运行代码
可按作者仓库中的README来:
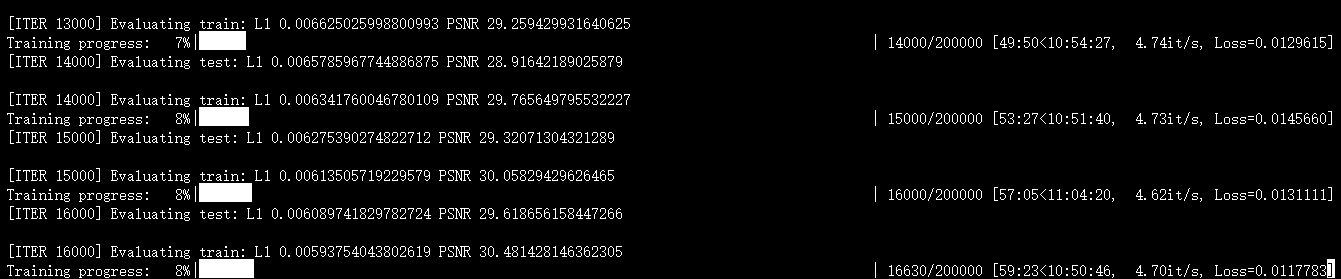
markomih/SplatFields![]() https://github.com/markomih/SplatFields?tab=readme-ov-file运行成功截图:
https://github.com/markomih/SplatFields?tab=readme-ov-file运行成功截图:


 1700
1700

 被折叠的 条评论
为什么被折叠?
被折叠的 条评论
为什么被折叠?
 到【灌水乐园】发言


