 使用Selenium爬取B站热门视频数据


b站的网页数据是通过JavaScript动态加载的,而简单的HTTP请求可能无法获取到这些动态内容。故requests无法获取到数据。
而对于JavaScript动态数据,需要使用selenium库获取。
selenium学习:
- 安装selenium:
pip install selenium
注意EdgeDriver不支持Selenium3,需要下载Selenium4
- 查看Edge浏览器版本:
右上角三个点 => 设置 => 关于Microsoft Edge
查看edge版本,这里版本为:129.0.2792.79
那么接下来需要下载的EdgeDriver的版本也必须是129.0.2792.79版的
进入网页:Microsoft Edge - Webdriver (windows.net)
如果是其他版本,只需要把链接中的 prefix=129.0.2792.79 改成对应的版本即可
这里下载并解压 edgedriver_win64.zip
记住自己解压的EdgeDriver的路径,比如:
"C:\Program Files (x86)\Microsoft\Edge\Application\edgedriver_win64\msedgedriver.exe"
- 用Selenium打开一个网站:
- 导入Selenium库:
from selenium import webdriver
from selenium.webdriver.edge.service import Service
from selenium.webdriver.edge.options import Options
其中,webdriver是Selenium的核心模块,提供了与各种浏览器进行交互的接口。通过这个模块,你可以控制浏览器打开网页、模拟用户操作等。
Service类用于创建一个服务对象,该对象负责管理WebDriver(在这个例子中是EdgeDriver)的生命周期,包括启动和停止WebDriver进程。
Options类允许你配置Edge浏览器的各种选项,如启动参数、扩展程序、代理设置等。这在需要自定义浏览器行为时非常有用。
- 前置工作:
edge_driver_path = r"C:\Program Files (x86)\Microsoft\Edge\Application\edgedriver_win64\msedgedriver.exe"
edge_options = Options()
service = Service(edge_driver_path)
driver = webdriver.Edge(service=service, options=edge_options)
功能依次为指定EdgeDriver的路径、创建Edge选项对象、创建Service对象、创建WebDriver对象。
- 使用Selenium打开和关闭网站:
driver.get('https://www.bilibili.com/v/popular/weekly?num=189')
time.sleep(10)
driver.quit()
driver.get函数用于打开网站
driver.quit函数用于关闭网站
中间进行爬虫处理,可以添加time库,适当添加一些延迟。
- 完整代码:
from selenium import webdriver
from selenium.webdriver.edge.service import Service
from selenium.webdriver.edge.options import Options
import time
edge_driver_path = r"C:\Program Files (x86)\Microsoft\Edge\Application\edgedriver_win64\msedgedriver.exe"
edge_options = Options()
service = Service(edge_driver_path)
driver = webdriver.Edge(service=service, options=edge_options)
driver.get('https://www.bilibili.com/v/popular/weekly?num=189')
time.sleep(10)
driver.quit()
- 用Selenium爬取数据:
- 获取页面源代码:
html_source = driver.page_source
print(html_source)
在使用get函数打开网站后,使用driver.page_source可以获取该网站的源代码。
(这效果就类似于…手动打开对应网站,点击检查手动复制全部源代码(乐))
如此便可以输出该页面的全部信息,因为是打开指定页面,所以也包含了JavaScript动态数据部分的数据。
- 使用BeautifulSoup进行获取数据
接下来就是喜闻乐见的筛选数据啦:
- 导入库:
from bs4 import BeautifulSoup
- 使用BeautifulSoup解析HTML
soup = BeautifulSoup(html_source, 'lxml')
- 获取数据:标题(titles)、作者(ups)、播放量(plays)、弹幕数(likes)、链接(links)
获取标题:
titles = soup.find_all('p', class_='video-name')
获取作者:
ups = soup.find_all('span', class_='up-name__text')
获取播放量:
span_plays = soup.find_all('span', class_='play-text')
plays = [sp.get_text(strip=True) for sp in span_plays]
strip=True: 去除空白信息(空格和换行)
获取弹幕数:
span_likes = soup.find_all('span', class_='like-text')
likes = [sl.get_text(strip=True) for sl in span_likes]
strip=True: 去除空白信息(空格和换行)
获取链接:
div_links = soup.find_all('div', class_='video-card__content')
a_links = [div.find('a') for div in div_links]
links = ['https:' + a.get('href') for a in a_links]
链接信息在a标签下,因为一个网页会有太多a标签,首先需要定位到我们需要的div标签,然后从中再获取a标签,最后将a标签中的href信息给提取出来,顺便完善成一个完整的网页。
- 将获取的数据输出:
for i in range(len(titles)):
title = titles[i].text
up = ups[i].text
play = plays[i]
like = likes[i]
link = links[i]
print(title, up, play, like, link)
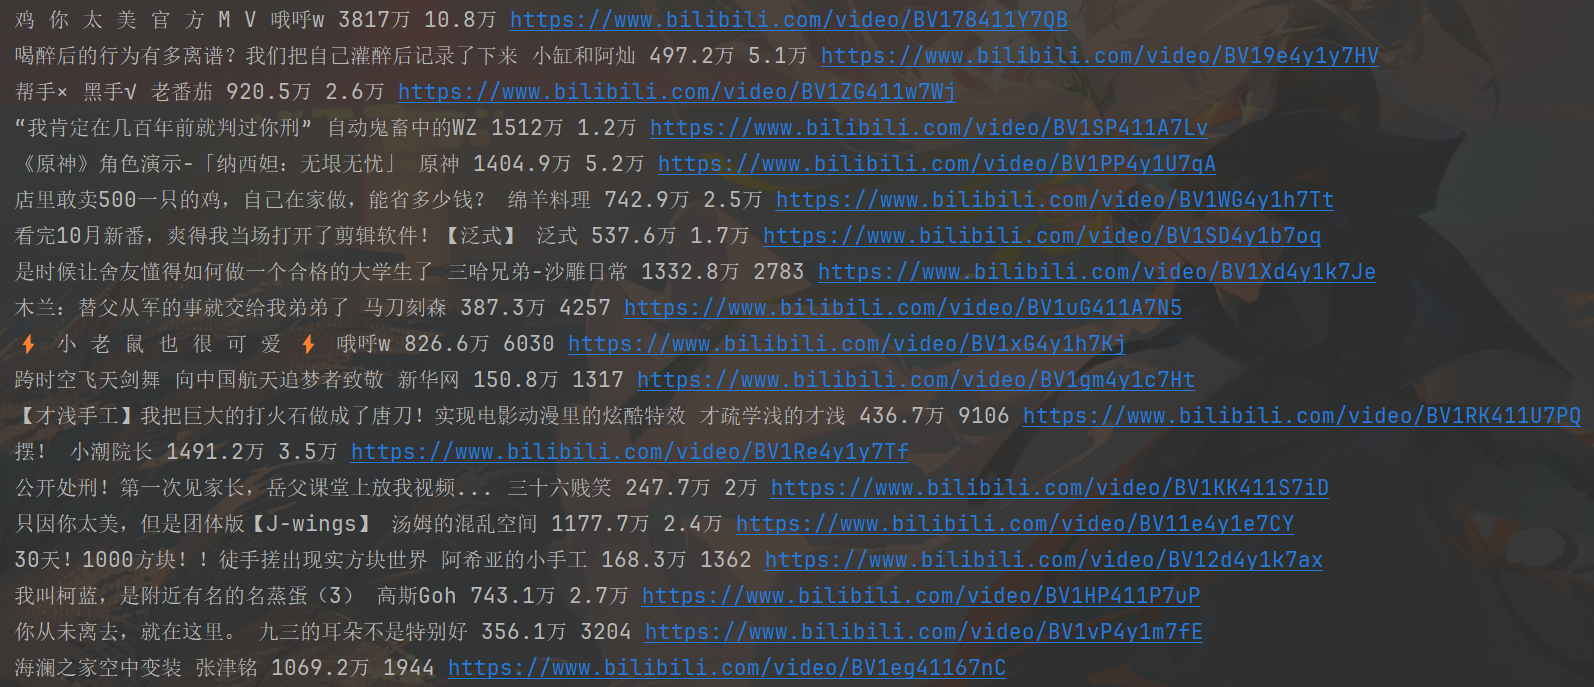
- 完整代码和输出结果:
完整代码:
from selenium import webdriver
from selenium.webdriver.edge.service import Service
from selenium.webdriver.edge.options import Options
import time
from bs4 import BeautifulSoup
edge_driver_path = r"C:\Program Files (x86)\Microsoft\Edge\Application\edgedriver_win64\msedgedriver.exe"
edge_options = Options()
service = Service(edge_driver_path)
driver = webdriver.Edge(service=service, options=edge_options)
driver.get('https://www.bilibili.com/v/popular/weekly?num=189')
time.sleep(5)
html_source = driver.page_source # 获取网页源代码
soup = BeautifulSoup(html_source, 'lxml') # 使用BeautifulSoup解析HTML
titles = soup.find_all('p', class_='video-name') # 获取视频标题
ups = soup.find_all('span', class_='up-name__text') # 获取作者名
span_plays = soup.find_all('span', class_='play-text')
plays = [sp.get_text(strip=True) for sp in span_plays] # 获取播放量
span_likes = soup.find_all('span', class_='like-text')
likes = [sl.get_text(strip=True) for sl in span_likes] # 获取弹幕数
div_links = soup.find_all('div', class_='video-card__content')
a_links = [div.find('a') for div in div_links]
links = ['https:' + a.get('href') for a in a_links] # 获取视频详细页网址
for i in range(len(titles)):
title = titles[i].text
up = ups[i].text
play = plays[i]
like = likes[i]
link = links[i]
print(title, up, play, like, link)
driver.quit()
部分输出结果:
- 对子网页进行爬取:
大致思路:遍历links,进入每一个视频详细页,获取发布时间,标签(一个视频最多十个),获取点赞,投币,收藏,转发数。
- 遍历links进行逐一处理,做好前置工作,并将结果输出。
for i in range(len(titles)): # 循环进入每个视频页面,获取发布时间、点赞数、投币数、收藏数、转发数、标签
time.sleep(5)
bili = solve(links[i])
print('标题:', titles[i])
print('作者:', ups[i])
print('播放量:', plays[i], ' 弹幕数:', likes[i])
print('视频链接:', links[i])
print('发布时间:', bili[0])
print('点赞:', bili[1], ' 投币:', bili[2], ' 收藏:', bili[3], ' 转发:', bili[4])
print(f'标签: {bili[5]}, {bili[6]}, {bili[7]}, {bili[8]}', end='')
for tag in bili[9]:
if tag != 'null':
print(tag, end=', ')
print('\n')
def solve(link):
driver.get(link)
time.sleep(4)
html = driver.page_source
soup = BeautifulSoup(html, 'lxml')
- 获取数据:
- 发布时间
t = soup.find('div', class_='pubdate-ip-text')
- 点赞
like = soup.find('span', class_='video-like-info video-toolbar-item-text')
- 投币
coin = soup.find('span', class_='video-coin-info video-toolbar-item-text')
- 收藏
fav = soup.find('span', class_='video-fav-info video-toolbar-item-text')
- 转发
share = soup.find('span', class_='video-share-info-text')
- 标签
标签类型:
div[bgm_tag]->span[tag-txt]
div[topic-tag]->a[tag-link topic-link]
div[firstchannel-tag]->a[tag-link]
div[secondchannel-tag]->a[tag-link]
div[ordinary-tag]->a[tag-link]
div_bgm_tag = soup.find('div', class_='bgm_tag')
bgm_tag = div_bgm_tag.find('span', class_='tag-txt')
div_topic_tag = soup.find('div', class_='topic-tag')
topic_tag = div_topic_tag.find('a', class_='tag-link topic-link')
div_fir_tag = soup.find('div', class_='firstchannel-tag')
fir_tag = div_fir_tag.find('a', class_='tag-link')
div_sec_tag = soup.find('div', class_='secondchannel-tag')
sec_tag = div_sec_tag.find('a', class_='tag-link')
div_ord_tag = soup.find_all('div', class_='ordinary-tag')
ord_tag = [tag.find('a', class_='tag-link') for tag in div_ord_tag]
- 返回数据
将所有获取的数据返回,因为标签数量不一,但上限最多12个,为防止后续将数据存入数据库时出现空值报错,多插入几个空数据,这样就不会报错啦。
return (
t.text if t else ' ',
like.text if like else ' ',
coin.text if coin else ' ',
fav.text if fav else ' ',
share.text if share else ' ',
bgm_tag.text if bgm_tag else ' ',
topic_tag.text if topic_tag else ' ',
fir_tag.text if fir_tag else ' ',
sec_tag.text if sec_tag else ' ',
[tag.text for tag in ord_tag] + ['null', 'null', 'null', 'null', 'null', 'null', 'null', 'null']
)
- 完善代码,并运行。
完整代码:
from selenium import webdriver
from selenium.webdriver.edge.service import Service
from selenium.webdriver.edge.options import Options
import time
from bs4 import BeautifulSoup
edge_driver_path = r"C:\Program Files (x86)\Microsoft\Edge\Application\edgedriver_win64\msedgedriver.exe"
edge_options = Options()
service = Service(edge_driver_path)
driver = webdriver.Edge(service=service, options=edge_options)
def solve(link):
driver.get(link)
time.sleep(4)
html = driver.page_source
soup = BeautifulSoup(html, 'lxml')
t = soup.find('div', class_='pubdate-ip-text') # 获取发布时间
like = soup.find('span', class_='video-like-info video-toolbar-item-text') # 点赞数
coin = soup.find('span', class_='video-coin-info video-toolbar-item-text') # 投币数
fav = soup.find('span', class_='video-fav-info video-toolbar-item-text') # 收藏数
share = soup.find('span', class_='video-share-info-text') # 转发数
div_bgm_tag = soup.find('div', class_='bgm-tag')
bgm_tag = div_bgm_tag.find('span') if div_bgm_tag else None
div_topic_tag = soup.find('div', class_='topic-tag')
topic_tag = div_topic_tag.find('a') if div_topic_tag else None
div_fir_tag = soup.find('div', class_='firstchannel-tag')
fir_tag = div_fir_tag.find('a') if div_fir_tag else None
div_sec_tag = soup.find('div', class_='secondchannel-tag')
sec_tag = div_sec_tag.find('a') if div_sec_tag else None
div_ord_tag = soup.find_all('div', class_='ordinary-tag')
ord_tag = [tag.find('a') for tag in div_ord_tag]
return (
t.get_text() if t else ' ',
like.get_text() if like else ' ',
coin.get_text() if coin else ' ',
fav.get_text() if fav else ' ',
share.get_text() if share else ' ',
bgm_tag.get_text() if bgm_tag else ' ',
topic_tag.get_text() if topic_tag else ' ',
fir_tag.get_text() if fir_tag else ' ',
sec_tag.get_text() if sec_tag else ' ',
[tag.get_text() for tag in ord_tag] + ['null', 'null', 'null', 'null', 'null', 'null', 'null', 'null']
)
def run():
driver.get('https://www.bilibili.com/v/popular/weekly?num=189')
time.sleep(4)
html_source = driver.page_source # 获取网页源代码
soup = BeautifulSoup(html_source, 'lxml') # 使用BeautifulSoup解析HTML
titles = [title.get_text(strip=True) for title in soup.find_all('p', class_='video-name')] # 获取视频标题
ups = [up.get_text(strip=True) for up in soup.find_all('span', class_='up-name__text')] # 获取作者名
span_plays = soup.find_all('span', class_='play-text')
plays = [sp.get_text(strip=True) for sp in span_plays] # 获取播放量
span_likes = soup.find_all('span', class_='like-text')
likes = [sl.get_text(strip=True) for sl in span_likes] # 获取弹幕数
div_links = soup.find_all('div', class_='video-card__content')
a_links = [div.find('a') for div in div_links]
links = ['https:' + a.get('href') for a in a_links if a.get('href')]
for i in range(len(titles)): # 循环进入每个视频页面,获取发布时间、点赞数、投币数、收藏数、转发数、标签
time.sleep(5)
bili = solve(links[i])
print('标题:', titles[i])
print('作者:', ups[i])
print('播放量:', plays[i], ' 弹幕数:', likes[i])
print('视频链接:', links[i])
print('发布时间:', bili[0])
print('点赞:', bili[1], ' 投币:', bili[2], ' 收藏:', bili[3], ' 转发:', bili[4])
print(f'标签: {bili[5]}, {bili[6]}, {bili[7]}, {bili[8]}', end='')
for tag in bili[9]:
if tag != 'null':
print(tag, end=', ')
print('\n')
if __name__ == '__main__':
run()
部分运行结果:
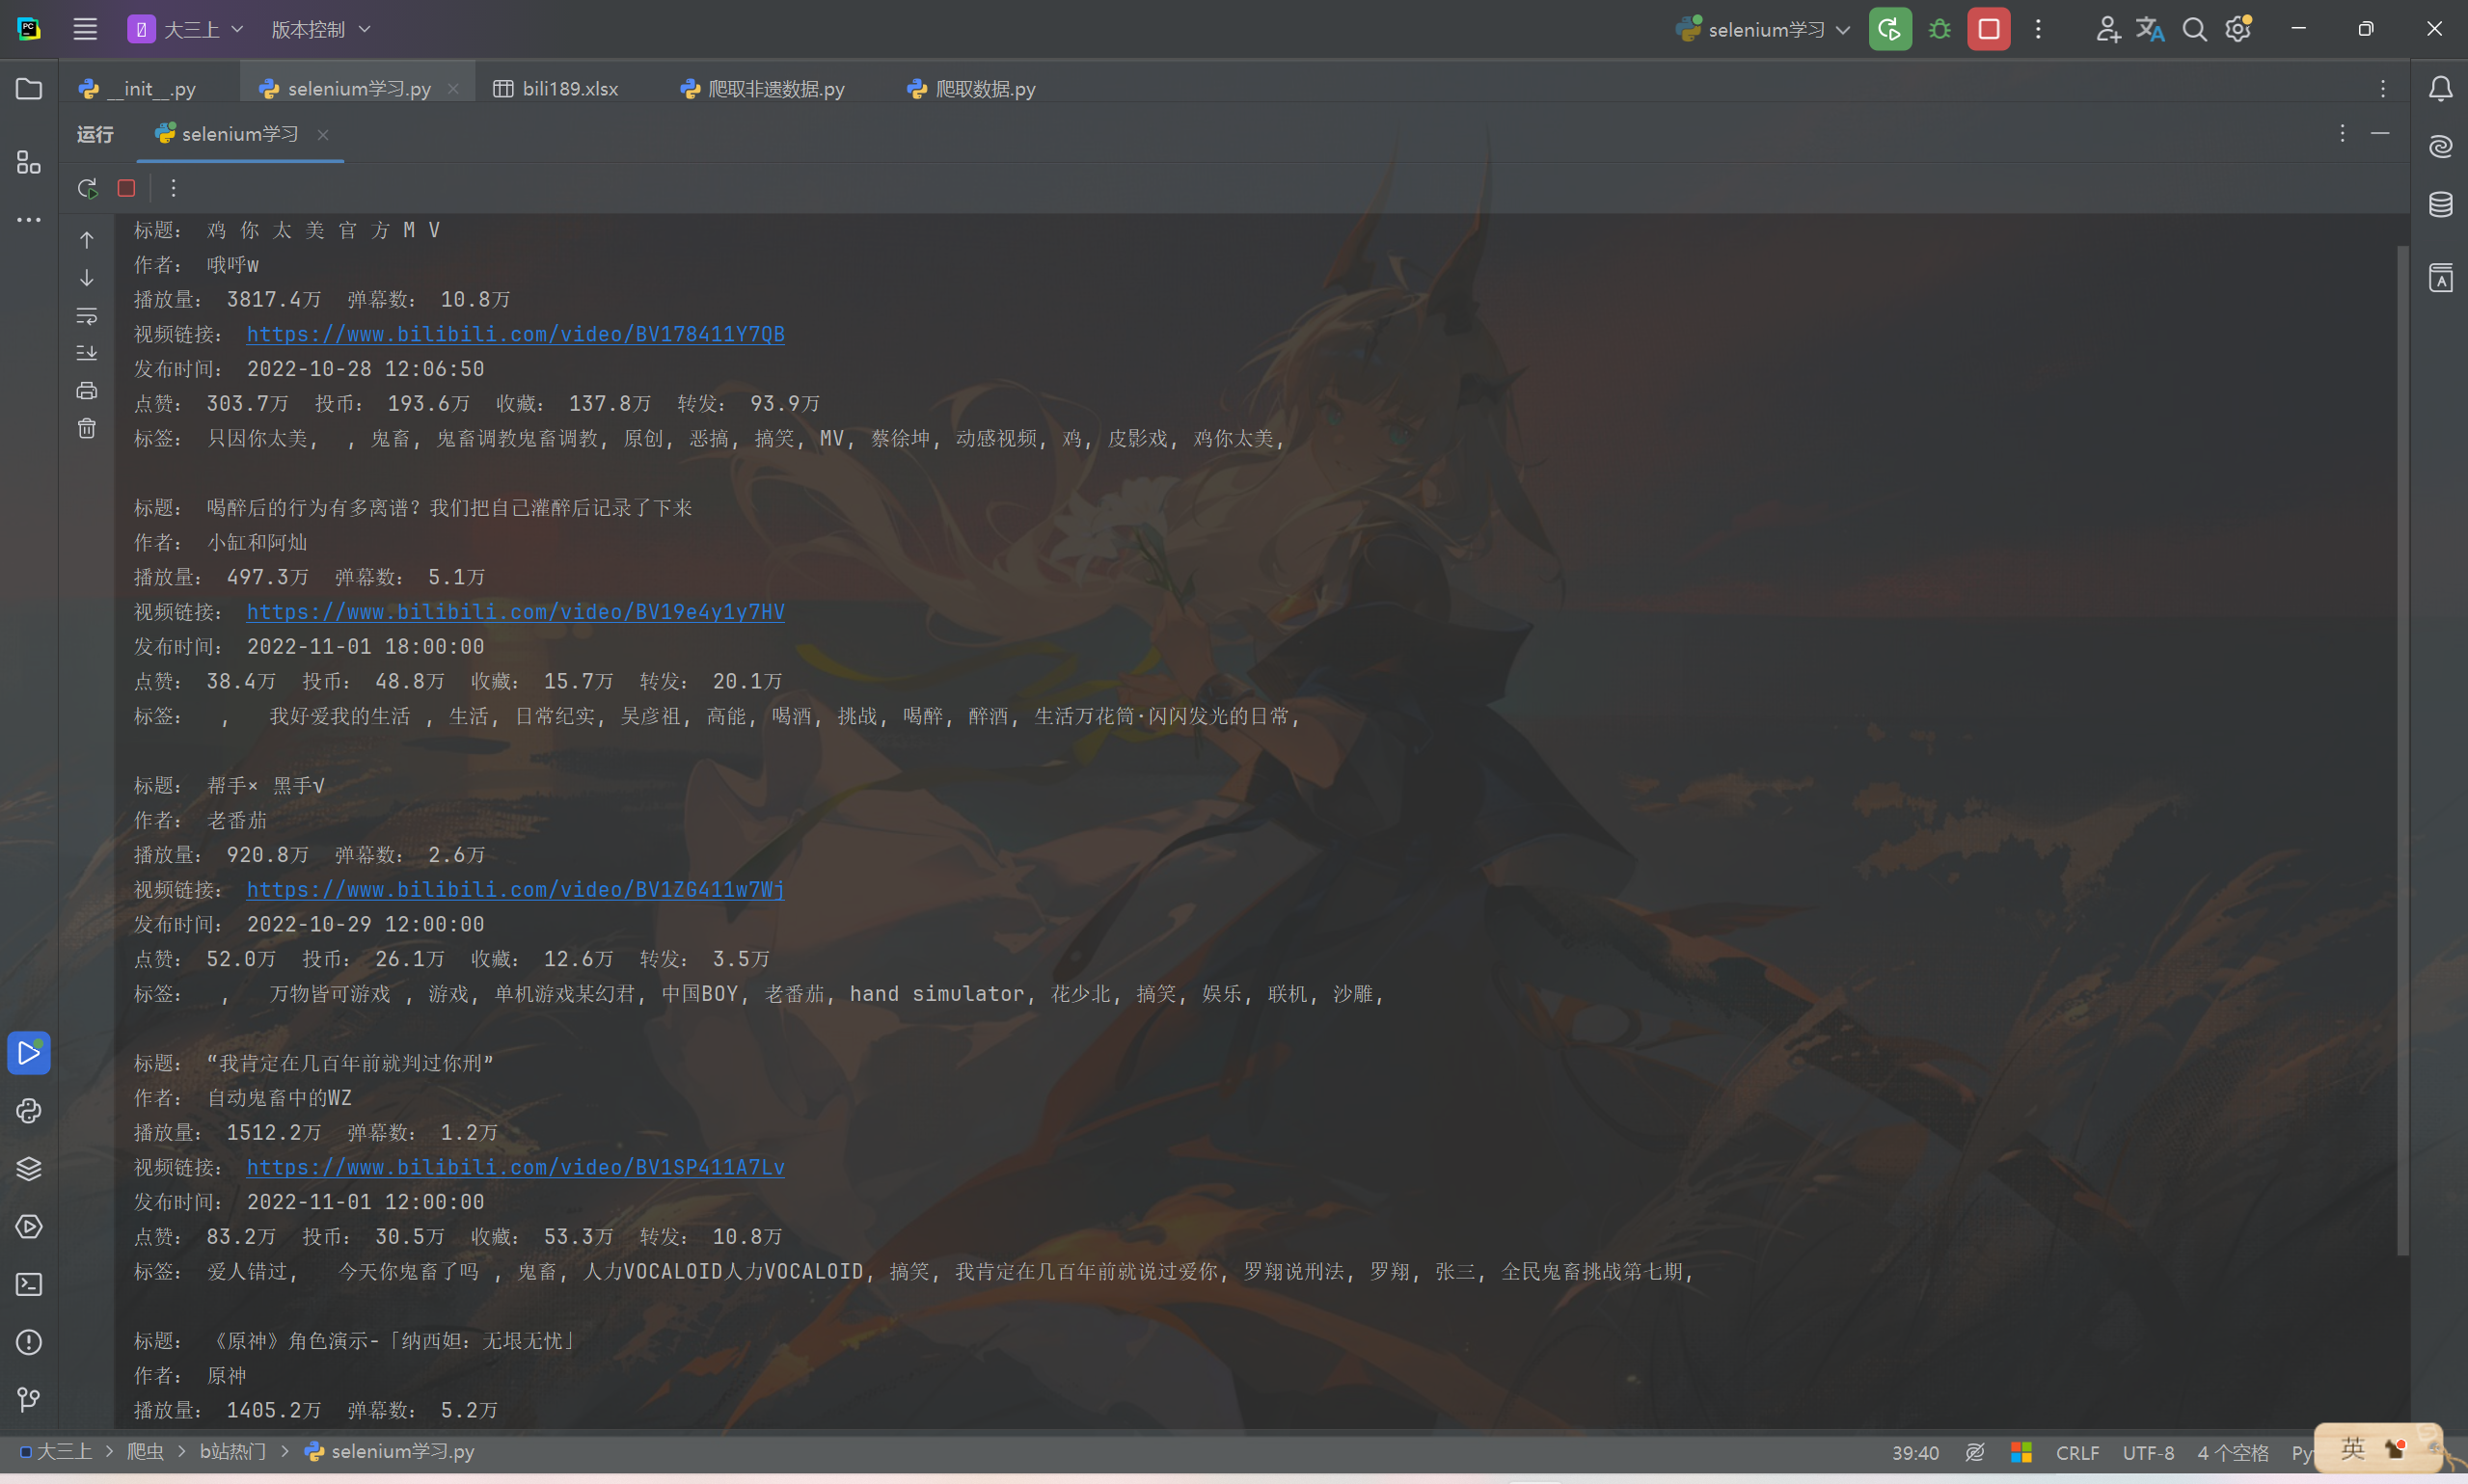
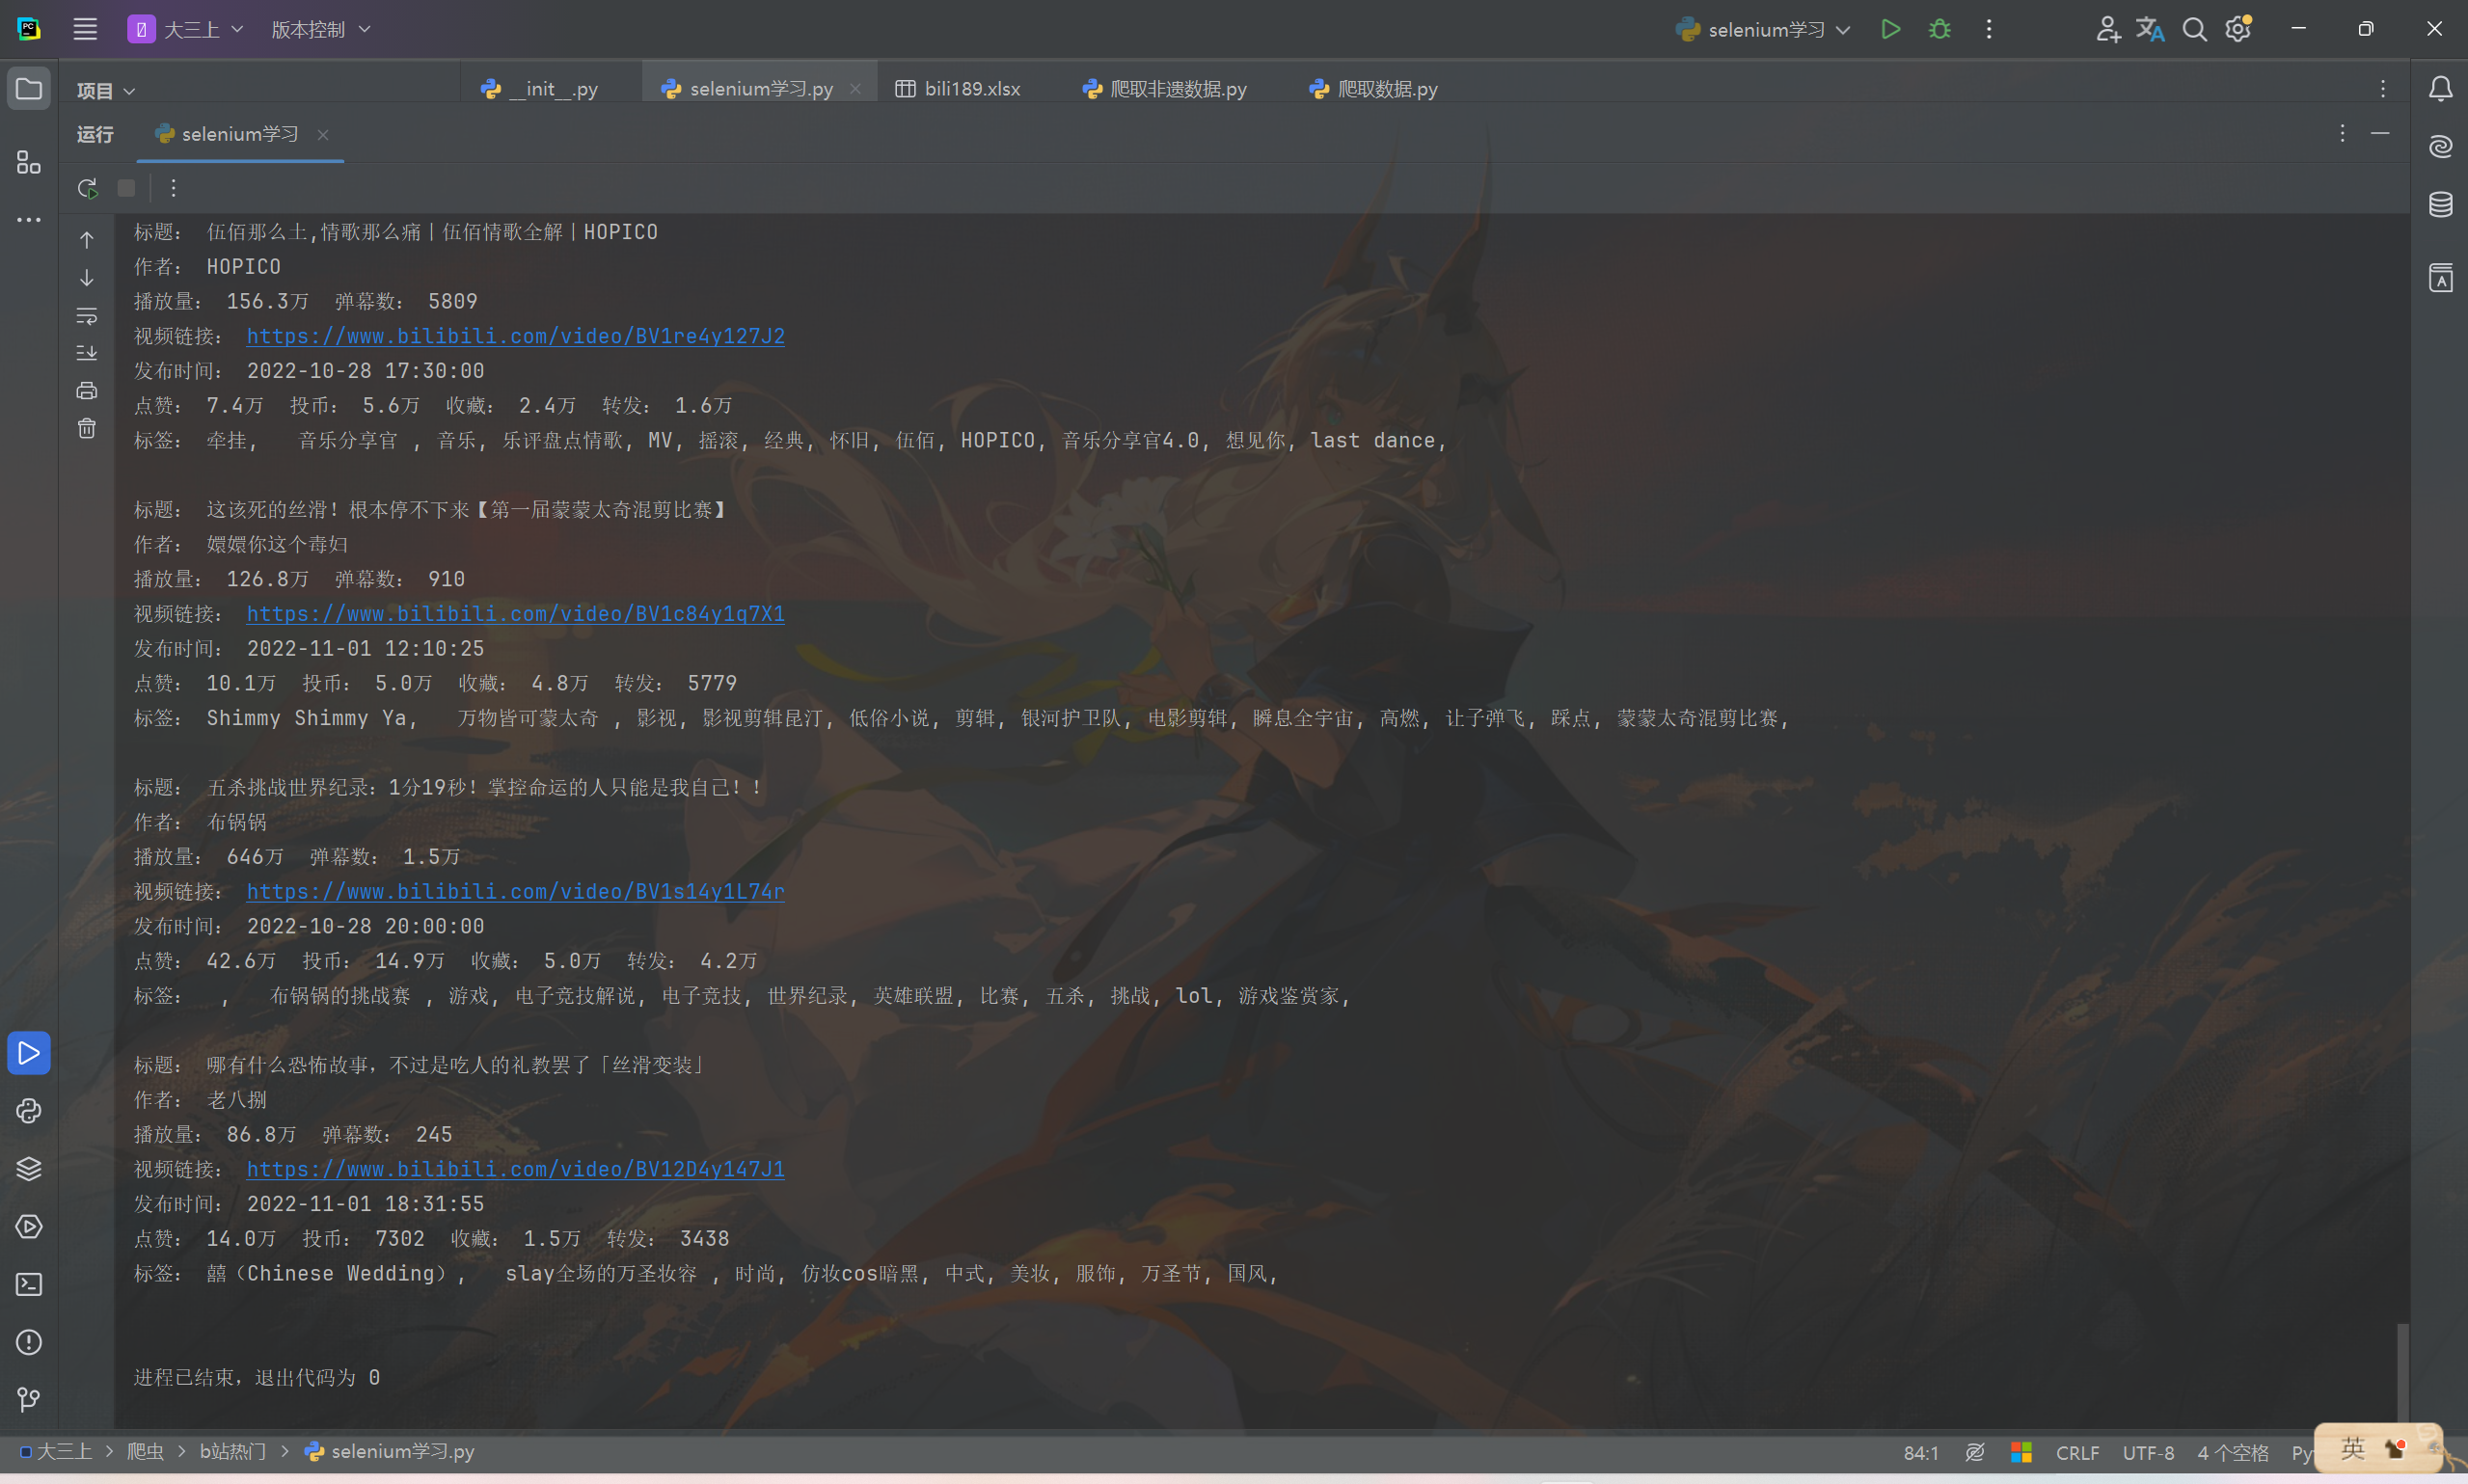
可见已经正确的获取到需要的数据。
- 爬取多个网页,并且对数据进行处理,比如将点赞数、投币数等转化为整数数据类型,再把爬取到的数据存入到SQLite数据库中。
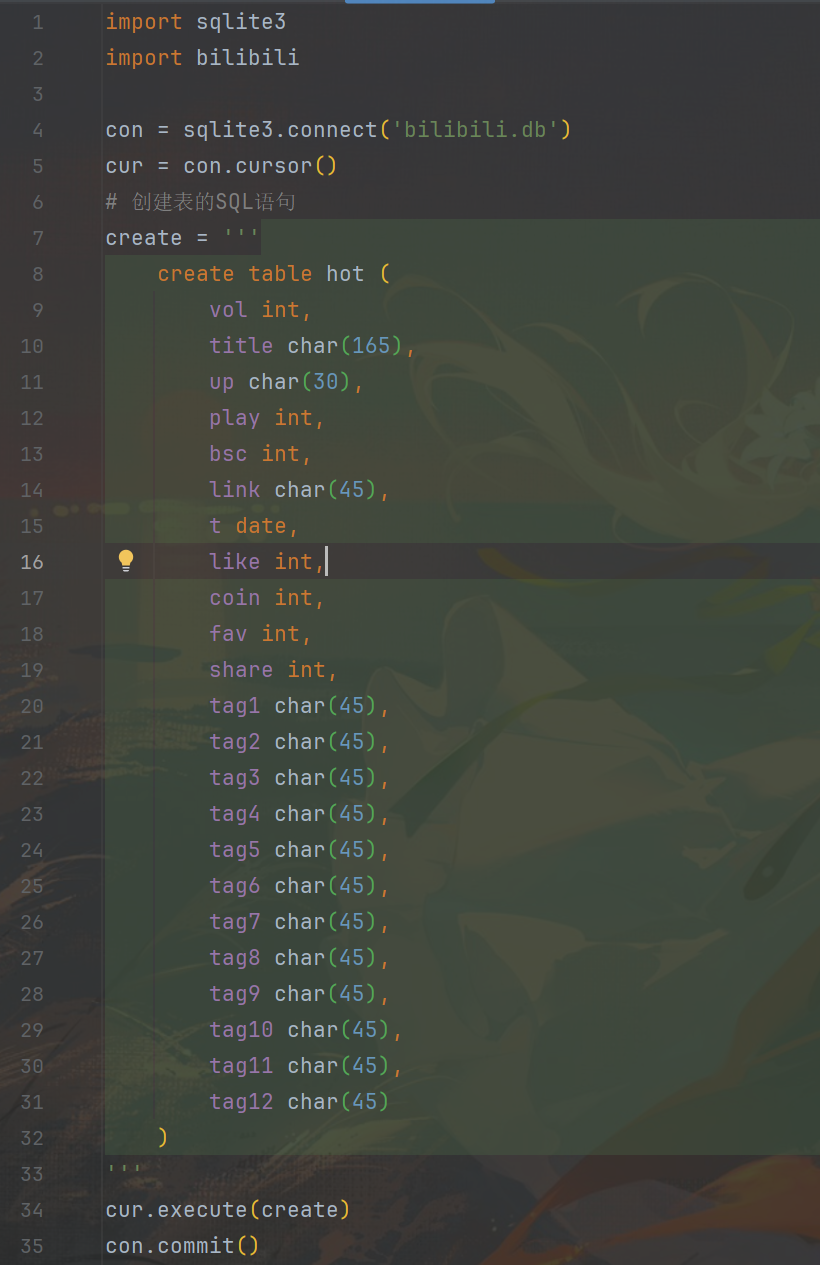
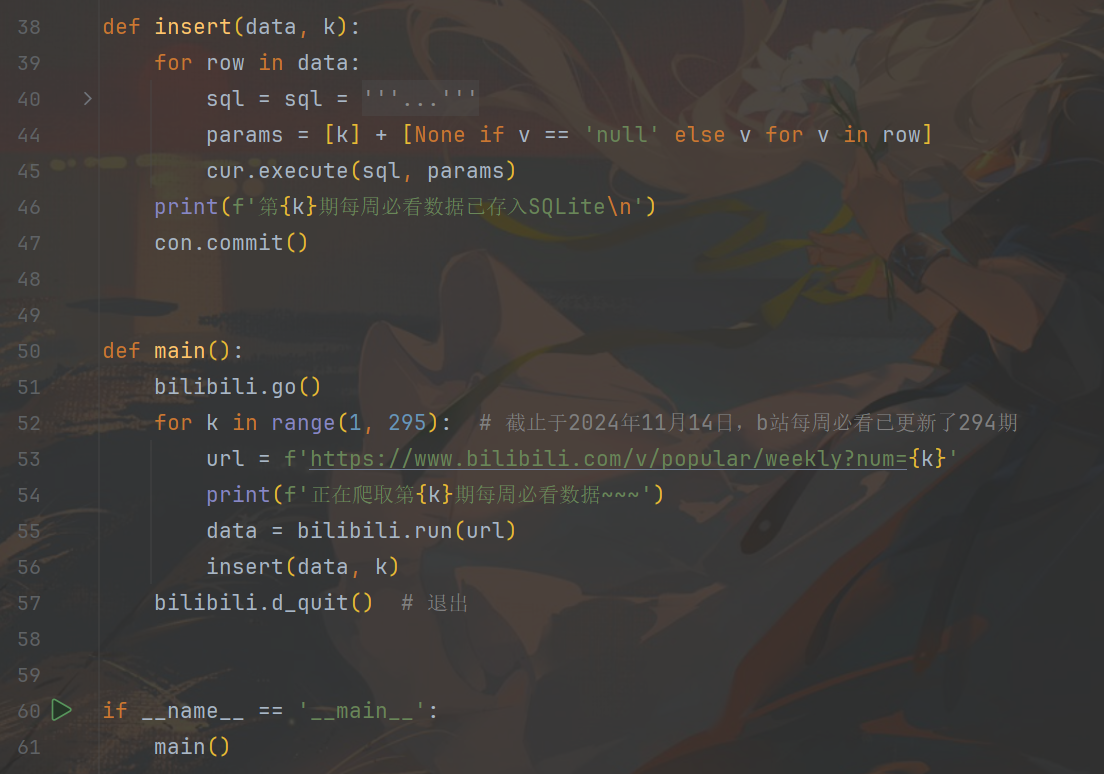
- 写一个新的py代码,用于构建数据库和调用爬虫代码函数,循环爬取一共294期b站每周必看视频的数据,将爬取到的数据存入到数据库中。
以下为创建存储数据的表的代码。
以下为循环调用爬虫代码的函数进行爬虫获取数据,并把数据存入数据库的代码部分。
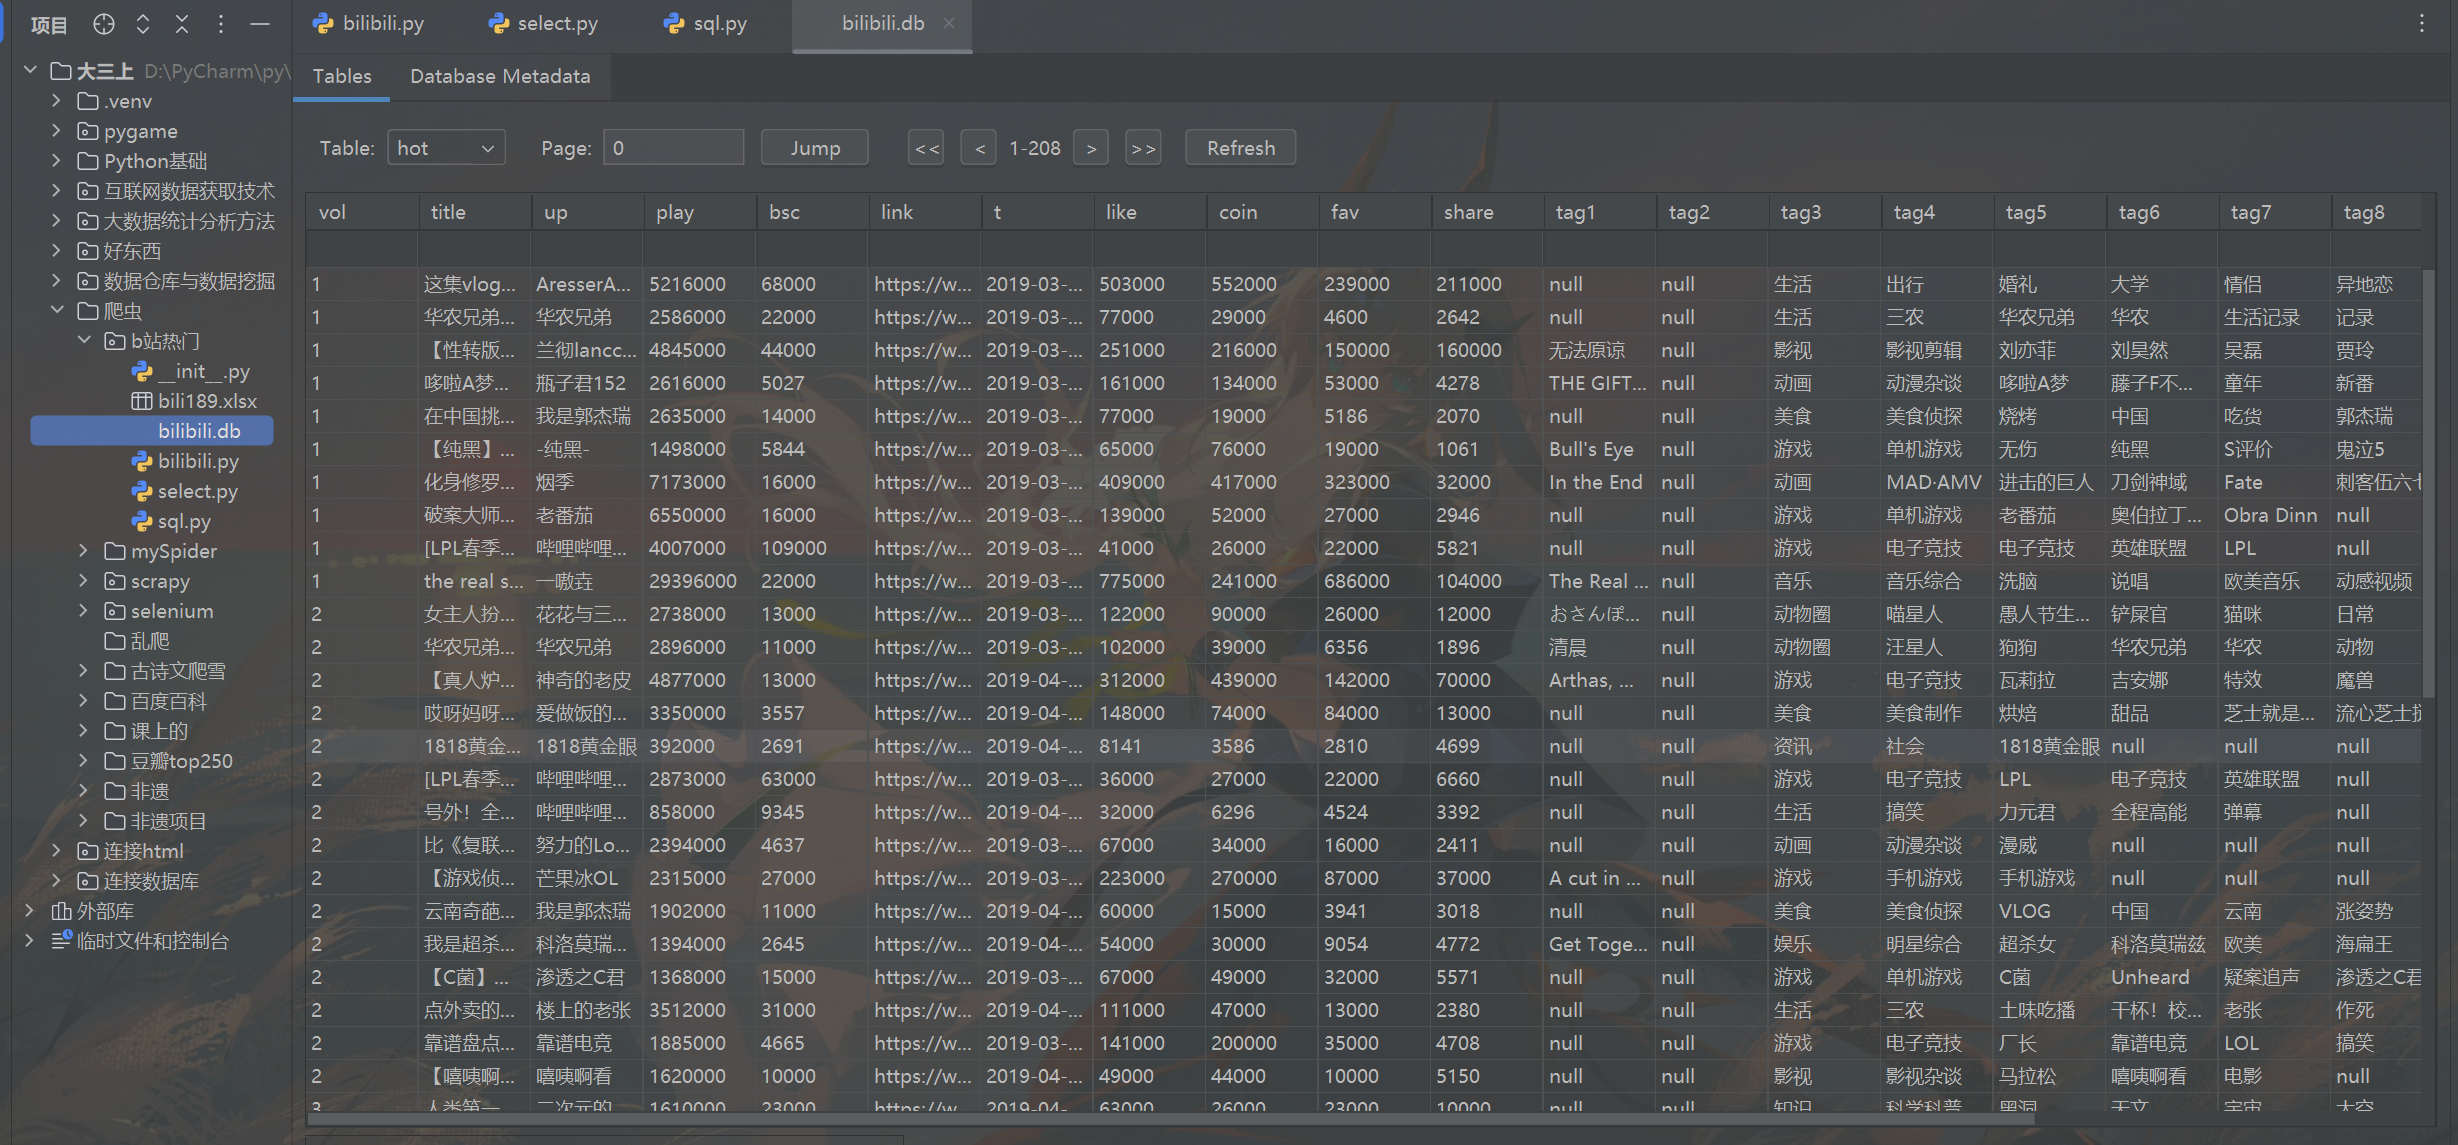
- 运行结果展示:
运行一晚上后,生成了一个含有b站294期每周必看的全部视频的数据。
一页50条数据,有208页,一共有10375条视频数据。


 2909
2909

 被折叠的 条评论
为什么被折叠?
被折叠的 条评论
为什么被折叠?
 到【灌水乐园】发言


