


目录
1.私有存储空间与公共存储空间
从Android7.0开始手机的存储空间被分为私有存储以及公共储存两部分。系统给每个APP分配一块空间作为APP的私有存储空间,APP在私有空间上读写文件无需任何授权,但是若想读写公共空间上的文件则需要获取权限才可以。若想读写公共空间上的文件首先需要在文件AndroidManifest.xml中的manifest节点下添加权限配置,如下所示。
//获取读权限
<uses-permission android:name="android.permission.READ_EXTERNAL_STORAGE"/>
//获取写权限
<uses-permission android:name="android.permission.WRITE_EXTERNAL_STORAGE"/>
虽然添加了权限配置,但系统仍旧默认禁止APP访问公共空间,如下图所示,这是以为在Android7.0后系统默认访问公共空间。要想真正获取读写权限一种是在系统设置APP主动中开启,一种是在进入APP时提示用户动态获取权限,如用弹出框让用户选择是否开启读写权限。

私有空间与公共空间的路径有所不同,若想获取私有空间的路径可以调用方法getExternalFilesDir,获取公共空间的路径可以调用方法Environment.getExternalStoragePublicDirectory。示例代码如下,分别调用两个方法获取路径。
<?xml version="1.0" encoding="utf-8"?>
<LinearLayout xmlns:android="http://schemas.android.com/apk/res/android"
    xmlns:app="http://schemas.android.com/apk/res-auto"
    xmlns:tools="http://schemas.android.com/tools"
    android:layout_width="match_parent"
    android:layout_height="match_parent"
    tools:context=".Storage.RWStorageActivity"
    android:orientation="vertical">


    <Button
        android:id="@+id/button_Private"
        android:layout_width="match_parent"
        android:layout_height="wrap_content"
        android:text="私有路径" />

    <Button
        android:id="@+id/button_Public"
        android:layout_width="match_parent"
        android:layout_height="wrap_content"
        android:text="公共路径" />

    <TextView
        android:id="@+id/textView"
        android:layout_width="match_parent"
        android:layout_height="wrap_content"
        android:text="路径:\n" />
</LinearLayout>
部分Java代码,主要为按钮监听器的逻辑处理部分。
@Override
public void onClick(View view) {
if (view.getId() == R.id.button_Private) {
String private_url = getExternalFilesDir(Environment.DIRECTORY_DOWNLOADS).toString();
textView.setText(textView.getText() + "私有存储路径:" + private_url + "\n");
} else if (view.getId() == R.id.button_Public) {
String public_url = Environment.getExternalStoragePublicDirectory(Environment.DIRECTORY_DOWNLOADS).toString();
textView.setText(textView.getText() + "公共存储路径:" + public_url + "\n");
}
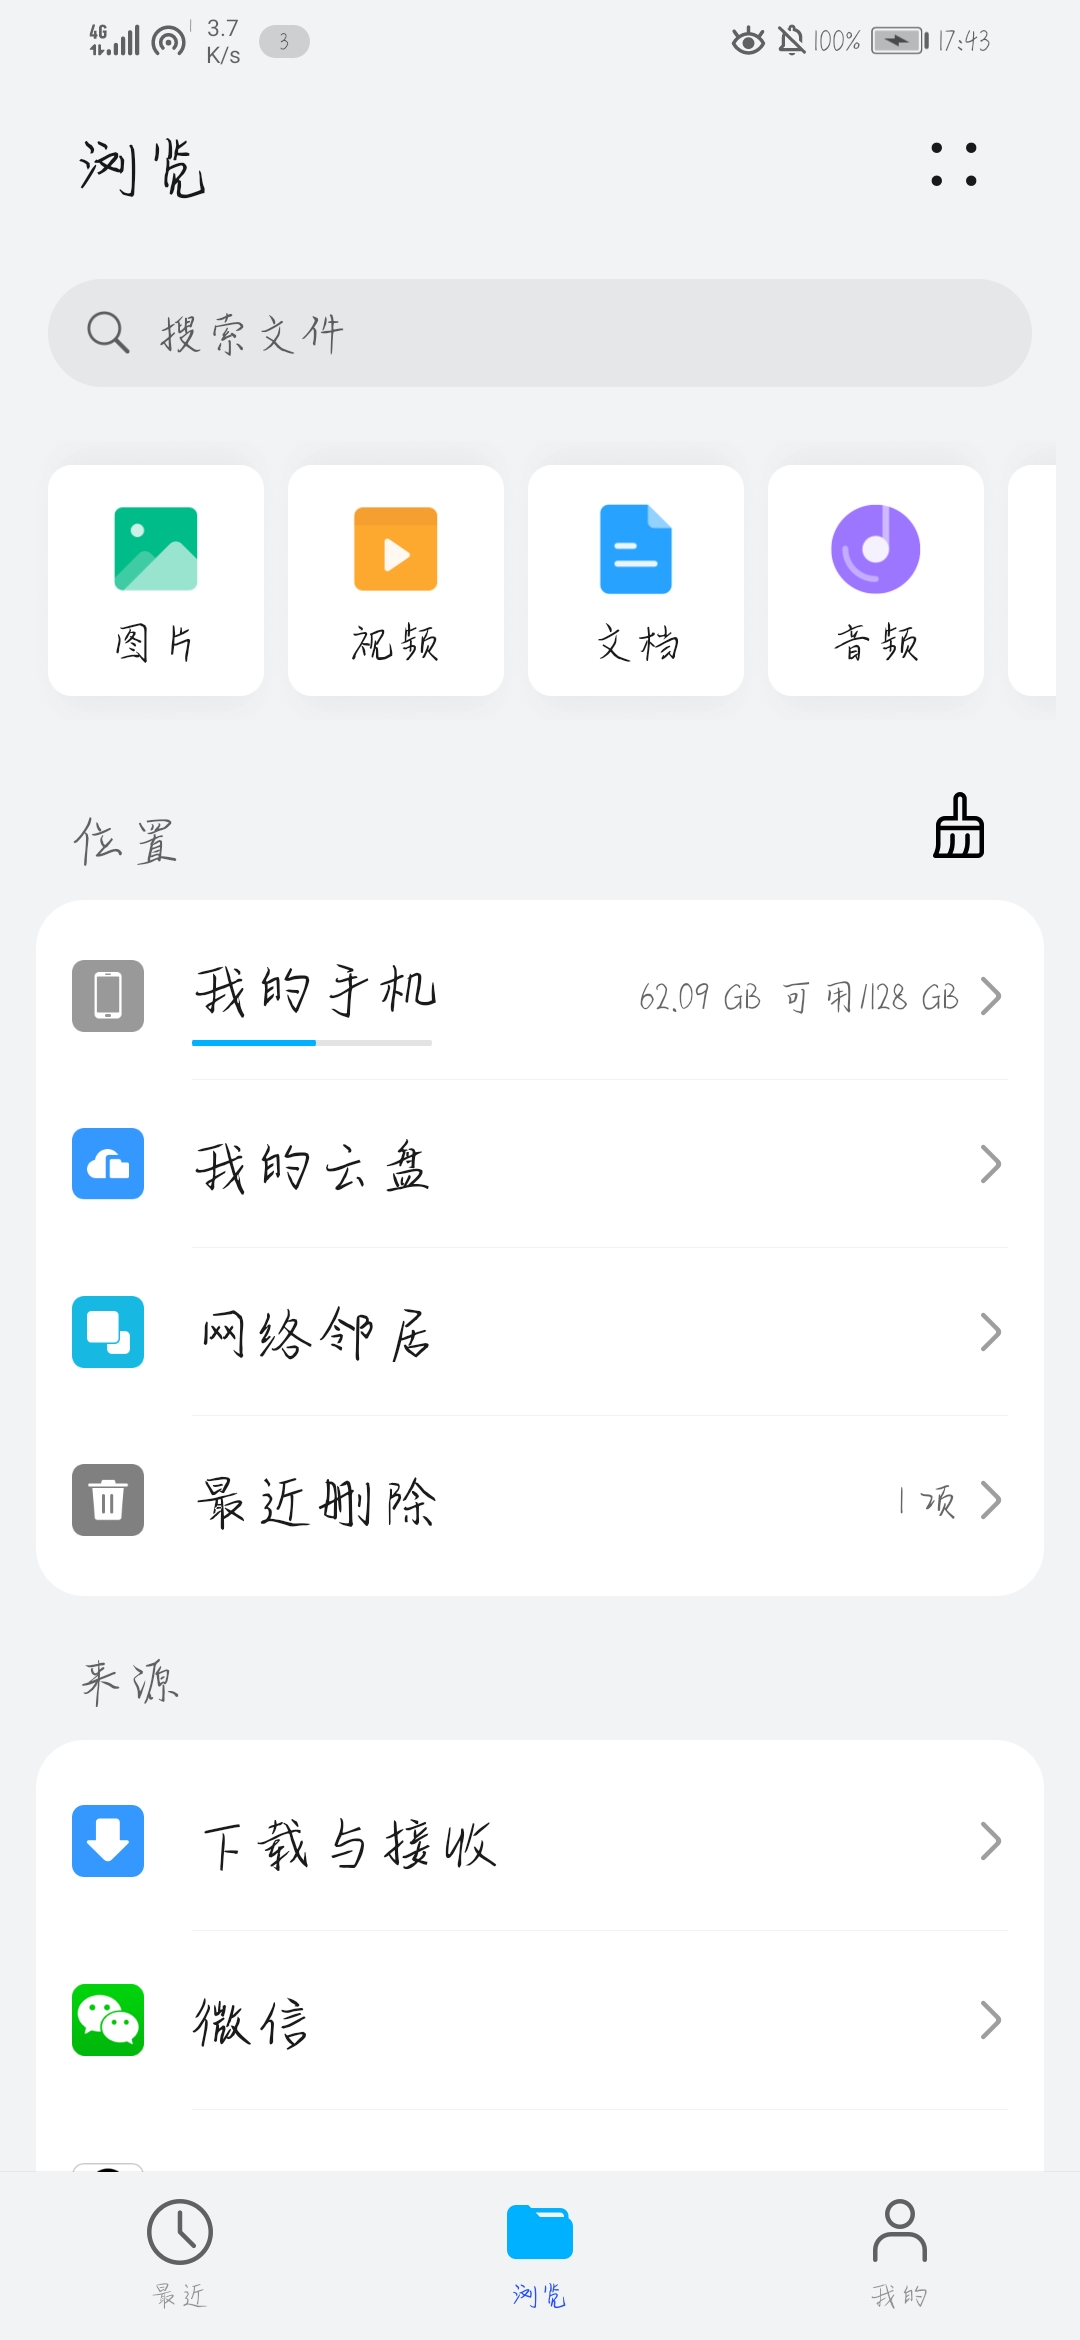
}效果图如下,一次点击两个按钮,可以看到两者的路径。打开手机上的文件管理APP,打开我的手机,依据路径可以找到对应的文件所在。

一般可以将路径上的storage/emulated/0看做是下图的我的手机。这样就可以根据上面所示路径找到对应的文件夹。
2.在存储卡上读写文件
2.1文本文件读写
文本文件的读写需要使用到文件IO流FileOutputStream和FileInputStream,前者用于写文件后者用于读文件。output表示将数据输出到文件中,input表示将文件中的数据输入到页面上。示例代码如下,在布局文件中定义两个编辑框用于输入数据,两个按钮分别用于写入文件操作以及读取文件操作,文本视图展示读取结果。
<?xml version="1.0" encoding="utf-8"?>
<LinearLayout xmlns:android="http://schemas.android.com/apk/res/android"
    xmlns:app="http://schemas.android.com/apk/res-auto"
    xmlns:tools="http://schemas.android.com/tools"
    android:layout_width="match_parent"
    android:layout_height="match_parent"
    tools:context=".Storage.RWStorageActivity"
    android:orientation="vertical">

    <EditText
        android:id="@+id/editText_Name"
        android:layout_width="match_parent"
        android:layout_height="wrap_content"
        android:hint="Name"
        android:inputType="text" />

    <EditText
        android:id="@+id/editText_Age"
        android:layout_width="match_parent"
        android:layout_height="wrap_content"
        android:hint="Age"
        android:inputType="number" />

    <Button
        android:id="@+id/button_Write"
        android:layout_width="match_parent"
        android:layout_height="wrap_content"
        android:text="写入文件" />

    <Button
        android:id="@+id/button_Read"
        android:layout_width="match_parent"
        android:layout_height="wrap_content"
        android:text="读取文件" />

    <TextView
        android:id="@+id/textView"
        android:layout_width="match_parent"
        android:layout_height="wrap_content"
        android:text="读取结果:\n" />
</LinearLayout>
部分Java代码,主要为按钮监听器的逻辑处理部分。
@Override
public void onClick(View view) {
if (view.getId() == R.id.button_Write) {
String filepath = String.format("%s/%s.txt",private_url,"userinfo");
String Name = editText_Name.getText().toString();
String Age = editText_Age.getText().toString();
Calendar calendar = Calendar.getInstance();
String time = String.format("%s:%s:%s.%s",calendar.get(Calendar.HOUR_OF_DAY),calendar.get(Calendar.MINUTE),calendar.get(Calendar.SECOND),calendar.get(Calendar.MILLISECOND));
String text = String.format("Name:%s\nAge:%s\nTime:%s",Name,Age,time);
try {
FileOutputStream fileOutputStream = new FileOutputStream(filepath);
fileOutputStream.write(text.getBytes());
textView.setText("写入成功!");
}catch (Exception e){
Log.e(TAG, e.getMessage());
textView.setText("写入失败!");
}
} else if (view.getId() == R.id.button_Read) {
String filepath = String.format("%s/%s.txt",private_url,"userinfo");
try{
FileInputStream fileInputStream = new FileInputStream(filepath);
byte[] bt = new byte[fileInputStream.available()];
fileInputStream.read(bt);
String readStr = new String(bt);
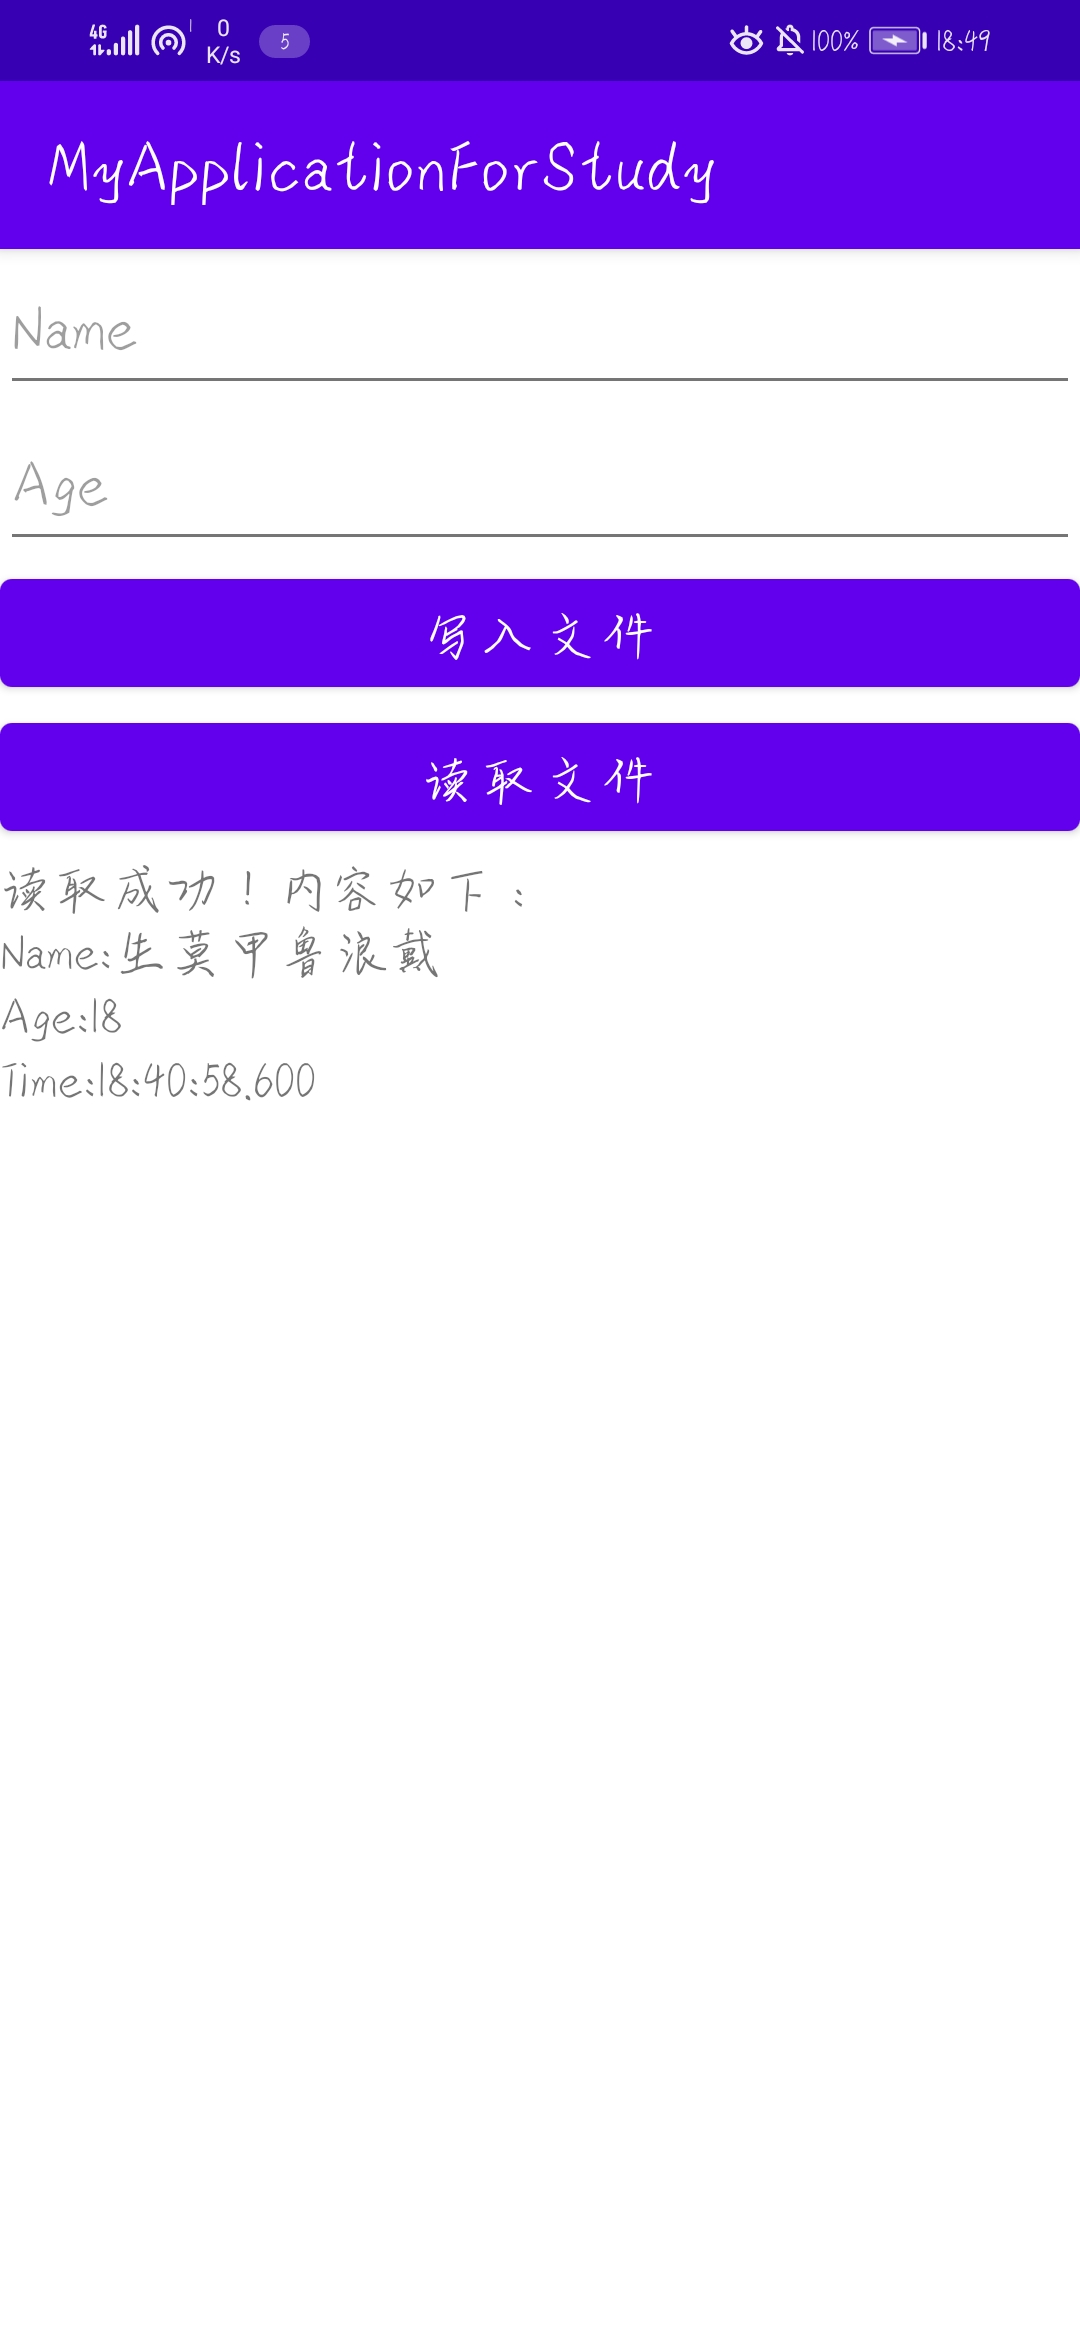
textView.setText("读取成功!内容如下:\n" + readStr);
fileInputStream.close();
}catch (Exception e){
Log.e(TAG, e.getMessage());
textView.setText("读取失败!");
}
}
}效果图如下,第一张为写入文件操作,第二张为读取文件操作。

2.2图片文件读写
与文本文件不同,图片文件保存的是图像数据,需要专门的位图工具Bitmap处理。位图工具实例的获取靠位图工厂BitmapFactory的三个方法,分别是:
decodeResource:从指定的资源文件中获取位图数据。
decodeFile:从指定路径的文件中获取位图数据。从Android10开始该方法只能获取私有目录下的图片。
decodeStream:从指定的输入流中获取位图数据。
读取图片文件的方法有多种但读取图片文件的方法只有一个即位图工具对象的方法compress,该方法将位图数据压缩到文件输出流。示例代码如下,先在res/drawable目录下准备一张图片建议图片不要太大可能会出问题,再将该图片保存到APP的私有目录下,最后读取显示该图片。
<?xml version="1.0" encoding="utf-8"?>
<LinearLayout xmlns:android="http://schemas.android.com/apk/res/android"
    xmlns:app="http://schemas.android.com/apk/res-auto"
    xmlns:tools="http://schemas.android.com/tools"
    android:layout_width="match_parent"
    android:layout_height="match_parent"
    android:orientation="vertical"
    tools:context=".Storage.RWImageActivity">

    <Button
        android:id="@+id/button_Write"
        android:layout_width="match_parent"
        android:layout_height="wrap_content"
        android:text="保存图片" />

    <Button
        android:id="@+id/button_Read"
        android:layout_width="match_parent"
        android:layout_height="wrap_content"
        android:text="读取图片" />

    <TextView
        android:id="@+id/textView"
        android:layout_width="match_parent"
        android:layout_height="wrap_content"
        android:text="读取结果:\n" />

    <ImageView
        android:id="@+id/imageView"
        android:layout_width="match_parent"
        android:layout_height="match_parent"
        android:src="@drawable/ic_launcher_foreground" />
</LinearLayout>
部分Java代码,主要是按钮监听器的逻辑处理。
 @Override
    public void onClick(View view) {
        if (view.getId() == R.id.button_Write) {
            try {
                String filepath = String.format("%s/%s.jpg",private_url,"image_1");
                FileOutputStream fileOutputStream = new FileOutputStream(filepath);
                Bitmap bitmap = BitmapFactory.decodeResource(getResources(),R.drawable.image_3);
                bitmap.compress(Bitmap.CompressFormat.JPEG,80,fileOutputStream);
                bitmap.recycle();
            }catch (Exception e){
                e.printStackTrace();
            }
        } else {
            String filepath = String.format("%s/%s.jpg",private_url,"image_1");
            try {
                FileInputStream fileInputStream = new FileInputStream(filepath);
                Bitmap bitmap = BitmapFactory.decodeStream(fileInputStream);
                imageView.setImageBitmap(bitmap);
            }catch (Exception e){
                e.printStackTrace();
            }
        }
    }
效果图如下,第一张为保存图片,第二张为读取图片。


3.运行时动态申请权限
上面的操作是在私有目录下进行文件读写,若想要在公共目录下操作就需要获取权限。之前也说了系统默认禁止访问公共空间,所以需要申请权限。Android可以在Java代码中处理权限问题,首先要检查APP是否获取了指定权限比如写文件权限,若没有则请求系统弹窗以便用户选择是否开启权限,最后判断权限选择结果。示例代码如下,布局文件与上面类似。
  //读写权限声明
  <uses-permission android:name="android.permission.READ_EXTERNAL_STORAGE" />
  <uses-permission android:name="android.permission.WRITE_EXTERNAL_STORAGE" />

//在application节点添加下面的属性
android:requestLegacyExternalStorage="true"
部分Java代码如下。
//onCreate中的代码
        public_url = Environment.getExternalStoragePublicDirectory(Environment.DIRECTORY_DOWNLOADS).toString();
        int if_get = ContextCompat.checkSelfPermission(this, Manifest.permission.WRITE_EXTERNAL_STORAGE);
        if(if_get != PackageManager.PERMISSION_GRANTED){
            ActivityCompat.requestPermissions(this,new String[] {Manifest.permission.WRITE_EXTERNAL_STORAGE},1);
        }

//修改按钮监听器中的private_url改为public_url
String filepath = String.format("%s/%s.jpg",public_url,"image_1");
效果图如下,可以看到已经获取公共空间的读取权限。然后依次点击按钮可以保存图片以及读取图片,效果如上面图片文件读写一致。


 1233
1233

 被折叠的 条评论
为什么被折叠?
被折叠的 条评论
为什么被折叠?
 到【灌水乐园】发言


