


- 安装包
a:zookeeper版本

b:kafka版本

- 虚机环境
3台机器
a:192.168.191.101 eshop-cache01
b:192.168.191.102 eshop-cache02
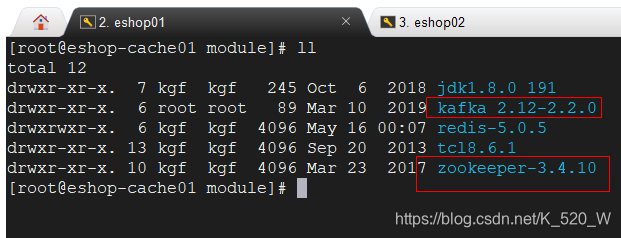
c:192.168.191.103 eshop-cache03 - 将安装包上传到/usr/local/module路径下,并且解压
- 配置zookeeper的环境变量,vim /etc/profile

- 修改/usr/local/module/zookeeper-3.4.10/conf路径下zoo_sample.cfg文件,将zoo_sample.cfg修改为zoo.cfg
并且配置其内容。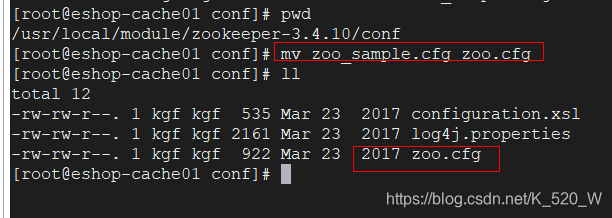
配置zoo.cfg内容:

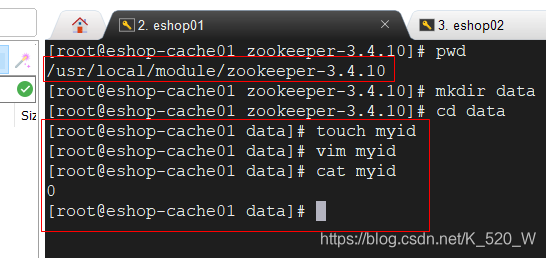
- 进入/usr/local/module/zookeeper-3.4.10创建data目录,并且创建myid文件,填写指定的server
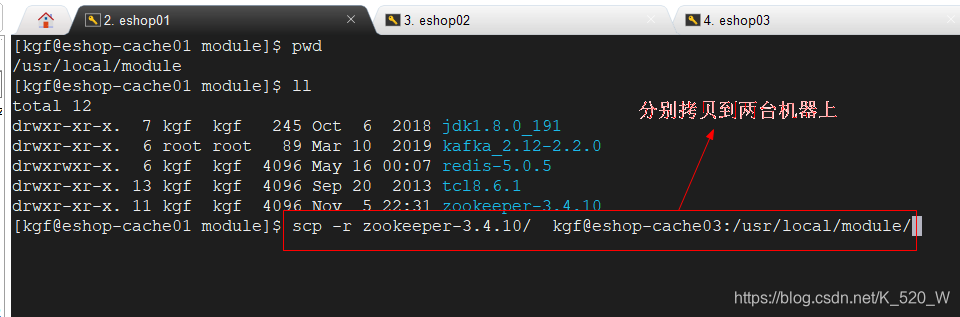
- 将刚刚在eshop-cache01上面配置的内容使用scp拷贝到eshop-cache02,eshop-cache03上面一份
注意:
/etc/profile的环境变量也要配置一下在其它两台机器上面。
其它两台机器的/usr/local/module/zookeeper-3.4.10/data路径下myid要修改
eshop-cache02修改为1,eshop-cache03修改为2 - 启动zookeeper服务器
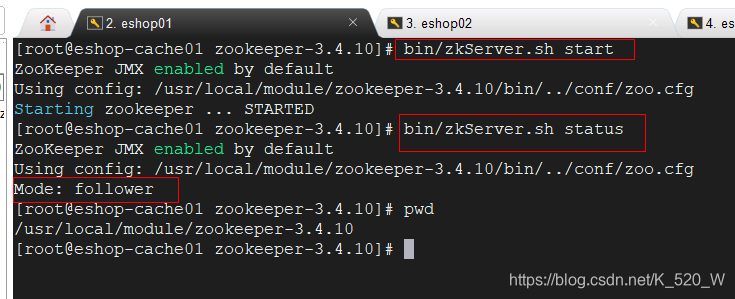
在3台服务器上分别启动zookeeper,路径:/usr/local/module/zookeeper-3.4.10
启动命令:bin/zkServer.sh start
启动后查看状态命令:bin/zkServer.sh status
- 下面配置kafka的/usr/local/module/kafka_2.12-2.2.0/config/server.properties文件,以及producer.properties,
和consumer.properties文件
a:server.properties
b:producer.properties#broker的全局唯一编号,不能重复 broker.id=0 host.name=eshop-cache01 listeners=PLAINTEXT://eshop-cache01:9092 #kafka运行日志存放的路径 log.dirs=/usr/local/module/kafka_2.12-2.2.0/tmp/kafka-logs #zookeeper连接 zookeeper.connect=eshop-cache01:2181,eshop-cache02:2181,eshop-cache03:2181

c:consumer.properties文件

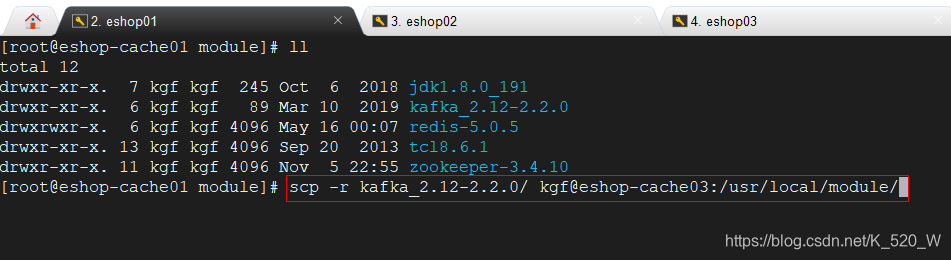
- 将kafka的配置分别拷贝到eshop-cache02,eshop-cache03两台机器上
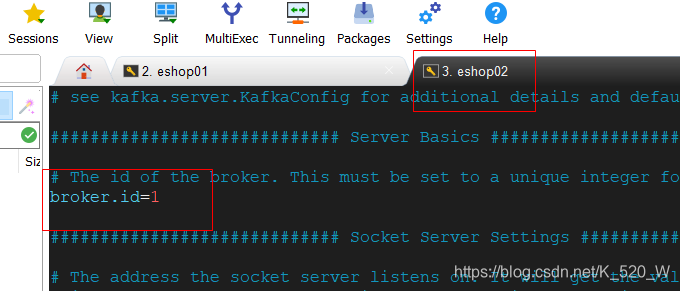
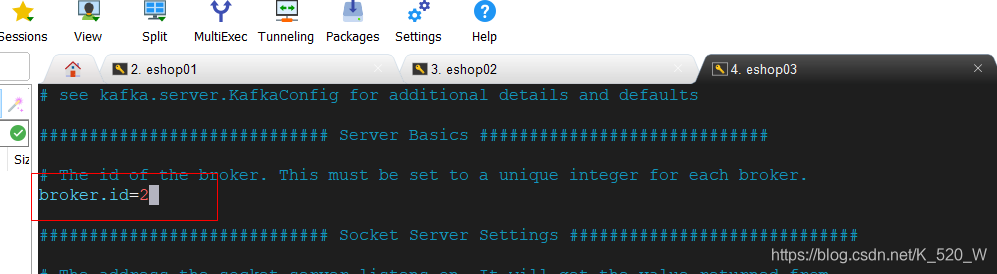
- 将其他两台机器的/usr/local/module/kafka_2.12-2.2.0/config/server.properties文件中的broker.id分别修改为1和2
- 下面开始使用命令启动kafka,进入/usr/local/module/kafka_2.12-2.2.0目录下,3台机器都启动
命令:nohup bin/kafka-server-start.sh config/server.properties &
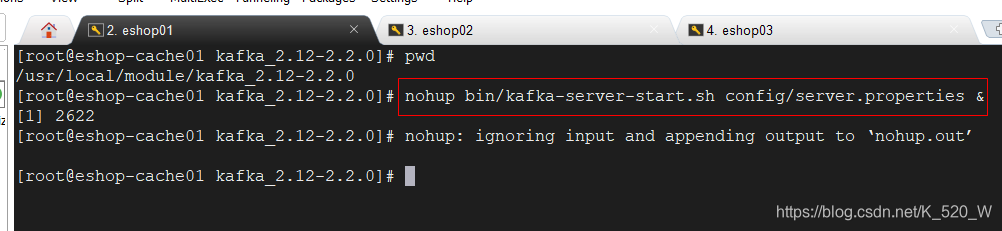
- 效果
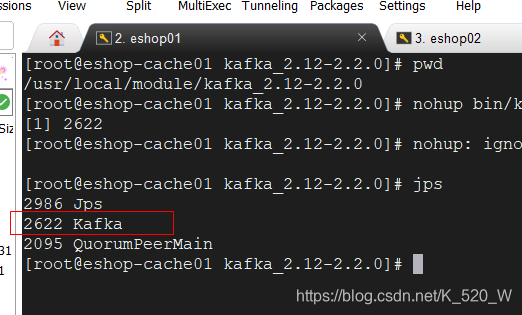
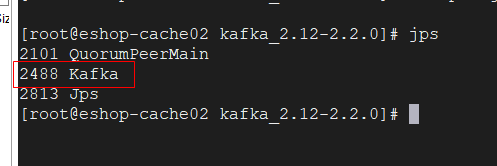
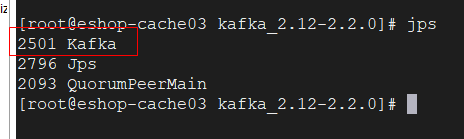
- 使用基本命令检查kafka是否搭建成功
⑴命令:创建一个副本数为1,分区为1的topic,名称为test
bin/kafka-topics.sh --zookeeper 192.168.191.101:2181,192.168.191.102:2181,192.168.191.103:2181 --topic test --replication-factor 1 --partitions 1 --create
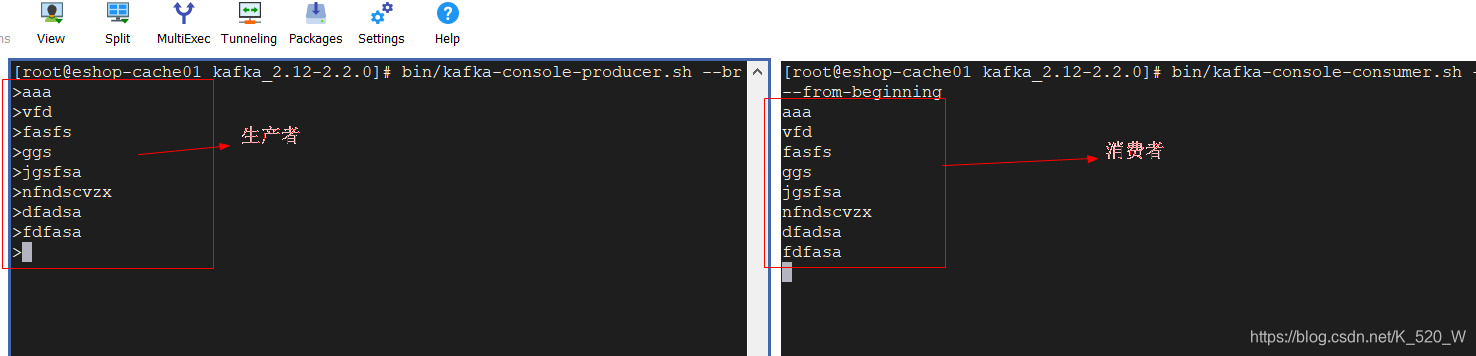
⑵命令:进入生产者窗口
bin/kafka-console-producer.sh --broker-list 192.168.191.101:9092,192.168.191.102:9092,192.168.191.103:9092 --topic test

⑶命令:进入消费者窗口
bin/kafka-console-consumer.sh --bootstrap-server eshop-cache01:9092,eshop-cache02:9092,eshop-cache03:9092 --topic test --from-beginning

- 在生产这窗口发送消息看效果


07-08
01-28
 1万+
1万+
1万+
06-08
03-27
3117
3117

 被折叠的 条评论
为什么被折叠?
被折叠的 条评论
为什么被折叠?
 到【灌水乐园】发言


