


一、部署ELK
环境准备
1、设置主机名和hosts解析
vim /etc/hosts
192.168.59.139 node1
192.168.59.131 node2
192.168.59.132 node3
2.修改时间
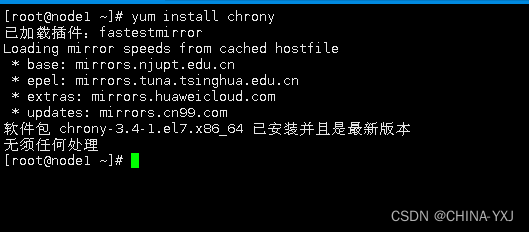
ntp1.aliyum.com
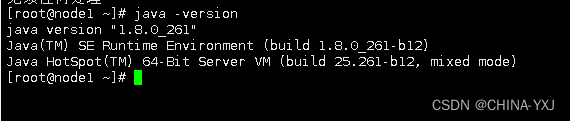
3.部署jdk
三台机器都部署,这里实例node1,剩下两台操作一样
rpm -ivh jdk-8u261-linux-x64.rpm
部署ElasticSearch集群环境
1.安装Elasticsearch
yum install -y elasticsearch-7.2.0
2.配置
node1节点的配置
#先做一个备份
cp /etc/elasticsearch/elasticsearch.yml{,.bak}
#修改配置文件
grep '^[a-Z]' /etc/elasticsearch/elasticsearch.yml
	cluster.name: my-elk
	node.name: node1
	path.data: /var/lib/elasticsearch
	path.logs: /var/log/elasticsearch
	network.host: 192.168.59.139
	http.port: 9200
	discovery.seed_hosts: ["node1", "node2", "node3"]
	cluster.initial_master_nodes: ["node1"]


# 主节点相关配置
node.master: true
node.data: false
node.ingest: false
node.ml: false
cluster.remote.connect: false
3.安装head插件
yum install -y nodejs npm
这里安装会出现问题,需要自己下载一个扩展源
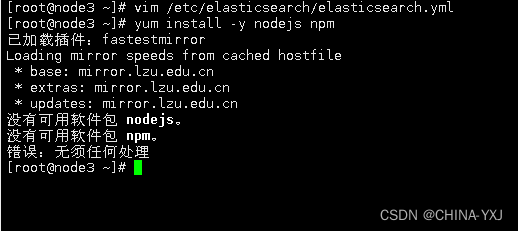
1>安装环境支持,需要安装nodejs
yum -y install epel-release
2>下载head插件
# cd /var/lib/elasticsearch/
# wget https://github.com/mobz/elasticsearch-head/archive/master.zip
3>安装依赖包
# yum install openssl bzip2 unzip -y
下载运行head必要的文件(放置在文件夹/tmp下)
# cd /tmp
# wget https://npm.taobao.org/mirrors/phantomjs/phantomjs-2.1.1-linux-x86_64.tar.bz2
解压master.zip
# unzip master.zip
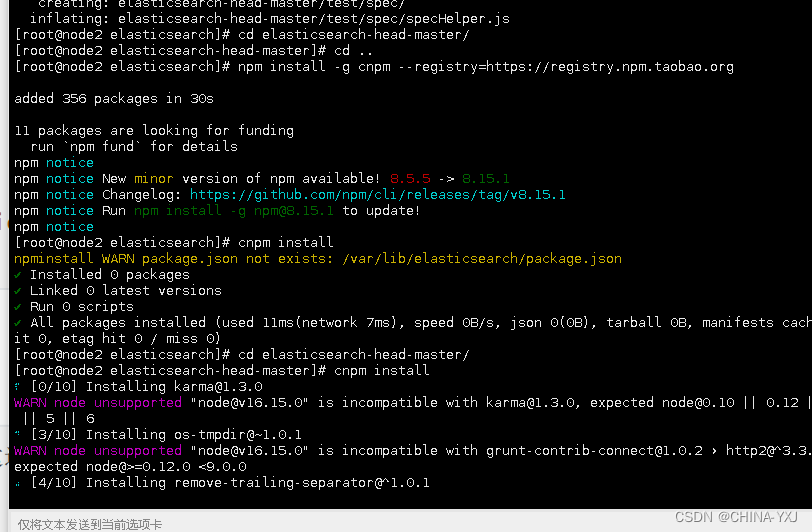
开始安装依赖:
# 直接使用npm安装时间久,依赖网络,替换淘宝的cnpm
npm install -g cnpm --registry=https://registry.npm.taobao.org
# 安装依赖
cnpm install
4>修改配置文件
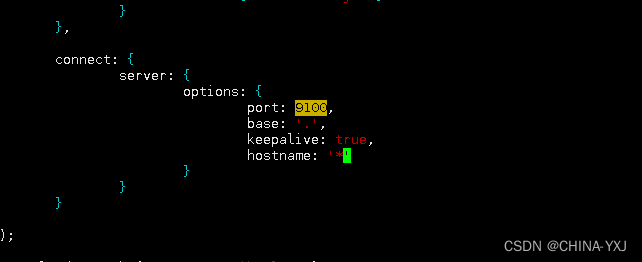
修改Gruntfile.js
options:
{
port: 9100,
base: '.',
keepalive: true,
hostname: '*'
					}
修改elasticsearch-head默认连接地址
# vim _site/app.js
this.base_uri = this.config.base_uri || this.prefs.get("app-base_uri") || "http://192.168.59.139:9200";
重启:
systemctl restart elasticsearch
启动插件
 # cd /var/lib/elasticsearch/elasticsearch-head-master/
 # nohup ./node_modules/grunt/bin/grunt server &
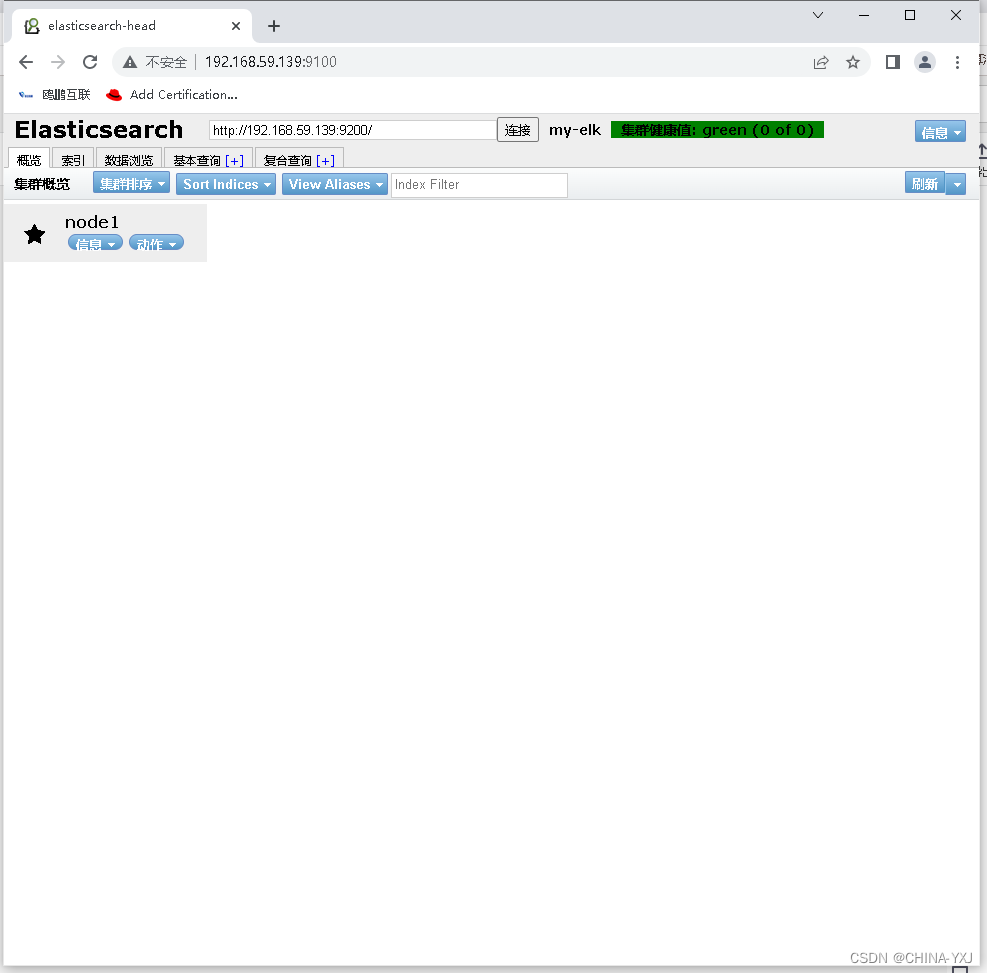
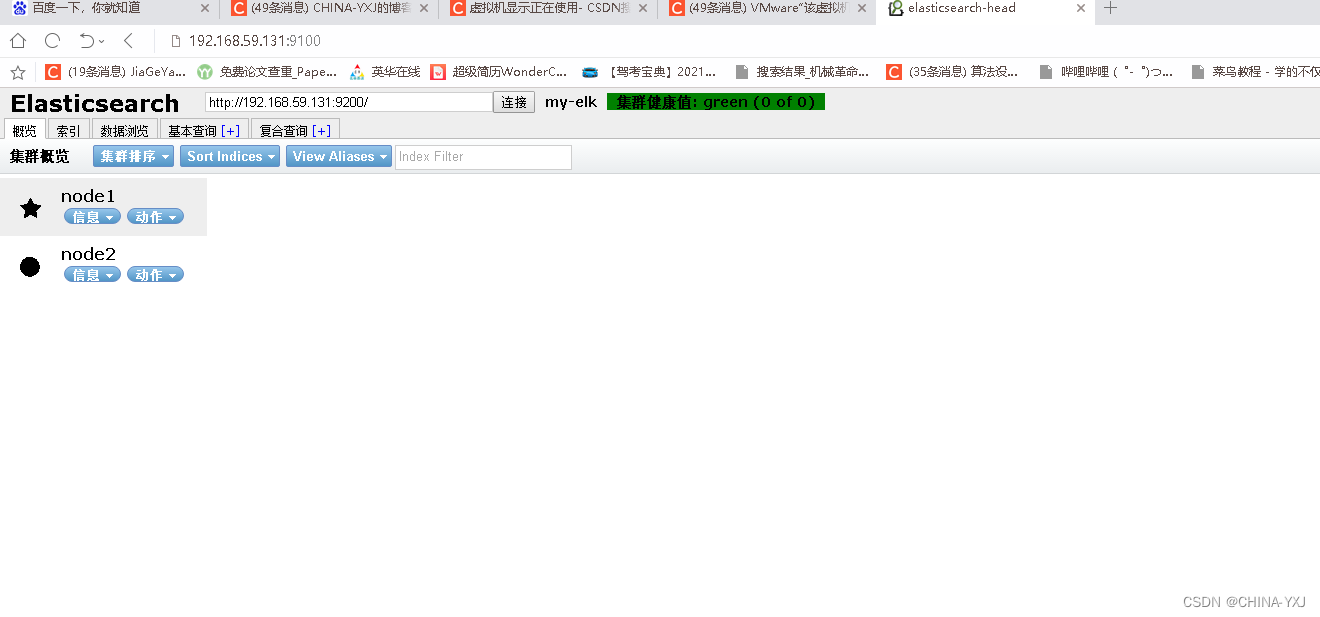
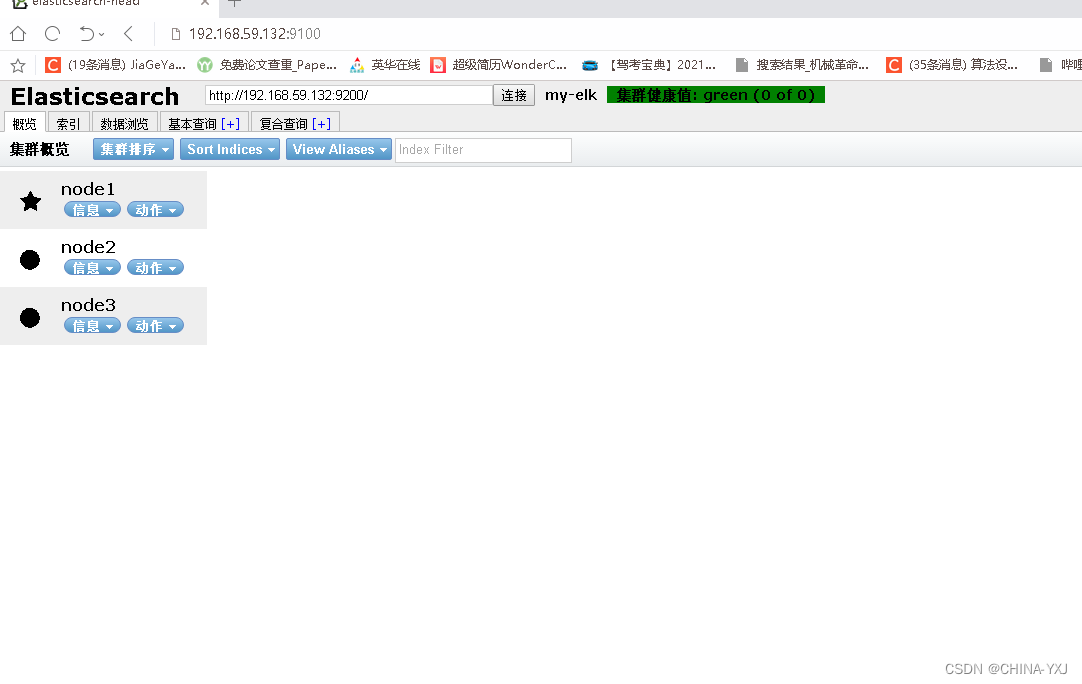
访问IP:9100就能看到我们集群信息
node2和node3操作与node1一样
scp /etc/elasticsearch/elasticsearch.yml node2:/etc/elasticsearch/elasticsearch.yml
scp /etc/elasticsearch/elasticsearch.yml node3:/etc/elasticsearch/elasticsearch.yml
node2
node3
收集tomcat日志
安装tomcat
下载地址:
https://mirrors-i.tuna.tsinghua.edu.cn/elasticstack/yum/elastic-7.x/7.8.0/logstash-7.8.0.rpm
安装步骤:
解压
tar zxvf apache-tomcat-8.5.16.tar.gz
移动
mv apache-tomcat-8.5.16/ /opt/apache-tomcat-8.5.16
创建链接
ln -s /opt/apache-tomcat-8.5.16/ /opt/tomcat8
启动
/opt/tomcat8/bin/startup.sh
访问测试
http://192.168.59.139:8080/

在logstash的家目录创建三个文件夹。分别用来存放日志,conf配置文件和logstash服务主配置
# mkdir /usr/share/logstash/{etc,config,logs}
# cp /etc/logstash/log4j2.properties /usr/share/logstash/config/
# cp /etc/logstash/logstash.yml /usr/share/logstash/config/
# ln -sv /usr/share/logstash/bin/logstash /usr/bin/logstash
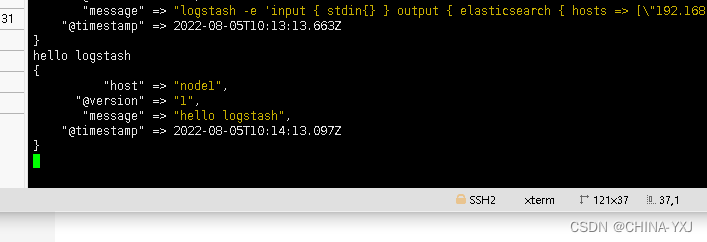
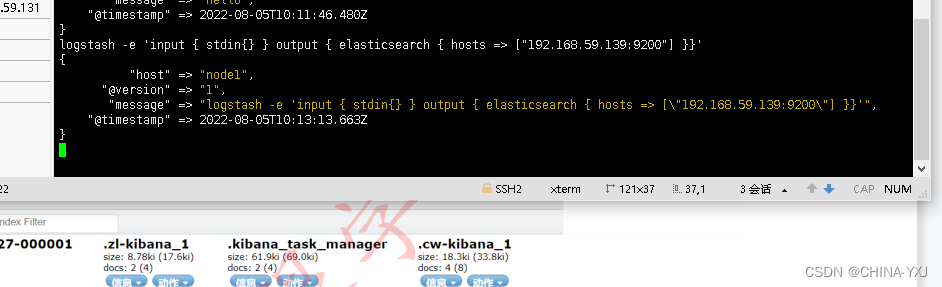
启动测试:
# logstash -e 'input { stdin { } } output { stdout {} }'
修改filebeat配置文件
############################日志输入########################################
filebeat.inputs:
#nginx日志
- type: log
  enabled: true
  paths:
    - /var/log/nginx/access.log
  tags: ["access"]
  json.keys_under_root: true
  json.overwrite_keys: true

- type: log
  enabled: true
  paths:
- /var/log/nginx/error.log
  tags: ["error"]

#tomcat日志
- type: log
  enabled: true
  paths:
- /usr/local/tomcat8/logs/localhost_access_log.*.txt
  json.keys_under_root: true
  json.keys_under_root: true
  tags: ["tomcat"]

#自定义分片,默认3个
setup.template.settings:
index.number_of_shards: 5

setup.kibana:
  hosts: ["192.168.59.139"]
#######################输出redis##################################
output.redis:
  hosts: ["192.168.59.139"]
  key: "filebeat"
  db: 0
  timeout: 5
修改logstash配置文件
###################################从redis输入日志########################################
input {
redis {
host => "192.168.10.1"
port => "6379"
db => "0"
key => "filebeat"
data_type => "list"
}
}
#filter过滤处理,把某些参数值浮点化
filter {
mutate {
convert => ["upstream_time","float"]
convert => ["request_time","float"]
}
}
###################################日志输出给es########################################
output {
stdout {}
if "access" in [tags] {
elasticsearch {
hosts => ["http://192.168.59.139:9200"]
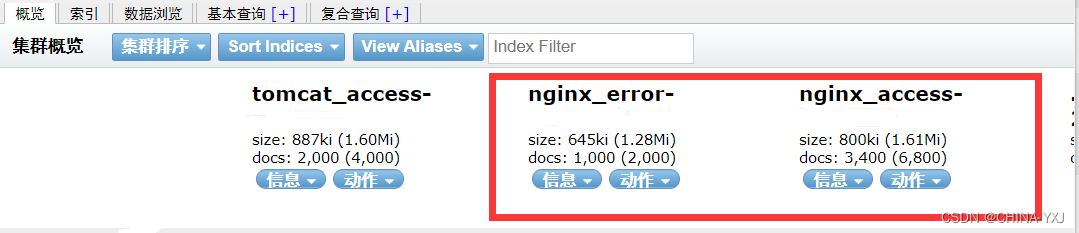
index => "nginx_access-%{+YYYY.MM}"
manage_template => false
}
}
if "tomcat" in [tags] {
elasticsearch {
hosts => ["http://192.168.59.139:9200"]
index => "tomcat_access-%{+YYYY.MM}"
manage_template => false
}
}
if "error" in [tags] {
elasticsearch {
hosts => ["http://192.168.59.139:9200"]
index => "nginx_error-%{+YYYY.MM}"
manage_template => false
}
}
}
在测试前不要忘了修改tomcat日志格式,使其支持JSON格式
需要在server.xml里面修改为下面的格式:
<Valve className="org.apache.catalina.valves.AccessLogValve" directory="logs"
prefix="localhost_access_log" suffix=".txt"
pattern="{"client":"%h","client user":"%l","authenticated":"%u","access time":"%t","method":"%r","status":"%s","send bytes":"%b","Query?string":"%q","partner":"%{Referer}i","Agent version":"%{User-Agent}i"}"/>
现在进行测试,获取日志
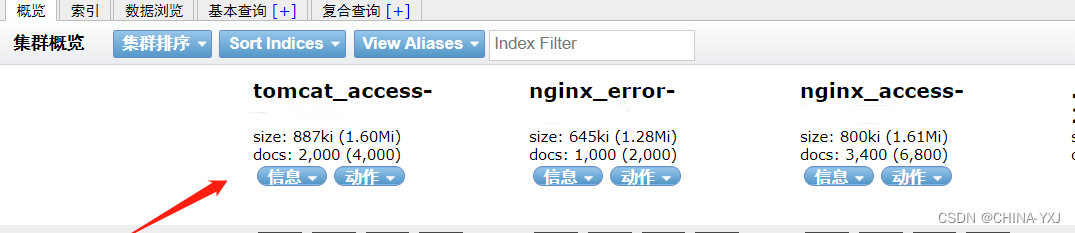
收集nginx日志
在131机器上安装nginx并访问(不访问没有日志!)
#servere安装nginx
# yum install nginx -y
# echo "nginx test page" > /usr/share/nginx/html/index.html
# systemctl start nginx
安装ab压测工具,生成测试数据
yum -y install httpd-tools
ab -n 1000 -c 1000 http://192.168.59.139/index.html
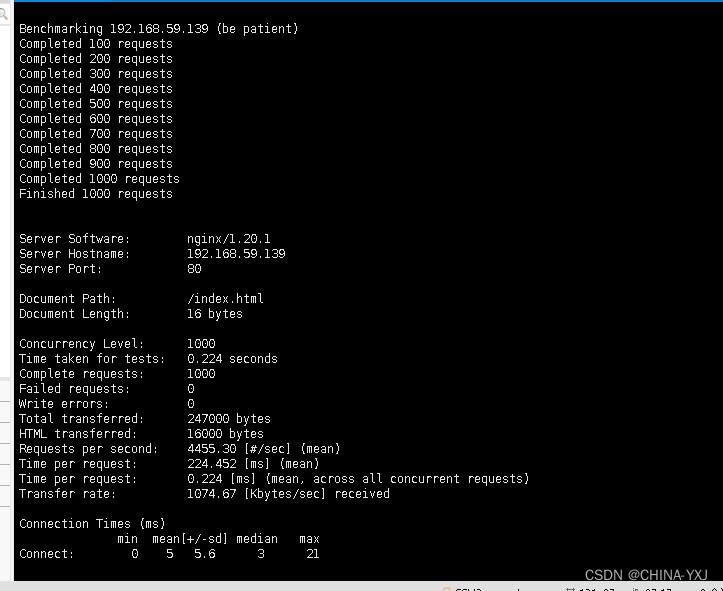
-n:请求数
-c:并发数
注意:并发数不能大于请求数!!
编辑nginx.conf
 [root@]# vim /etc/logstach/conf.d/nginx.conf
input {
file {
	path => "/var/log/nginx/access.log"
	type => "nginx-log"
	start_position => "beginning"
}
}

output{
elasticsearch {
	hosts => "192.168.59.139:9200"
	index => "nginx_log-%{+YYYY.MM.dd}"
}

[root@]# vim /etc/logstash/pipelines.yml

pipeline.id: nginx
  path.config: "/etc/logstash/conf.d/nginx.conf"
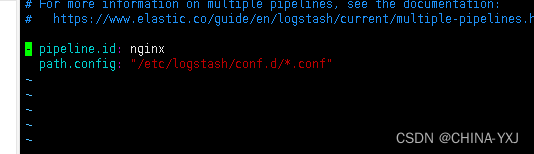
重启后生效


 1616
1616

 被折叠的 条评论
为什么被折叠?
被折叠的 条评论
为什么被折叠?
 到【灌水乐园】发言


