


关注、星标公众号,精彩内容每日送达
来源:网络素材
AMD Vivado™ Design Tool 工程:
打开 Vivado 2022.2,按照 PG325 -> ch.6 Example Design 的步骤,打开 Multi-scaler 的 Example,步骤如下:
To open the example project, perform the following:
Select the Video Multi-Scaler IP from the Vivado IP catalog.
Double-click the selected IP or right-click the IP and select Customize IP from the menu.
Configure the build-time parameters in the Customize IP window and click OK. The Vivado IDE generates an example design matching the build-time configuration.
In the Generate Output Products window, select Generate or Skip. If Generate is selected, the IP output products are generated after a brief moment.
Right-click Video Multi-Scaler in the Sources panel, and select Open IP Example Design from the menu.
In the Open IP Example Design window, select example project directory, and click OK.
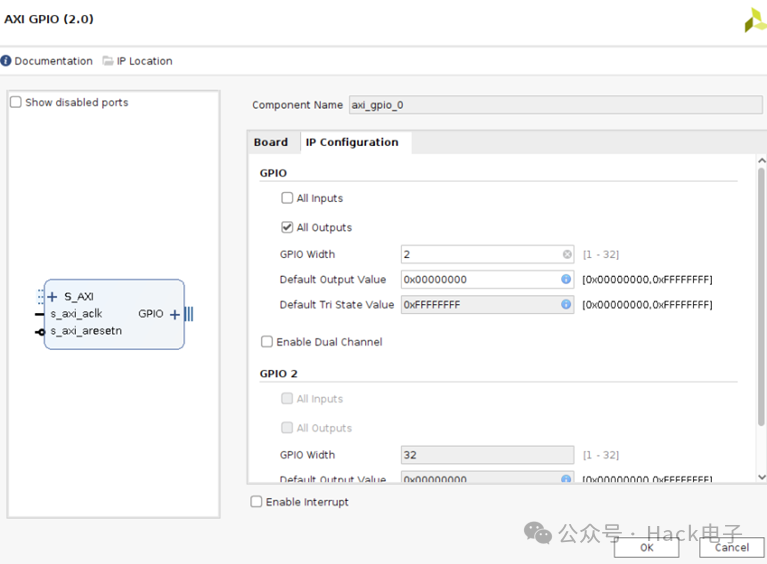
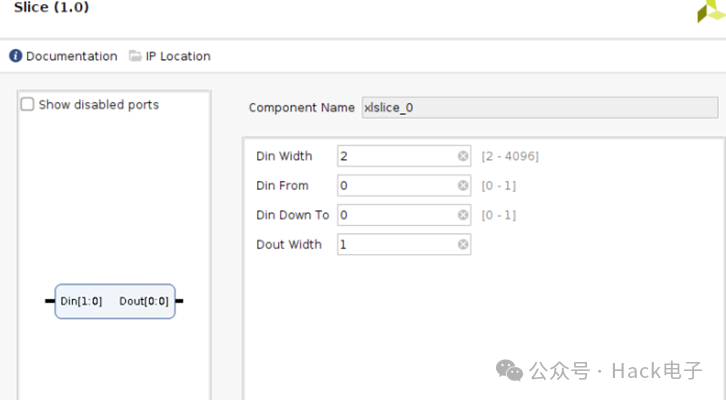
Example 工程打开之后,在 BD 工程里加入 AXI GPIO IP 和 Slice,加入 AXI GPIO 和 Slice 是为了替换 PS GPIO EMIO。AXI GPIO 和 Slice IP 配置如下:
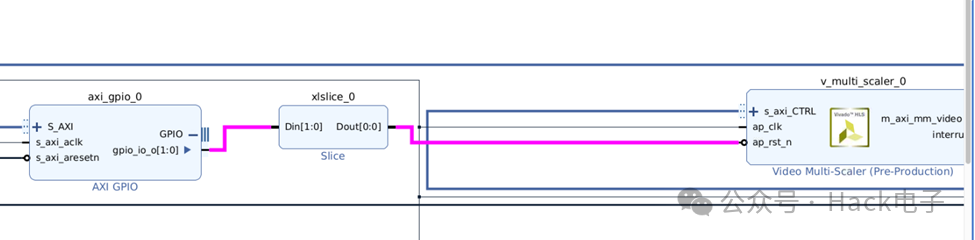
删除原先 GPIO EMIO 到 Multi-Scaler IP 的 Reset 连线。把 AXI GPIO 和 Slice 直接连接到 Multi-Scaler IP 的Reset 管脚,如下:
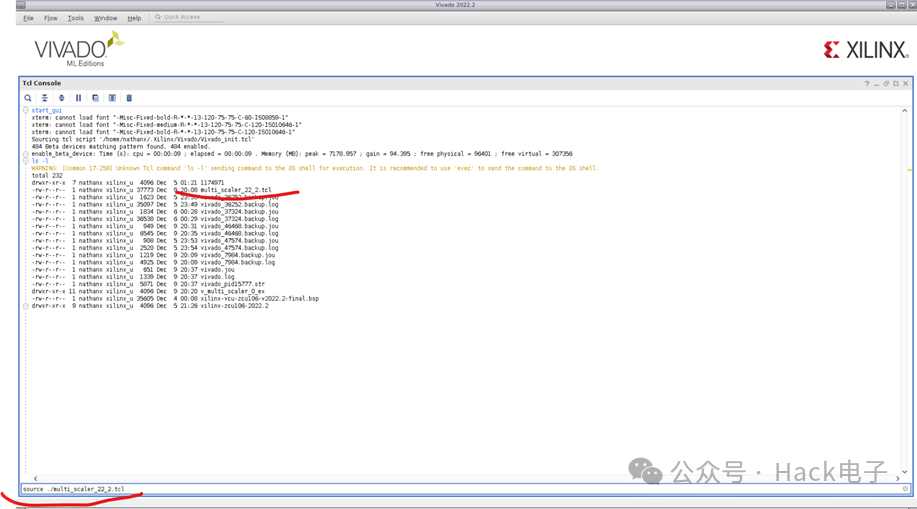
或者打开 Vivado 2022.2 GUI 界面,确保重建 BD 工程的 Tcl 文件”multi_scaler_22_2.tcl”在当前路径下,然后运行”source ./multi_scaler_22_2.tcl”,重建 BD 工程,如下所示:
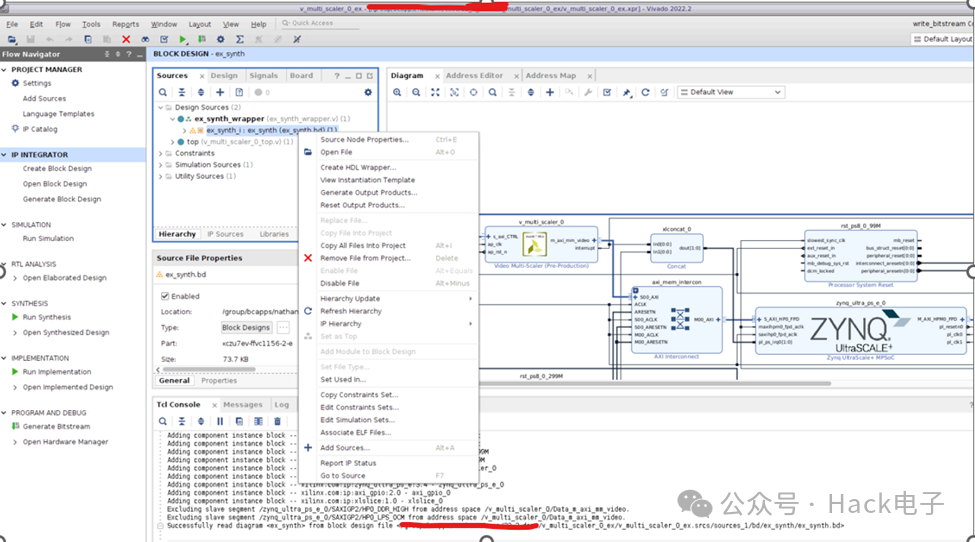
当 BD 工程建好之后,选中 BD 文件,按右键,选择”Create HDL Wrapper”。
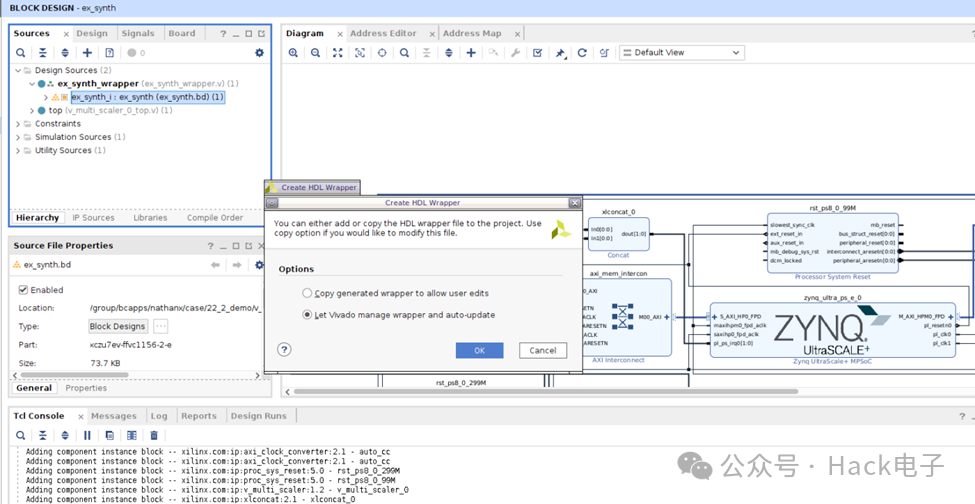
在“Create HDL Wrapper”对话框中,选择”Let Vivado manage wrapper and auto-update”,如下:
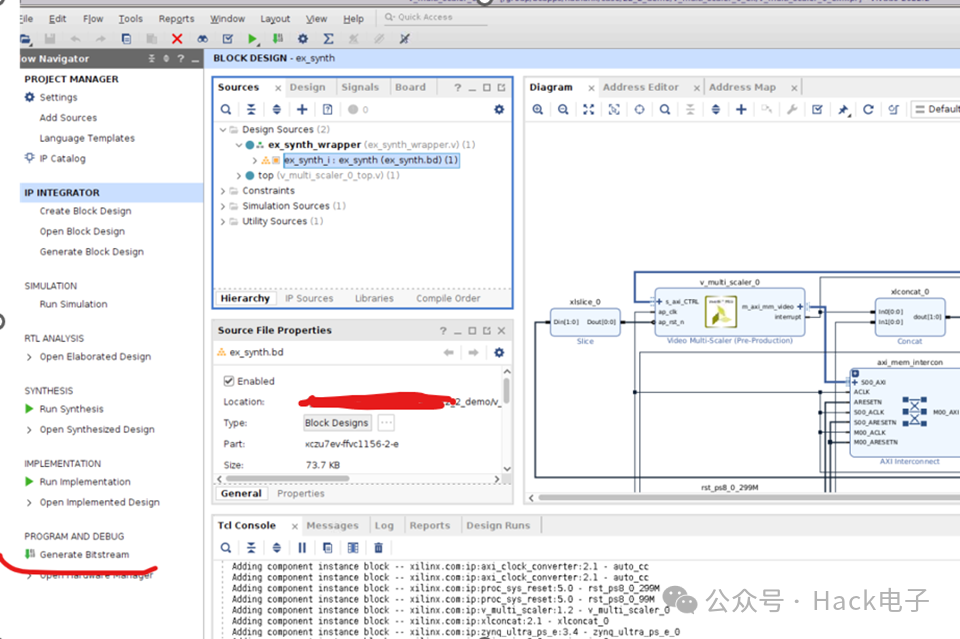
然后点击“Generate Bitstream”。
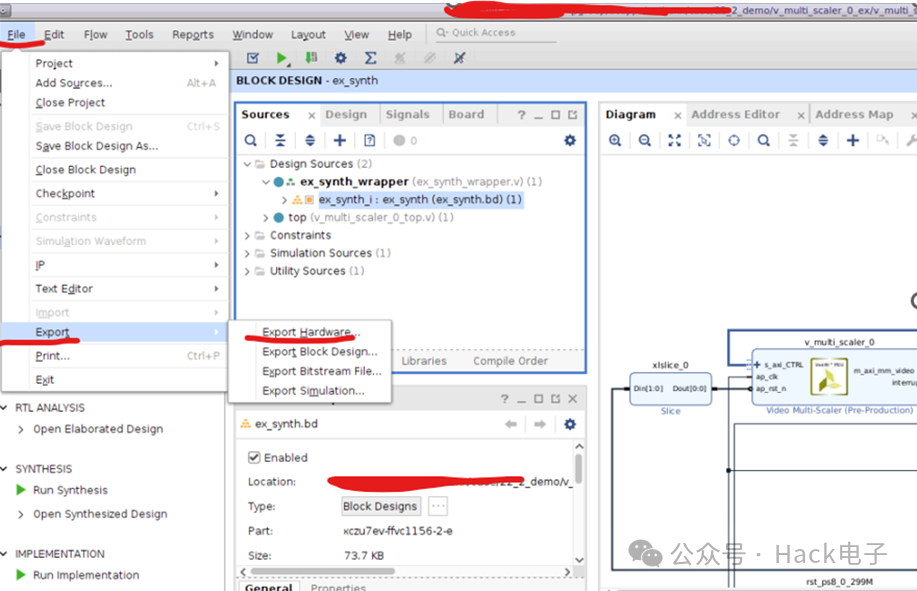
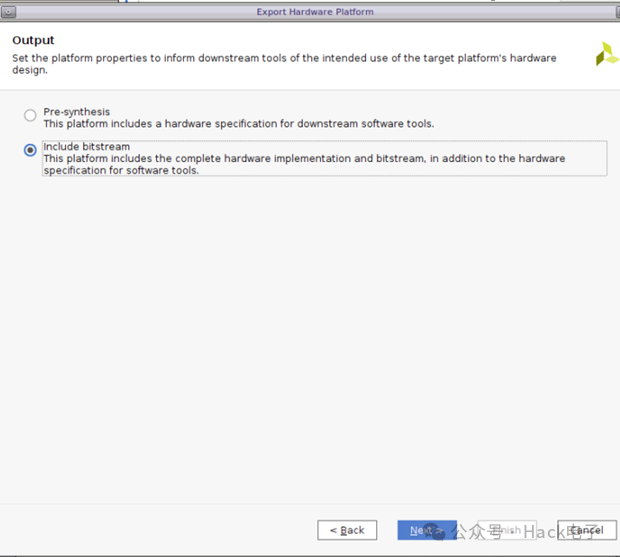
Bitstream 成功生成后,选择 File -> Export -> Export Hardware。
选择“Next”。

选择“Include Bitstream”。
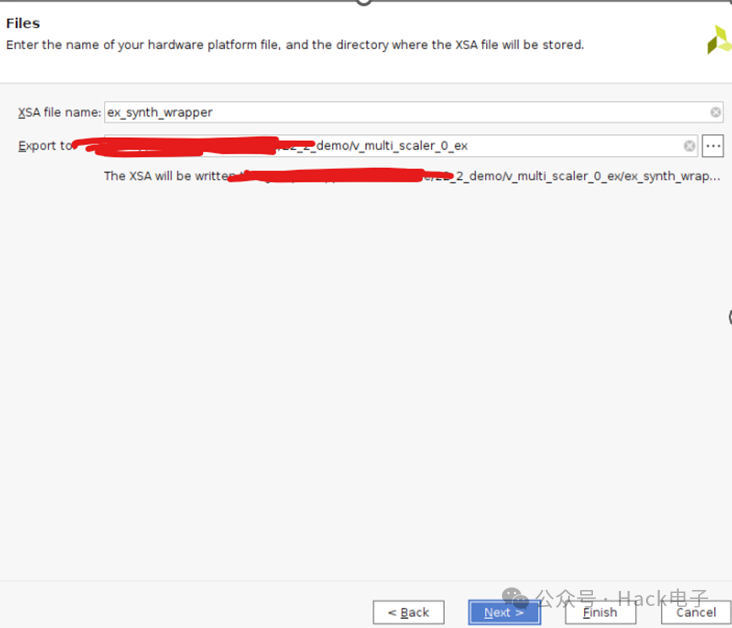
选择“Export XSA”的路径。

想要了解FPGA吗?这里有实例分享,ZYNQ设计,关注我们的公众号,探索


 438
438

 被折叠的 条评论
为什么被折叠?
被折叠的 条评论
为什么被折叠?
 到【灌水乐园】发言


