


一直想实现一下微信的扫码登录,现在终于来实践了。
要想实现微信的扫码登录肯定是直接浏览微信的官方开发者文档,从中就可以获取一切的用法。
实现步骤
创建服务号的测试号
- 首先要创建一个测试号,用于微信接口的调试,创建测试号地址
创建好了之后是这样的:
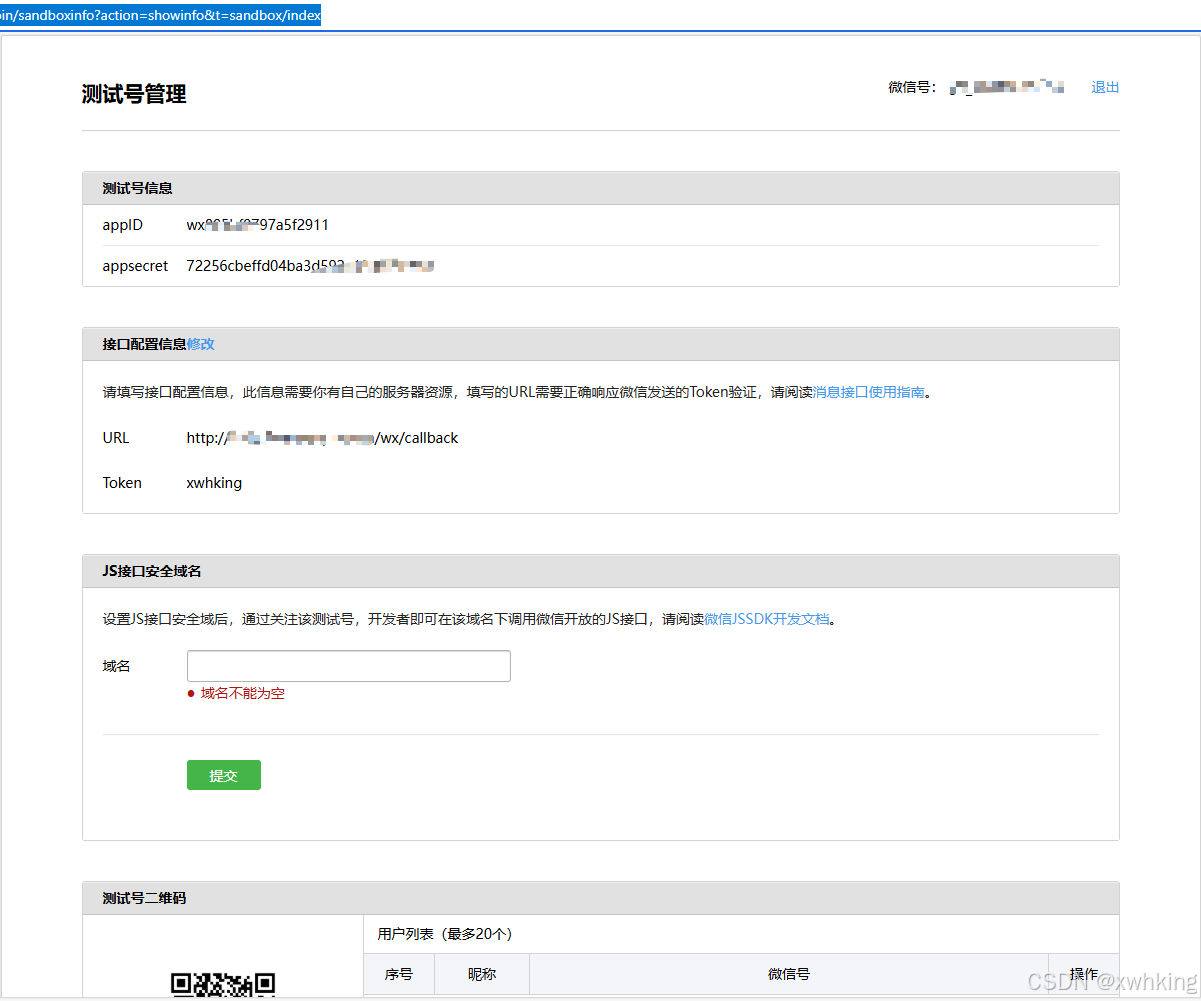
其中的 URL 是需要自己填写的,这个是接收微信事件的回调地址,微信会给你推送事件,这个配置接口我们后面写,token 可以随便写,不过后端符合微信的验证就好了。
创建一个SpringBoot的项目
这里直接通过 IDEA 创建一个后端项目,然后引入,WxJava 的 SDK,方便进行微信的交互,当然也可以自己写和微信的交互,但是太繁杂了,别人都写好了,为什么还写呢???
- 引入 WxJava 管理公众号
        <dependency>
            <groupId>com.github.binarywang</groupId>
            <artifactId>weixin-java-mp</artifactId>
            <version>4.7.6-20250704.154059</version>
        </dependency>
- 填写测试号的一些密钥
wx.mp.appId=wx805bf0797a5f2911 # 必填
wx.mp.secret=72256cbeffd04ba3d592e133fe8f1f7a #必填
wx.mp.token=xwhking
- 配置使用的Bean
package com.xwhking.wxlogin.config;
import me.chanjar.weixin.mp.api.WxMpMessageRouter;
import me.chanjar.weixin.mp.api.WxMpService;
import me.chanjar.weixin.mp.api.impl.WxMpServiceImpl;
import me.chanjar.weixin.mp.config.impl.WxMpDefaultConfigImpl;
import org.springframework.beans.factory.annotation.Value;
import org.springframework.context.annotation.Bean;
import org.springframework.context.annotation.Configuration;

@Configuration
public class WxConfig {
    @Value("${wx.mp.appId}")
    private String appId;

    @Value("${wx.mp.secret}")
    private String secret;

    @Value("${wx.mp.token}")
    private String token;


    @Bean
    public WxMpService wxMpService() {
        WxMpDefaultConfigImpl config = new WxMpDefaultConfigImpl();
        config.setAppId(appId);
        config.setSecret(secret);
        config.setToken(token);

        WxMpService service = new WxMpServiceImpl();
        service.setWxMpConfigStorage(config);
        return service;
    }

    @Bean
    public WxMpMessageRouter messageRouter(WxMpService wxMpService) {
        final WxMpMessageRouter router = new WxMpMessageRouter(wxMpService);
        // 这里可以添加各种消息处理器
        return router;
    }
}
- 编写接口,用于校验,在测试号页面,启动了后端,就可以让微信校验成功(前提要配置网络地址,需要内网穿透)
微信校验流程图,如下。
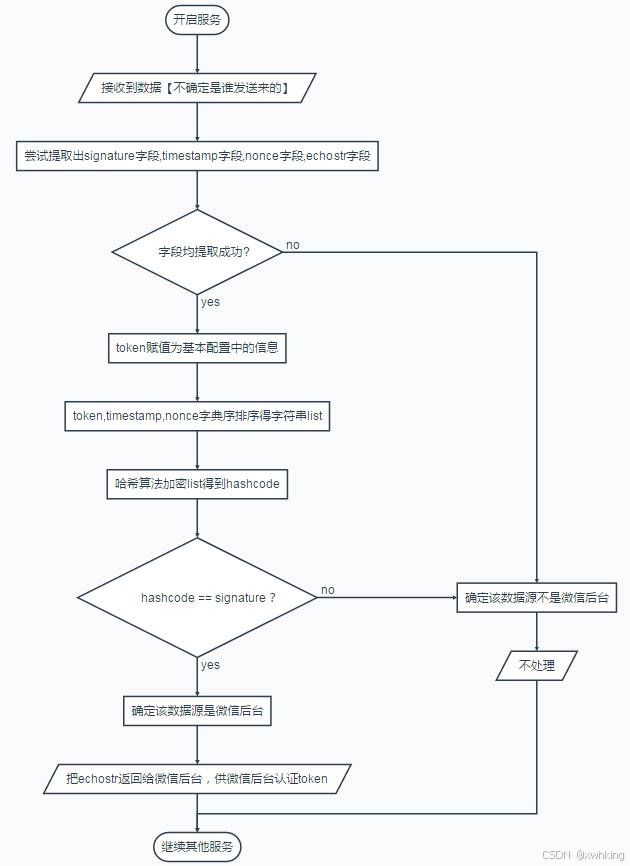
校验规格如下
@RestController
@RequestMapping("/wx/callback")
public class WxController {
    @Autowired
    private WxMpService wxMpService;
    @GetMapping
    public String verify(String signature, String timestamp, String nonce, String echostr) throws WxErrorException {
        boolean b = wxMpService.checkSignature(timestamp, nonce, signature); //是否满足微信的校验条件
        if(b) {
            return echostr;
        }
        return null;
    }
}
内网穿透
这里我介绍 cpolar下载 ,简单直接能够免费使用 24h 的http和https的随机域名,当然能够永久,不过需要购买罢了。其他的内网穿透推荐ngrok , ftp 等
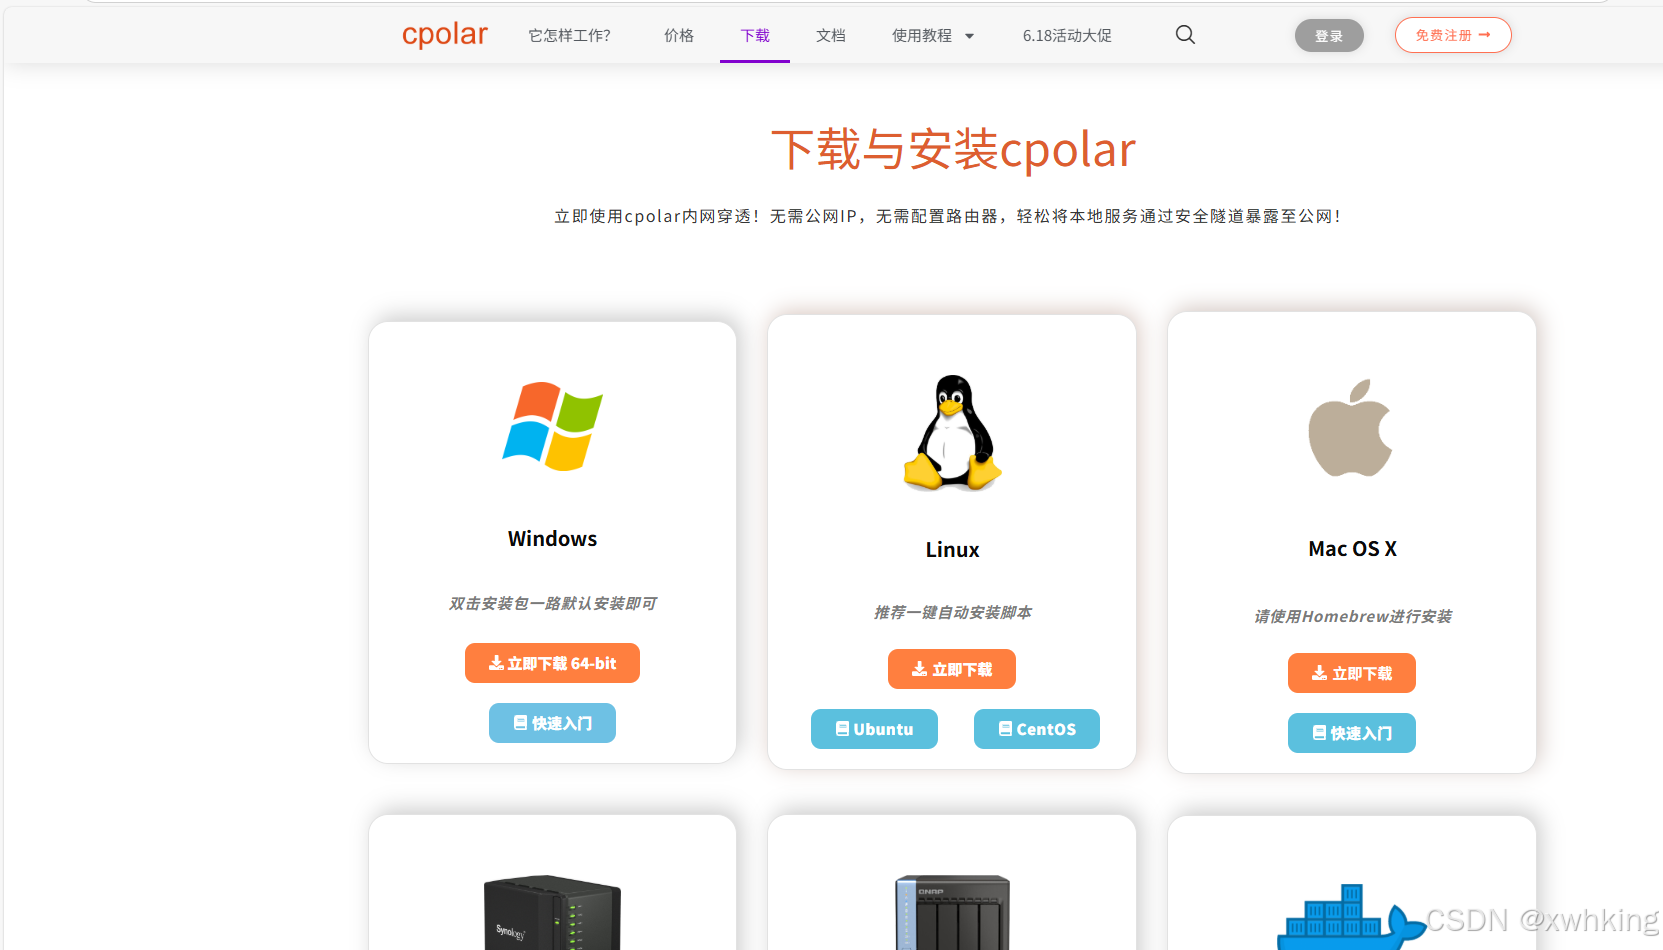
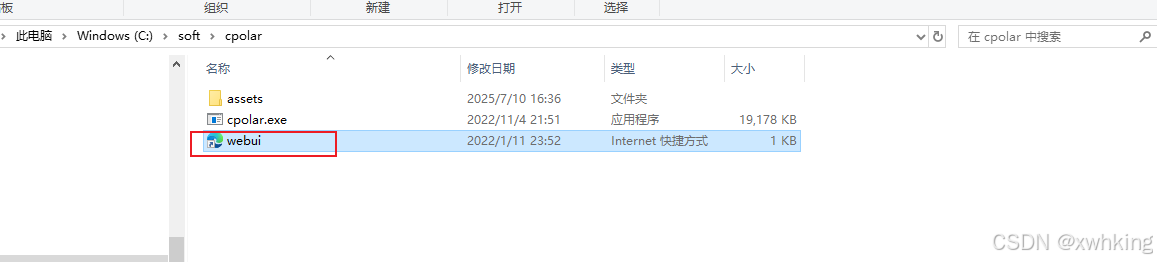
进入网页后点击相应的机型进行下载就好了。
windows下载好后,直接点开web就好
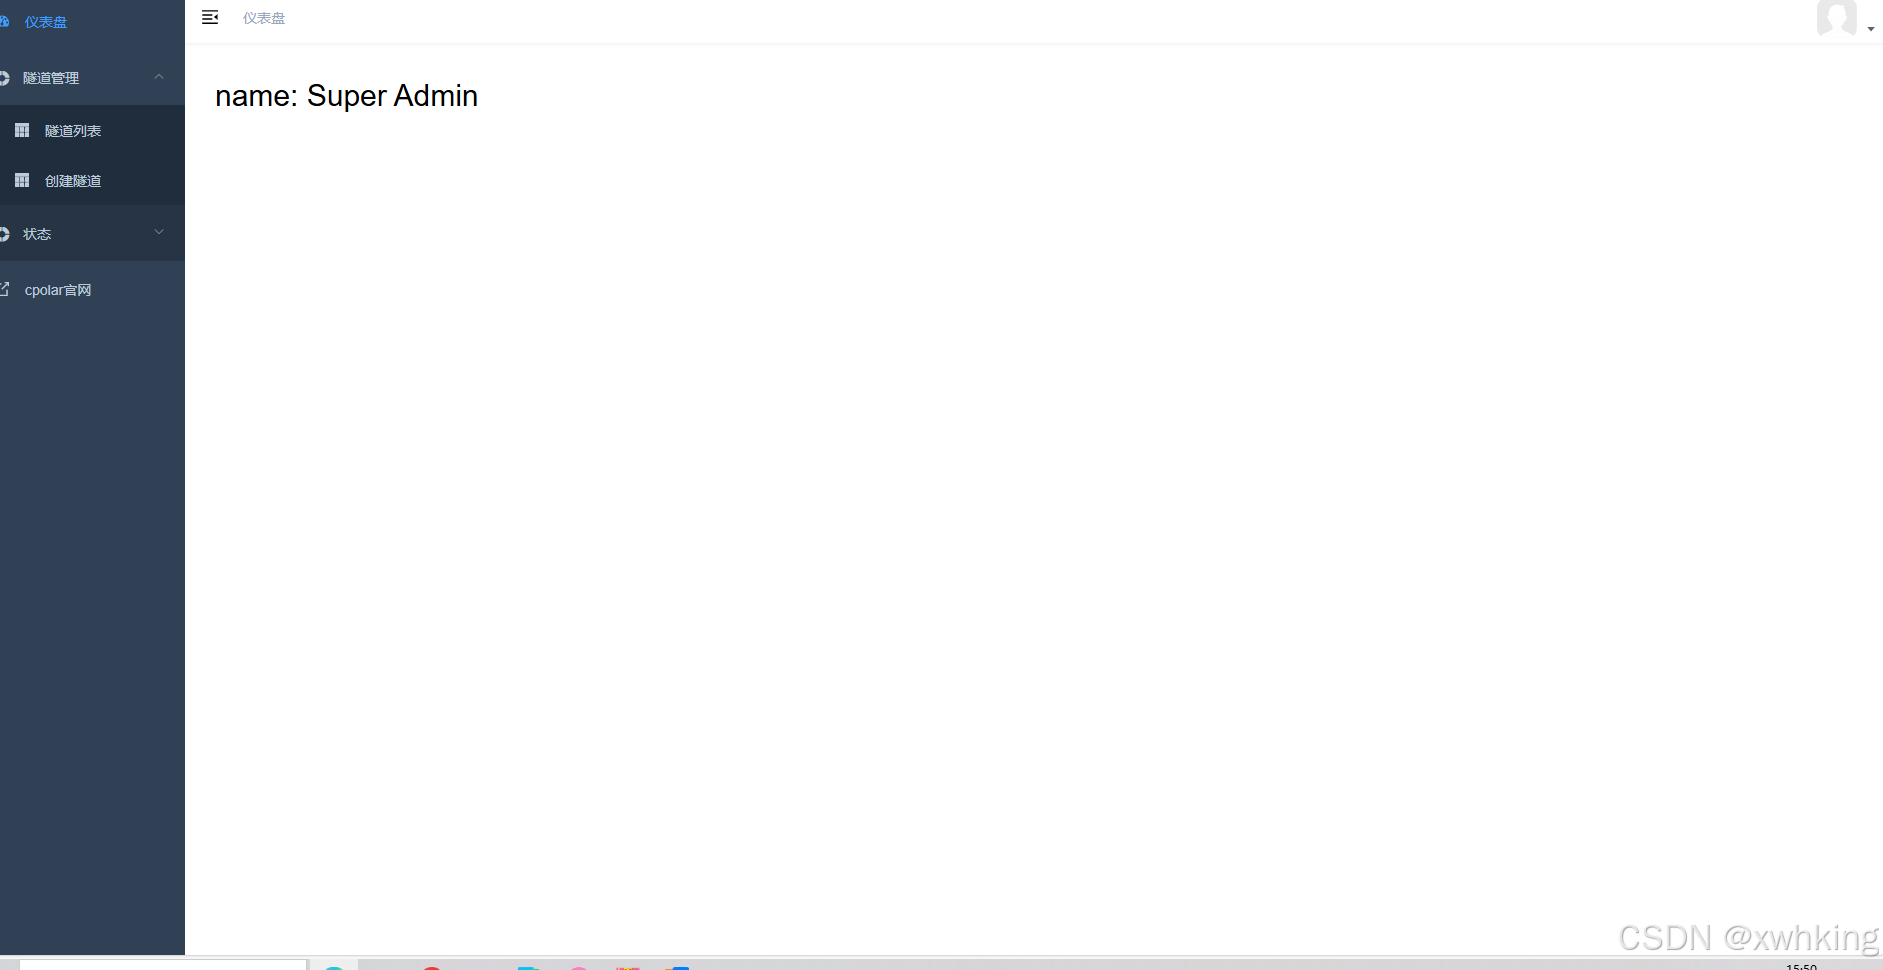
首先要登录,在官网注册就好了,进入后是下面的样子
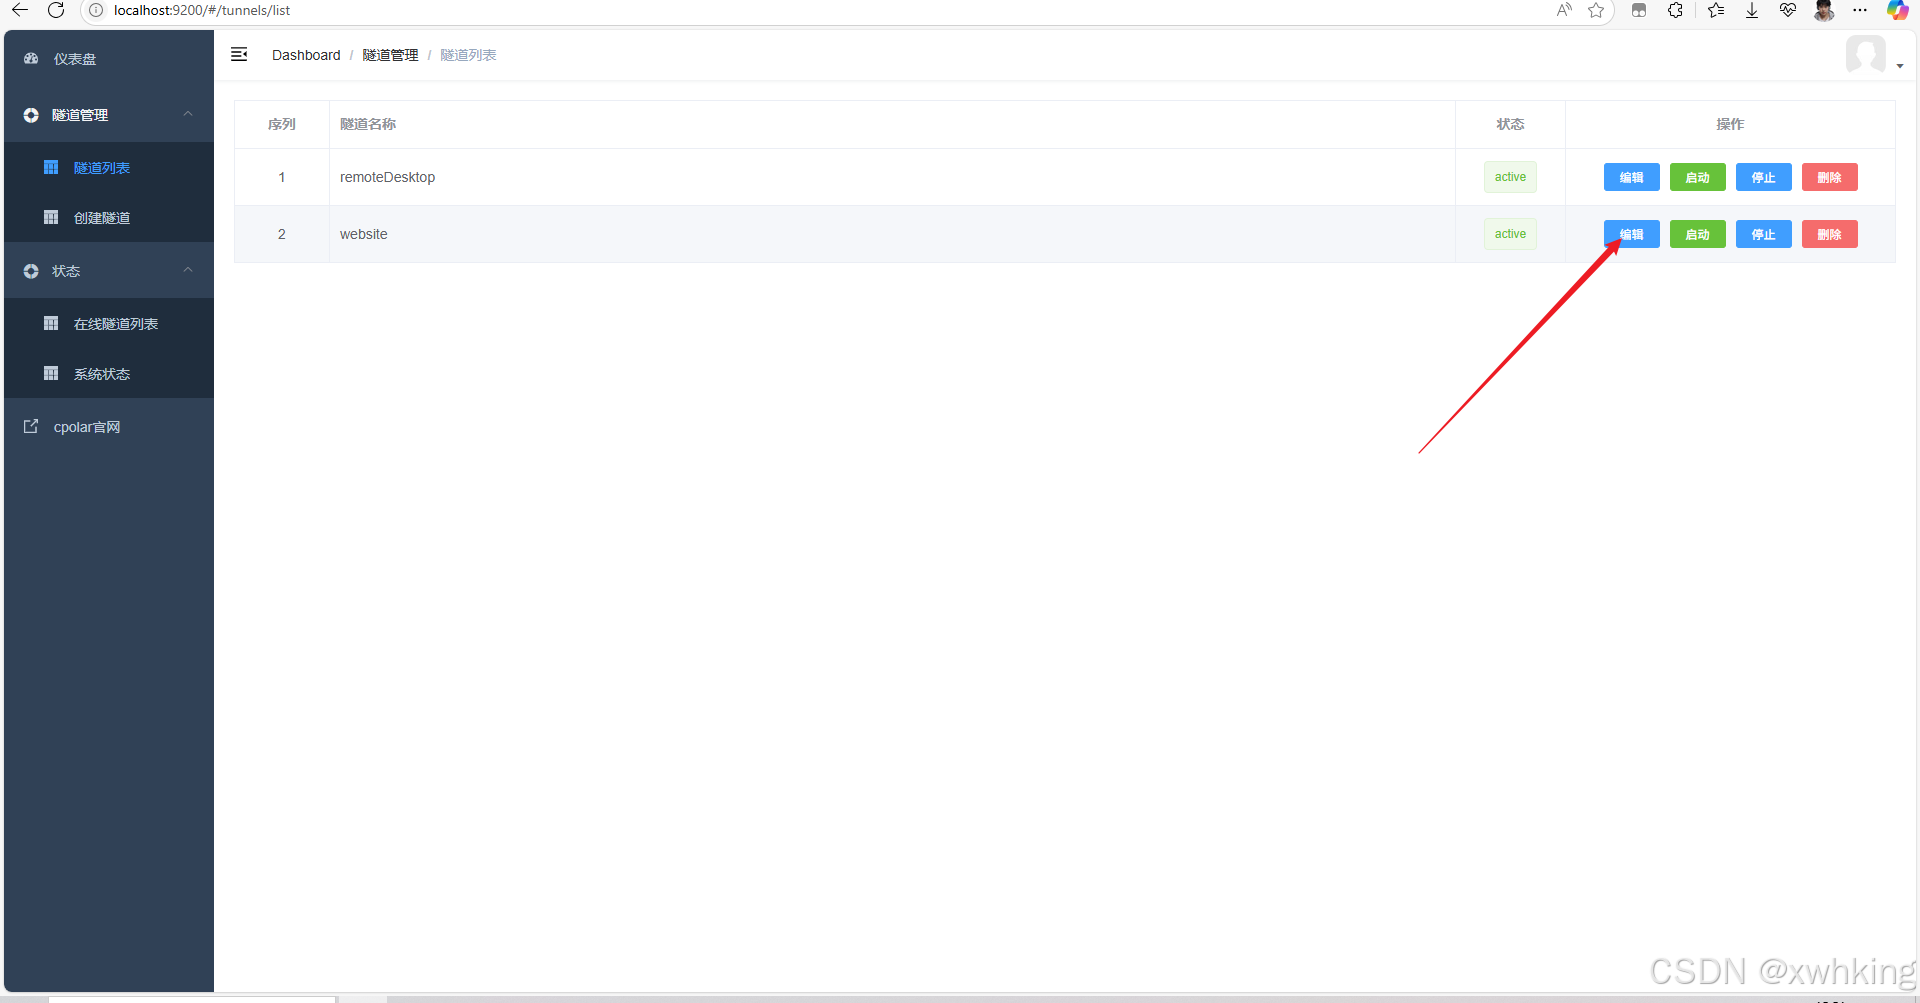
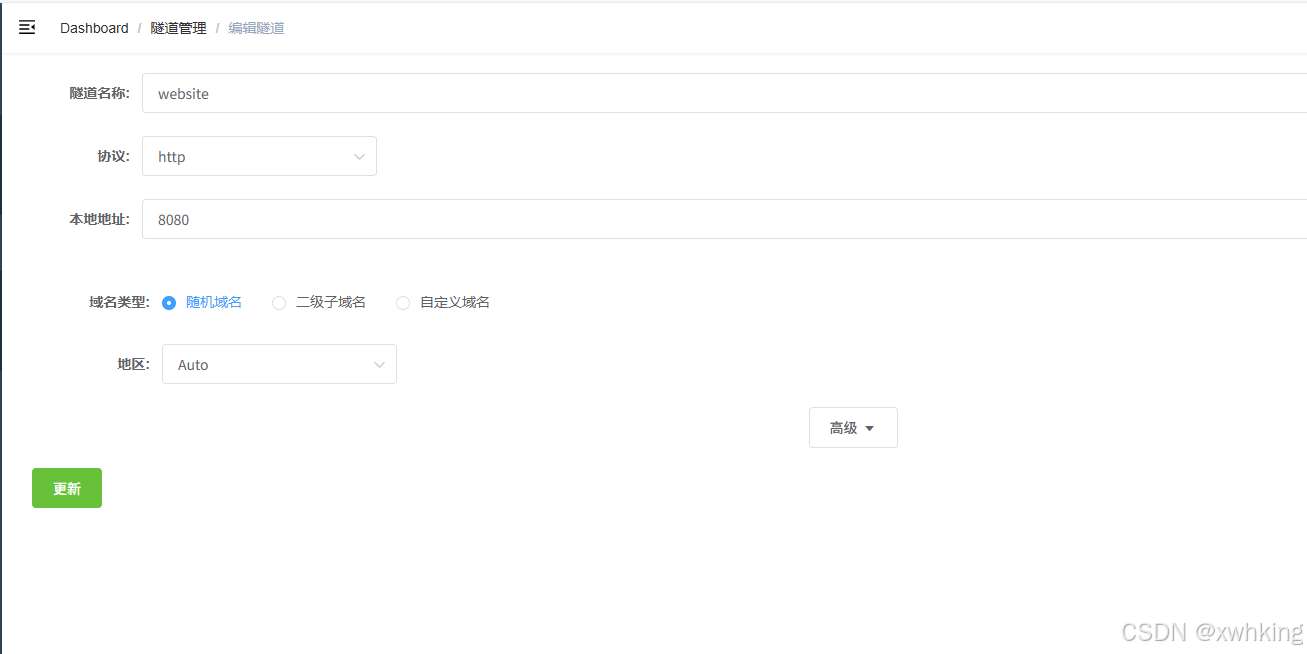
编辑一下自己网站端口就行了,然后到在线隧道查看地址

扫码登录流程介绍
背景知识,如果用户没有点击授权信息的话,从微信扫码只能够获得用户的 OpenId,其他信息都获取不到,但是一般我们登录流程的话是需要用户的昵称,头像,通过用户的授权,我们就可以直接获取到了,不用用户再次设置,这里用户的手机号也是不能获取到的。
- 用户扫码(只能或者一个带有参数的url,要转化成二维码,这里没有用前端了直接用草料二维码进行转换),如果用户扫码了以后没有关注公众号,那么当用户点击关注以后才会推送扫码关注事件,如果用户已经关注了那么手机会直接定位到会话页面
- 用测试生成url
@SpringBootTest
class WxLoginApplicationTests {
@Autowired
private WxMpService wxService;
@Test
void contextLoads() throws WxErrorException {
System.out.println(wxService.getQrcodeService().qrCodeCreateTmpTicket(“user_info”, 30000).getUrl());
}
}
```
- 生成二维码

-
接受微信推送的事件
-
返回给用户信息,消息的响应
-
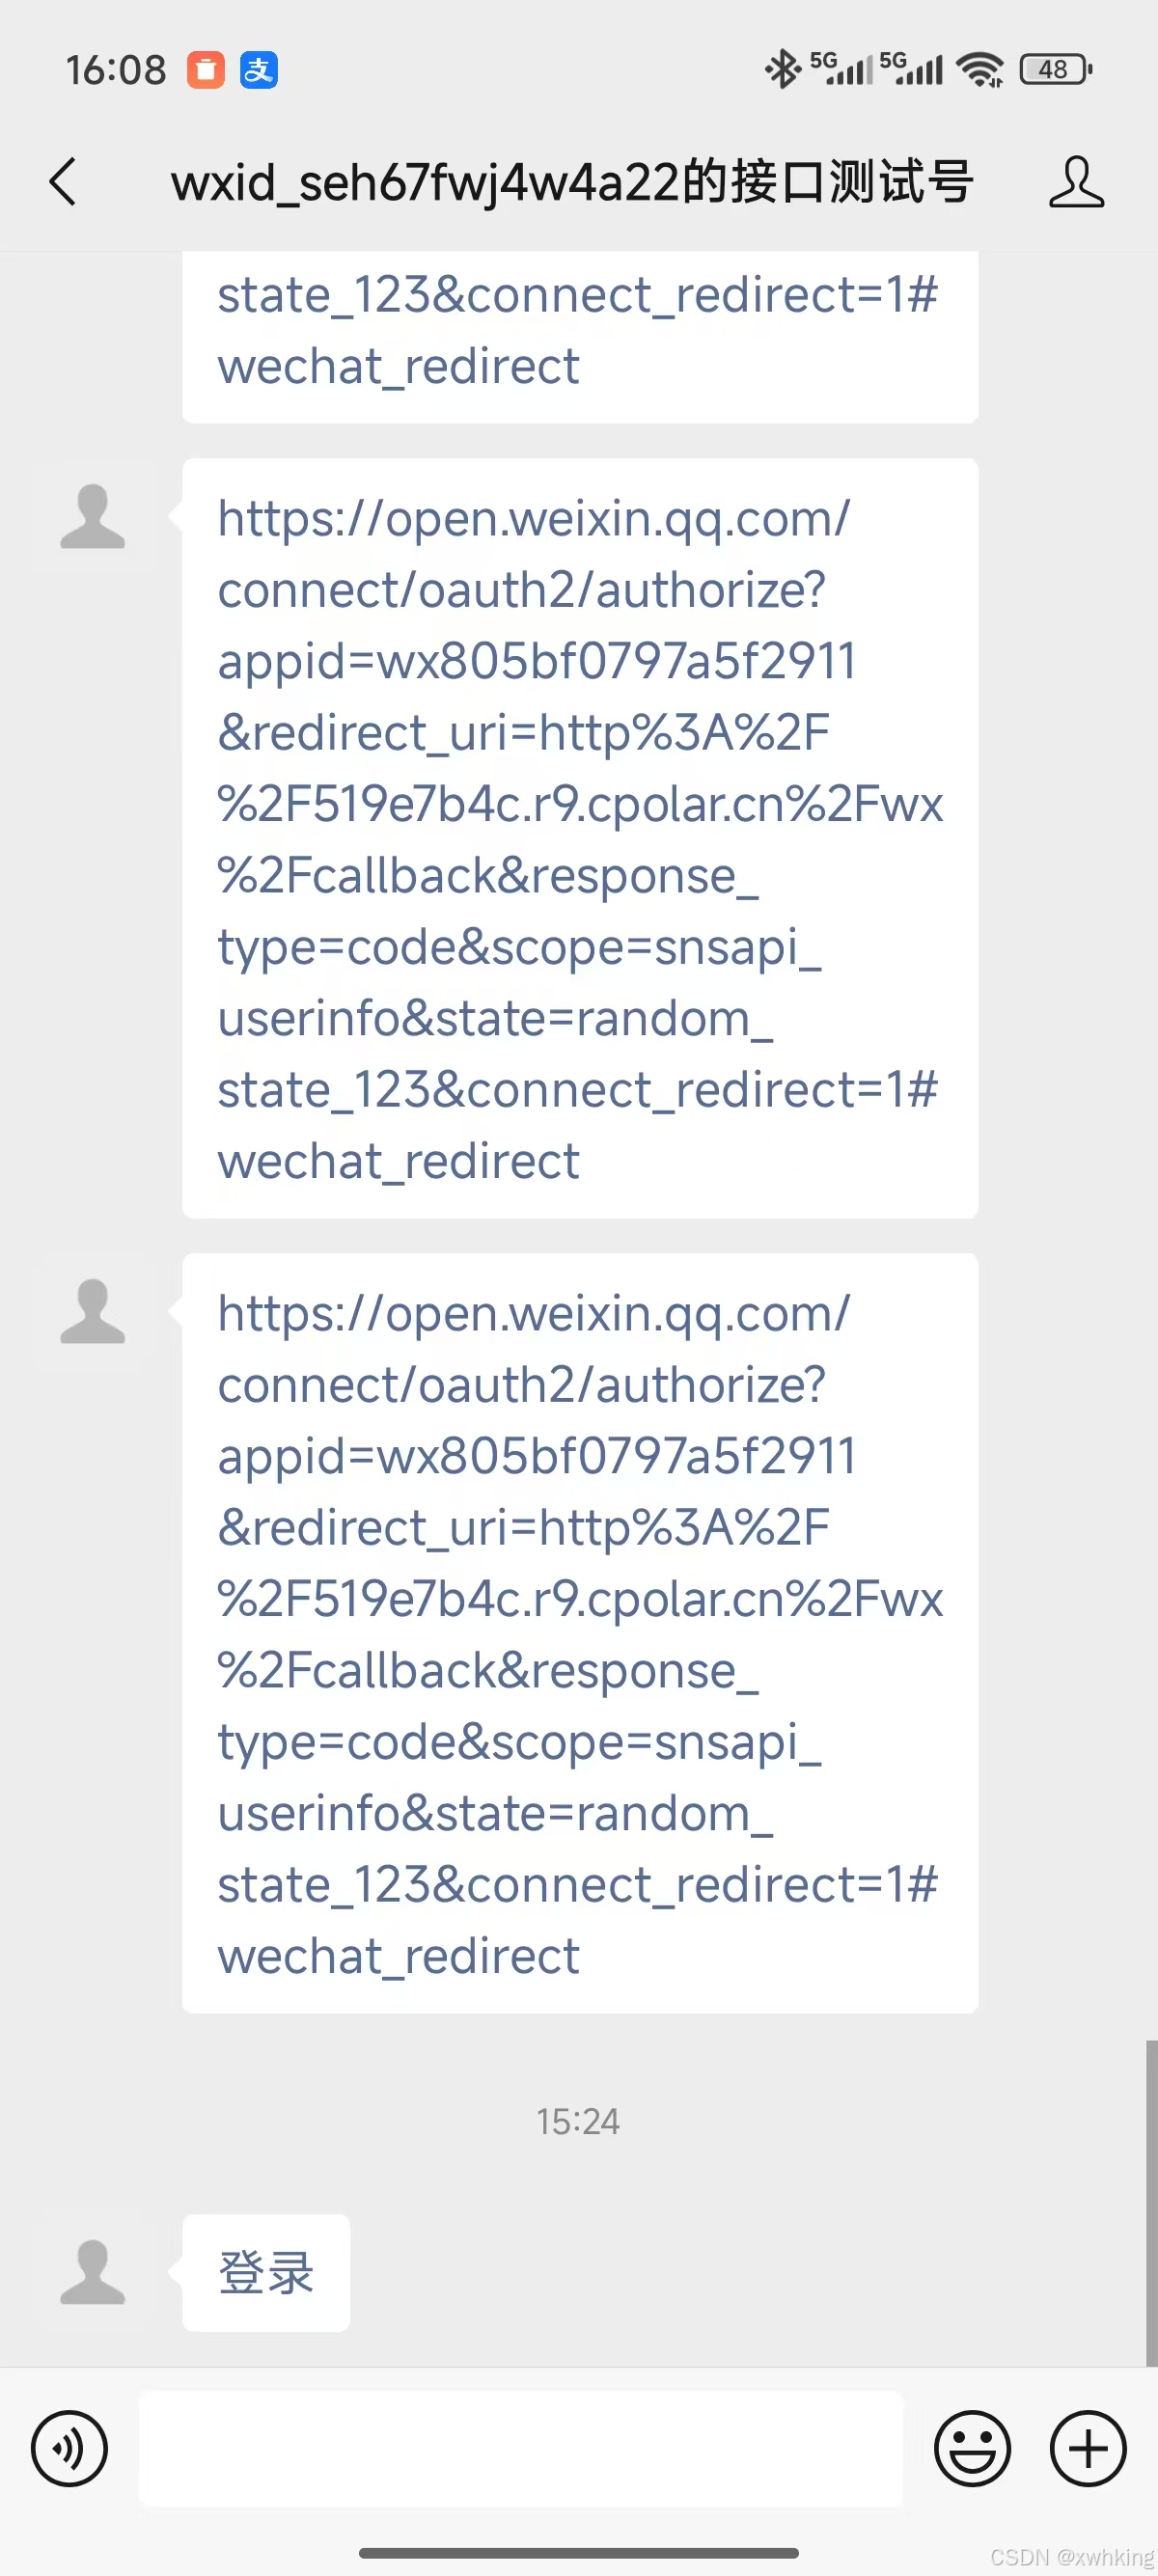
用户点击链接进行授权
-
用户打开地址,让后端获得权限,这里如果是域名备案了,那么会直接访问,否则要自己到浏览器打开网址才行。
-
此时获取到了用户的信息,已经成功进行了关联啦!–>即能够获得用户的昵称,openid,头像地址,这些信息一般来说也够了。
获取到的信息
WxOAuth2UserInfo(openid=owO-dvkozjjzycXgtaCCgFbzxxxx, nickname=DIOIT, sex=0, city=, province=, country=, headImgUrl=https://thirdwx.qlogo.cn/mmopen/vi_32/GcAobrQM3uzlReTKGs7KtuPUibUrYXzt3hluJCXHr7DCMibYoB2viabQ2PsVPq8BfbsDwIozz1vpdAx4oib4gnTCdQ/132, unionId=null, privileges=[])
代码实现
package com.xwhking.wxlogin.controller;

import me.chanjar.weixin.common.api.WxConsts;
import me.chanjar.weixin.common.bean.WxOAuth2UserInfo;
import me.chanjar.weixin.common.bean.oauth2.WxOAuth2AccessToken;
import me.chanjar.weixin.common.error.WxErrorException;
import me.chanjar.weixin.common.util.crypto.SHA1;
import me.chanjar.weixin.mp.api.WxMpMessageRouter;
import me.chanjar.weixin.mp.api.WxMpService;
import me.chanjar.weixin.mp.bean.message.WxMpXmlMessage;
import me.chanjar.weixin.mp.bean.message.WxMpXmlOutMessage;
import me.chanjar.weixin.mp.bean.result.WxMpUser;
import org.springframework.beans.factory.annotation.Autowired;
import org.springframework.web.bind.annotation.*;

@RestController
@RequestMapping("/wx/callback")
public class WxController {
    @Autowired
    private WxMpService wxMpService;
    @Autowired
    private WxMpMessageRouter wxMpMessageRouter;
    @GetMapping
    public String verify(String signature, String timestamp, String nonce, String echostr) throws WxErrorException {
        boolean b = wxMpService.checkSignature(timestamp, nonce, signature); //是否满足微信的校验条件
        if(b) {
            return echostr;
        }
        return null;
    }
    @PostMapping(produces = "application/xml; charset=UTF-8")
    public String post(
            @RequestBody String requestBody,
            @RequestParam("signature") String signature,
            @RequestParam("timestamp") String timestamp,
            @RequestParam("nonce") String nonce,
            @RequestParam(name = "encrypt_type", required = false) String encType,
            @RequestParam(name = "msg_signature", required = false) String msgSignature) throws WxErrorException {

        if (!wxMpService.checkSignature(timestamp, nonce, signature)) {
            throw new IllegalArgumentException("非法请求");
        }

        // 处理消息
        WxMpXmlMessage inMessage = WxMpXmlMessage.fromXml(requestBody);

        System.out.println("inMessage"+inMessage);
        // 如果是二维码扫描事件
        if (inMessage.getEvent().equals(WxConsts.EventType.SCAN) ||
                inMessage.getEvent().equals(WxConsts.EventType.SUBSCRIBE)) {

            String redirectUri = "https://519e7b4c.r9.cpolar.cn/wx/callback/auth-callback"; // 你的回调地址
            String scope = "snsapi_userinfo"; // 需要获取用户信息
            String state = "random_state_123"; // 防CSRF攻击

            // 构造授权URL
            String authUrl = wxMpService.getOAuth2Service().buildAuthorizationUrl(redirectUri, scope, state);

            // 可以回复消息
            String APPID = wxMpService.getWxMpConfigStorage().getAppId();
            String SECRET = wxMpService.getWxMpConfigStorage().getSecret();
            String accessToken = wxMpService.getAccessToken();
            WxMpUser wxMpUser = wxMpService.getUserService().userInfo(inMessage.getFromUser());
            System.out.println(wxMpUser);
            WxMpXmlOutMessage outMessage = WxMpXmlOutMessage.TEXT()
                    .content("<a href=\'"+authUrl+"\'>登录</a>")
                    .fromUser(inMessage.getToUser())
                    .toUser(inMessage.getFromUser())
                    .build();
            return outMessage.toXml();
        }

        // 其他消息交给路由器处理
        WxMpXmlOutMessage outMessage = wxMpMessageRouter.route(inMessage);
        if (outMessage != null) {
            return outMessage.toXml();
        }

        return "";
    }
    @GetMapping("/auth-callback")
    public String callback(
            @RequestParam("code") String code,
            @RequestParam(value = "state", required = false) String state) {

        // 验证state防止CSRF攻击


        try {
            // 1. 用code换取access_token
            WxOAuth2AccessToken accessToken = wxMpService.getOAuth2Service().getAccessToken(code);
            // 2. 获取用户信息
            WxOAuth2UserInfo userInfo = wxMpService.getOAuth2Service().getUserInfo(accessToken, null);
            System.out.println(userInfo);
            return "success";
        } catch (WxErrorException e) {
            return "授权失败: " + e.getMessage();
        }
    }
}


 5845
5845

 被折叠的 条评论
为什么被折叠?
被折叠的 条评论
为什么被折叠?
 到【灌水乐园】发言


