


从零开始配置tensorflow深度学习环境(含cuda以及其他依赖)
前言
近日因为某些原因将自己电脑重置了,特来记录一下从零开始配置tensorflow深度学习环境的过程
开发语言
本文采用python语言3.8.2版本作为解释器进行开发
从官网下载并按照指示进行安装,并将python加入的环境变量中
编辑器
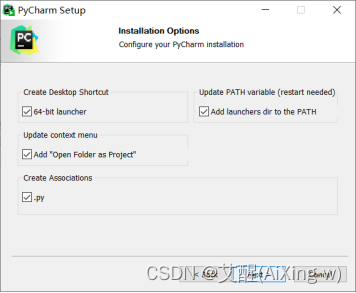
采用jetbrains的PyCharm 2020.2.1 x64作为编辑器进行编辑
从官网下载后进行安装配置
cuda以及cudnn的安装
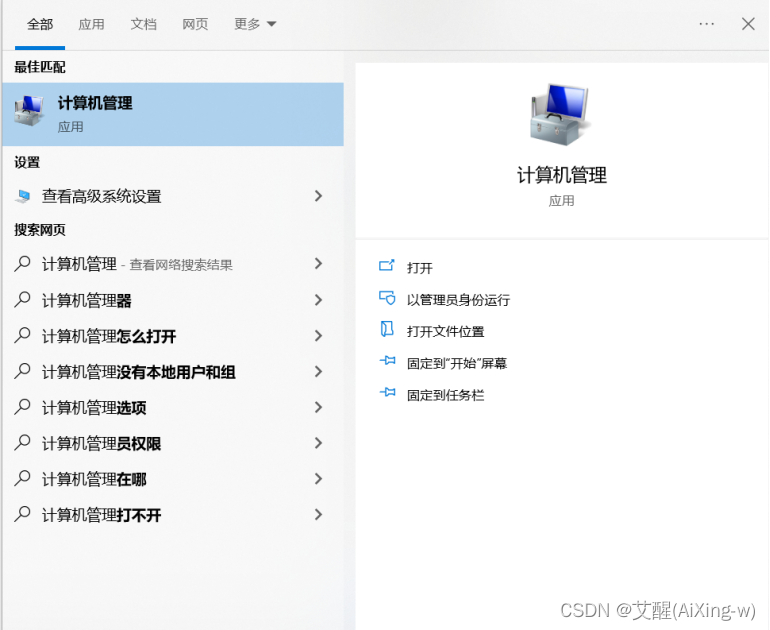
查看是否具有独立显卡以及支不支持cuda的安装
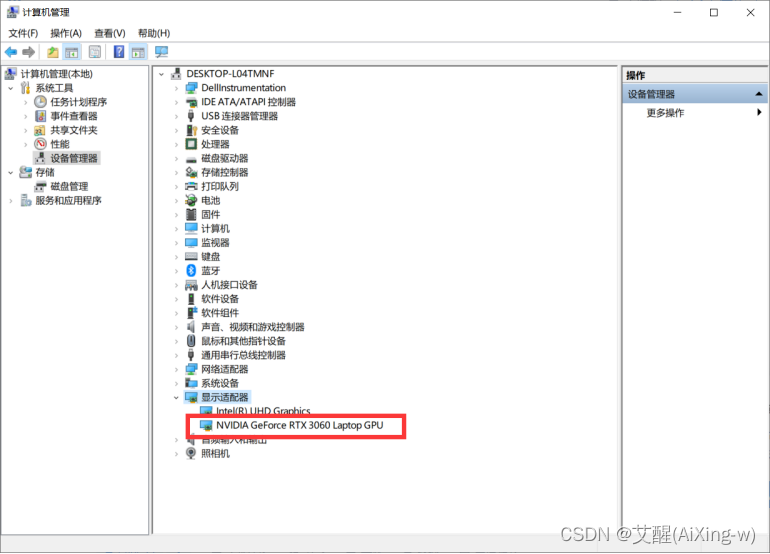
首先我们要确定本机是否有独立显卡,在计算机管理−设备管理器-显示适配器中,查看是否有独立显卡。
到这个网站查找是否可以安装
https://developer.nvidia.com/cuda-gpus
因为我的显卡是GeForce RTX的,所以点下面这个,查看支持的版本
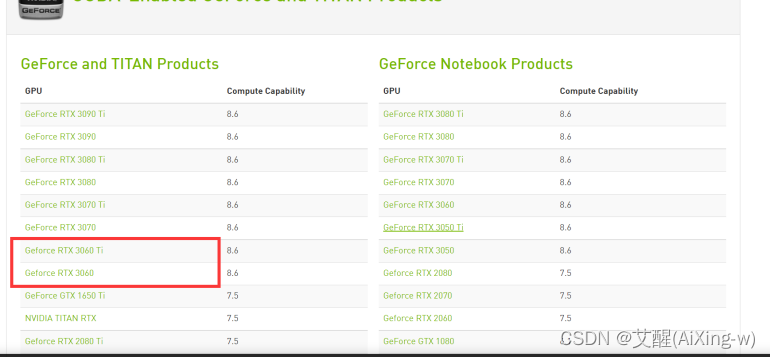
可以看到3060的是支持的
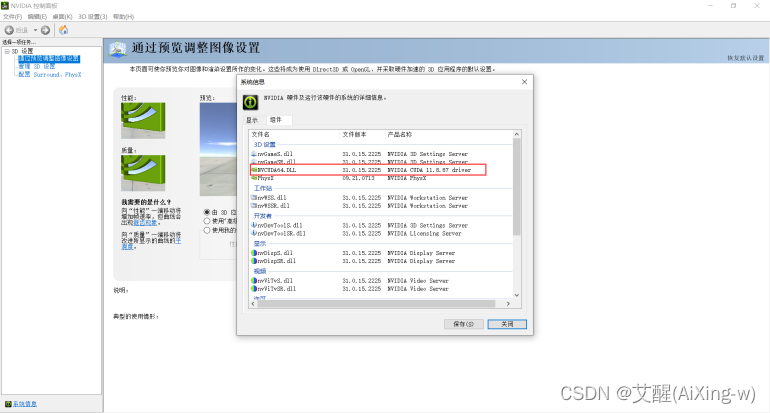
查看支持的cuda版本
打开NVIDIA控制面板,选择:帮助->系统信息查看到我这里需要的是cuda 11.8
下载安装cuda
Cuda的下载地址:https://developer.nvidia.com/cuda-downloads
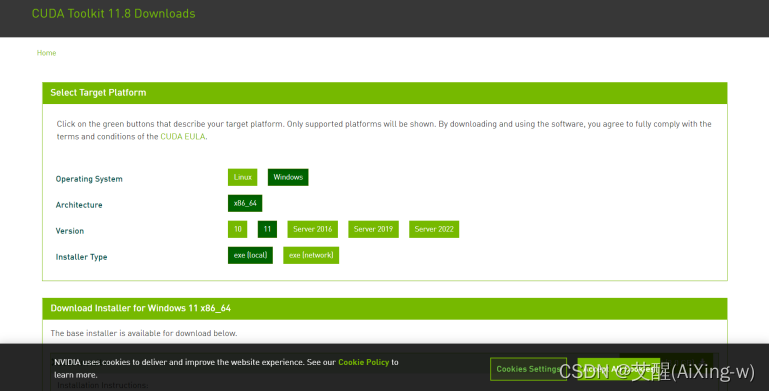
根据之前看到的信息选择64位windows版本的version 为11的cuda进行下载
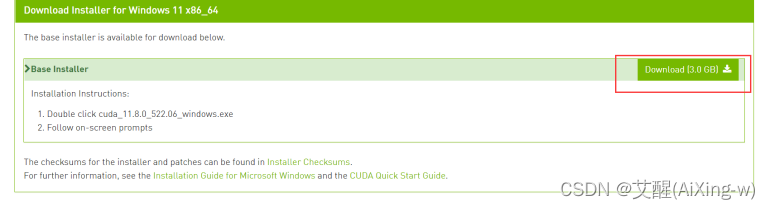
下载好之后开始安装
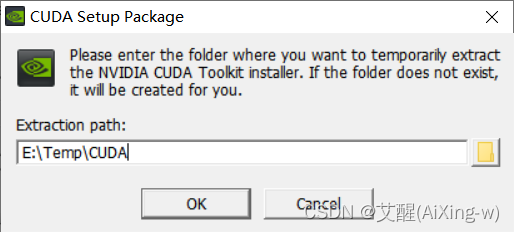
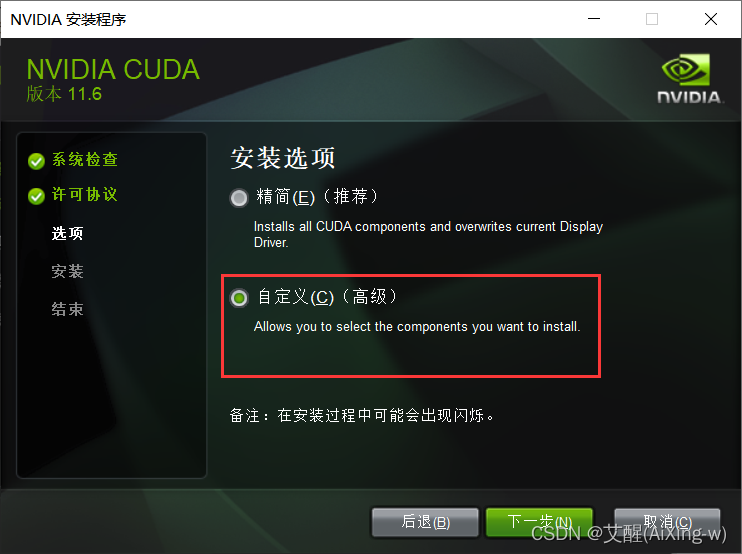
选择自定义
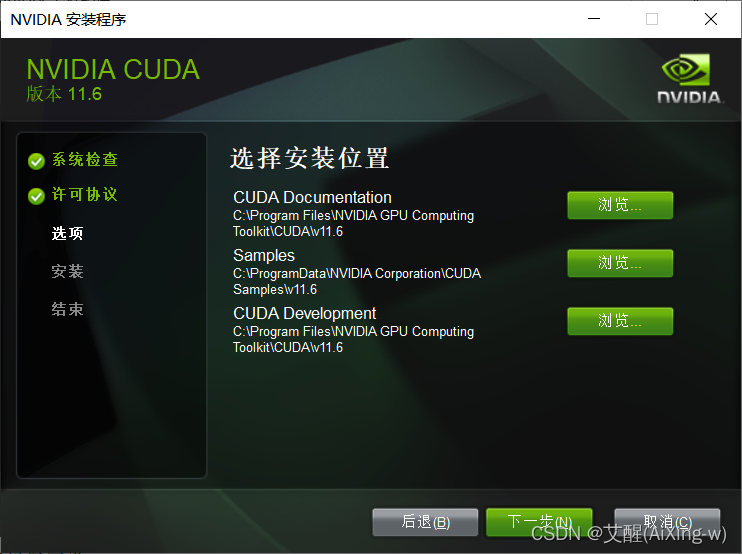
这里因为太占用C盘空间,所谓我们在D盘按照安装位置新建两个文件夹
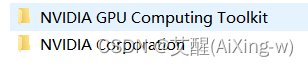
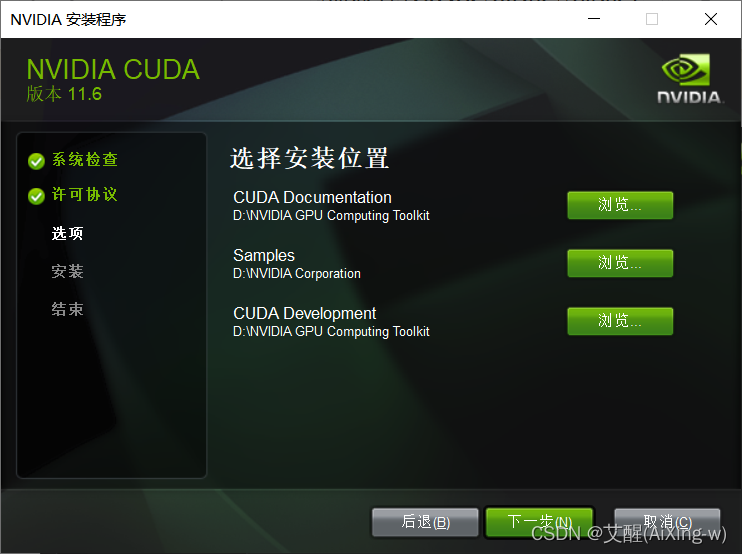
更改后的位置
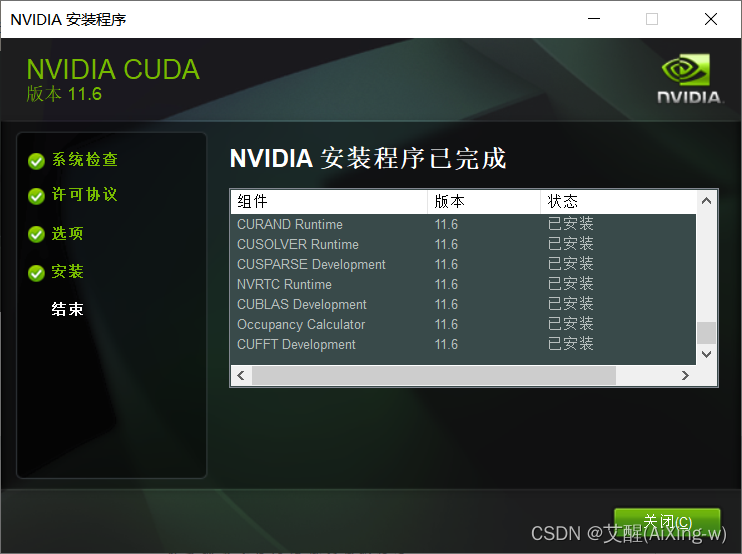
安装完成
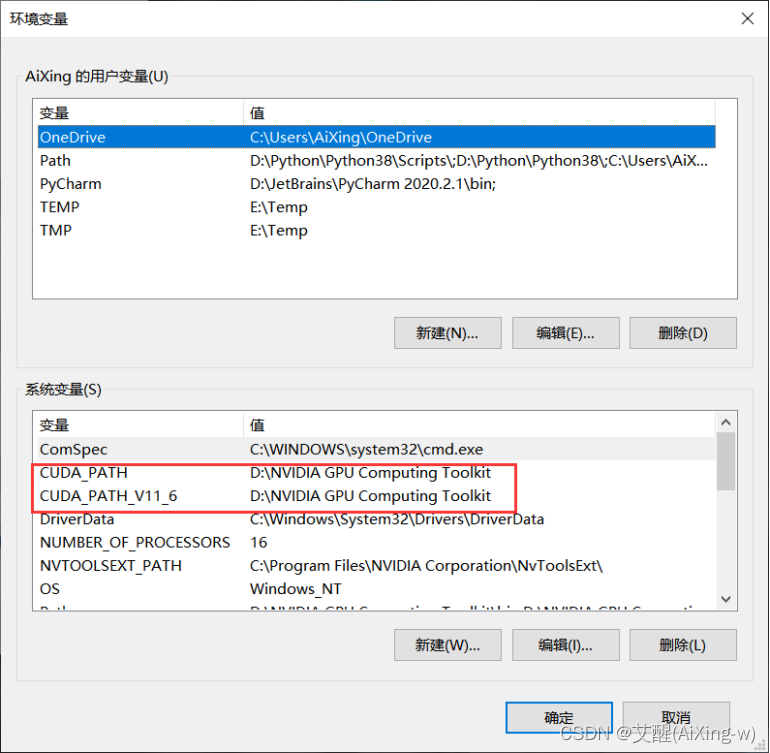
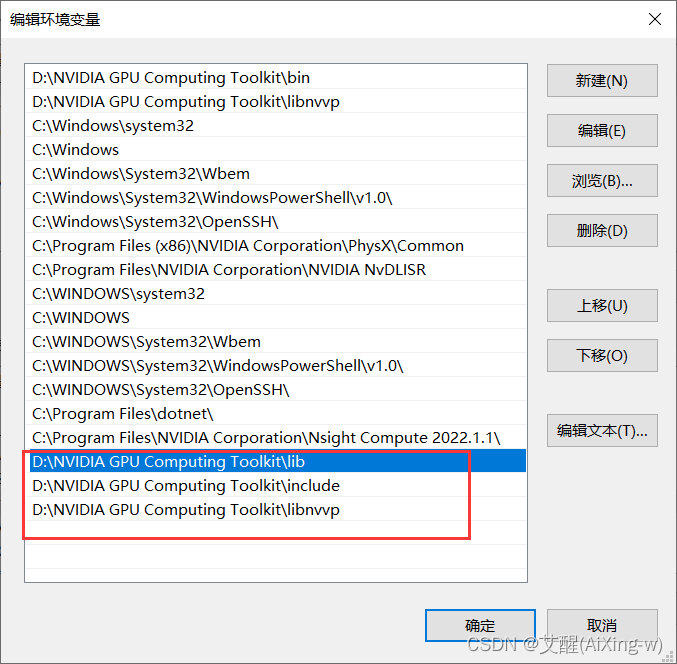
打开环境变量可以看到cuda位置已经被配置到了环境变量里了
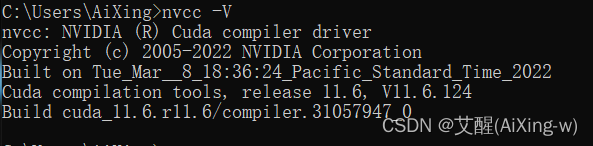
重启电脑后输入nvcc -V后显示类似信息说明安装成功
cudnn的下载和配置
Cudnn对照:https://blog.youkuaiyun.com/DuLNode/article/details/123428294
根据对照表下载相应版本的cudnn
在官网注册之后下载相应版本的cudnn
官网地址:https://developer.nvidia.com/cudnn-download-survey
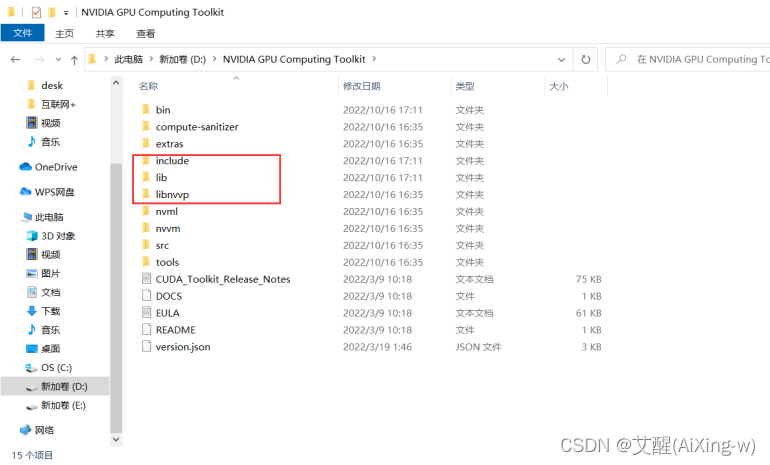
将下载好的cudnn解压后
将三个文件夹复制到cuda对应的文件夹,我的路径是:D:\NVIDIA GPU Computing Toolkit(就是之前新改的地址)
将三个文件夹的路径配置到环境变量
cuda与cudnn的检验
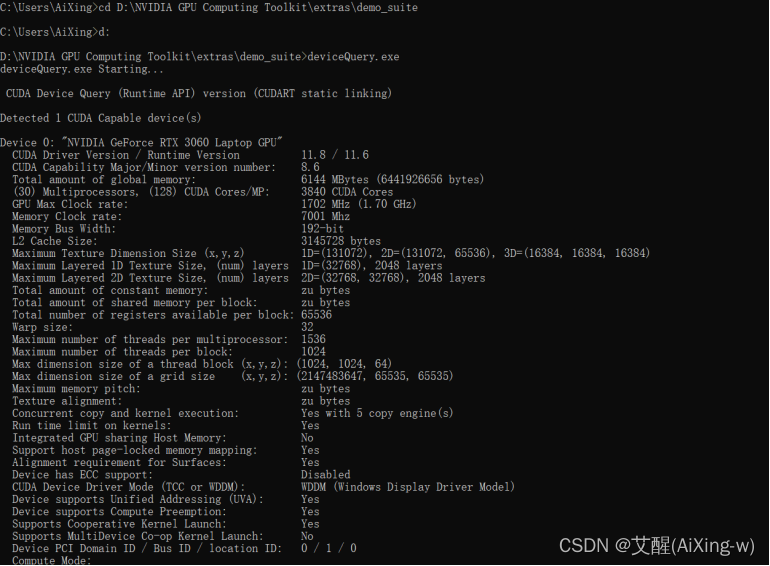
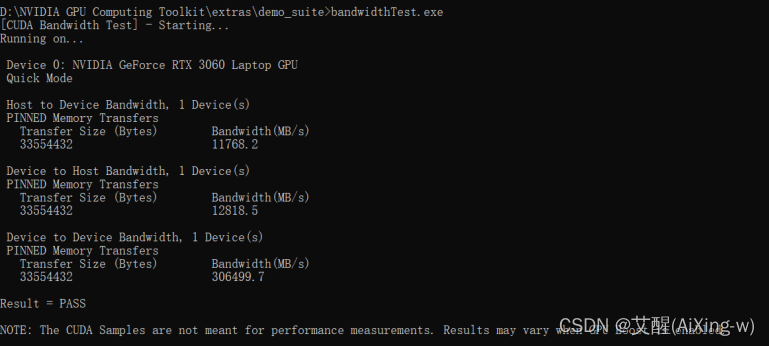
找到cuda安装的路径下的demo_suite文件夹,我这里的路径是D:\NVIDIA GPU Computing Toolkit\extras\demo_suite
打开cmd窗口切换到demo_suite文件夹
依次运行deviceQuery.exe和bandwidthTest.exe
运行结果如下,说明安装成功
安装tensorflow依赖
安装适用于 Visual Studio 2015、2017 和 2019 的 Microsoft Visual C++ 可再发行软件包。从 TensorFlow 2.1.0 版开始,此软件包需要 msvcp140_1.dll 文件(旧版可再发行软件包可能不提供此文件)。该可再发行软件包随附在 Visual Studio 2019 中,但可以单独安装:
https://learn.microsoft.com/zh-CN/cpp/windows/latest-supported-vc-redist?view=msvc-170
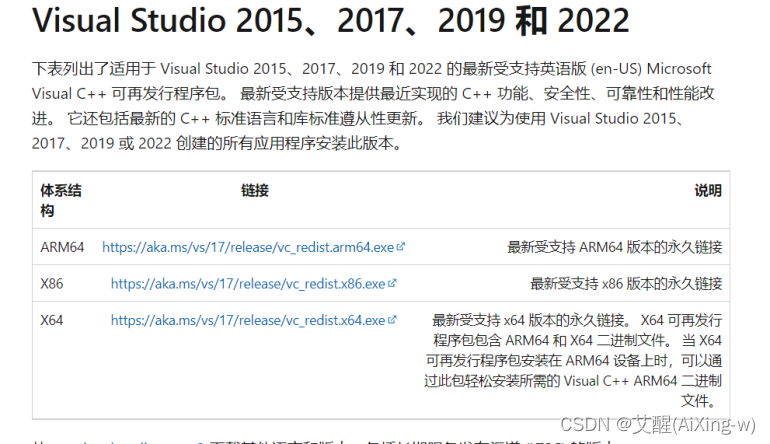
在页面中向下滚动到“Visual Studio 2015、2017 和 2019”部分。
依赖包的安装
更新pip
python -m pip install --upgrade pip
换源
pip config set global.index-url https://pypi.tuna.tsinghua.edu.cn/simple
安装tensorflow以及其他常用包
pip install pillow
pip install tensorflow
pip install tensorflow-gpu # 高版本的tensorflow以不再区分cpu版本和gpu版本,这个可以不安装
pip install opencv-contrib-python
pip install matplotlib
pip install scipy
如果需要进行UI开发还可以安装PyQt5
使用pip安装包
pip install PyQt5
pip install PyQt5-tools
找到python的site-pakages(我的site-pakages在D:\Python\Python38\Lib\site-packages路径)路径下的pyqt5-tools
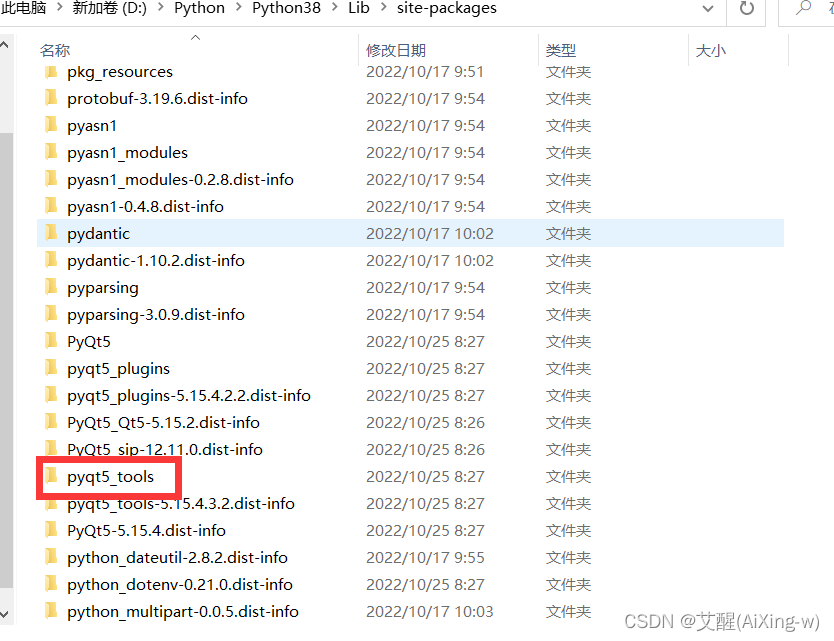
将pyqt5-tools路径加入环境变量


 662
662

 被折叠的 条评论
为什么被折叠?
被折叠的 条评论
为什么被折叠?
 到【灌水乐园】发言


