


 本文围绕JMeter展开,介绍其入门操作,如添加线程组、Http请求等进行压测。还提及自定义变量模拟多用户,以及命令行压测方法。同时说明了Spring Boot打war包步骤,最后对核心秒杀功能进行压测,发现开放秒杀后存在并发量低和并发不安全问题。
一、JMeter入门
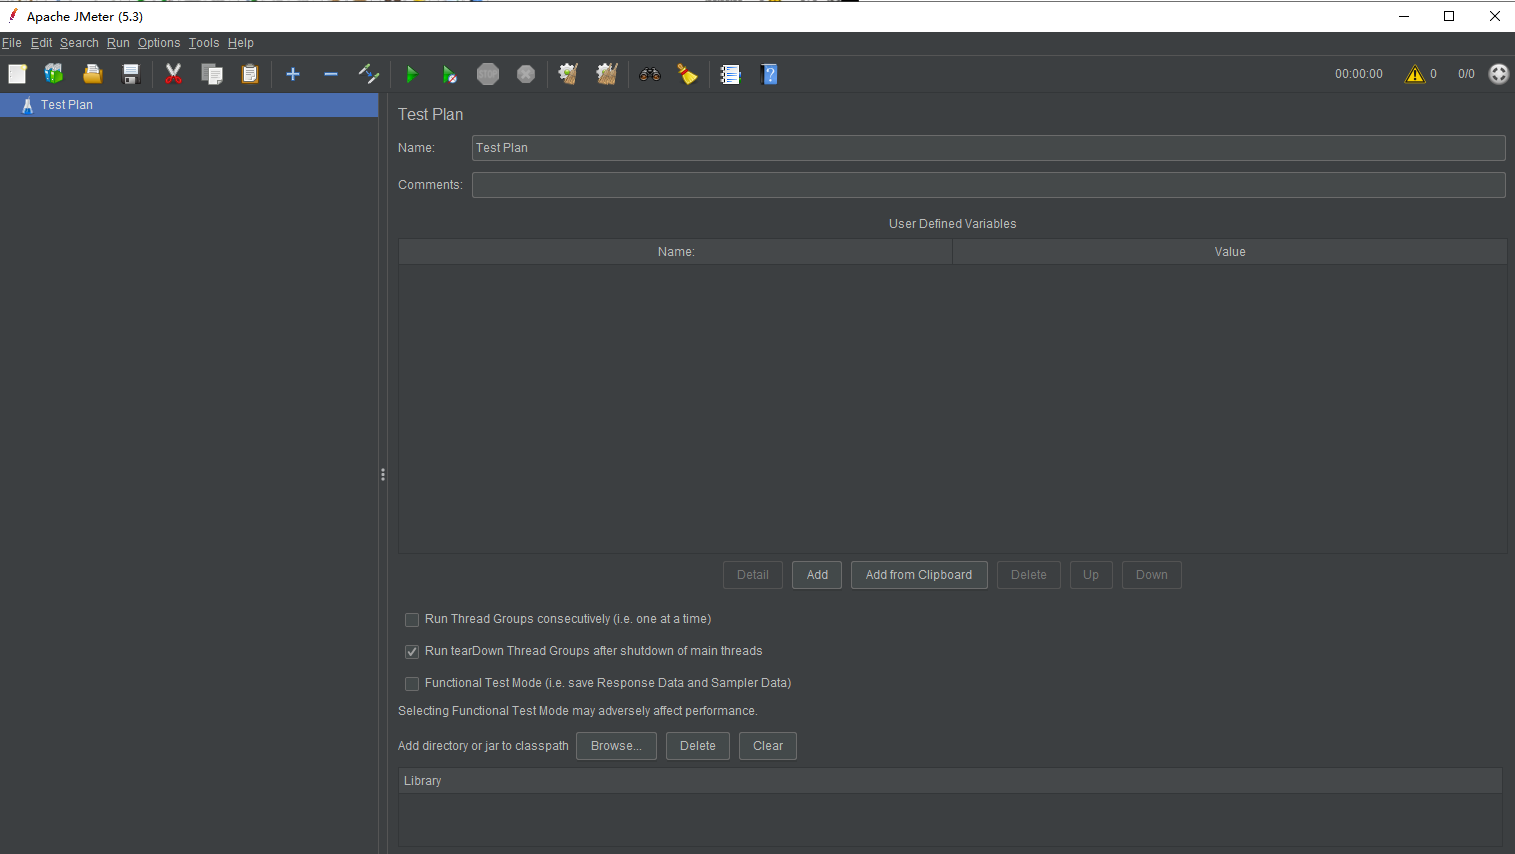
下载JMeter并解压,通过打开bin目录下的jmeter.bat来启动。启动后界面如下:
假如要对/goods/to_list进行压测,首先添加线程组(Thread Group),可以设置线程数、启动时间、循环次数等属性。
然后在线程组中添加Http请求默认值,配置地址:端口。再添加一个Sample-Http请求,配置请求方式和接口地址。添加一个聚合报告(Aggregate Report)用来展示结果,也可以添加别的监听器。
运行——可以看到总体的结果:

这是在1000个线程时的结果。

这是在10000个线程时的结果。
可以看到随着线程数增加,吞吐量还是在上涨的,最高也就500/s多左右。可是Error率也在上升,当提升至100000时,Error就已经非常高了,而且吞吐量降到了300。(由于机器容易卡死,就不再演示截图了)。
二、JMeter自定义变量
1.Parameters
可以在Parameters中添加参数来向接口传参。
2.模拟多个用户
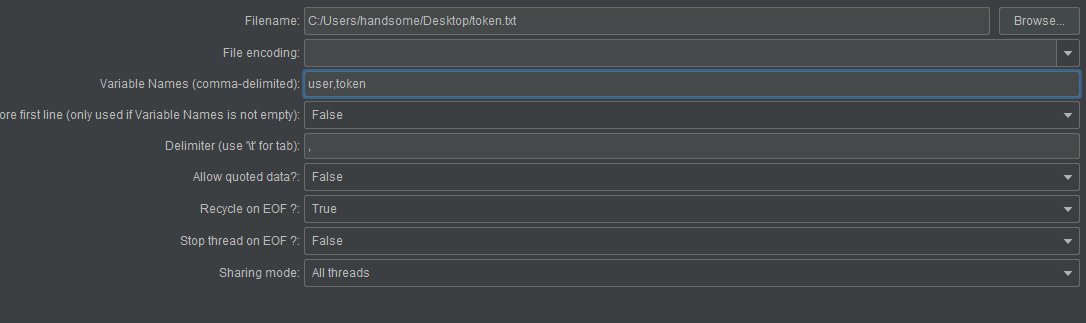
CSV Data Set Config可以加载配置文件。在配置文件中,设置user、token的对应。然后指定其变量名,在Parameters里就可以通过${}的方式获取变量值。
比如配置文件可以用一个txt文件,里面内容如下:
18366331146,b4a455cd39314a6caed09bf1fc185125
user2,token2
user3,token3......

我们在LoginController中写一个专门用来压测的方法,
    //专门用来测试压测,无实际含义
    @RequestMapping("/info")
    @ResponseBody
    public Result<MiaoshaUser> info(MiaoshaUser user){
        return Result.success(user);
    }
这里仅仅是将传入的User返回。在发送请求时,我们传递一个token,这样除了代码部分,就只有在Redis中查询用户的操作了。吞吐量应该会比之前查Mysql的操作大不少。
然后启动压测,测试一下:

可以看到吞吐量反而还不如之前,咳咳,不知为何。
不过通过引入配置文件来模拟多个用户的方法应该是最重要的。
三、命令行压测
1.Linux运行JMeter
- 在Windows上录好jmx
- 命令行:sh jmeter.sh -n -t XXX.jmx -l result.jtl
- 把result.jtl导入到jmeter
2.redis压测
Redis本身提供了一个工具,叫做redis-benchmark。
在Linux服务器上执行以下命令:
redis-benchmark -h 127.0.0.1 -p 6379 -c 100 -n 100000
100个并发连接,100000个请求
redis-benchmark -h 127.0.0.1 -p 6379 -q -d 100
存取大小为100字节的数据包
redis-benchmark -t set,lpush -q -n 100000
只测试某些操作(set,lpush)的性能
redis-benchmark -n 100000 -q script load "redis.call('set','foo','bar')"
只测试某些数值存取的性能

执行了!redis-benchmark -h 127.0.0.1 -p 6379 -c 100 -n 100000之后的结果选择SET观察,发现吞吐量可以达到十万每秒。
四、Spring Boot打war包
添加spring-boot-starter-tomcat的provided依赖,provided是指编译时的依赖,运行时不需要。
<dependency>
    <groupId>org.springframework.boot</groupId>
    <artifactId>spring-boot-starter-tomcat</artifactId>
    <scope>provided</scope>
</dependency>
添加maven-war-plugin插件。
            <finalName>${project.artifactId}</finalName>
			<plugin>
                <groupId>org.apache.maven.plugins</groupId>
                <artifactId>maven-war-plugin</artifactId>
                <configuration>
                    <failOnMissingWebXml>false</failOnMissingWebXml>
                </configuration>
            </plugin>
启动类继承SpringBoorServletInitializer。重写configure方法:
    @Override
    protected SpringApplicationBuilder configure(SpringApplicationBuilder builder) {
        return builder.sources(MiaoshaApplication.class);
    }
就可以使用mvn clean package打war包了。
五、核心秒杀功能压测
1.创建用户
因为要模拟多个用户,所以先向数据库中插入大量用户数据,并且将token的配置文件保存以供压测使用。
创建用户的方法如下:
	private static void createUser(int count) throws Exception{
		List<MiaoshaUser> users = new ArrayList<MiaoshaUser>(count);
		//生成用户
		for(int i=0;i<count;i++) {
			MiaoshaUser user = new MiaoshaUser();
			user.setId(13000000000L+i);
			user.setLoginCount(1);
			user.setNickname("user"+i);
			user.setRegisterDate(new Date());
			user.setSalt("1a2b3c");
			user.setPassword(MD5Util.inputPassToDBPass("123456", user.getSalt()));
			users.add(user);
		}
		System.out.println("create user");
//		//插入数据库
		Connection conn = DBUtil.getConn();
		String sql = "insert into miaosha_user(login_count, nickname, register_date, salt, password, id)values(?,?,?,?,?,?)";
		PreparedStatement pstmt = conn.prepareStatement(sql);
		for(int i=0;i<users.size();i++) {
			MiaoshaUser user = users.get(i);
			pstmt.setInt(1, user.getLoginCount());
			pstmt.setString(2, user.getNickname());
			pstmt.setTimestamp(3, new Timestamp(user.getRegisterDate().getTime()));
			pstmt.setString(4, user.getSalt());
			pstmt.setString(5, user.getPassword());
			pstmt.setLong(6, user.getId());
			pstmt.addBatch();
		}
		pstmt.executeBatch();
		pstmt.close();
		conn.close();
		System.out.println("insert to db");
		//登录,生成token
		String urlString = "http://localhost:8080/login/do_login";
		File file = new File("D:/tokens.txt");
		if(file.exists()) {
			file.delete();
		}
		RandomAccessFile raf = new RandomAccessFile(file, "rw");
		file.createNewFile();
		raf.seek(0);
		for(int i=0;i<users.size();i++) {
			MiaoshaUser user = users.get(i);
			URL url = new URL(urlString);
			HttpURLConnection co = (HttpURLConnection)url.openConnection();
			co.setRequestMethod("POST");
			co.setDoOutput(true);
			OutputStream out = co.getOutputStream();
			String params = "mobile="+user.getId()+"&password="+MD5Util.inputPassToFormPass("123456");
			out.write(params.getBytes());
			out.flush();
			InputStream inputStream = co.getInputStream();
			ByteArrayOutputStream bout = new ByteArrayOutputStream();
			byte buff[] = new byte[1024];
			int len = 0;
			while((len = inputStream.read(buff)) >= 0) {
				bout.write(buff, 0 ,len);
			}
			inputStream.close();
			bout.close();
			String response = new String(bout.toByteArray());
			JSONObject jo = JSON.parseObject(response);
			String token = jo.getString("data");
			System.out.println("create token : " + user.getId());

			String row = user.getId()+","+token;
			raf.seek(raf.length());
			raf.write(row.getBytes());
			raf.write("\r\n".getBytes());
			System.out.println("write to file : " + user.getId());
		}
		raf.close();

		System.out.println("over");
	}
这是所用到的DBUtil:
public class DBUtil {

	private static Properties props;

	static {
		try {
			InputStream in = DBUtil.class.getClassLoader().getResourceAsStream("application.properties");
			props = new Properties();
			props.load(in);
			in.close();
		}catch(Exception e) {
			e.printStackTrace();
		}
	}

	public static Connection getConn() throws Exception{
		String url = props.getProperty("spring.datasource.url");
		String username = props.getProperty("spring.datasource.username");
		String password = props.getProperty("spring.datasource.password");
		String driver = props.getProperty("spring.datasource.driver-class-name");
		Class.forName(driver);
		return DriverManager.getConnection(url,username, password);
	}
}
2.开始测试
引入创建好的配置文件,启动压测,测试miaosha/do_miaosha这个接口,这也是项目的核心。
由于创建了5000个用户,所以就用5000个线程循环10次来进行测试。
[外链图片转存失败,源站可能有防盗链机制,建议将图片保存下来直接上传(img-1Ie2KmVx-1593400324815)(https://i.loli.net/2020/06/28/5ZB68f9NeQqtUhF.png)]可以看到do_miao接口吞吐量大约2000/s。记录一下,看看以后会优化到什么程度。
3.问题出现
之前的测试都没有开放秒杀,所以根本就没操作数据库。现在开放秒杀时间,发现吞吐量居然只有:

这么一点点了。而且打开数据库一看,

居然库存数量成了负数。所以现在的并发量不仅很低,而且并发不安全。


 1216
1216

 被折叠的 条评论
为什么被折叠?
被折叠的 条评论
为什么被折叠?
 到【灌水乐园】发言


