


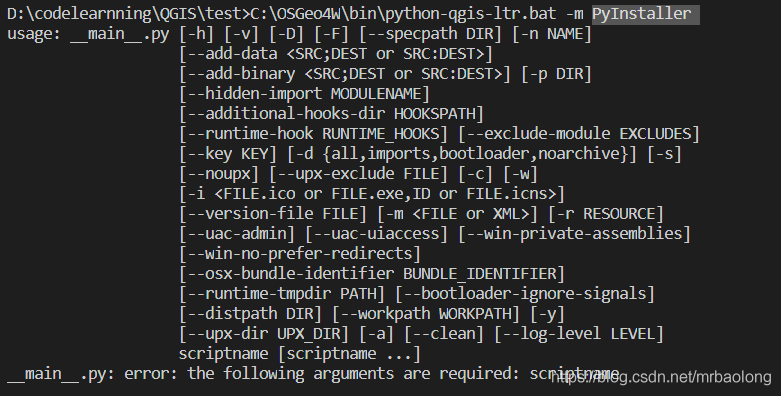
命令行运行C:\OSGeo4W\bin\python-qgis-ltr.bat -m PyInstaller
如图所示安装成功。
3. 编写示例程序install.py
import sys,os
from qgis.core import QgsApplication
from qgis.gui import QgsMapCanvas

os.environ['GDAL\_DATA'] = r'C:\OSGeo4W\share\gdal'
os.environ['PROJ\_LIB'] = r'C:\OSGeo4W\share\proj'
def init():
  a = QgsApplication([], True)
  QgsApplication.setPrefixPath('qgis', True)
  QgsApplication.initQgis()
  return a

def show\_canvas(app):
  canvas = QgsMapCanvas()
  canvas.show()
  app.exec_()
app = init()
show_canvas(app)
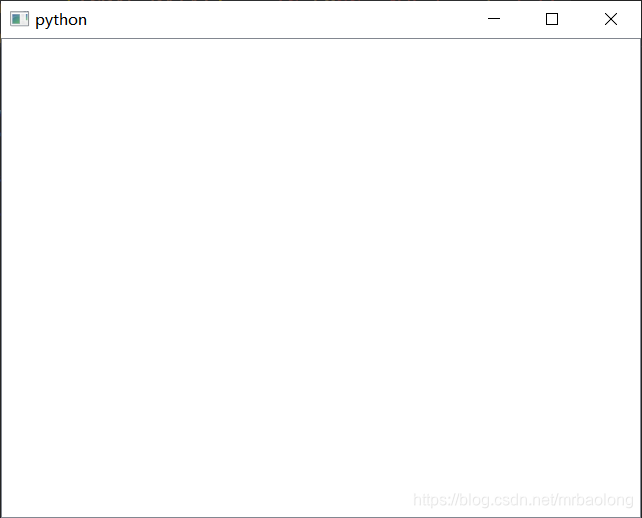
命令行运行C:\OSGeo4W\bin\python-qgis-ltr.bat install.py
如下图所示:
- 编写打包
install.bat
"C:\OSGeo4W\bin\python-qgis-ltr.bat" -m PyInstaller -w ^
--icon=logo.ico ^
--add-data="C:\OSGeo4W\apps\qgis-ltr\plugins;qgis\plugins" ^
--add-data="C:\OSGeo4W\apps\Python37\Lib\site-packages\PyQt5\\*.pyd;PyQt5" ^
--add-data="C:\OSGeo4W\apps\qt5\plugins\styles;PyQt5\Qt\plugins\styles" ^
--add-data="C:\OSGeo4W\apps\qt5\plugins\iconengines;PyQt5\Qt\plugins\iconengines" ^
--add-data="C:\OSGeo4W\apps\qt5\plugins\imageformats;PyQt5\Qt\plugins\imageformats" ^
--add-data="C:\OSGeo4W\apps\qt5\plugins\platforms;PyQt5\Qt\plugins\platforms" ^
--add-data="C:\OSGeo4W\apps\qt5\plugins\platformthemes;PyQt5\Qt\plugins\platformthemes" ^
install.py
解析:C:\OSGeo4W\apps\qgis-ltr\plugins -> qgis\plugins打包时将相应的文件拷贝到指定的文件夹下。
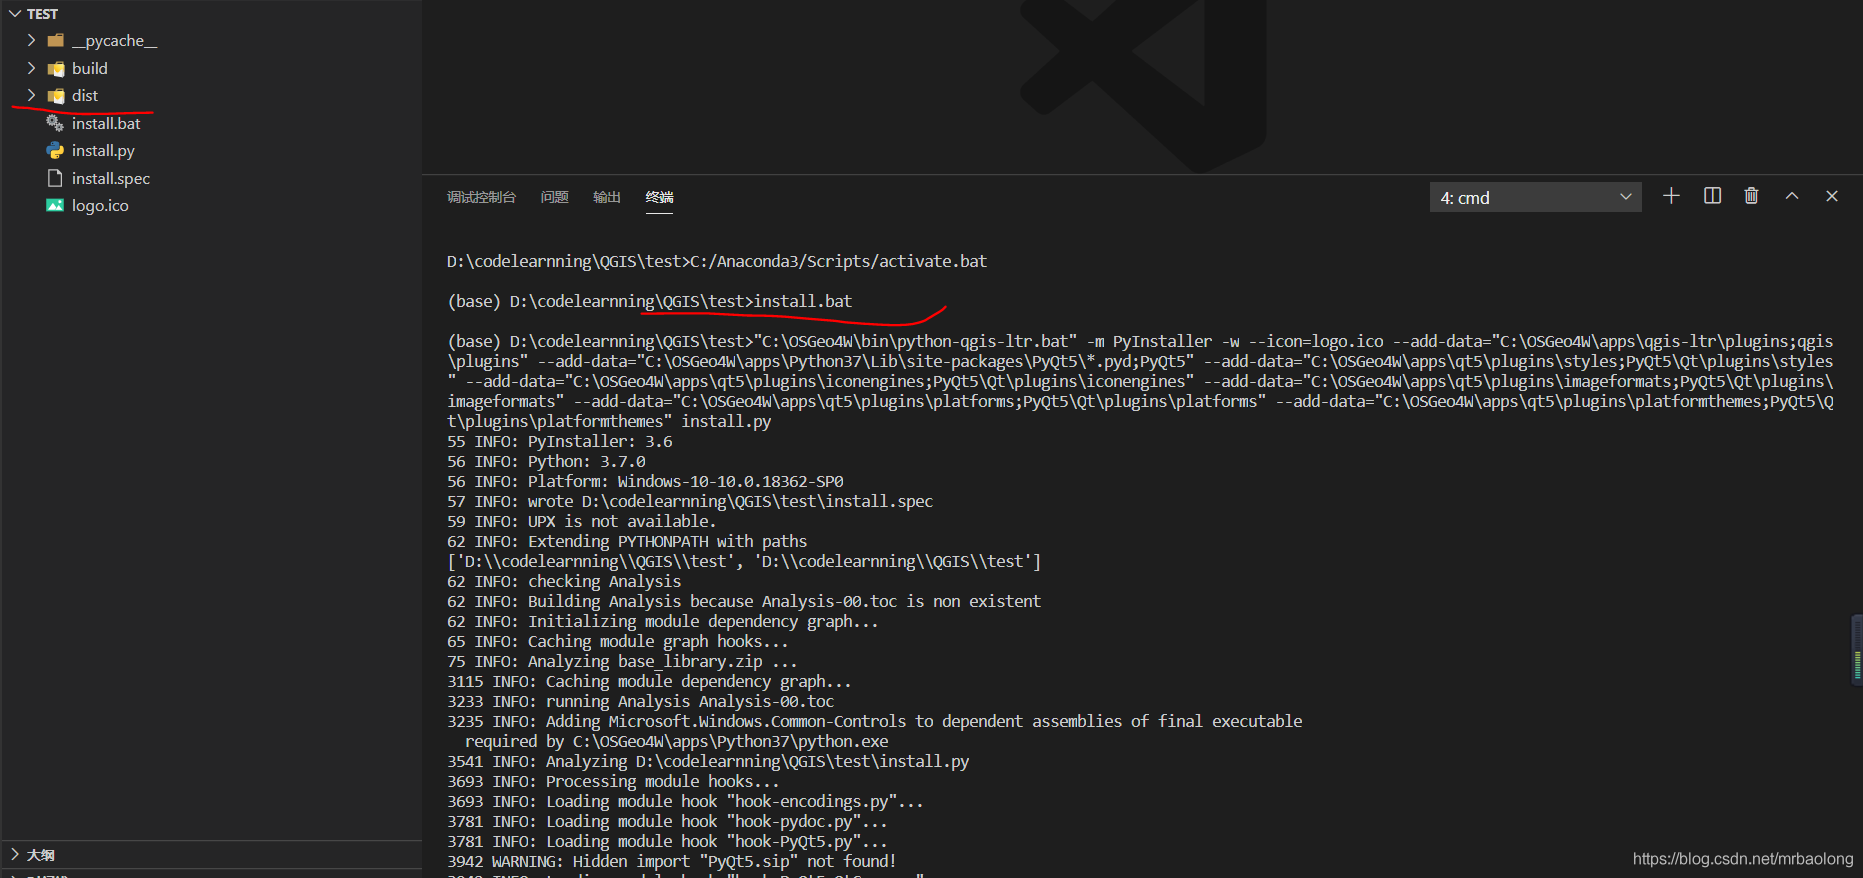
命令行在当前目录下执行install.bat
执行结果如下:
- 运行打包后的程序
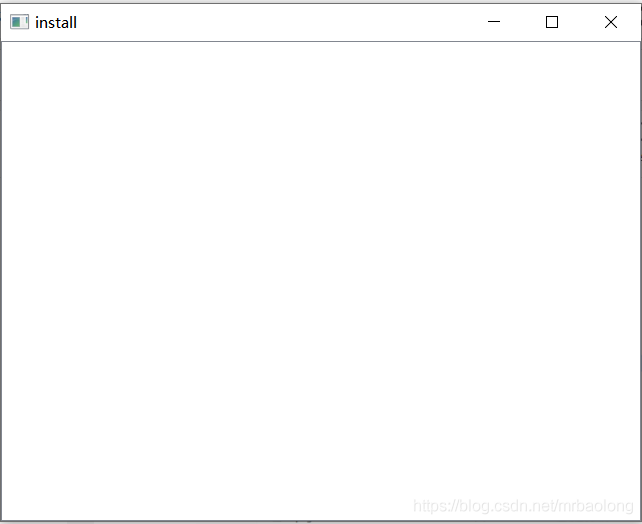
dist\install\install.exe

执行结果:
注意:QgsApplication.setPrefixPath('qgis', True)指的是打包后的安装目录。


Reference
https://blog.youkuaiyun.com/this_is_id/article/details/102974721


 1880
1880

 被折叠的 条评论
为什么被折叠?
被折叠的 条评论
为什么被折叠?
 到【灌水乐园】发言


