


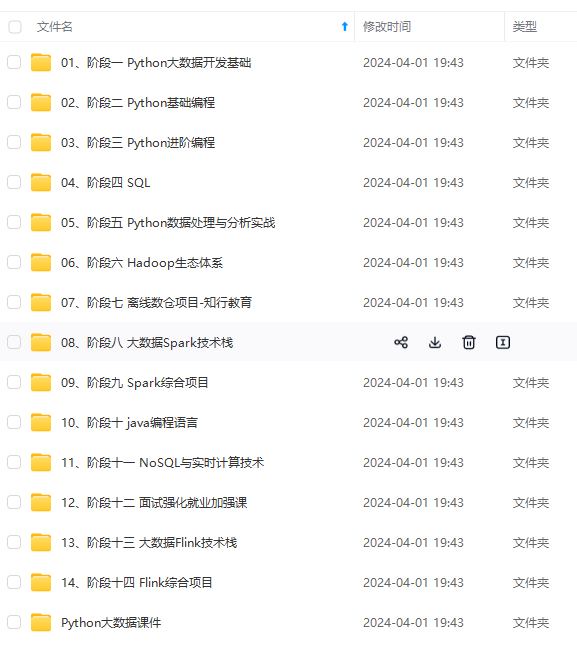
既有适合小白学习的零基础资料,也有适合3年以上经验的小伙伴深入学习提升的进阶课程,涵盖了95%以上大数据知识点,真正体系化!
由于文件比较多,这里只是将部分目录截图出来,全套包含大厂面经、学习笔记、源码讲义、实战项目、大纲路线、讲解视频,并且后续会持续更新
| Cluster | 配置集群名称 |
| Node | 配置当前节点信息(节点名称默认主机名) |
| Paths | 指定数据和日志保存路径 |
| Memory | 内存使用相关配置 |
| Network | 网络相关配置(主机ip,端口等) |
| Discovery | 集群相关参数配置 |
| BEGIN SECURITY AUTO CONFIGURATION | ES8.0默认使用security,启动时添加的配置 |
’4、Elasticsearch 启动
4.1、直接启动(默认开启security)
4.1.1、不修改配置文件启动
首次启动 Elasticsearch 时,会自动进行以下安全配置:
1)、为传输层和 HTTP 层生成 TLS 证书和密钥;
2)、TLS 配置设置被写入 elasticsearch.yml(BEGIN SECURITY AUTO CONFIGURATION 模块);
3)、为 elastic 用户生成密码。
4)、为 Kibana 生成一个注册令牌。
# 使用 elasticsearch 用户,进入bin目录执行
./elasticsearch -d
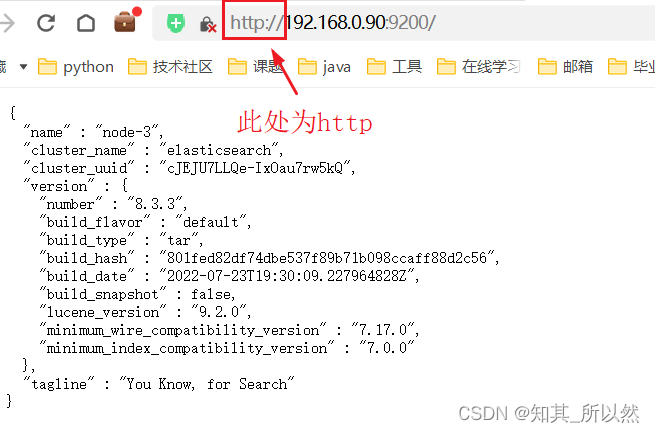
启动成功如下图:

验证服务状态,使用生成的密码登录(用户名:elastic,密码启动成功生成的):
4.1.2、修改密码
忘记密码怎么办,使用重新生成或者自定义密码。
# 1、重新生成密码
./elasticsearch-reset-password -u elastic # 可以使用./elasticsearch-reset-password --help查看使用
# 2、自定义密码
./elasticsearch-reset-password --username elastic -i

4.1.3、Elasticsearch 启动后配置文件(elasticsearch.yml)变化
新增如下内容(这些内容是针对security自动添加的):
#----------------------- BEGIN SECURITY AUTO CONFIGURATION -----------------------#
# Enable security features
xpack.security.enabled: true
xpack.security.enrollment.enabled: true
# Enable encryption for HTTP API client connections, such as Kibana, Logstash, and Agents
xpack.security.http.ssl:
  enabled: true
  keystore.path: certs/http.p12
# Enable encryption and mutual authentication between cluster nodes
xpack.security.transport.ssl:
  enabled: true
  verification_mode: certificate
  keystore.path: certs/transport.p12
  truststore.path: certs/transport.p12
# Create a new cluster with the current node only
# Additional nodes can still join the cluster later
cluster.initial_master_nodes: ["node-3"]
# Allow HTTP API connections from anywhere
# Connections are encrypted and require user authentication
http.host: 0.0.0.0
# Allow other nodes to join the cluster from anywhere
# Connections are encrypted and mutually authenticated
#transport.host: 0.0.0.0
#----------------------- END SECURITY AUTO CONFIGURATION -------------------------
4.2、关闭security 启动
4.2.1、修改配置文件
修改elasticsearch.yml配置文件如下:
#----------------------- BEGIN SECURITY AUTO CONFIGURATION -----------------------
# Enable security features
xpack.security.enabled: false  # 将此处设置为false,即为关闭security
xpack.security.enrollment.enabled: true
# Enable encryption for HTTP API client connections, such as Kibana, Logstash, and Agents
xpack.security.http.ssl:
  enabled: true
  keystore.path: certs/http.p12
# Enable encryption and mutual authentication between cluster nodes
xpack.security.transport.ssl:
  enabled: true
  verification_mode: certificate
  keystore.path: certs/transport.p12
  truststore.path: certs/transport.p12
# Create a new cluster with the current node only
# Additional nodes can still join the cluster later
cluster.initial_master_nodes: ["node-3"]
# Allow HTTP API connections from anywhere
# Connections are encrypted and require user authentication
http.host: 0.0.0.0
# Allow other nodes to join the cluster from anywhere
# Connections are encrypted and mutually authenticated
#transport.host: 0.0.0.0
#----------------------- END SECURITY AUTO CONFIGURATION -------------------------
4.2.2、启动
# 使用 elasticsearch 用户,进入bin目录执行
./elasticsearch -d
直接访问不需要输入用户名,密码。
5、安装过程中出现的问题
5.1、未新创建用户启动Elasticsearch
使用root账户直接启动会报错,新建账户,并且给Elasticsearch目录赋新用户权限,再启动即可。
5.2、操作系统设置问题
启动Elasticsearch出现错误:
max file descriptors [4096] for elasticsearch process is too low, increase to at least [65535]
bootstrap check failure [2] of [2]: max virtual memory areas vm.max_map_count [65530] is too low, increase to at least [262144]
解决方式(使用root用户更改):
# 1、修改操作系统文件描述符参数
vim /etc/security/limits.conf
# 添加下面内容
* soft nofile 65536
* hard nofile 65536
* soft nproc 4096
* hard nproc 4096
# 注:*后面有空格
# 2、修改vm.max_map_count
vim /etc/sysctl.conf
# 添加下面内容
vm.max_map_count=262144
# 检查是否保存
sysctl -p
# 3、重启服务器
reboot
6、总结
本文详细介绍Elasticsearch在打开和关闭Security情况下的安装使用,以及对安装过程遇到的一些问题进行记录,帮助大家在centos7系统中够顺利安装和使用Elasticsearch。后续将介绍集群安装和使用。
本人是一个从小白自学计算机技术,对运维、后端、各种中间件技术、大数据等有一定的学习心得,想获取自学总结资料(pdf版本)或者希望共同学习,关注微信公众号:it自学社团。后台回复相应技术名称/技术点即可获得。(本人学习宗旨:学会了就要免费分享)


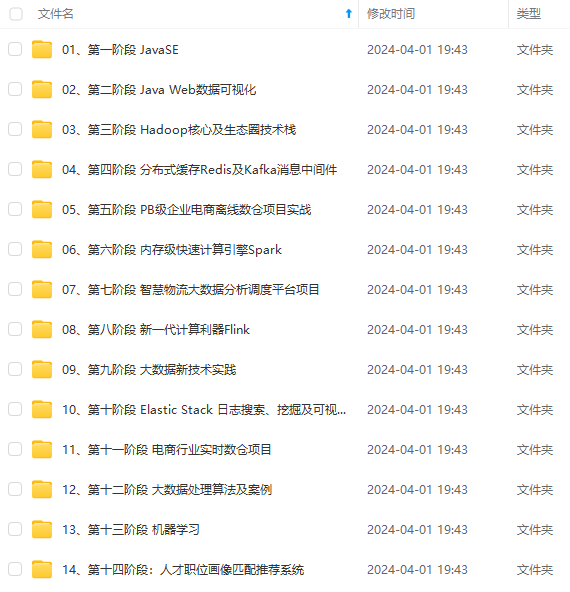
既有适合小白学习的零基础资料,也有适合3年以上经验的小伙伴深入学习提升的进阶课程,涵盖了95%以上大数据知识点,真正体系化!
由于文件比较多,这里只是将部分目录截图出来,全套包含大厂面经、学习笔记、源码讲义、实战项目、大纲路线、讲解视频,并且后续会持续更新
14962269261)]
既有适合小白学习的零基础资料,也有适合3年以上经验的小伙伴深入学习提升的进阶课程,涵盖了95%以上大数据知识点,真正体系化!
由于文件比较多,这里只是将部分目录截图出来,全套包含大厂面经、学习笔记、源码讲义、实战项目、大纲路线、讲解视频,并且后续会持续更新


 被折叠的 条评论
为什么被折叠?
被折叠的 条评论
为什么被折叠?
 到【灌水乐园】发言


