


继之前的前后端代码之后,下面来最后完善一下登录以及用户模块的剩下部分
之前是将登录后得到的JWT直接放到前端带啊吗后运行的,这里要想不手动添加,可以使用Pinia状态管理库,(用于跨组件或页面共享状态)

来看看Pinia的的使用方法:
1.安装pinia:
npm install pinia
npm install pinia-persistedstate-plugin(这里再安装一个persist(pinia的持久化插件))
使用Pinia
在main.js中,引入pinia,创建pinia实例,并调用vue应用实例的use方法使用pinia
import { createPinia } from 'pinia'

const pinia = createPinia()
app.use(pinia)
定义Store
在src/stores目录下定义token.js
import { defineStore } from "pinia";
import {ref} from 'vue';

/*
    defineStore参数描述:
        第一个参数:给状态起名,具有唯一性
        第二个参数:函数,可以把定义该状态中拥有的内容

    defineStore返回值描述:
        返回的是一个函数,将来可以调用该函数,得到第二个参数中返回的内容
*/
export const useTokenStore = defineStore('token',()=>{
    //1.定义描述token
    const token = ref('')

    //2.定义修改token的方法
    const setToken = (newToken)=>{
        token.value = newToken
    }

    //3.定义移除token的方法
    const removeToken = ()=>{
        token.value=''
    }
    return {
        token,setToken,removeToken
    }
})
使用Store
//导入token状态
import { useTokenStore } from '@/stores/token.js'
//调用useTokenStore得到状态
const tokenStore = useTokenStore();
//用于登录的事件函数
const login = async () => {
let result = await loginService(registerData.value)
//保存token
tokenStore.setToken(result.data)
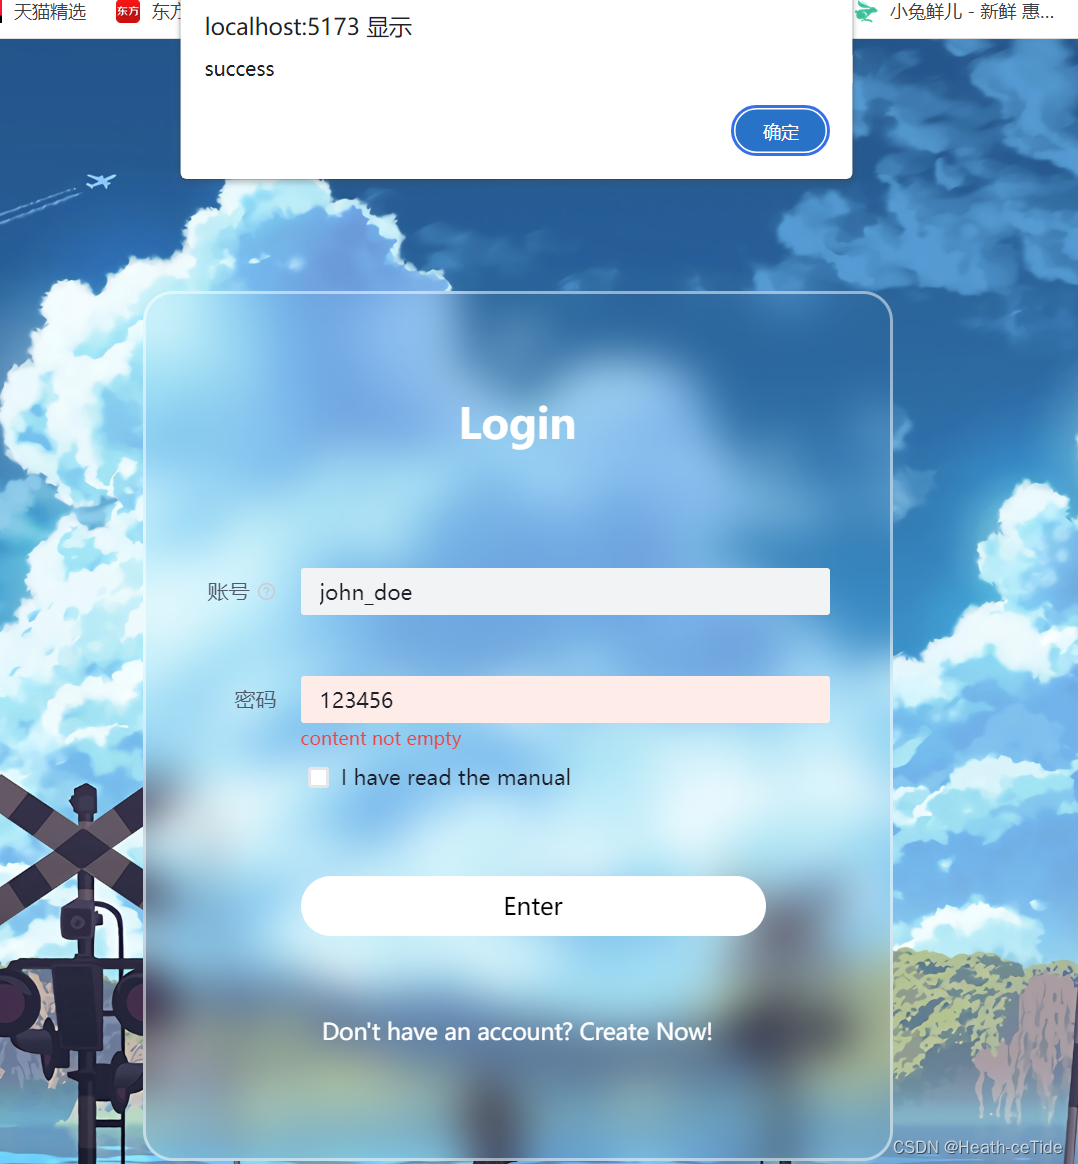
ElMessage.success('登录成功!')
router.push('/')
}//导入@/stores/token.js
import { useTokenStore } from '../stores/token'
//文章分类列表查询
export const articleCategoryListService = () => {
//获取token状态
const tokenStore = useTokenStore()
//通过请求头Authorization携带token
return request.get('/category', { headers: { 'Authorization': tokenStore.token } })
}pinia中使用persist插件
在main.js中
import { createPinia } from 'pinia'
//导入持久化插件
import {createPersistedState} from'pinia-persistedstate-plugin'
const pinia = createPinia()
const persist = createPersistedState()
//pinia使用持久化插件
pinia.use(persisOK,来试试:
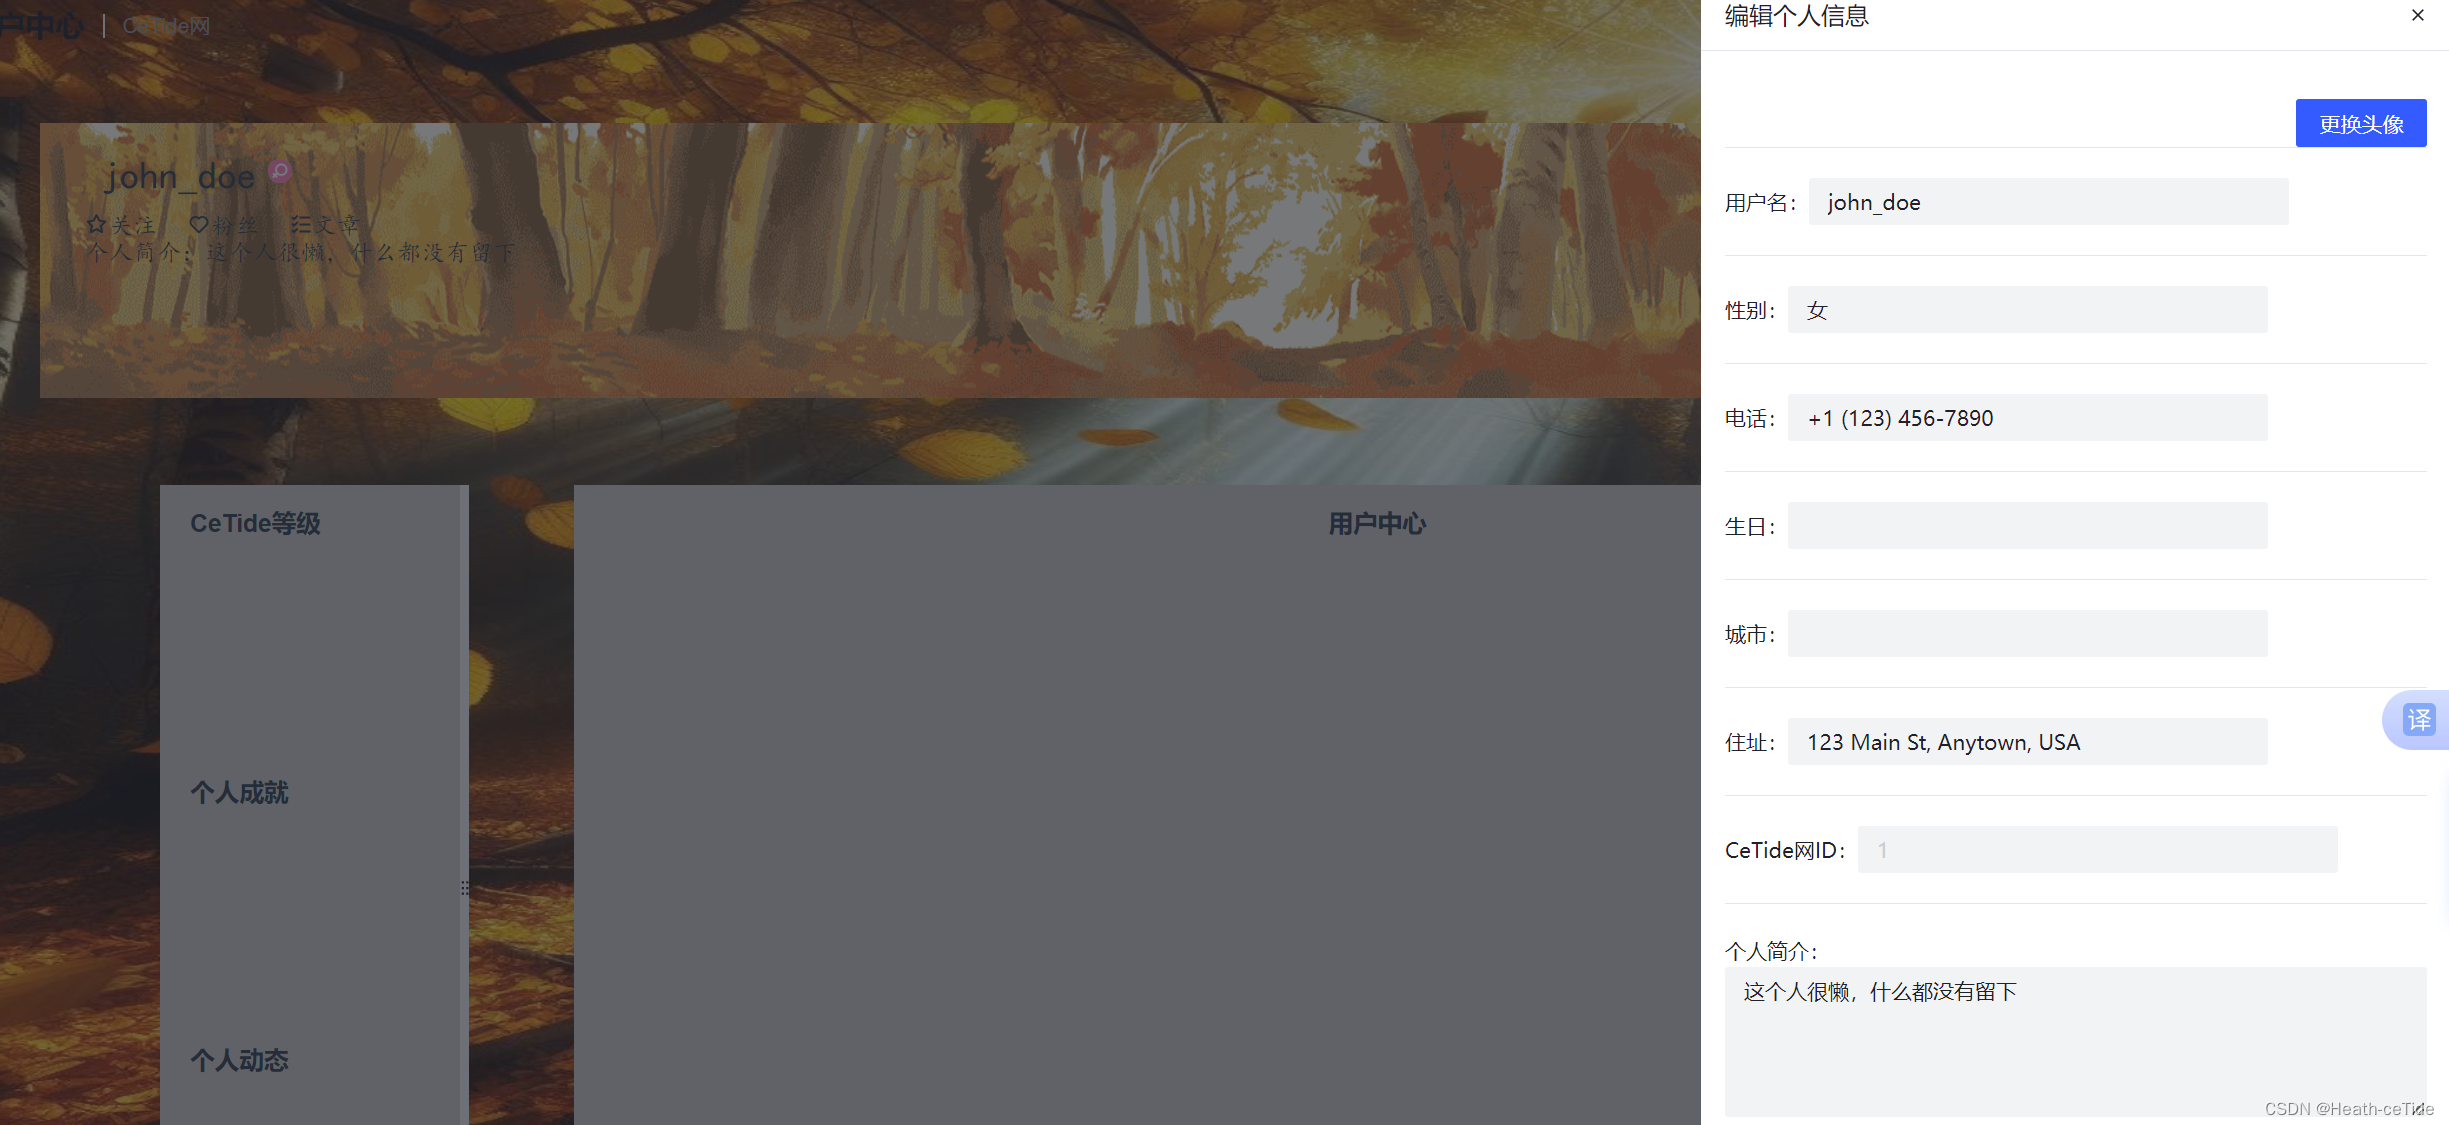
大部分信息都渲染到前端这里了(这里有几个属性没有显示出来,因为前后端属性名有一些区别,这里需要注意一下)
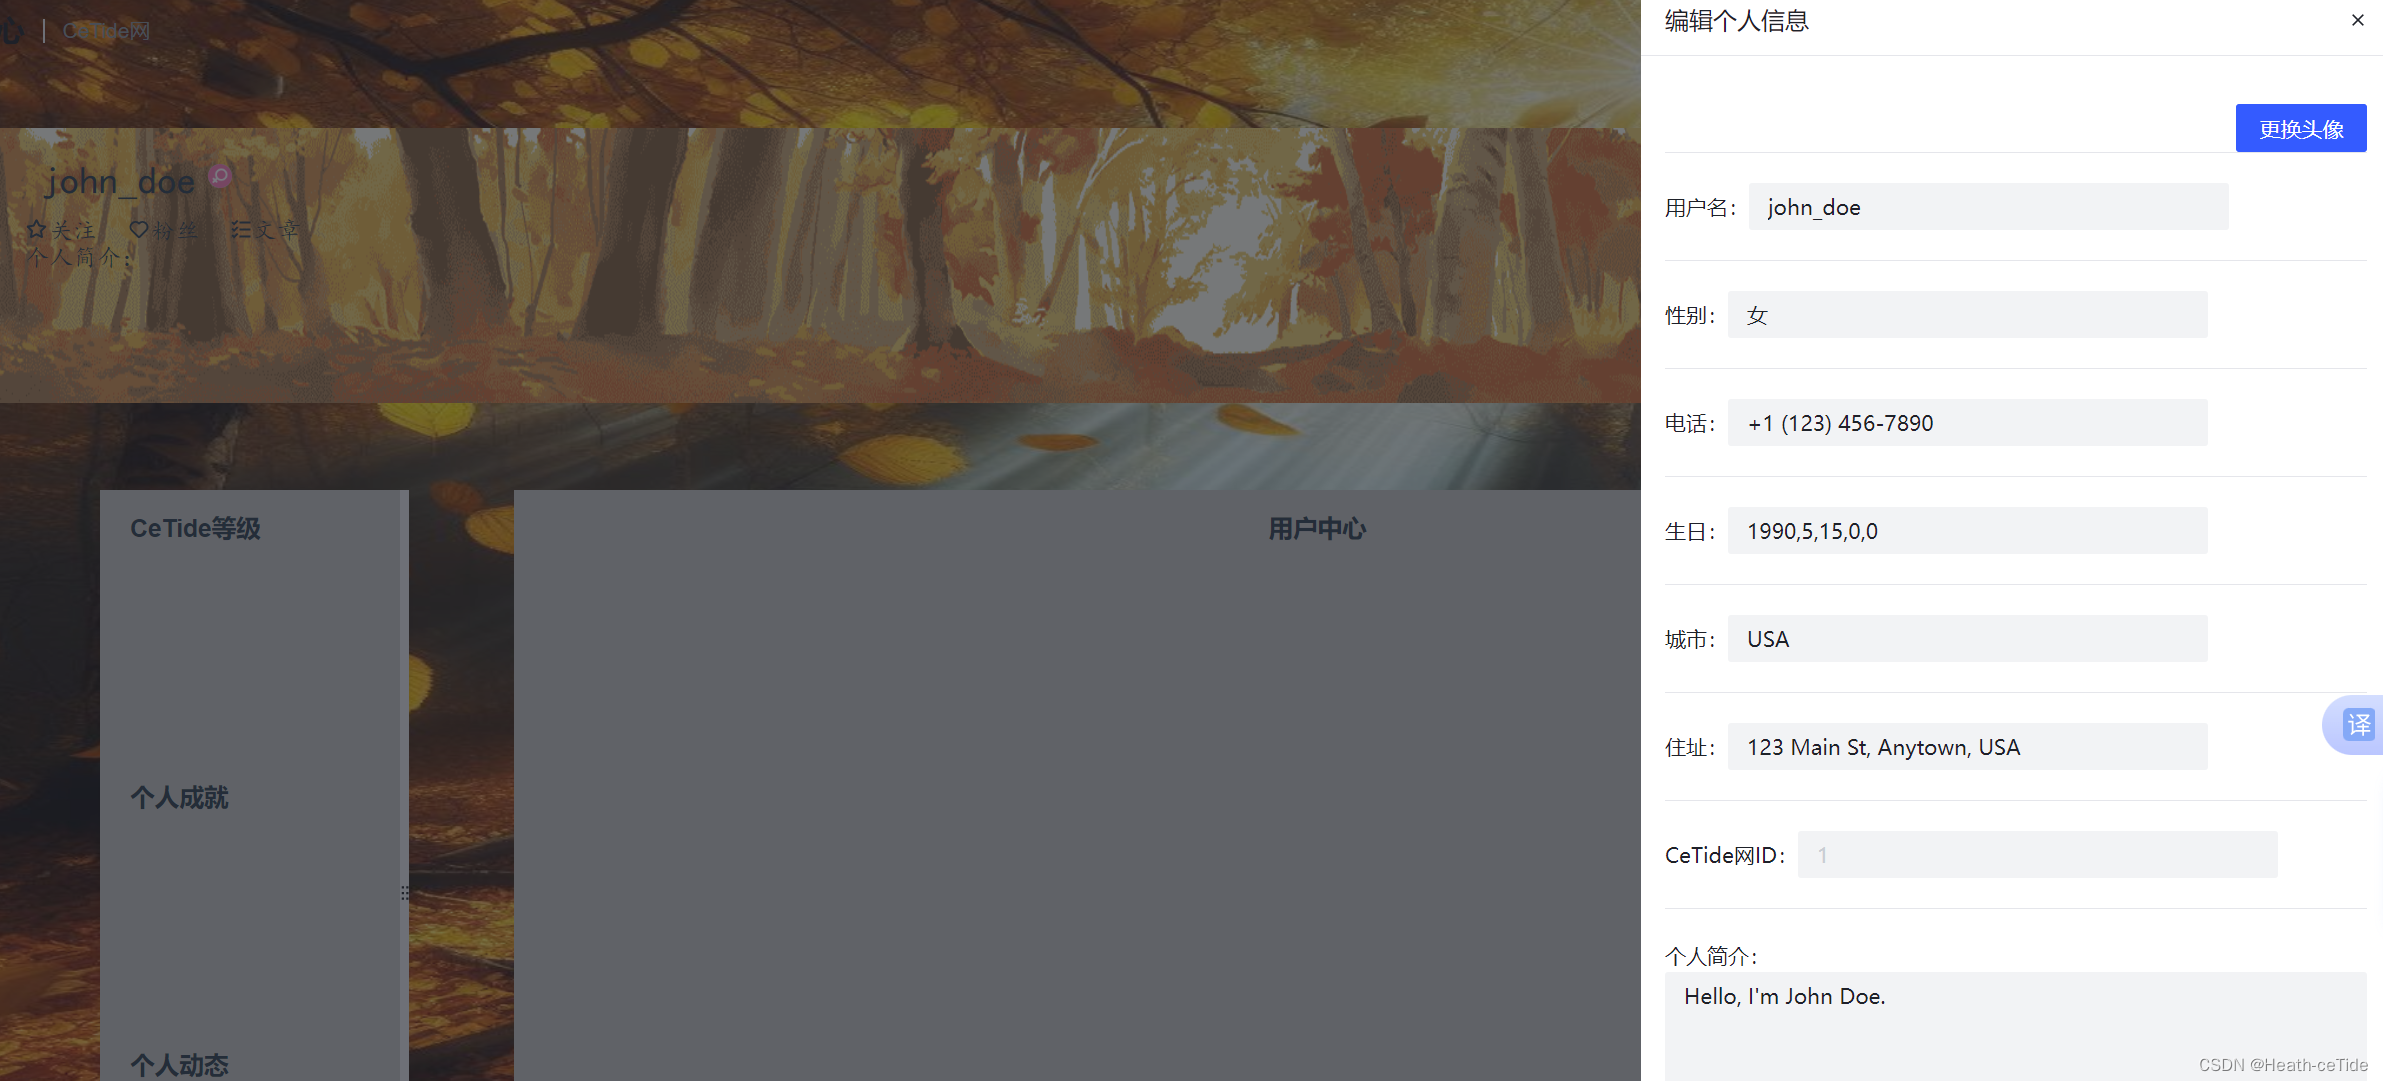
修改一下就OK了
然后开始做修改用户信息接口
    @PostMapping("/user/update")
    @ApiOperation(value ="用户信息更新接口")
    public Result<User> update(@RequestBody @Validated User user) {
        System.out.println("用户信息更新");
        Result<User> result = userService.updateInfo(user);
        return result;
    }
@Override
public Result<User> updateInfo(User user) {
User userDO = userMapper.findByUsername(user.getUserName());
if(userDO.getUserName()==null){
return Result.error("用户名信息错误");
}
user.setId(userDO.getId());
boolean isUpdate = userMapper.update(user);
if(!isUpdate){
return Result.error("更新失败");
}加上动态SQL
<mapper namespace="org.example.cetidenet.dao.UserMapper">
    <update id="update">
        update user
            <set>
                <if test="fullName!=null">
                    fullName=#{fullName},
                </if>
                <if test="email!=null">
                    email=#{email},
                </if>
                <if test="avatar!=null">
                    avatar=#{avatar},
                </if>
                <if test="phone!=null">
                    phone = #{phone},
                </if>
                <if test="address!=null">
                    address = #{address},
                </if>
                <if test="country!=null">
                    country = #{country},
                </if>
                <if test="birthday!=null">
                    birthday= #{birthday},
                </if>
                <if test="gender!=null">
                    gender = #{gender},
                </if>
                <if test="bio!=null">
                    bio = #{bio},
                </if>
            </set>
        where id = #{id}
    </update>
</mapper>
这样,后端的用户更新操作就好了,下面看前端
user.js中定义方法
export const userupdateService = (userNum) =>{
    return request.post('/user/update',userNum)
}
最后在用户中心这里使用就可以了。
//更新用户信息
const userUpdate = async()=>{
  let result = await userupdateService(userNum.value);
  console.log(result);
}
<!-- 编辑个人信息的抽屉 -->
<a-drawer
:visible="visible"
:width="500"
@ok="handleOk"
@cancel="handleCancel"
unmountOnClose
@click="userUpdate"
>
<template #title> 编辑个人信息 </template>
<div :style="{ marginBottom: '20px' }">
<div >
<img :src="userNum.userImg" width="70px" height="70px" class="user-img"/>
<a-button type="primary" @click="handleNestedClick" style="float: right;margin-top: 20px"
>更换头像</a-button
>
</div>
<a-divider />
<div> 昵称:<a-input :style="{width:'320px'}" v-model="userNum.fullName" /></div>
<a-divider />
<div> 用户名:<a-input :style="{width:'320px'}" allow-clear v-model="userNum.userName" disabled/></div>
<a-divider />
<div> 性别:<a-input :style="{width:'320px'}" v-model="numSex" /></div>
<a-divider />
<div> 电话:<a-input :style="{width:'320px'}" v-model="userNum.phone"/></div>
<a-divider />
<div> 生日:<a-input :style="{width:'320px'}" v-model="userNum.birthday" /></div>
<a-divider />
<div> 城市:<a-input :style="{width:'320px'}" v-model="userNum.country" /></div>
<a-divider />
<div> 住址:<a-input :style="{width:'320px'}" v-model="userNum.address" /></div>
<a-divider />
<div> CeTide网ID:<a-input :style="{width:'320px'}" v-model="userNum.id" disabled/></div>
<a-divider />
<div> 个人简介: <a-textarea v-model="userNum.bio" allow-clear style="height: 100px"/></div>
</div>
</a-drawer>
<a-drawer
:visible="nestedVisible"
@ok="handleNestedOk"
@cancel="handleNestedCancel"
unmountOnClose
>再绑定事件就可以了。
前端添加未登录的统一处理:
补充响应拦截器内容
在后端响应401时,警告未登录并跳转到登录页
import { useRouter } from "vue-router";
const router = useRouter();

instance.interceptors.response.use(
    result => {
        if (result.data.code == 1) {
            return result.data;
        }
        // 如果为0则表示失败
        console.log(result.data.message || '出现错误');
        return Promise.reject('err'); // 异步的状态转化成失败的状态
    },
    err => {
        // 如果响应状态码时401,代表未登录,给出对应的提示并跳转到登录页
        if (err.response.status === 401) {
            alert('请先登录!');
            router.push('/login');
        } else {
            console.log('服务异常');
            return Promise.reject(err); // 异步的状态转化成失败的状态
        }
    }
);
这是按照之前的逻辑进行的一个跳转,但是实际上,这么做却不能实现跳转:
浏览器点击F12,就会发现
- 拦截器里的
router.push('/')一直报错TypeError: Cannot read properties of undefined (reading 'push'),这就很难受,搞了半天,才知道是响应拦截器中无法使用Router
那么之前的方法无法实现页面的跳转,那如何实现呢,这里需要改变定义方法:
用import router from '@/router'
import router from '@/router'
//来一个响应拦截器
instance.interceptors.response.use(
    result => {
        if (result.data.code == 1) {
            return result.data;
        }
        // 如果为0则表示失败
        console.log(result.data.message || '出现错误');
        return Promise.reject('err'); // 异步的状态转化成失败的状态
    },
    err => {
        // 如果响应状态码时401,代表未登录,给出对应的提示并跳转到登录页
        if (err.response.status === 401) {
            alert('请先登录!');
            router.push('/login');
        } else {
            console.log('服务异常');
            return Promise.reject(err); // 异步的状态转化成失败的状态
        }
    }
);
注释或删掉之前的定义方法,此处使用import router from '@/router'即可做到(主要是模块加载的顺序问题,使用之前的方式是无效的)
那么到现在,项目的最基础的crud部分算是解决了,这一部分就结束了,后面就不这样搭建了,而是根据模块,配合其他技术来实现(也不能只是crud,hhh)。


 2万+
2万+

 被折叠的 条评论
为什么被折叠?
被折叠的 条评论
为什么被折叠?
 到【灌水乐园】发言


