


部署LNMP环境
准备基础环境
# 修改主机名
[root@localhost ~]# hostnamectl set-hostname wordpress
# 使用远程连接工具重新连接服务器
[root@wordpress ~]#
# 关闭防火墙和selinux
[root@wordpress ~]# systemctl disable firewalld --now
[root@wordpress ~]# setenforce 0
#配置阿里云yum源
[root@wordpress ~]# rm -rf /etc/yum.repos.d/*
[root@wordpress ~]# curl -o /etc/yum.repos.d/CentOS-Base.repo https://mirrors.aliyun.com/repo/Centos-7.repo
[root@wordpress ~]# yum clean all
[root@wordpress ~]# yum makecache
# 安装初始化工具及epel-release
[root@wordpress ~]# yum install -y wget vim unzip ntpdate epel-release net-tools
# 校对时间
[root@wordpress ~]#
[root@wordpress ~]# ntpdate time.windows.com
#配置静态ip
[root@wordpress ~]# sed -i 's/BOOTPROTO="dhcp"/BOOTPROTO="static"/' /etc/sysconfig/network-scripts/ifcfg-ens33
[root@wordpress ~]# cat >> /etc/sysconfig/network-scripts/ifcfg-ens33 <<EOF
IPADDR=$(ifconfig ens33 |awk 'NR==2 {print $2}')
PREFIX=24
GATEWAY=$(ip r |awk 'NR==1 {print $3}')
DNS1=223.5.5.5
DNS2=223.6.6.6
EOF
#重启网卡
[root@wordpress ~]# systemctl restart network
#测试网络
[root@wordpress ~]# ping baidu.com
PING baidu.com (39.156.66.10) 56(84) bytes of data.
64 bytes from baidu.com (39.156.66.10): icmp_seq=1 ttl=50 time=24.0 ms
64 bytes from baidu.com (39.156.66.10): icmp_seq=2 ttl=50 time=24.2 ms
64 bytes from baidu.com (39.156.66.10): icmp_seq=3 ttl=50 time=23.8 ms
64 bytes from baidu.com (39.156.66.10): icmp_seq=4 ttl=50 time=23.5 ms
^C
--- baidu.com ping statistics ---
4 packets transmitted, 4 received, 0% packet loss, time 3006ms
rtt min/avg/max/mdev = 23.545/23.945/24.298/0.320 ms
1、安装Mysql数据库
# 安装依赖工具
[root@wordpress ~]# yum install -y yum-utils
# 安装mysql源
[root@wordpress ~]# yum install -y https://dev.mysql.com/get/mysql80-community-release-el7-11.noarch.rpm
# 安装mysql数据库服务
[root@wordpress ~]# yum install -y mysql-server
# 启动mysql数据库服务
[root@wordpress ~]# systemctl start mysqld
# 配置mysql数据库服务开机自启
[root@wordpress ~]# systemctl enable mysqld
# 获取初始密码,并将密码修改为'Qianfeng@123'
[root@wordpress ~]# mysqladmin -p"`awk '/temporary password/{p=$NF}END{print p}' /var/log/mysqld.log`" password 'Name@123'
# 创建数据库'wordpress'
[root@wordpress ~]# mysql -uroot -p'Name@123' -e 'create database wordpress'
2、安装php
[root@wordpress ~]# yum install -y http://rpms.remirepo.net/enterprise/remi-release-7.rpm
[root@wordpress ~]# yum install php80-php-xsl php80-php php80-php-cli php80-php-devel php80-php-gd php80-php-pdo php80-php-mysql php80-php-fpm -y
[root@wordpress ~]# systemctl start php80-php-fpm
3、安装Nginx
# 安装nginx服务
[root@wordpress ~]# yum install -y nginx
# 启动nginx服务
[root@wordpress ~]# systemctl start nginx
# 配置nginx服务开机自启
[root@wordpress ~]# systemctl enable nginx
# 查看是否有80、9000、3306这三个端口
[root@wordpress ~]# ss -tlnp
4、测试Nginx服务于PHP服务是否能关联
#将nginx和php关联起来
[root@wordpress ~]# vim +43 /etc/nginx/nginx.conf
index index.php index.html index.htm;
location ~ \.php$ {
root html;
fastcgi_pass 127.0.0.1:9000;
fastcgi_index index.php;
fastcgi_param SCRIPT_FILENAME /usr/share/nginx/html$fastcgi_script_name;
include fastcgi_params;
}
# 重启nginx服务
[root@wordpress ~]# systemctl restart nginx
#探测文件
[root@wordpress ~]# rm -rf /usr/share/nginx/html/*
[root@wordpress ~]# cd /usr/share/nginx/html/
[root@wordpress ~]# cat >> index.php <<EOF
<?php
phpinfo();
?>
EOF
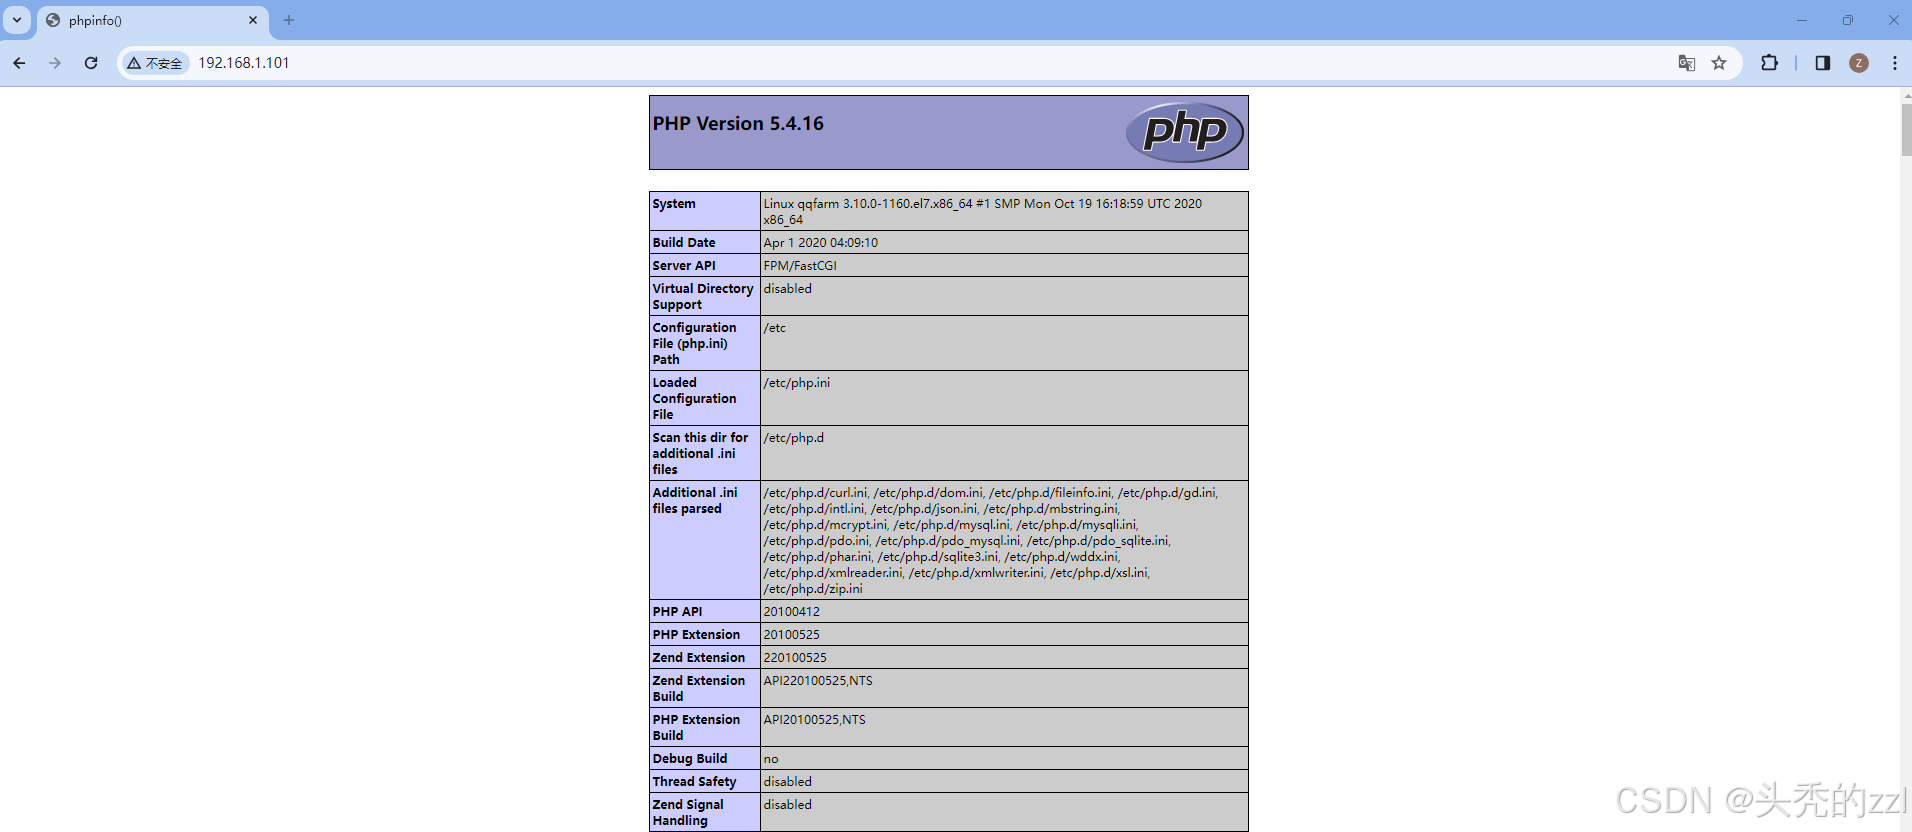
# 通过浏览器进行访问本机IP
5、项目上线
# 上传wordpress源码包到服务器/root/目录中
下载地址:https://download.youkuaiyun.com/download/2301_76281519/89889621
[root@wordpress ~]# ls
anaconda-ks.cfg wordpress-6.6.2-zh_CN.tar.gz
# 解压项目包
[root@wordpress ~]# tar -xf wordpress-6.6.2-zh_CN.tar.gz
# 将源码上传到nginx到网站发布目录
[root@wordpress ~]# rm -rf /usr/share/nginx/html/*
[root@wordpress ~]# cp -r wordpress/* /usr/share/nginx/html/
# 修改目录权限
[root@wordpress upload]# chmod -R 777 /usr/share/nginx/html/
# 使用浏览器,访问服务器IP


 被折叠的 条评论
为什么被折叠?
被折叠的 条评论
为什么被折叠?
 到【灌水乐园】发言


