


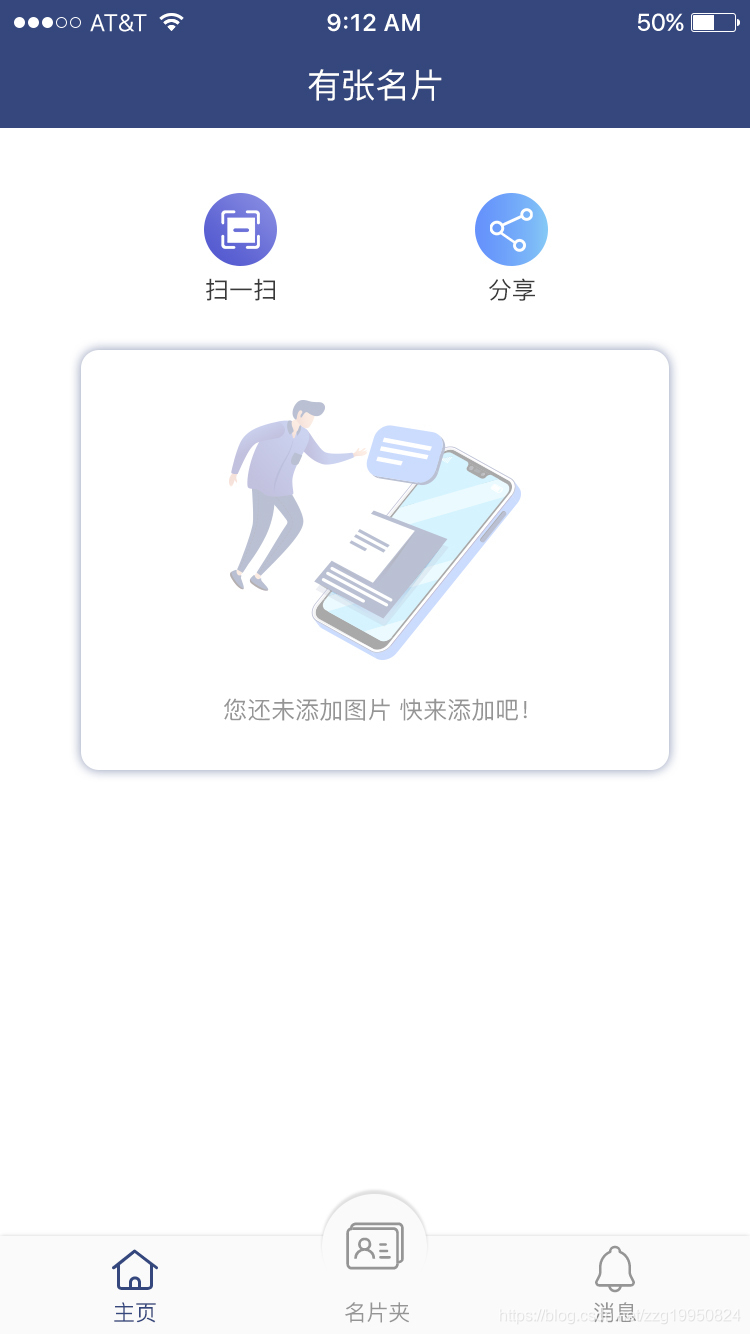
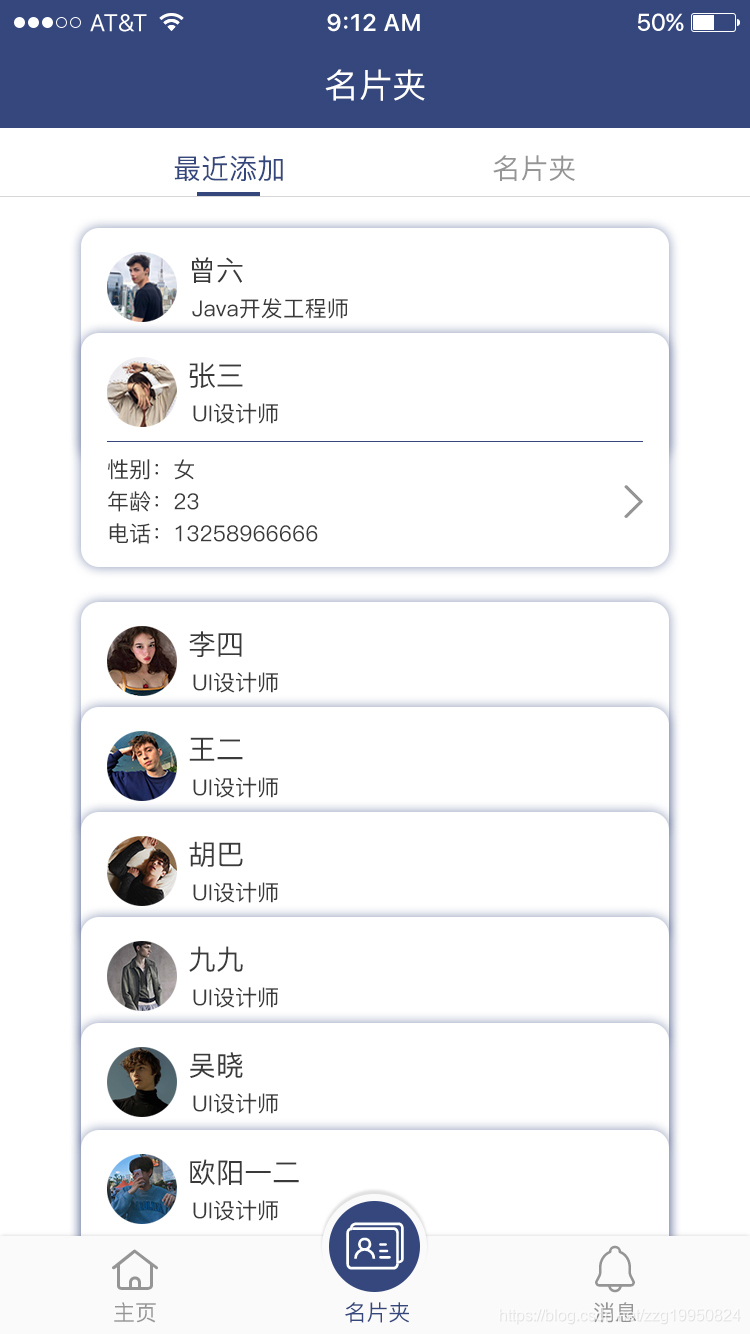
趁着短暂休息的几天 ,简单撸一个微信小程序 ,先看看效果图。
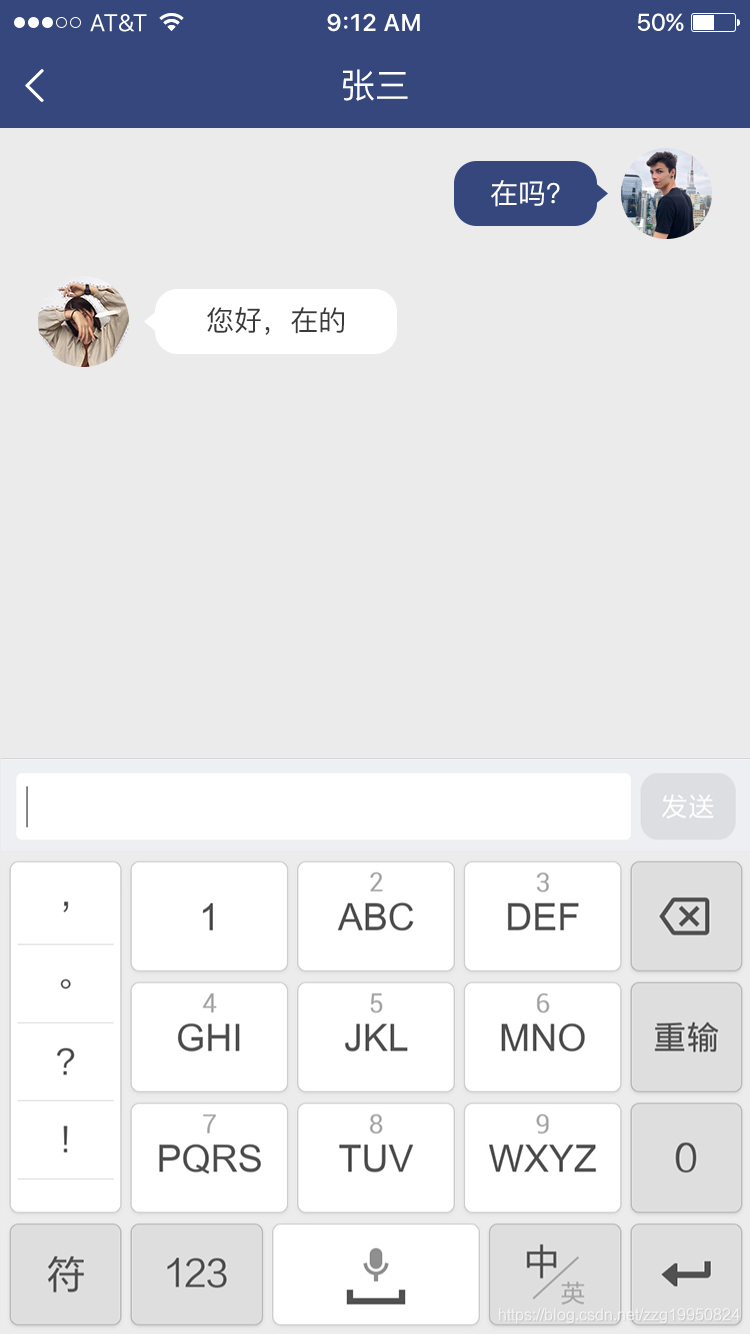
当然 , 以上只是效果图~~~~ , 源码完成后会上传到Github , 看到的大佬能不能指导下完全没有后台服务器的情况下怎么通过纯小程序组件实现MQ或者websocket功能,小程序的圈子生态并没有想象的好 , 即时聊天的实现毫无头绪。。。
以下是主要的笔记, 后续会继续完善
微信小程序API
基础点
1 > 小程序主体
app . js
app . json : 公共配置类 , 可配置全局消息
app . wxss : 公共样式表
2 > 单个页面主体
js : 页面逻辑
wxml : 类似于HTML , 页面DOM
json : 页面配置文件
wxss : 页面样式表
3 > app . json 简述
https://developers.weixin.qq.com/miniprogram/dev/framework/config.html#全局配置
该 文件用于 配置小程序全局配置 , 详细可见API文档 , 主要包括小程序所有的页面路径 , 底部Tab 的设置 , 网络连接 , 是否开发模式 等
组件列表
https://developers.weixin.qq.com/miniprogram/dev/component/
常见的包括 cemera , map , canvas 等
open-data : 开放信息 , 包括用户昵称 , 头像 , 性别 ,城市等
API 列表
- boolean wx.canIUse(string schema) : 判断当前API 是否可用
关键字
wx : for
绑定一个数组 , 其下 {{index}} 是当前项的下标变量名 , 当前项默认为item
自定义下标名 和 对象名
< view wx:for="{{array}}" wx:for-index=“idx” wx:for-item=“itemName”>
可以在 wx : for 中 嵌套 wx : for
wx : if
条件渲染 , 判断是否渲染此代码块 ,
可以 使用 wx : elif 和 wx : else 来进行 if else 判断
<view wx:if="{{length > 5}}">1</view>
<view wx:elif="{{length > 2}}">2</view>
<view wx:else>3</view>
block
block 用于包含 , 判断之后 , 对block 中的均起作用
 <block wx:if="{{'show'==show}}">
        <view class="title">
          <view class="title-img">
            <image class="" src='/images/card-scan.png'></image>
          </view>
</block>
<block wx:elif="{{'scan'==show}}">
        <view class="scan_code">
        </view>
</block>
<block wx:else>

</block>
定义模板
使用 template 标签定义模板
模板的作用域 是 data 中定义定义的数据 以及 模板定义文件中定义的模板
<template name="msgItem">
  <view>
    <text>{{index}}: {{msg}}</text>
    <text>Time: {{time}}</text>
  </view>
</template>

//模板使用 :
<template is="msgItem" data="{{...item}}" />
Page({
  data: {
    item: {
      index: 0,
      msg: 'this is a template',
      time: '2016-09-15'
    }
  }
})
事件
常见事件
touchstart / touchmove / touchcancel ( 触摸被打断 ) / touchend
tap ( 触摸后马上离开 ) / longpress ( 超过350ms 后离开 )
transitionend / animationiteration ( 动画迭代时 ) / animationend
touchforcechange ( 重按时 )
可以将事件绑定在组件上 ( 例如 : bindtap )
- - > Click me!
wxs 函数响应事件 , wxs 函数包含两个参数 , event 和 ownerInstance
<wxs module="wxs" src="./test.wxs"></wxs>
<view id="tapTest" data-hi="WeChat" bindtap="{{wxs.tapName}}">Click me!</view>
function tapName(event, ownerInstance) {
  console.log('tap wechat', JSON.stringify(event))
}
module.exports = {
  tapName: tapName
}
bind 事件绑定不会阻止冒泡事件向上冒泡
catch 事件绑定可以阻止冒泡事件向上冒泡
常见用法
1 > 数据绑定
<view>{{ message }}</view>
Page({
  data: {
    message: 'Hello MINA!'
  }
})
2 > 组件属性
<view id="item-{{id}}"></view>
Page({
  data: {
    id: 0
  }
})
3 > 控制属性 , 即 if 使用
<view wx:if="{{condition}}"></view>
Page({
  data: {
    condition: true
  }
})
4 > {{}} 中简单运算
<view hidden="{{flag ? true : false}}">Hidden</view>
<view>{{a + b}} + {{c}} + d</view>
<view wx:if="{{length > 5}}"></view>
<view>{{"hello" + name}}</view>
<view>{{object.key}} {{array[0]}}</view>
5 > 顶部导航栏名称
wx.setNavigationBarTitle({
  title: '有张名片'
})
6 > 顶部导航栏样式
wx.setNavigationBarColor({
  frontColor: '#ffffff',
  backgroundColor: '#35477D',
  animation: {
    duration: 400,
    timingFunc: 'easeIn'
  }
})
7 > 调用函数阻止冒泡
– > catchtap=‘showscanfun’
8 > 扫一扫
wx.scanCode({
      success(res) {
        console.log(res)
      }
    });
9 > 转发
10 > 微信小程序实现二维码生成
– > 参考 https://github.com/black-ant/weapp-qrcode
11 > 查询数据
  findUserBase: function () {
    const db = wx.cloud.database();
    // 进入查询后this 指向的对象不一样
    let that = this;
    db.collection('database').where({
    }).get({
      success(res) {
        // 输出 [{ "title": "The Catcher in the Rye", ... }]
        console.log("查询数据 :测试");
        console.log(res);
        that.data.userarray = res.data;
        //区别setDate 和 this . data . userarray  , 前者会刷新视图
        that.setData({
          userarray: that.data.userarray,
        });
      }
    });
  },
自定义导航栏
– > https://blog.youkuaiyun.com/weixin_38323736/article/details/78723853
//页面
  <view class="buttom">
    <import src="/pages/template/template.wxml" />
    <template is="tabBar" data="{{tabBar:bindData.tabBar}}" />
  </view>


//页面js
//test.js
//获取应用实例
var app = getApp()
var template = require('../template/template.js');

Page({
  data: {
  },
  onLoad: function() {
    console.log('onLoad test');
    template.tabbar("tabBar", 0, this) //0表示第一个tabbar
  }
});


//Template.js
//初始化数据
function tabbarinit() {
  return [{
      "current": 0,
      "pagePath": "/pages/card/card",
      "icon": "/imgs/home.png",
      "tabtype": "left",
      "icon": "icon-demo17  ",
      "text": "主页"
    },
    {
      "current": 0,
      "pagePath": "/pages/cardlist/cardlist",
      "tabtype": "center",
      "icon": "icon-mingpianjia",
      "text": "名片夹"

    },
    {
      "current": 0,
      "pagePath": "/pages/msg/msg",
      "tabtype": "right",
      "icon": "icon-xiaoxi",
      "text": "消息"
    }
  ]

}
//tabbar 主入口
function tabbarmain(bindName = "tabdata", id, target) {
  var that = target;
  var bindData = {};
  var otabbar = tabbarinit();
  otabbar[id]['iconPath'] = otabbar[id]['selectedIconPath'] //换当前的icon
  otabbar[id]['current'] = 1;
  bindData[bindName] = otabbar
  that.setData({
    bindData
  });
}

module.exports = {
  tabbar: tabbarmain
}


<template name="tabBar">
  <view class="tabBar">
    <block wx:for="{{tabBar}}" wx:for-item="item" wx:key="tabBar">
      <view  class="tabBar-item {{item.tabtype}}">
        <navigator open-type="redirect" url="{{item.pagePath}}">
          <view class="icon-view">
            <text class="iconfont {{item.icon}}"></text>
          </view>
          <view class="tab-text {{item.current== 1 ? 'tabBartext' :''}}">{{item.text}}</view>
        </navigator>
      </view>
    </block>
  </view>
</template>


 869
869

 被折叠的 条评论
为什么被折叠?
被折叠的 条评论
为什么被折叠?
 到【灌水乐园】发言


