


小编今天在学习菜单的使用方法,下面就是给大家整理的一个关于POPmenu的简单案例
编写菜单资源文件
popmenu.xml
<?xml version="1.0" encoding="utf-8"?>
<menu xmlns:android="http://schemas.android.com/apk/res/android">
    <item android:id="@+id/lpig" android:title="菜单一" />
    <item android:id="@+id/bpig" android:title="菜单二" />
</menu>
编写mainActivity的逻辑
package com.example.popmenu;

import androidx.appcompat.app.ActionBar;
import androidx.appcompat.app.AppCompatActivity;

import android.annotation.SuppressLint;
import android.os.Bundle;
import android.view.View;
import android.widget.Button;
import android.widget.PopupMenu;
import android.widget.TextView;

public class MainActivity extends AppCompatActivity {
private Button menu1;


    @SuppressLint("MissingInflatedId")
    @Override
    protected void onCreate(Bundle savedInstanceState) {
        super.onCreate(savedInstanceState);
        setContentView(R.layout.activity_main);
        menu1=findViewById(R.id.menu1);

        menu1.setOnClickListener(new View.OnClickListener() {
            @Override
            public void onClick(View view) {
                PopupMenu popup = new PopupMenu(MainActivity.this,menu1);
                popup.getMenuInflater().inflate(R.menu.popmenu, popup.getMenu());
                popup.show();
            }

        });

    }
}
编写布局文件activity_main.layout
<?xml version="1.0" encoding="utf-8"?>
<androidx.constraintlayout.widget.ConstraintLayout xmlns:android="http://schemas.android.com/apk/res/android"
    xmlns:app="http://schemas.android.com/apk/res-auto"
    xmlns:tools="http://schemas.android.com/tools"
    android:layout_width="match_parent"
    android:layout_height="match_parent"
    tools:context=".MainActivity">

    <Button
        android:layout_width="wrap_content"
        android:layout_height="wrap_content"
        android:id="@+id/menu1"
        android:text="点击弹出菜单"
        app:layout_constraintBottom_toBottomOf="parent"
        app:layout_constraintEnd_toEndOf="parent"
        app:layout_constraintStart_toStartOf="parent"
        app:layout_constraintTop_toTopOf="parent" />

</androidx.constraintlayout.widget.ConstraintLayout>
总结
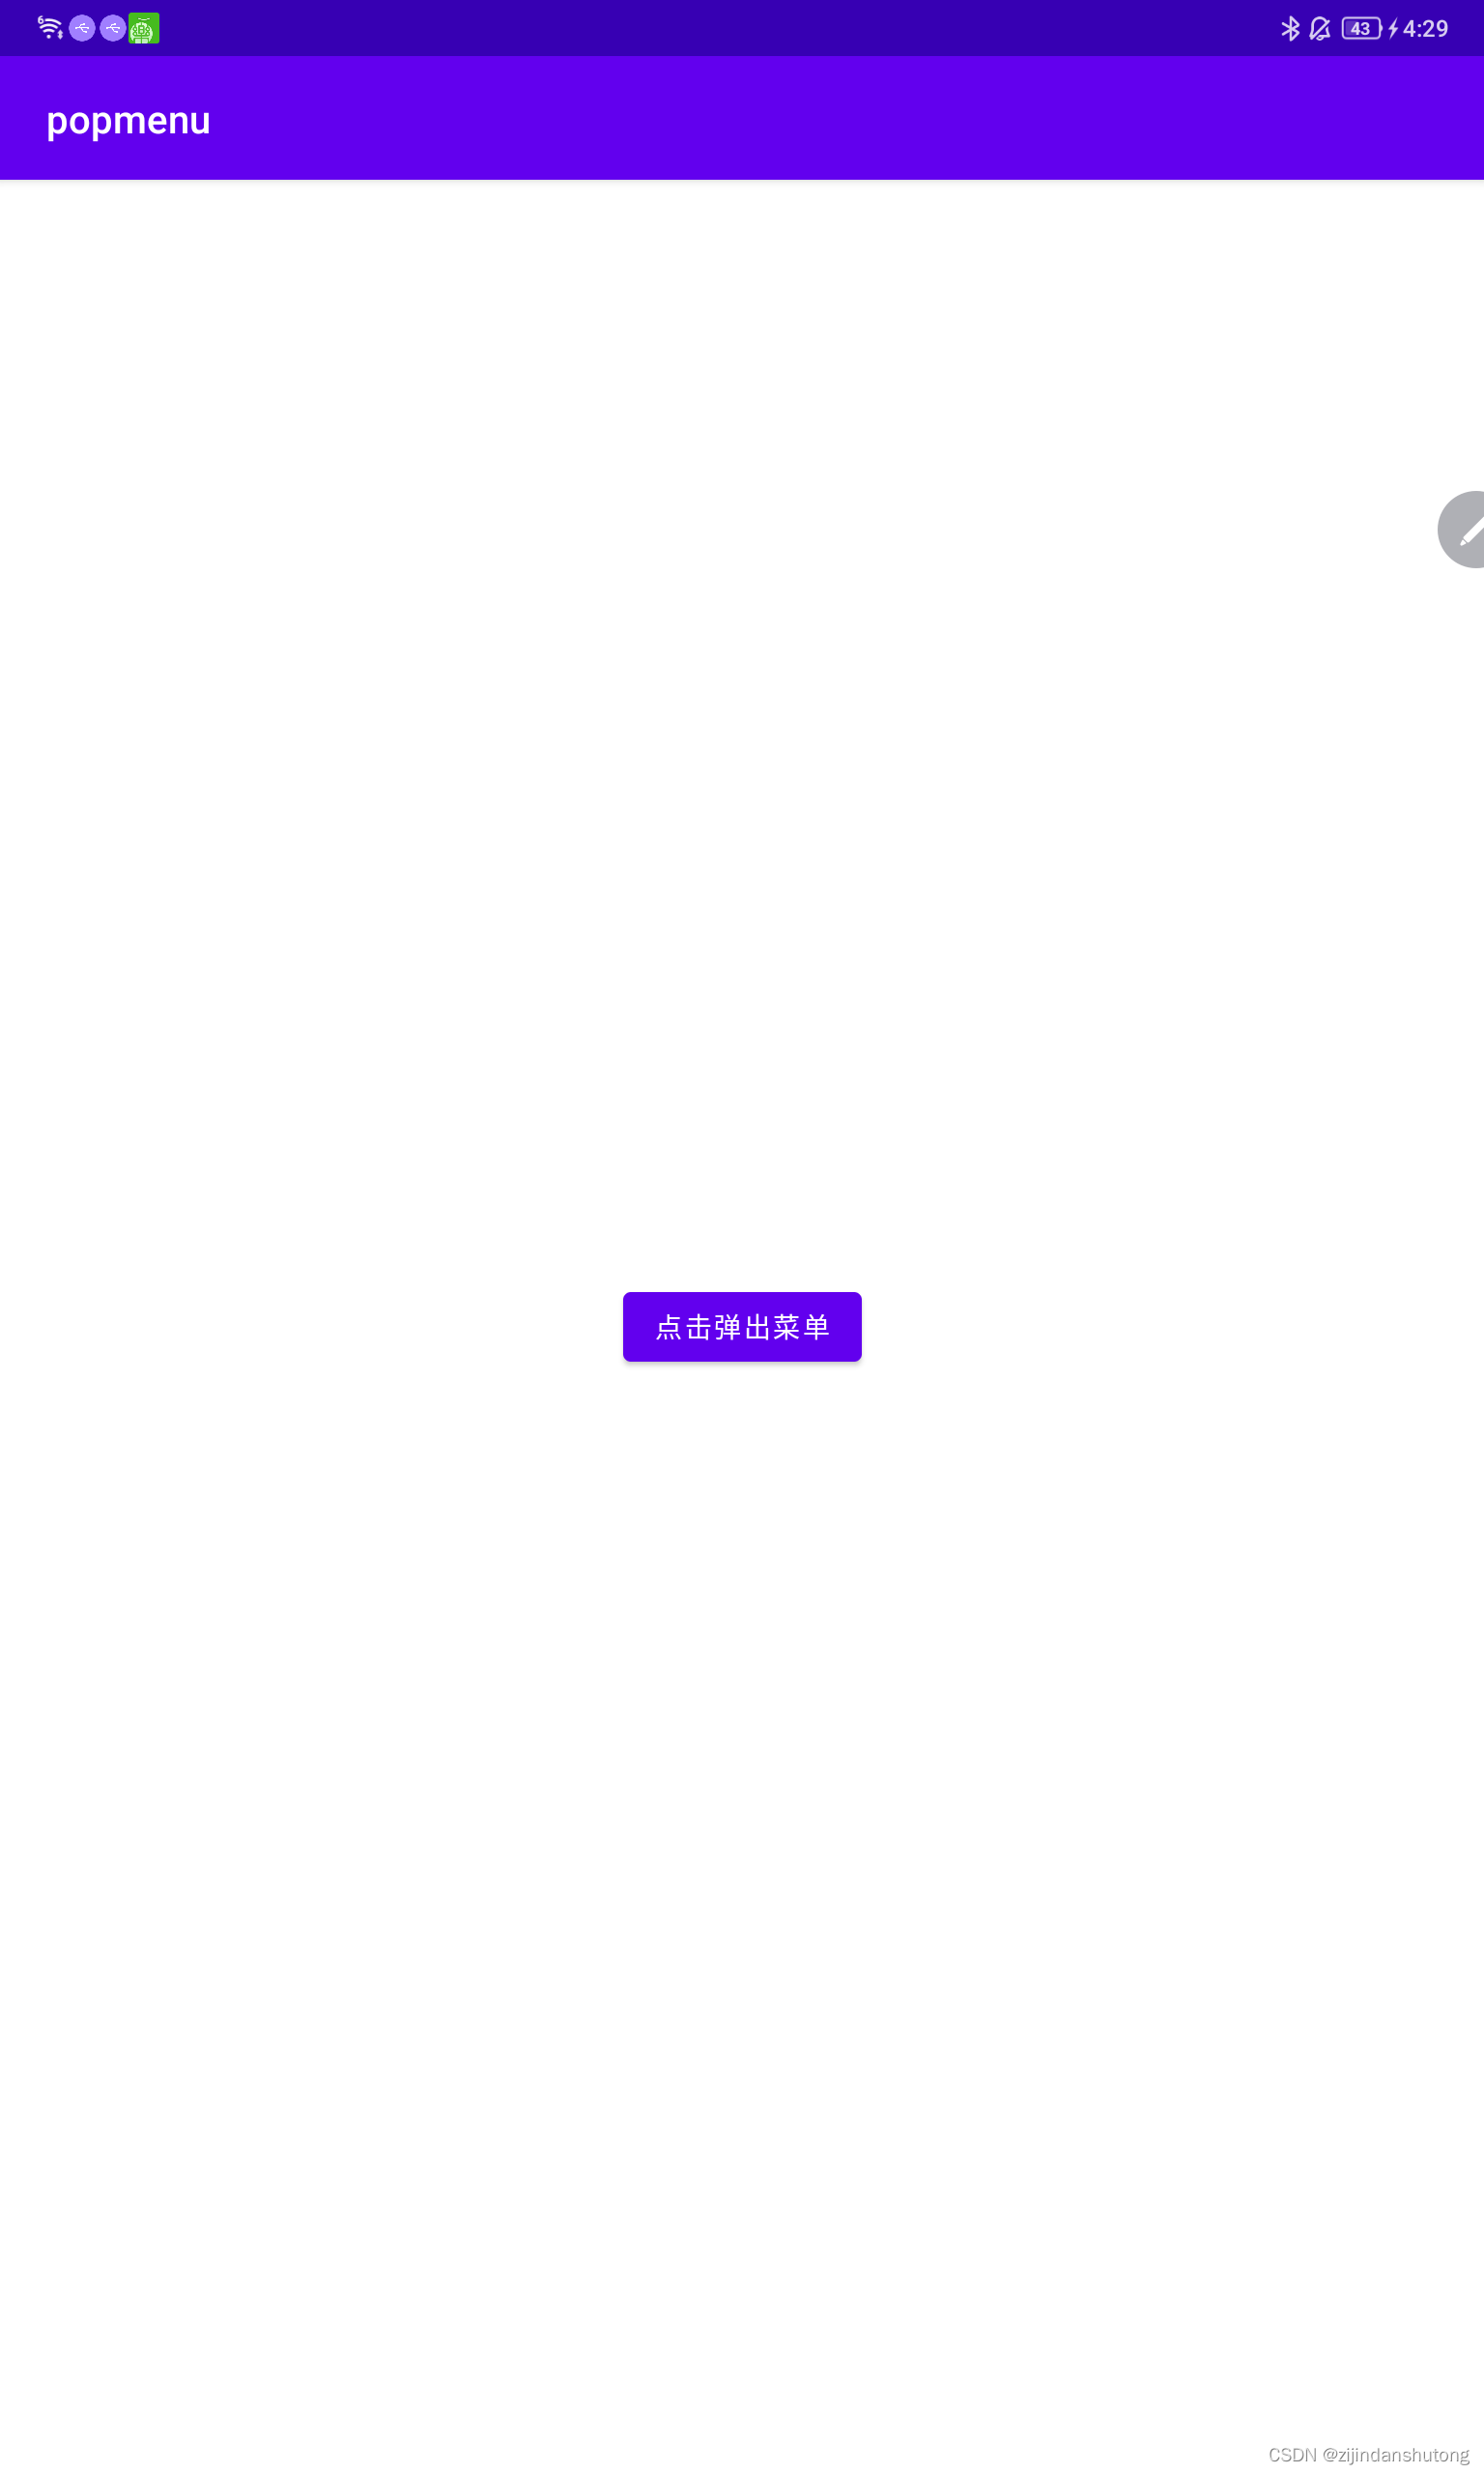
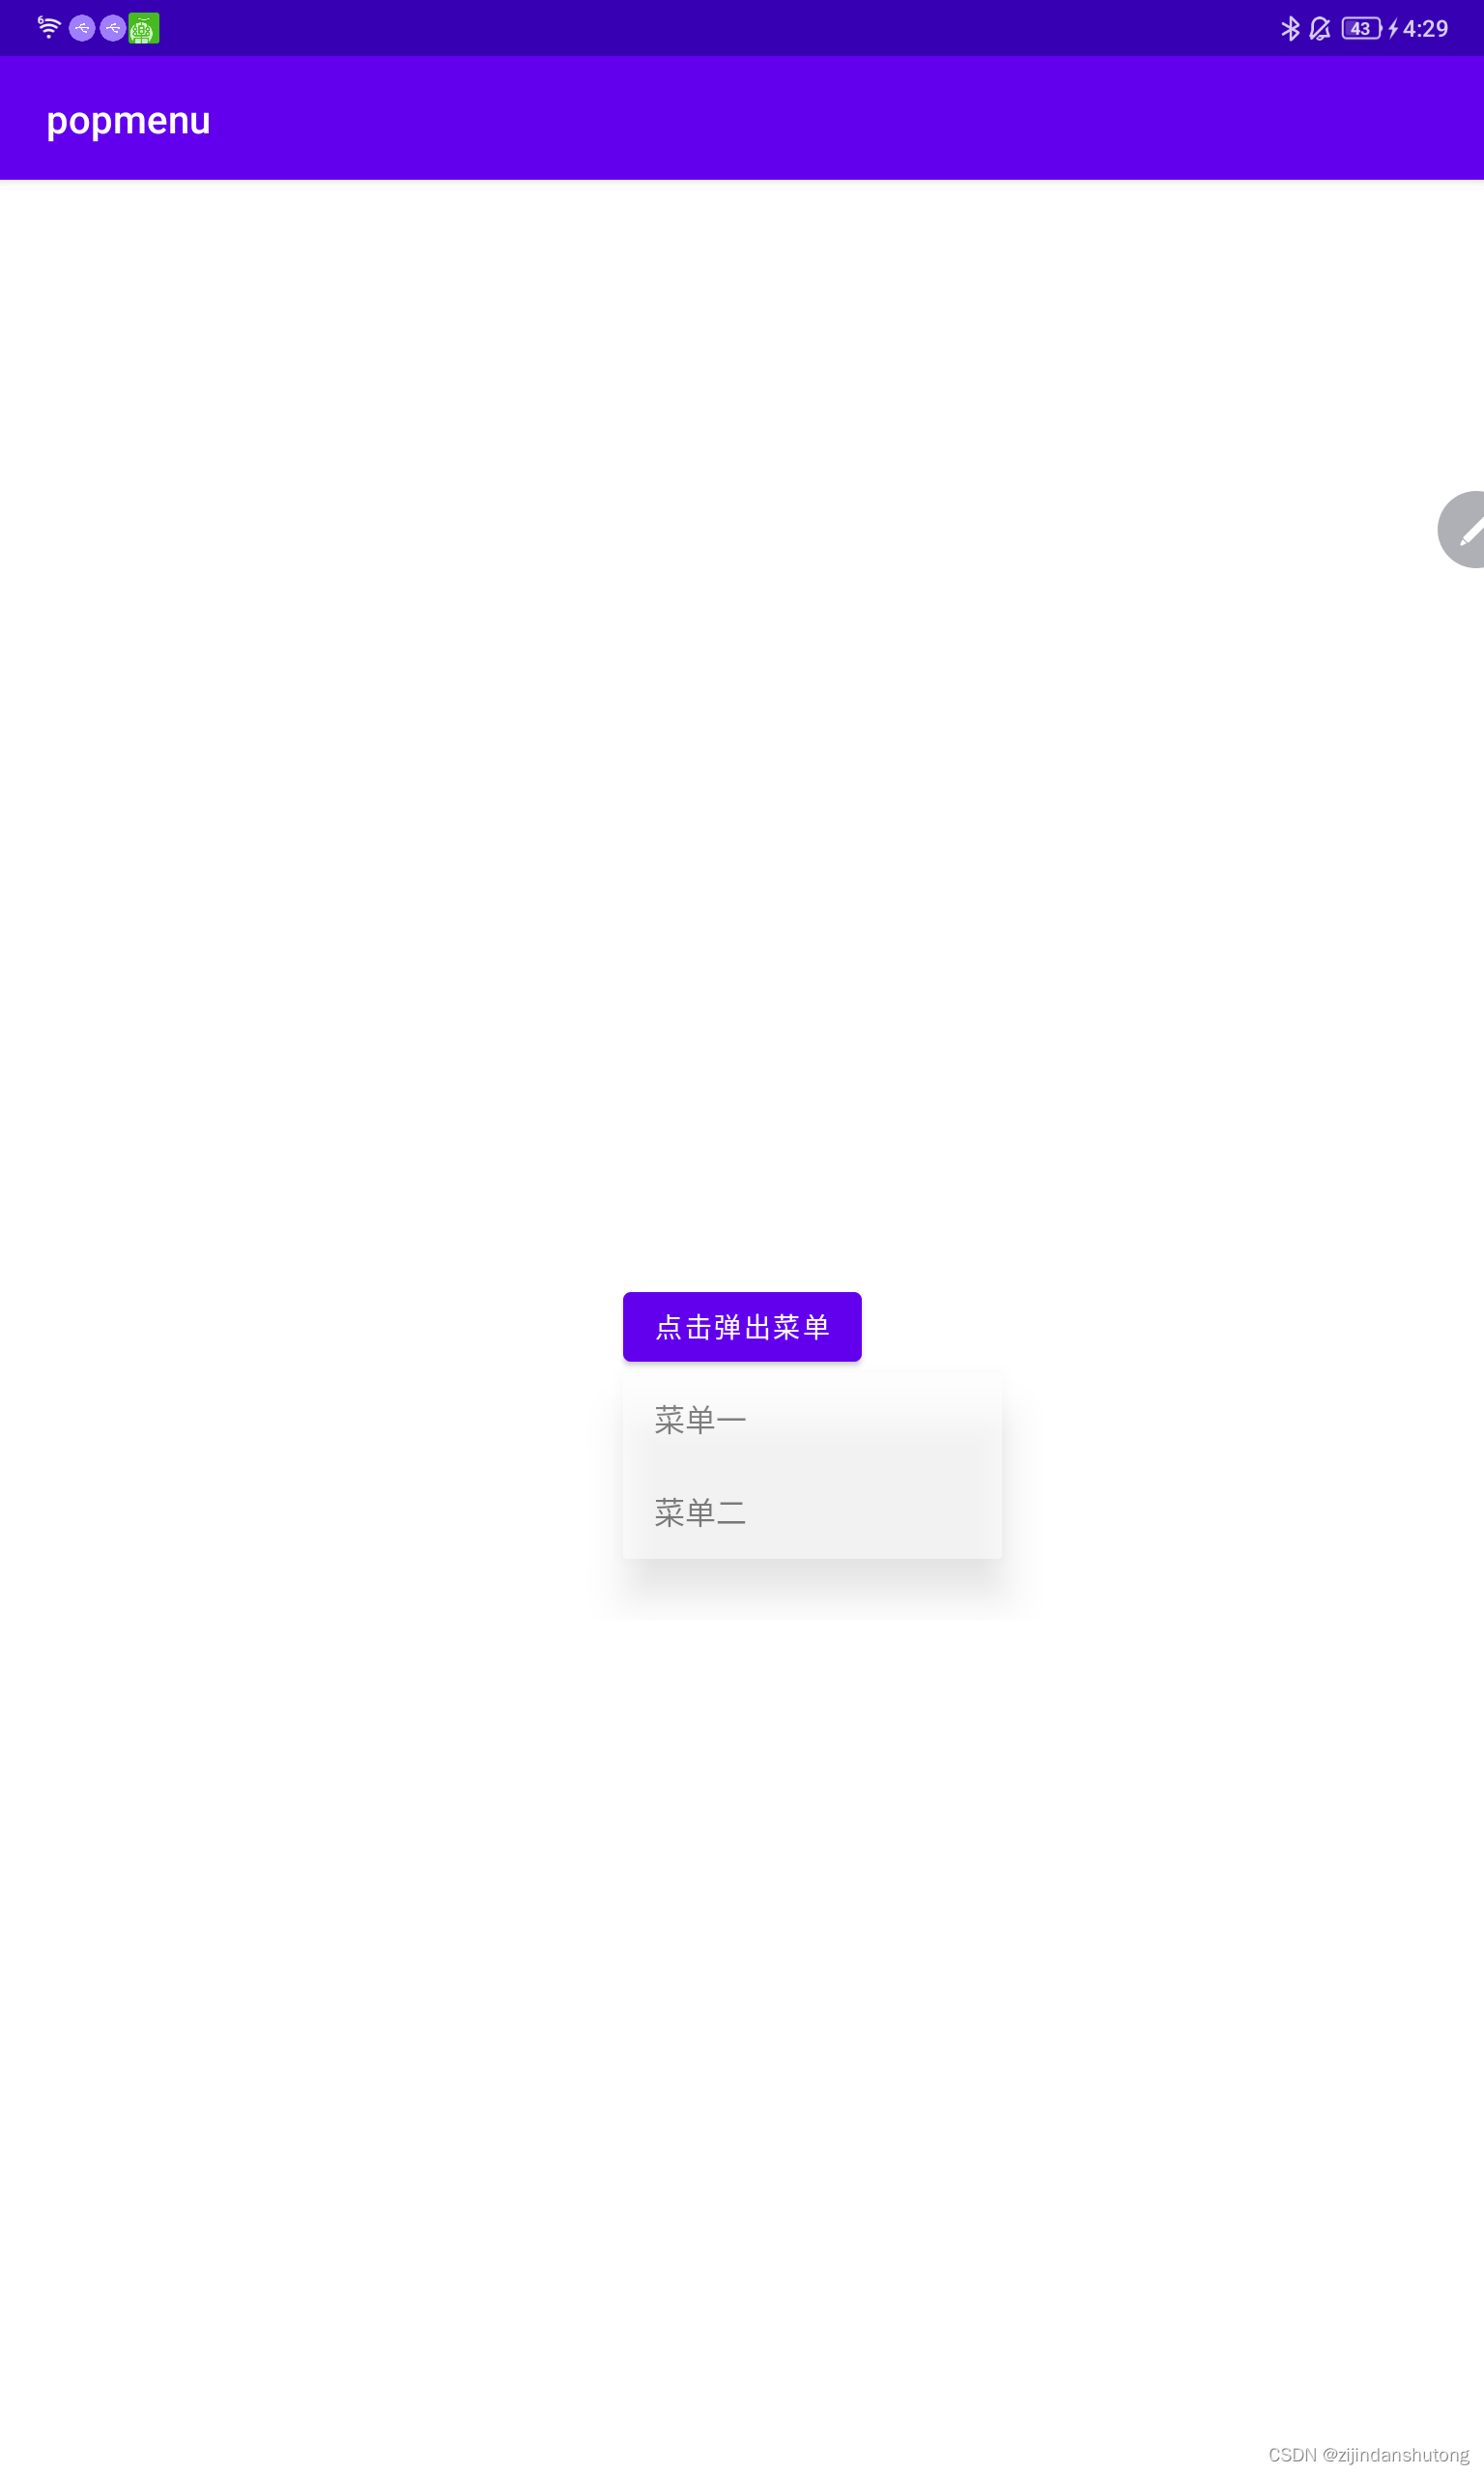
此处我们只是给一个Button控件添加了一个点击事件,使得点击时弹出菜单,大家可以按照自己的需求给弹出的点击菜单再添加对应的点击时间,这样就可以使得popmeun具有使用的意义
运行截图如下


 被折叠的 条评论
为什么被折叠?
被折叠的 条评论
为什么被折叠?
 到【灌水乐园】发言


