


前言
1.高级自定义配置
Spring Security抽象类 WebSecurityConfigAdapter—— 开发者通过继承它就能 得到Spring Security 默认的安全功能。 也可以通过覆盖它提供的方法来自定义自 的安全拦截方案。
WebSecurityConfigAdapter 中默认存在的方法:
/**
*在此方法中,可以配置认证管理器(AuthenticationManager),包括定义用户、密码、角色等。例如,可以连接到数据库或LDAP来加载用户信*息,也可以配置内存中的用户数据等等.

*/
protected void configure(AuthenticationManagerBuilder auth );

/**
*这个方法允许配置不受Spring Security过滤器链保护的资源,比如静态资源、视图解析器资源等。
*/
public void configure(WebSecurity web) ;


/**
*configure(HttpSecurity http): 开发者通过重写这个方法来配置HTTP安全相关的所有细节。在这里,可以指定哪些URL需要身份验证、哪些
*可以匿名访问,还可以配置表单登录、HTTP基本认证、JWT认证等多种认证方式,以及自定义过滤器链、异常处理等
*/
protected void configure(HttpSecurity http) throws Exception ;
2.写自己的Security配置类
##记得加@EnableWebSecurity注解##
@Configuration@EnableWebSecurity
public class SecurityConfig extends WebSecurityConfigurerAdapter {

    /**
     * 从 Spring5 开始,强制要求密码要加密
     * BCryptPasswordEncoder是Spring Security提供的一个密码加密工具类,     * 它实现了PasswordEncoder接口,用于对用户的密码进行安全哈希加密存储,增强了系统的安全性。

     */
    @Bean
    PasswordEncoder passwordEncoder(){
        return new BCryptPasswordEncoder();
    }
    @Override
    protected void configure(AuthenticationManagerBuilder auth) throws Exception {
        auth.inMemoryAuthentication()
                //配置了两个用户,包括用户的用户名、角色、密码,用户密码已经加密(123)
                .withUser("zhangsan")
                //角色
                .roles("BOSS")
                //密码已经加密,可以通过 passwordEncoder.encode("123")获取
                .password("$2a$10$dQLFreAJHM0F.4XAWQMTA.kB5W3H2.hjA6xBUJFHTFT7iHRzO0flm")
                //连接方法
                .and()
                .withUser("lisi")
                .roles("EMPLOYEE")
                .password("$2a$10$RDdoj3sm/RD7HzqSnU864eEE5kEZZxbyQqnYQJGrO2pgkUGCDutTC");
    }

}
重启应用就可以通过zhangsan和lisi登陆了,虽然实现认证功能,但是受保护的资源都是一样的,只要登陆了,所有的接口都能访问。
但实际企业开发过程中我们要根据进行角色管理,如果要实现这些功能 就需要重写 WebSecurityConfigurerAdapter 中的HttpSecurity 方法:
@Configuration
@EnableWebSecurity
public class SecurityConfig extends WebSecurityConfigurerAdapter {


    @Override
    protected void configure(HttpSecurity http) throws Exception {
        http.authorizeRequests() //开启登录配置
                // 使用antMatchers 匹配请求路径
                .antMatchers("/public/**").permitAll()  // 允许所有人访问以 "/public/" 开头的资源
                //访问以 "/boss/" 开头的资源需要 "boss" 角色
                .antMatchers("/boss/**").hasRole("ROLE_boss")
                //访问以 "/employee/" 开头的资源,必须具备 boos、manager 的角色
                .antMatchers("/employee/**").access("hasAnyRole('ROLE_boss','ROLE_manager')")
                // 访问以 "/api/" 开头的资源需要经过身份验证
                .antMatchers("/api/**").authenticated()
                // 任何其他请求也需要经过身份验证
                .anyRequest().authenticated()

                //开启表单登录
                .and().formLogin();


    }

}
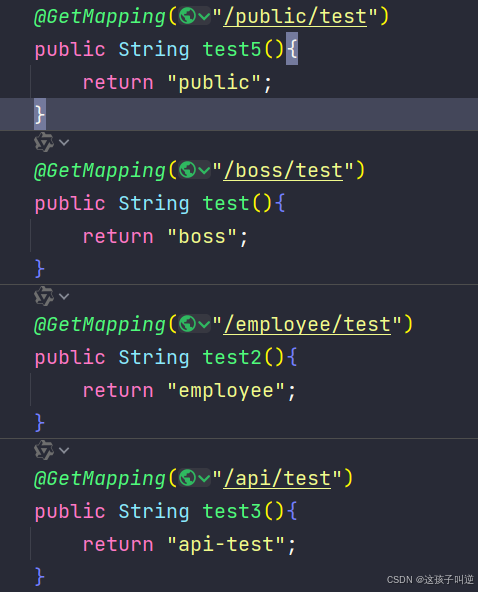
3.书写接口验证
4.使用注解简化
上面介绍的认证与授权都是基于 URL 的,也可以通过注解来灵活地配置方法安全,要使用相关注解,首先要通过@EnableGlobalMethodSecurity 注解开启基于注解的安全配置:
@Configuration
@EnableWebSecurity
@EnableGlobalMethodSecurity(prePostEnabled=true,securedEnabled=true)
public class SecurityConfig extends WebSecurityConfigurerAdapter {

}
4.1 prePostEnabled=true
会解锁
@PreAuthorize和@PostAuthorize两个注解
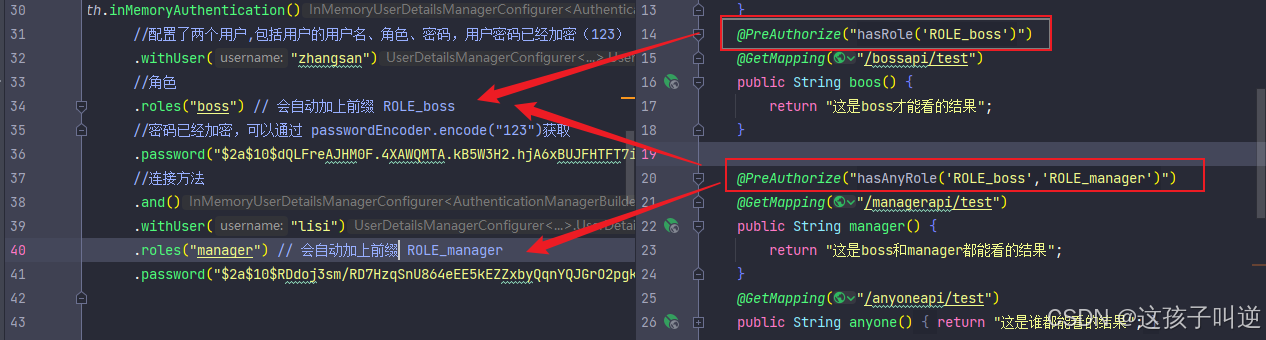
@PreAuthorize
会在执行方法前验证, 推荐使用
@PreAuthorize因为支持Spring EL表达式@PreAuthorize("hasRole('ROLE_ADMIN') and hasRole('ROLE_USER')") //必须有全部的权限才可以访问
@PreAuthorize("hasRole('ROLE_ADMIN') or hasRole('ROLE_USER')") //至少有一个即可访问
或者@PreAuthorize("hasAnyRole('ROLE_ADMIN','ROLE_USER')") // 同上
@PostAuthorize(了解即可)
会在执行方法后验证。
4.2 securedEnabled=true (了解即可)
会解锁@Secured注解,是基于角色的简单访问控制,Spring Security 3.x 之后不推荐。
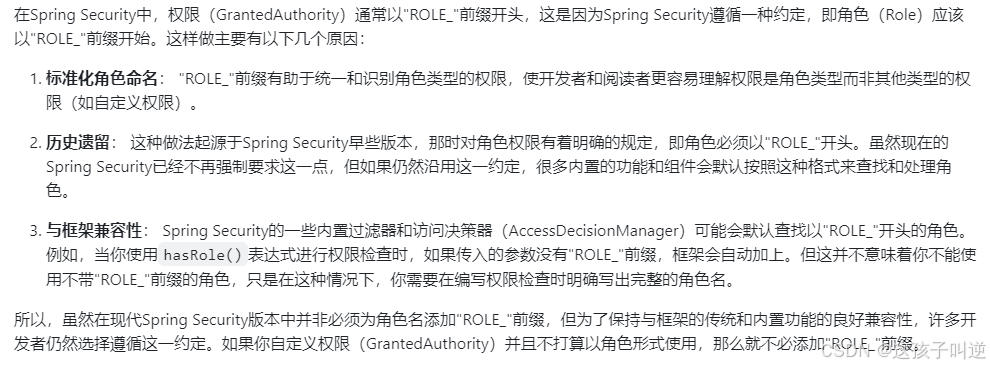
判断是否具有角色,注意这里匹配的字符串需要添加前缀“ROLE_”
@Secured({ "ROLE_admin", "ROLE_user" })
    @Secured({"ROLE_admin"})
    @GetMapping(value = "/test")
    public String testSecured() {
        return "testSecured";
    }
5.验证
记得要把之前的 配置移除掉
// .antMatchers("/bossapi/**").hasRole("boss") 都移除掉


 666
666

 被折叠的 条评论
为什么被折叠?
被折叠的 条评论
为什么被折叠?
 到【灌水乐园】发言


