


 本文介绍了如何在SpringBoot应用中整合ActiveMQ,包括yml文件的配置,定义消费者和生产者服务,以及模板处理类的创建,并提供了测试类进行验证。
active MQ的队列名称
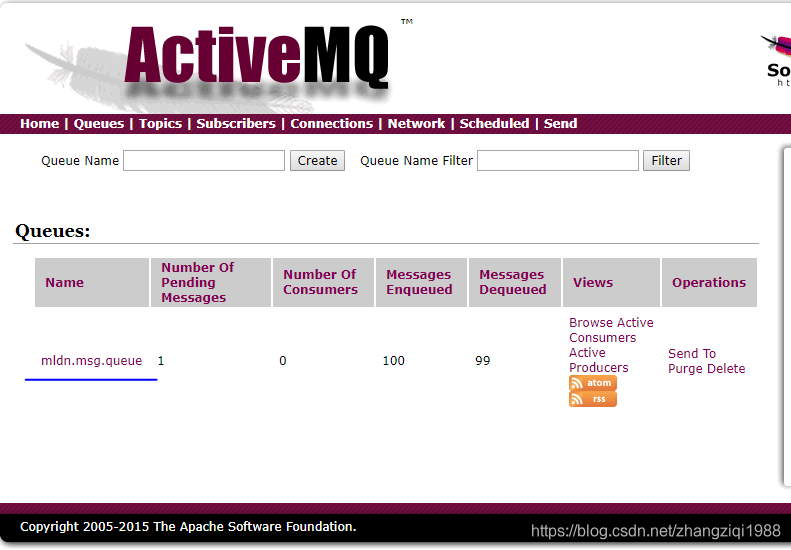
1.yml文件配置
spring:
jms:
pub-sub-domain: false #配置消息类型,如果true则表示topic消息,如果false表示Queue消息
activemq:
user: admin
password: admin
broker-url: tcp://127.0.0.1:61616
2.编写消费者服务类
@Service
public class MessageConsumerService {
**@JmsListener(destination = "mldn.msg.queue")  //destination表示队列名称**
public void receiveMessage(String text) {
	//进行消息接收处理
	System.err.println("【*** 接受消息***】" + text);
}
}
3.编写生产者服务类
1)生产者接口
public interface IMessageProduceService {
public void sendMessage(String msg);
}
2)生产者实现
@Service
public class MessageProducerServiceImpl implements IMessageProduceService {
@Resource
private JmsMessagingTemplate jmsMessagingTemplate;
@Resource
private Queue queue;
@Override
public void sendMessage(String msg) {
	// TODO Auto-generated method stub
	this.jmsMessagingTemplate.convertAndSend(this.queue,msg);

}
}
4.编写模板处理类
//建立模板处理类
@Configuration
@EnableJms
public class ActiveMQConfig {
@Bean
public Queue queue() {
	return new ActiveMQQueue("mldn.msg.queue");  //传入队列名称
}
}
5.编写测试类
@SpringBootTest
@RunWith(SpringJUnit4ClassRunner.class)
@WebAppConfiguration
public class TestActiveMQ {
@Resource
private IMessageProduceService iMessageProduceService;

@Test
public void testSend() throws Exception{
	for(int x=0;x<100;x++) {
		this.iMessageProduceService.sendMessage("mldn- " + x);
	}
}
}


 3151
3151

 被折叠的 条评论
为什么被折叠?
被折叠的 条评论
为什么被折叠?
 到【灌水乐园】发言


