


 本文介绍了如何创建第一个Spring Boot项目,通过Spring Initializr初始化。重点讨论了Spring Boot的启动器和自动配置原理,包括@SpringBootApplication注解的作用,如何从spring.factories加载自动配置类,以及自动配置如何生效。同时,阐述了Spring Boot如何简化传统Java EE的配置,将组件自动导入容器。

第一个springboot项目
1new->project->spring Initializr


在controller层代码
package com.dahem.demo.controller;
import org.springframework.web.bind.annotation.RequestMapping;
import org.springframework.web.bind.annotation.RestController;
@RestController
public class HelloController {
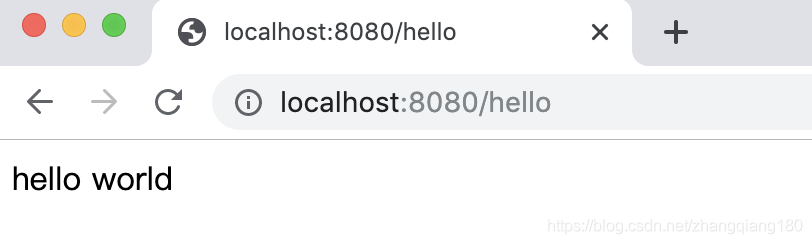
//接口:http:localhost:8080/hello
@RequestMapping("/hello")
public String hello(){
//调用业务,接收前端的参数!
return "hello world";
}
}
运行
原理初探:
pom.xml
1.spring-boot-dependencies:核心依赖在父母工程中!
2.我们在写或者引入一些springboot 依赖的时候,不需要指定版本,就因为有这些版本仓库
启动器
<dependency>
            <!--web依赖:tomcat.dispatcherServlet.xml...-->
            <groupId>org.springframework.boot</groupId>
            <artifactId>spring-boot-starter</artifactId>
        </dependency>
启动器:说白了就是Springboot 的启动场景;
比如spring-boot-starter-web,他就会帮我们自动导入web环境所有的依赖!
springoot会将所有的功能场景,都编程一个个的启动器
我们如果使用什么功能,就只需要找到对应的启动器就可以了。
主程序
//@SpringBootApplication :标注这个类是一个springboot的应用
@SpringBootApplication
public class DemoApplication {

    public static void main(String[] args) {

        SpringApplication.run(DemoApplication.class, args);
    }

}
注解
@SpringBootConfiguration :springboot的配置
@configuration:spring配置类
@Component:说明这也是一个spring的组件
@EnableAutoConfiguration :自动配置
@AutoConfigurationPackage:自动配置包
结论:springboot 所有自动配置都是在启动的时候扫描并加载:spring.factories 所有的自动配置类都是在这里面,但是不一定生效,要判断条件是否成立,只要导入了对应的start,就有对应的启动器了,有了启动器,我们自动配置就会生效,然后配置成功!
1.springboot 在启动的时候,从类路径下/META_INF/spring.factories获取指定值;
2.将这些自动配置的类导入容器,自动配置生效,帮我进行自动配置;
3.以前我们需要配置的东西,现在springboot帮我们做了;
4.整合javaEE,解决方案和自动配置的东西都在spring-boot-autoconfigure-2.2.0.RELESE.jar 这个包下
5.它会把所有需要导入的组件,以类名自方式返回,这些组件就会被添加到容器;
6.容器中也会存在非常多的xxAutConfiguration 的文件(@Bean),就是这些类给容器中导入了这个场景需要的所有组件。


 被折叠的 条评论
为什么被折叠?
被折叠的 条评论
为什么被折叠?
 到【灌水乐园】发言


