


head 启动

es启动
[root@localhost bin]# su es
[es@localhost bin]$ ./elasticsearch

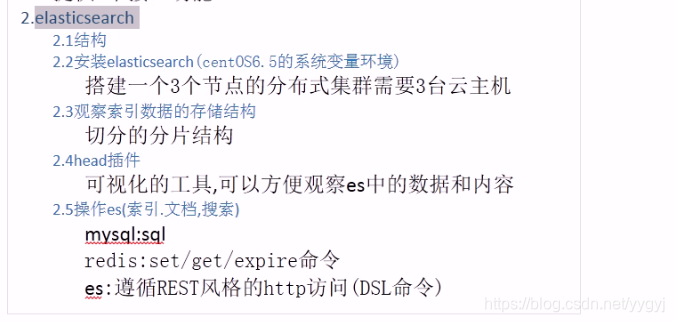
lucene搭建一个简易的ES


ES


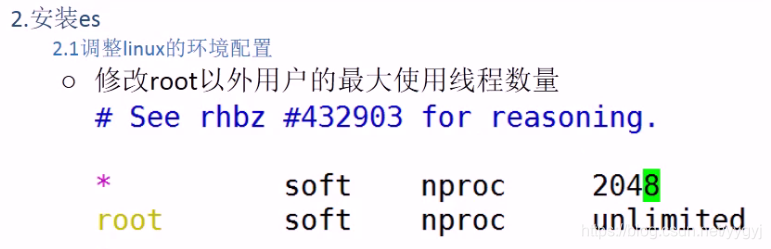
[root@localhost ~]# vim /etc/security/limits.d/90-nproc.conf
# Default limit for number of user's processes to prevent
# accidental fork bombs.
# See rhbz #432903 for reasoning.

*          soft    nproc     2048
root       soft    nproc     unlimited
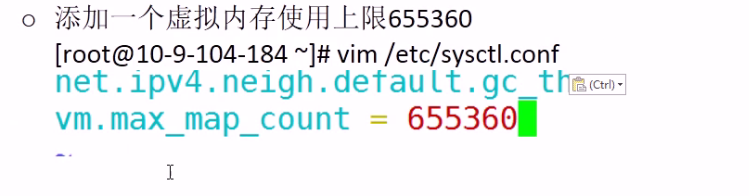
[root@localhost ~]# vim /etc/sysctl.conf
# Controls IP packet forwarding
net.ipv4.ip_forward = 0

vm.max_map_count = 655360
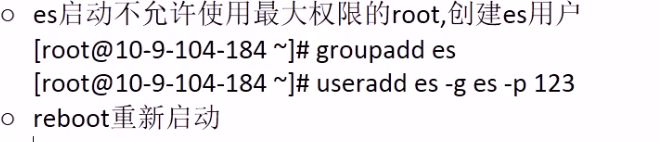
建立一个用户es
[root@localhost ~]# groupadd es
[root@localhost ~]# useradd es -g es -p 123
重启Linux
[root@localhost ~]# reboot
es相关网址 https://www.pianshen.com/article/37041019669/
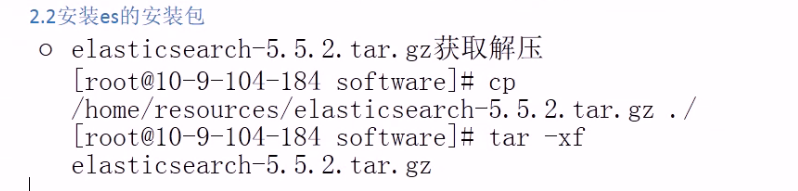
ElasticSearch的下载
https://www.elastic.co/downloads/past-releases/elasticsearch-5-5-2
安装head
从 https://github.com/mobz/elasticsearch-head 下载zip文件
https://www.pianshen.com/article/37041019669/
下载对应的ik压缩包,选择5.5.2版本和elasticsearch版本对应。
下载地址:https://github.com/medcl/elasticsearch-analysis-ik/releases?after=v5.6.4,解压得到elasticsearch文件
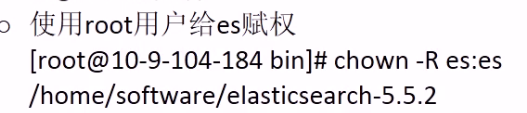
root的权限都赋值给es用户一份
[root@localhost bin]# chown -R es:es /home/software/elasticsearch-5.5.2
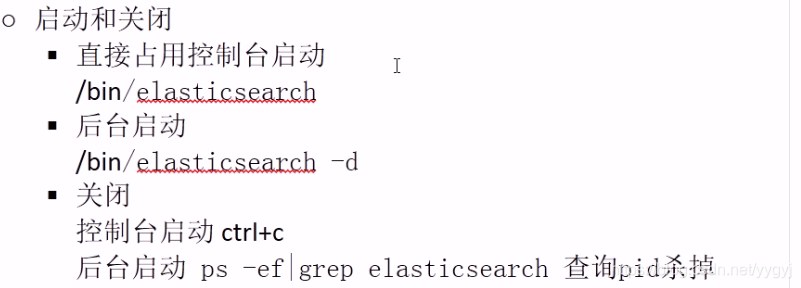
es用户下启动【root权限太大】
[root@localhost bin]# su es
[es@localhost bin]$ ./elasticsearch
[2021-06-09T17:31:45,090][INFO ][o.e.g.GatewayService     ] [9BtYhNN] recovered [0] indices into cluster_state

[root@localhost bin]# curl -XGET HTTP://127.0.0.1:9200
{
  "name" : "9BtYhNN",
  "cluster_name" : "elasticsearch",
  "cluster_uuid" : "BrF-UA29QquirmZCbDDmcQ",
  "version" : {
    "number" : "5.5.2",
    "build_hash" : "b2f0c09",
    "build_date" : "2017-08-14T12:33:14.154Z",
    "build_snapshot" : false,
    "lucene_version" : "6.6.0"
  },
  "tagline" : "You Know, for Search"
}


cluster.name: elasticsearch


node.name: es01

防止异常报错
bootstrap.memory_lock: false
bootstrap.system_call_filter: false

network.host: 192.168.253.129

http.port: 9200

http.cors.enabled: true
http.cors.allow-origin: "*"
注意报错【启动报错,需要更改】
[1]: max file descriptors [65535] for elasticsearch process is too low, increase to at least [65536]

编辑 /etc/security/limits.conf,追加以下内容;
* soft nofile 65536
* hard nofile 65536
此文件修改后需要重新登录用户,才会生效
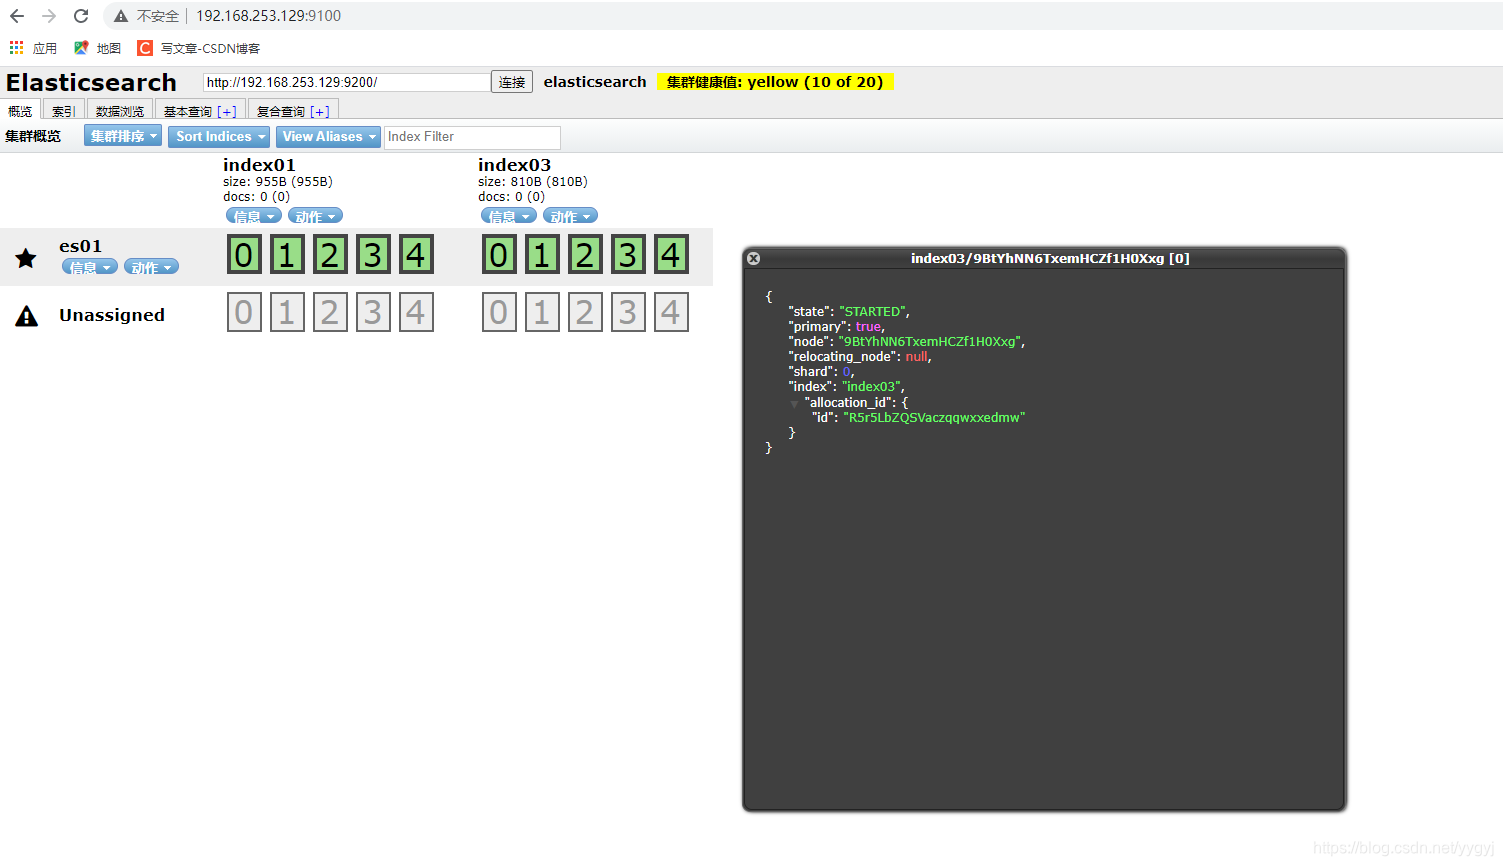
效果


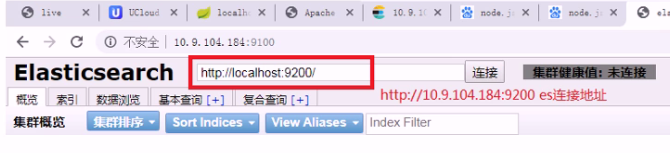

配置自己linux的ip
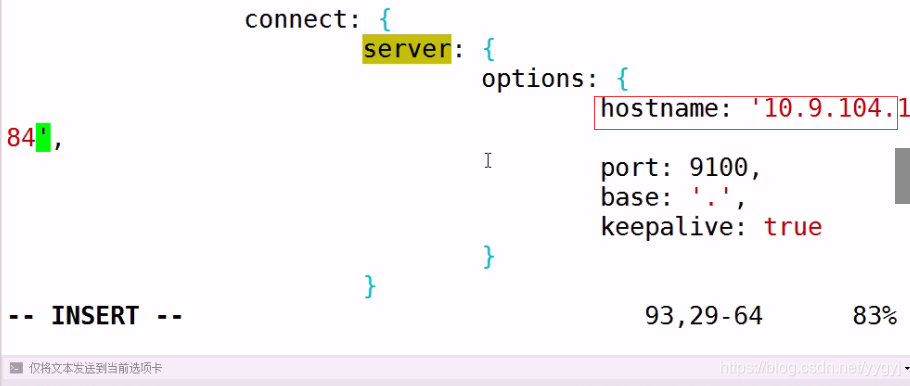

配置安装head见文章【在home 下的presoftware 的head中】
https://blog.csdn.net/yygyj/article/details/117793016
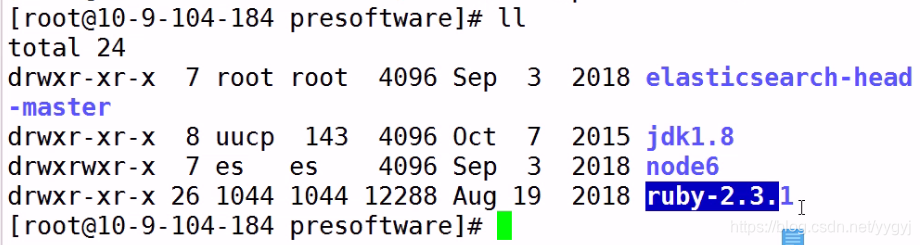
相关文件下载
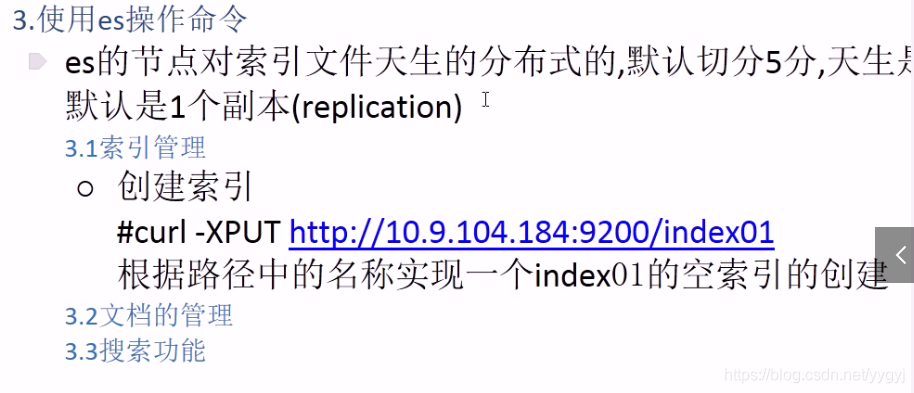


[root@localhost config]# curl -XPUT http://192.168.253.129:9200/index01
{"acknowledged":true,"shards_acknowledged":true}[root@localhost config]#

[root@localhost ~]# curl -XPUT http://192.168.253.129:9200/index01 普通创建空索引
[root@localhost ~]# curl -XPUT -d '{"blocks.read":false}' http://192.168.253.129:9200/index02/_settings 设置读写权限
[root@localhost ~]# curl -XPUT http://192.168.253.129:9200/index03 普通创建空索引
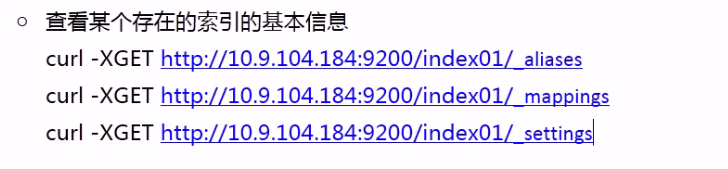
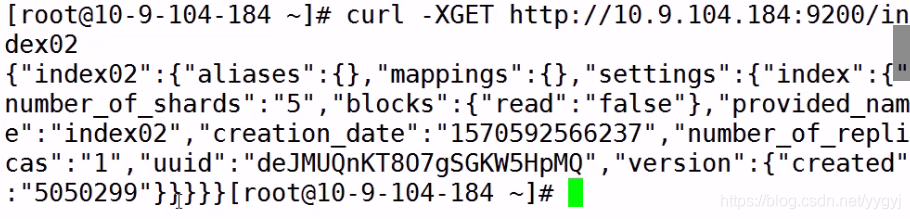
[root@localhost ~]# curl -XGET http:192.168.253.129:9200/index02 获取
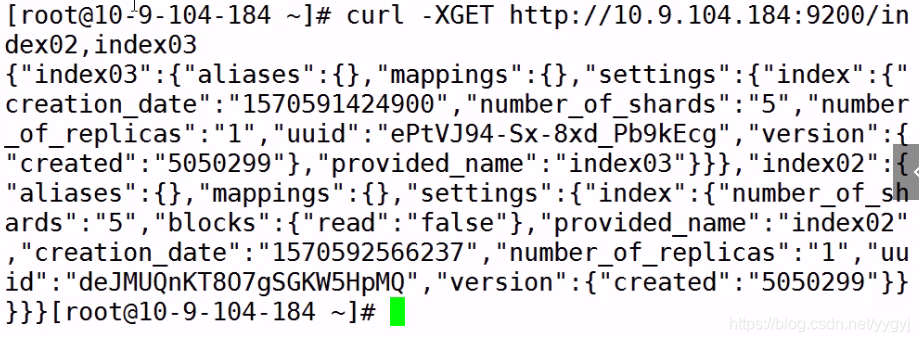
root@localhost ~]# curl -XGET http://192.168.253.129:9200/index02,index03 多索引获取
效果


 462
462

 被折叠的 条评论
为什么被折叠?
被折叠的 条评论
为什么被折叠?
 到【灌水乐园】发言


