


上一个博客中学习了如何在网页上进行简单的图片爬取,目的是制作一个简单的图片浏览器,然后可以选择喜欢的图片筛选到另一个文件夹中。
爬取图片的博客链接:https://blog.youkuaiyun.com/yql_617540298/article/details/112464575
大体需要实现的功能就是选择一个文件夹,然后里面存放很多图片,然后可以查看图片,并进行“上一张”、“下一张”和“保存图片”的功能。
参考链接:https://www.cnblogs.com/coltfoal/archive/2012/10/11/2719636.html
参考链接:https://www.jianshu.com/p/364cd5f7f2a3
参考链接:https://blog.youkuaiyun.com/kwinawyeth/article/details/106466272
参考链接:http://www.cppcns.com/jiaoben/python/110445.html
源码
import os
import glob
import tkinter as tk
from tkinter import filedialog
from PIL import Image, ImageTk
import tkinter.messagebox


# 定义总窗口
if True:
    win = tk.Tk()
    # 设置窗体的长和宽
    win_width = 1050
    win_height = 650

    # 窗口在屏幕居中
    sw = win.winfo_screenwidth()  # 得到屏幕宽度
    sh = win.winfo_screenheight() - 80  # 得到屏幕高度
    x = (sw-win_width) / 2
    y = (sh-win_height) / 2

    #设置窗体的标题或者可以继续选择设置一个logo
    win.title('查看图片')
    win.geometry("%dx%d+%d+%d" % (win_width, win_height, x, y))

    bg = tk.Label(win, bg='#3c3f41')
    bg.place(height=win_height, width=win_width, x=0, y=0)

# 图片框参数
if True:
    img_box_x = 0
    img_box_y = 0
    img_box_w = win_width
    img_box_h = win_height-50
    img_box_bg = '#313335'

    # 选择文件夹
    folder = filedialog.askdirectory(parent=win,
                                     initialdir=os.getcwd(),
                                     title="Please select a folder:")
    # 将文件夹中的所有图片读到数组中,这里是图片路径的集合
    img_files = glob.glob(os.path.join(folder, "*.jpg"))
    if not len(img_files):
        print('文件中没有jpg图片')
        os._exit(0)  # 文件夹中没有jpg图片就退出

    img_num = 0  # 当前显示图片的指针

# 图片框
if True:
    def front_img():
        """
        点击显示上一张图片
        """
        global img_num
        img_num -= 1
        if img_num < 0:
            img_num = len(img_files) - 1
        img = img_cut(img_files[img_num], img_box_w, img_box_h)
        img_box.configure(image=img)
        img_box.mainloop()


    def next_img():
        """
        点击显示下一张图片
        """
        global img_num
        img_num += 1
        if img_num == len(img_files):
            img_num = 0
        img = img_cut(img_files[img_num], img_box_w, img_box_h)
        img_box.configure(image=img)
        img_box.mainloop()


    def img_cut(img, max_w, max_h):
        """
        锁定图片比例,最大化填充图片框
        :param img: 图片路径
        :param max_w: 图片框的宽度
        :param max_h: 图片框的高度
        :return: 图片对象
        """
        img_original = Image.open(img)
        # 获取图像的原始大小,并根据原图片比例,最大化地显示在图片框中
        w, h = img_original.size
        f1 = 1.0 * max_w / w
        f2 = 1.0 * max_h / h
        factor = min([f1, f2])
        img_w = int(w * factor)
        img_h = int(h * factor)

        img_open = img_original.resize((img_w, img_h))
        img_png = ImageTk.PhotoImage(img_open)

        return img_png

    def show_warning(msg):
        tk.messagebox.showwarning("保存",msg)

    def save_img():
        """
        图片另存
        """
        global img_num
        print("img_num=", img_num)
        img_file = "E:/Python/get_picture/picture/"
        img_save = "E:/Python/get_picture/save/"
        print("img_file=",img_file)
        all_img = os.listdir(img_file)
        print("all_img[img_num]=",all_img[img_num])
        like_img = Image.open(img_file + all_img[img_num])
        like_img.save(img_save + all_img[img_num])
        print("success!")

        show_warning("'保存喜欢的图片成功!'")

    bt_next = tk.Button(win, text = "向下查看", command = next_img)
    bt_next.place(x = img_box_x + img_box_w / 2, y = img_box_y + img_box_h + 20)

    bt_front = tk.Button(win, text = "向上查看", command = front_img)
    bt_front.place(x = img_box_x + img_box_w / 2-70, y = img_box_y + img_box_h + 20)

    bt_save = tk.Button(win, text = "图片另存", command = save_img)
    bt_save.place(x = img_box_x + img_box_w / 2-140, y = img_box_y + img_box_h + 20)

    img2 = img_cut(img_files[0], img_box_w, img_box_h)
    img_box = tk.Label(win, bg = img_box_bg, width = img_box_w, height = img_box_h, image = img2)
    img_box.place(x = img_box_x, y = img_box_y)

# 循环页面
win.mainloop()
效果如下
运行程序,选择指定的文件路径,然后可以查看图片。
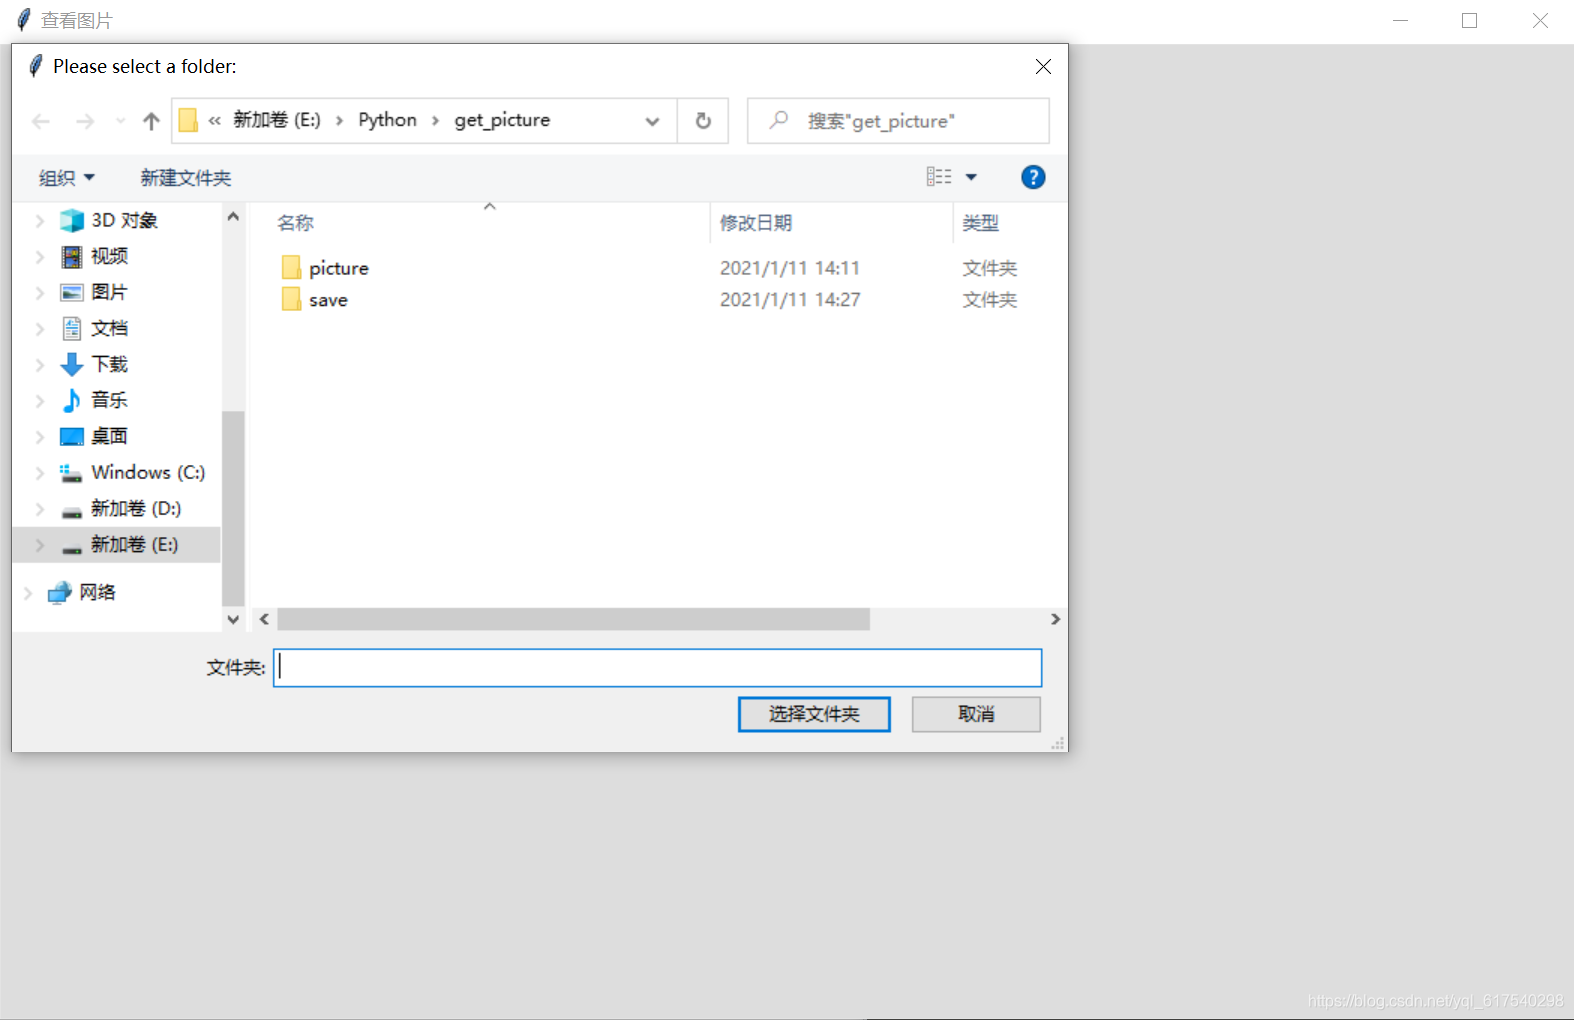
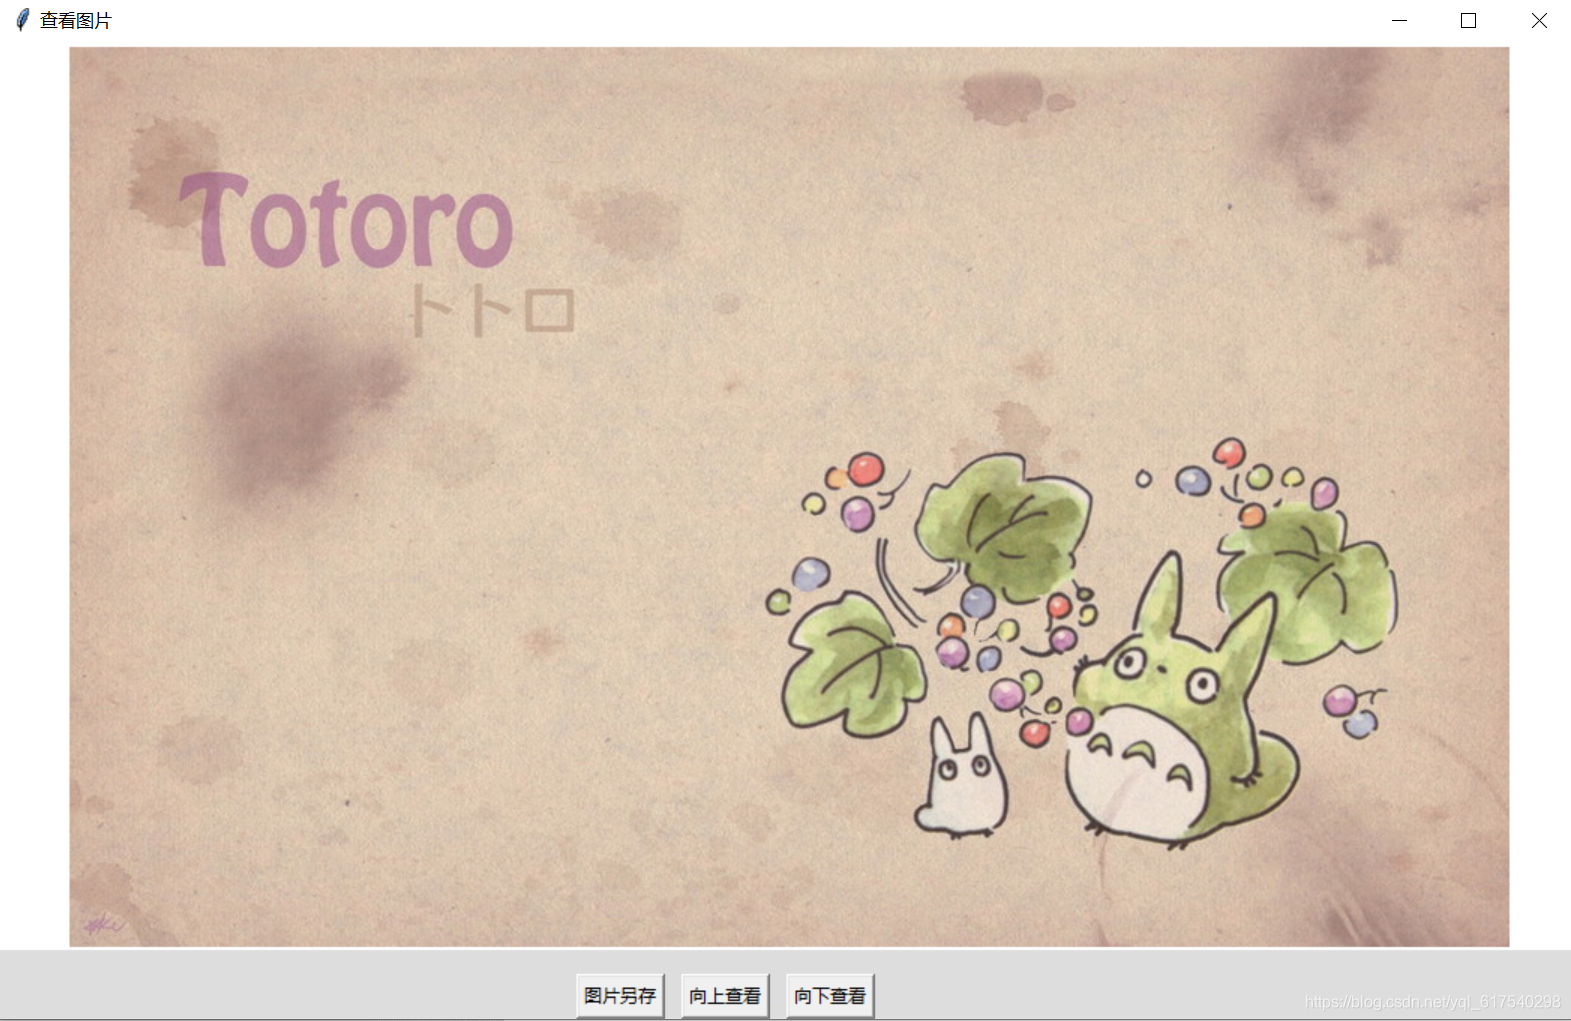
选择文件夹后,可以查看第一张图片
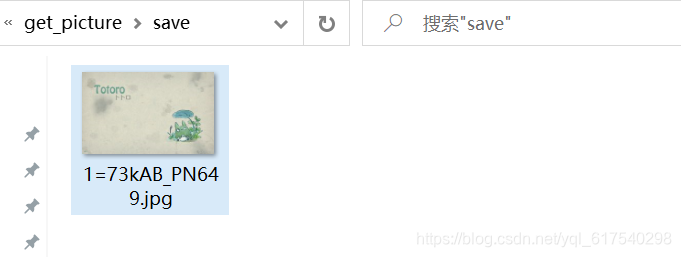
选择指定喜欢的图片,点击“图片保存”,可以将其保存到另一个文件夹中。
img_num= 1
img_file= E:/Python/get_picture/picture/
all_img[img_num]= 1=73kAB_PN649.jpg
success!
[Finished in 8.9s]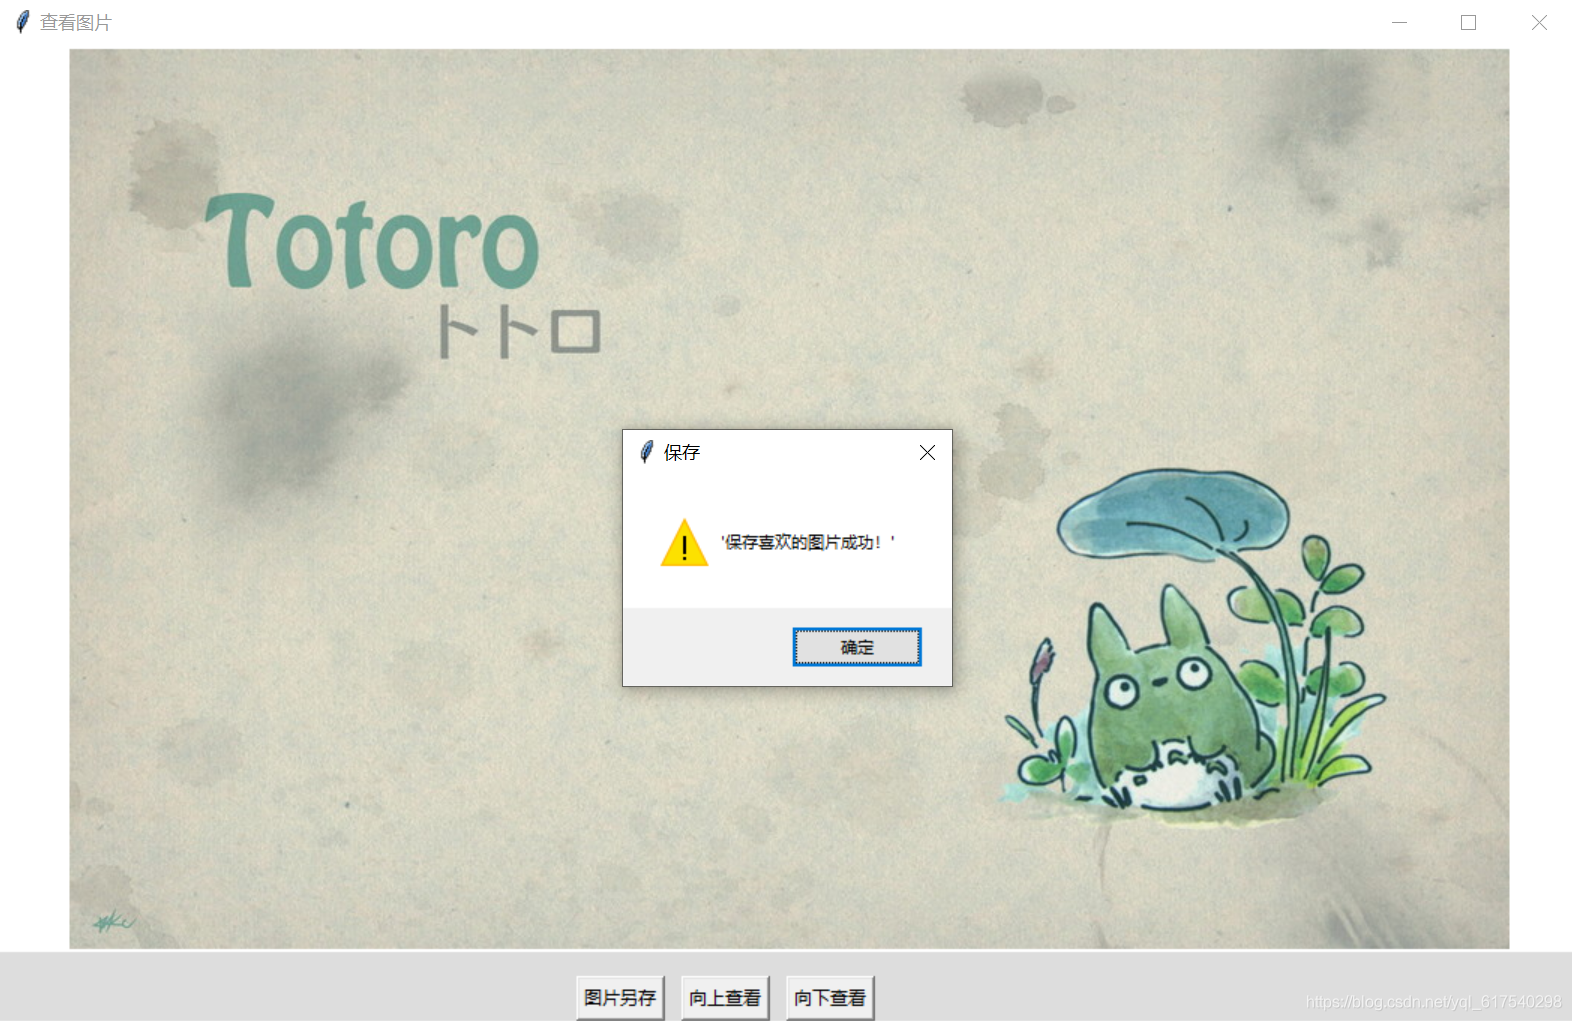


 被折叠的 条评论
为什么被折叠?
被折叠的 条评论
为什么被折叠?
 到【灌水乐园】发言


