


 本文详细介绍如何在SpringBoot项目中集成ActiveMQ消息中间件,包括下载安装、配置依赖、编写代码实现消息发送与接收,以及解决常见问题。
SpringBoot版本为2.1.1 ActiveMQ为5.15.8 这里以windows为例
下载ActiveMQ 地址:http://activemq.apache.org/activemq-5158-release.html
下载完成找到bin目录下的activemq.bat 注意版本,有32和64位的
双击activemq.bat
出现界面:
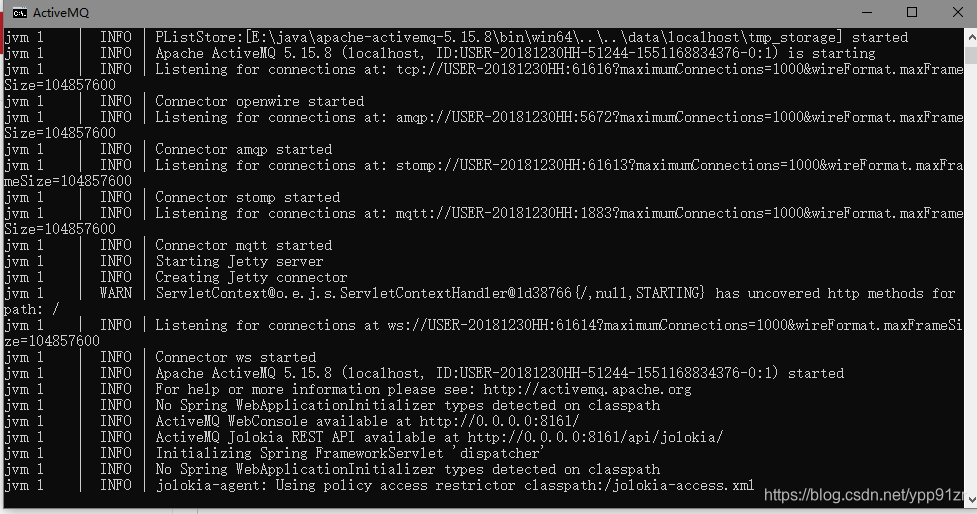
然后打开输入网址:http://localhost:8161
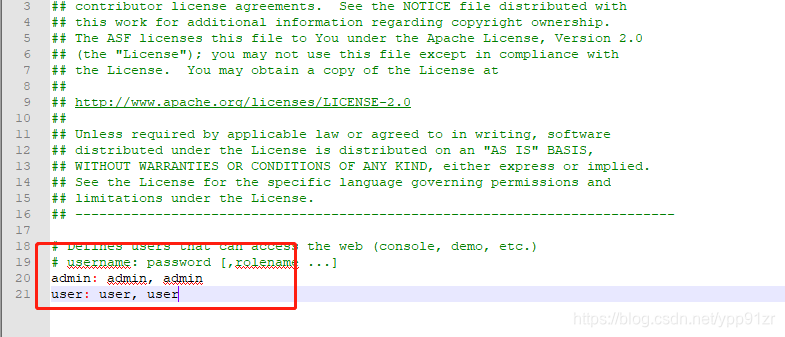
会有一个输入密码的提示,密码默认是admin admin 或者user user
密码配置文件在conf文件夹下的jetty-realm.properties文件,这里作为测试,就不改密码了
密码输入完成后出现以下界面
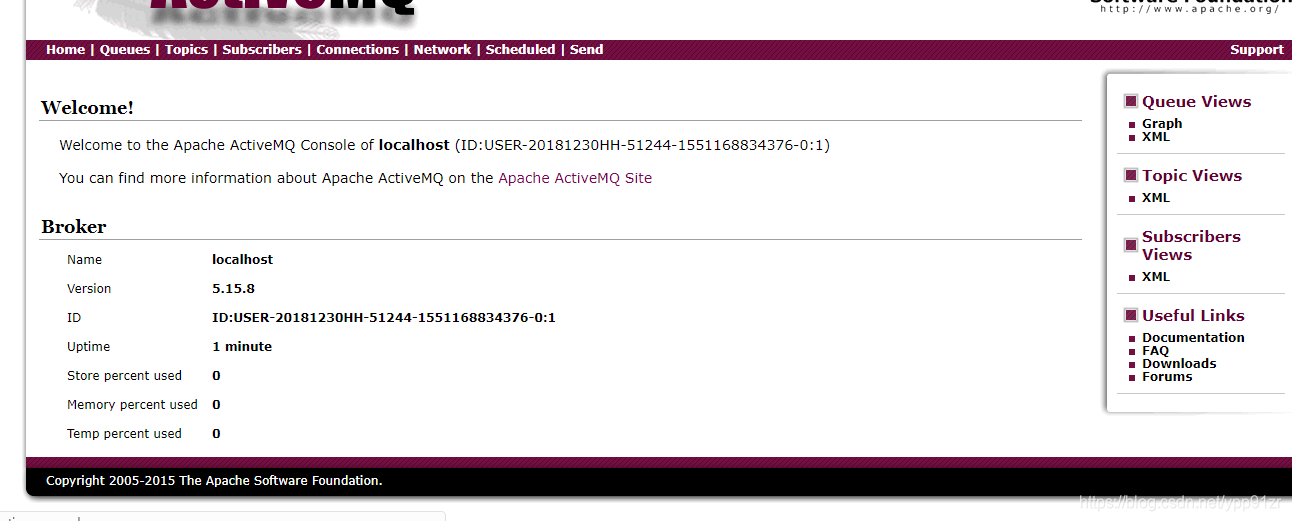
目前还没有消息
重要的,要使用延迟消息【比如2小时后才送达消息,默认是即时】,必须修改的配置,找到activemq.xml文件,添加schedulerSupport=true这个属性
使用ActiveMQ,不能只为了使用而使用,要明白为什么使用它,有什么好处,和其他方式比优势在哪里。这里不做多介绍,网上的资料很多
Spring Boot 集成ActiveMQ
引入依赖:
<dependency>
<groupId>org.springframework.boot</groupId>
<artifactId>spring-boot-starter-activemq</artifactId>
</dependency>
<dependency>
<groupId>org.apache.activemq</groupId>
<artifactId>activemq-pool</artifactId>
</dependency>
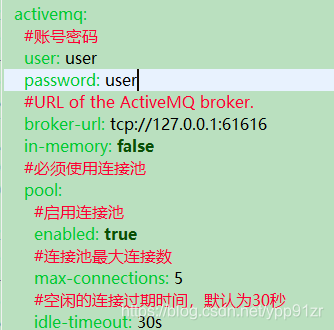
application.yml配置
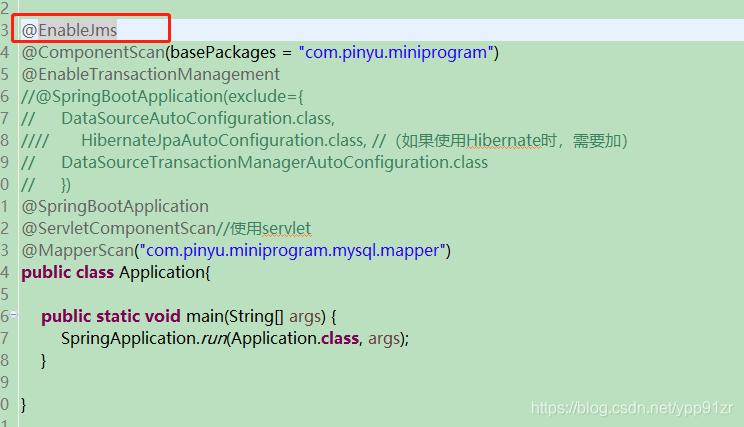
通过 @EnableJms 开启支持 jms,在启动类上添加
Controller:
	@RequestMapping("/msg")
	@ResponseBody
	public String msg(String msg){
		Destination destination = new ActiveMQQueue("queue01");
		service.sendMsg(destination,msg);
		return JsonMsg.OK(msg);
	}
Service:
public interface MemberService {

	MemberEntity findById(Integer id);

	void sendMsg(Destination destination, String msg);

}
@Service
@Transactional(propagation=Propagation.REQUIRED)
public class MemberServiceImpl implements MemberService {
@Autowired
private MemberMapper mapper;
@Autowired
private JmsMessagingTemplate jmsTemplate;
@Override
public MemberEntity findById(Integer id) {
return mapper.findById(id);
}
@Override
public void sendMsg(Destination destination, String msg) {
jmsTemplate.convertAndSend(destination, msg);
}
}在启动的时候尝试添加消息,启动项目一直报错。无法注入JmsMessagingTemplate,报错的原因主要在于ConnectionFactory没有获取到,无法注入JmsMessagingTemplate,网上很多说的会自动配置等,但是我这里没有自动配置到,具体稍后研究。
于是手动配置了下:
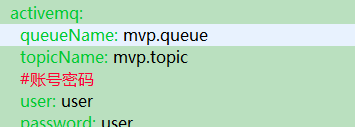
在配置文件加了queueName和topicName,这个看自己,目前自学activemq这个东西,先了解它运行的一些东西,先跑个起来
package com.pinyu.miniprogram.config.activemq;

import javax.jms.Queue;
import javax.jms.Topic;

import org.apache.activemq.ActiveMQConnectionFactory;
import org.apache.activemq.command.ActiveMQQueue;
import org.apache.activemq.command.ActiveMQTopic;
import org.springframework.beans.factory.annotation.Qualifier;
import org.springframework.beans.factory.annotation.Value;
import org.springframework.context.annotation.Bean;
import org.springframework.context.annotation.Configuration;
import org.springframework.jms.config.DefaultJmsListenerContainerFactory;
import org.springframework.jms.config.JmsListenerContainerFactory;
import org.springframework.jms.core.JmsMessagingTemplate;

@Configuration
public class ActiveMQConfig {

	@Value("${spring.activemq.queueName}")
    private String queueName;

    @Value("${spring.activemq.topicName}")
    private String topicName;

    @Value("${spring.activemq.user}")
    private String usrName;

    @Value("${spring.activemq.password}")
    private  String password;

    @Value("${spring.activemq.broker-url}")
    private  String brokerUrl;

    @Bean
    public Queue queue(){
        return new ActiveMQQueue(queueName);
    }

    @Bean
    public Topic topic(){
        return new ActiveMQTopic(topicName);
    }

    @Bean
    public ActiveMQConnectionFactory activeMQConnectionFactory() {
        return new ActiveMQConnectionFactory(usrName, password, brokerUrl);
    }

    @Bean
    public JmsListenerContainerFactory<?> jmsListenerContainerQueue(@Qualifier("activeMQConnectionFactory") ActiveMQConnectionFactory connectionFactory){
        DefaultJmsListenerContainerFactory bean = new DefaultJmsListenerContainerFactory();
        bean.setConnectionFactory(connectionFactory);
        return bean;
    }

    @Bean
    public JmsListenerContainerFactory<?> jmsListenerContainerTopic(@Qualifier("activeMQConnectionFactory") ActiveMQConnectionFactory connectionFactory){
        DefaultJmsListenerContainerFactory bean = new DefaultJmsListenerContainerFactory();
        //设置为发布订阅方式, 默认情况下使用的生产消费者方式
        bean.setPubSubDomain(true);
        bean.setConnectionFactory(connectionFactory);
        return bean;
    }

    @Bean
    public JmsMessagingTemplate jmsMessagingTemplate(@Qualifier("activeMQConnectionFactory") ActiveMQConnectionFactory connectionFactory){
        return new JmsMessagingTemplate(connectionFactory);
    }
}
成功
创建消费者
package com.pinyu.miniprogram.jms;
import org.springframework.jms.annotation.JmsListener;
import org.springframework.stereotype.Component;
@Component
public class Customer {
@JmsListener(destination = "mvp.queue",containerFactory="jmsListenerContainerQueue")
public void receiveQueue(String text) {
System.err.println(text);
}
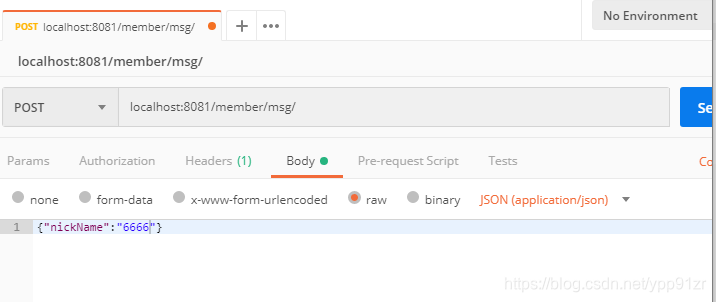
}然后使用postman发送请求添加消息,发送了几次
然后查看activemq界面
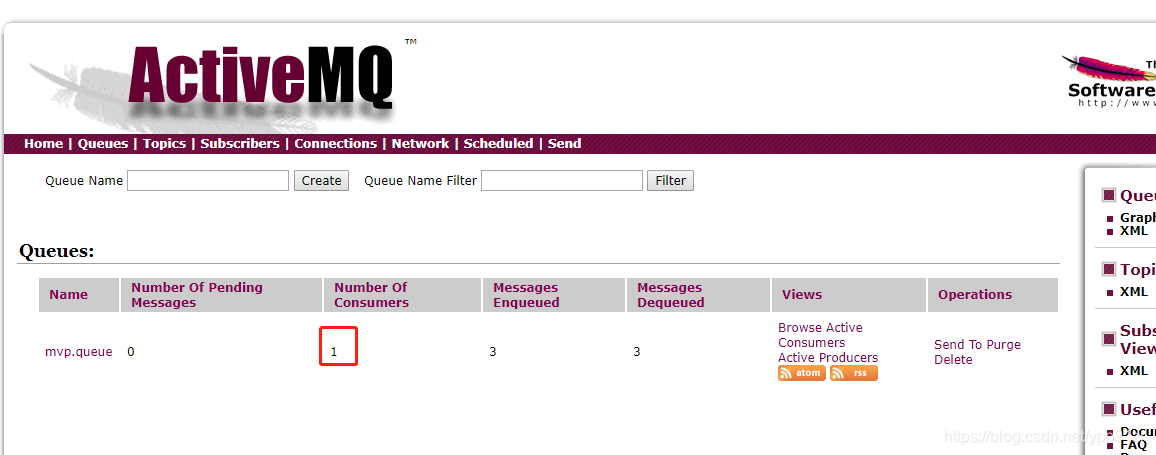
可以看到消费者数量是1,就是刚才创建的。然后进Messages Enqueued :进入队列的消息;( 这个数量只增不减,重启acmq后会清零)数量为3
Messages Dequeued :出了队列的消息 可以理解为是消费这消费掉的数量 (重启acmq后会清零)也为3.
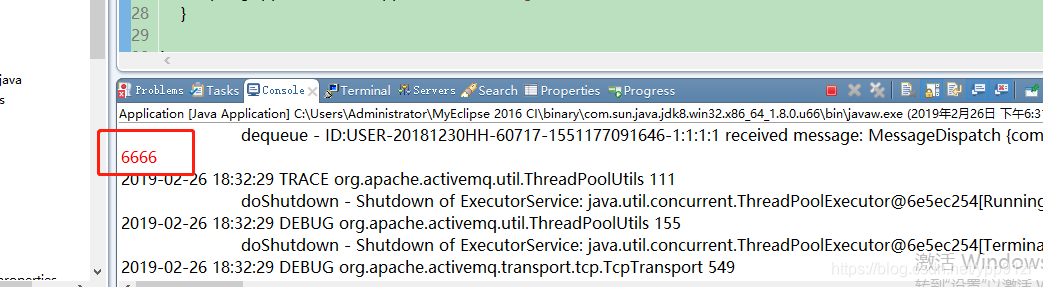
上图是消费的消息
我没有配置延时,有兴趣的小伙伴可以尝试
activemq分为两种:一种是queue 另外一种是topic


 982
982

 被折叠的 条评论
为什么被折叠?
被折叠的 条评论
为什么被折叠?
 到【灌水乐园】发言


